U4 Project - Deep Learning for Business - AI&BA - TBS Antoine Settelen, Edgar Jullien, Simon Weiss
~3 weeks development
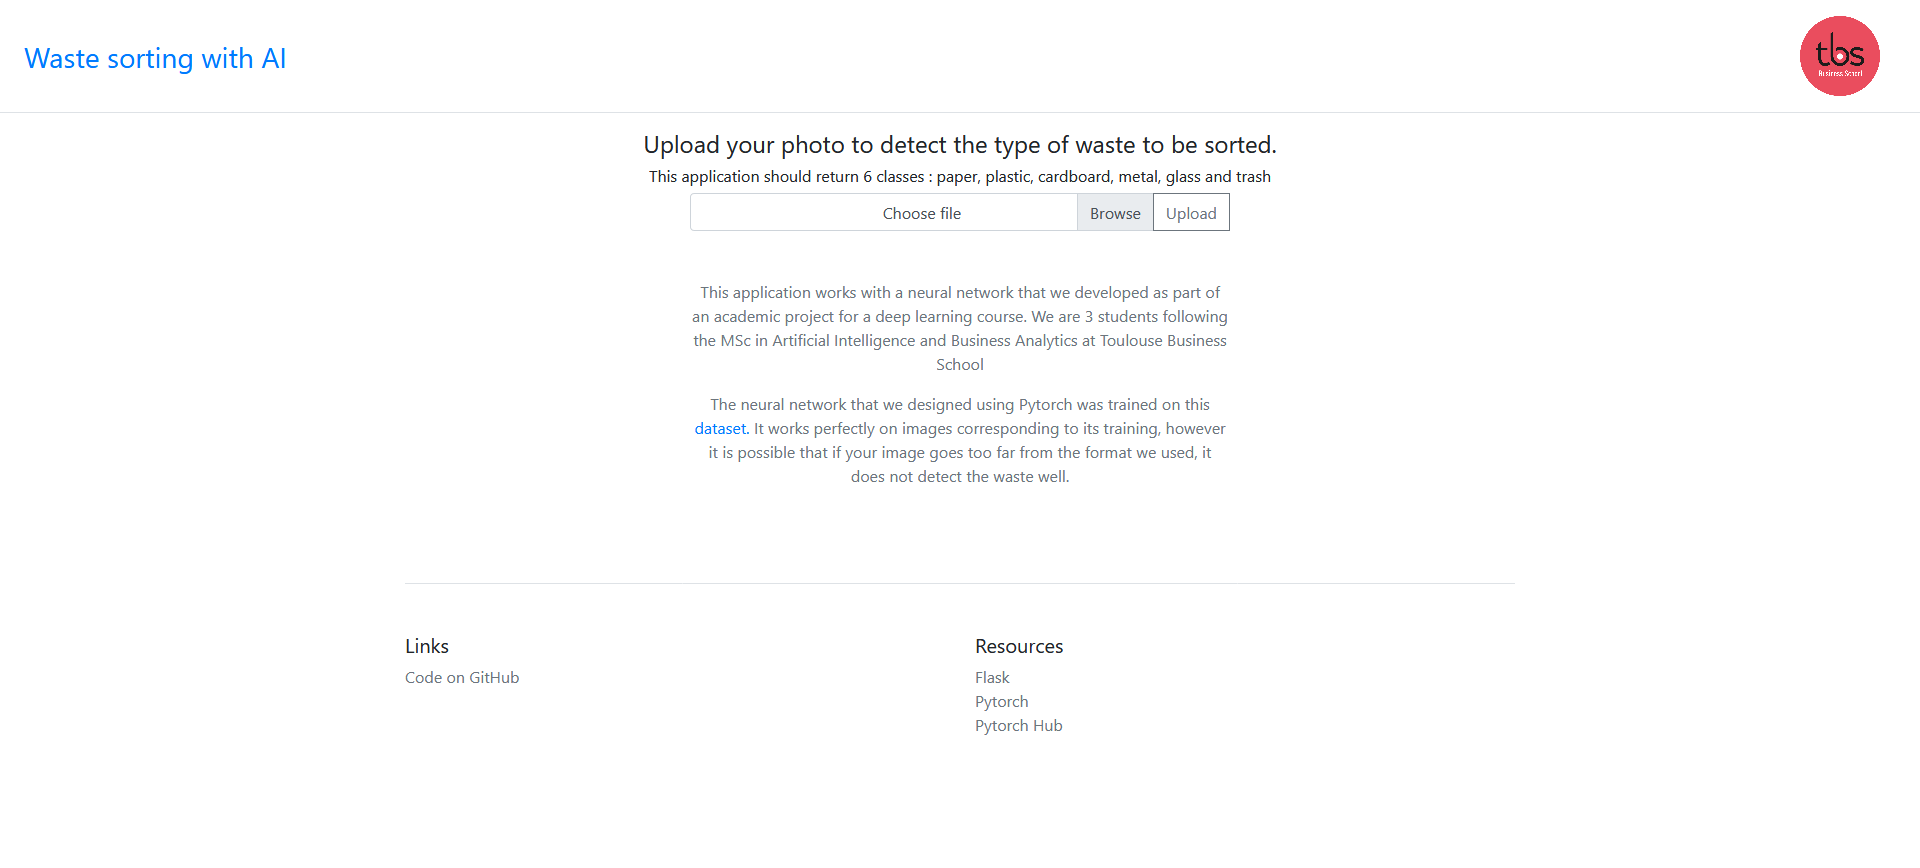
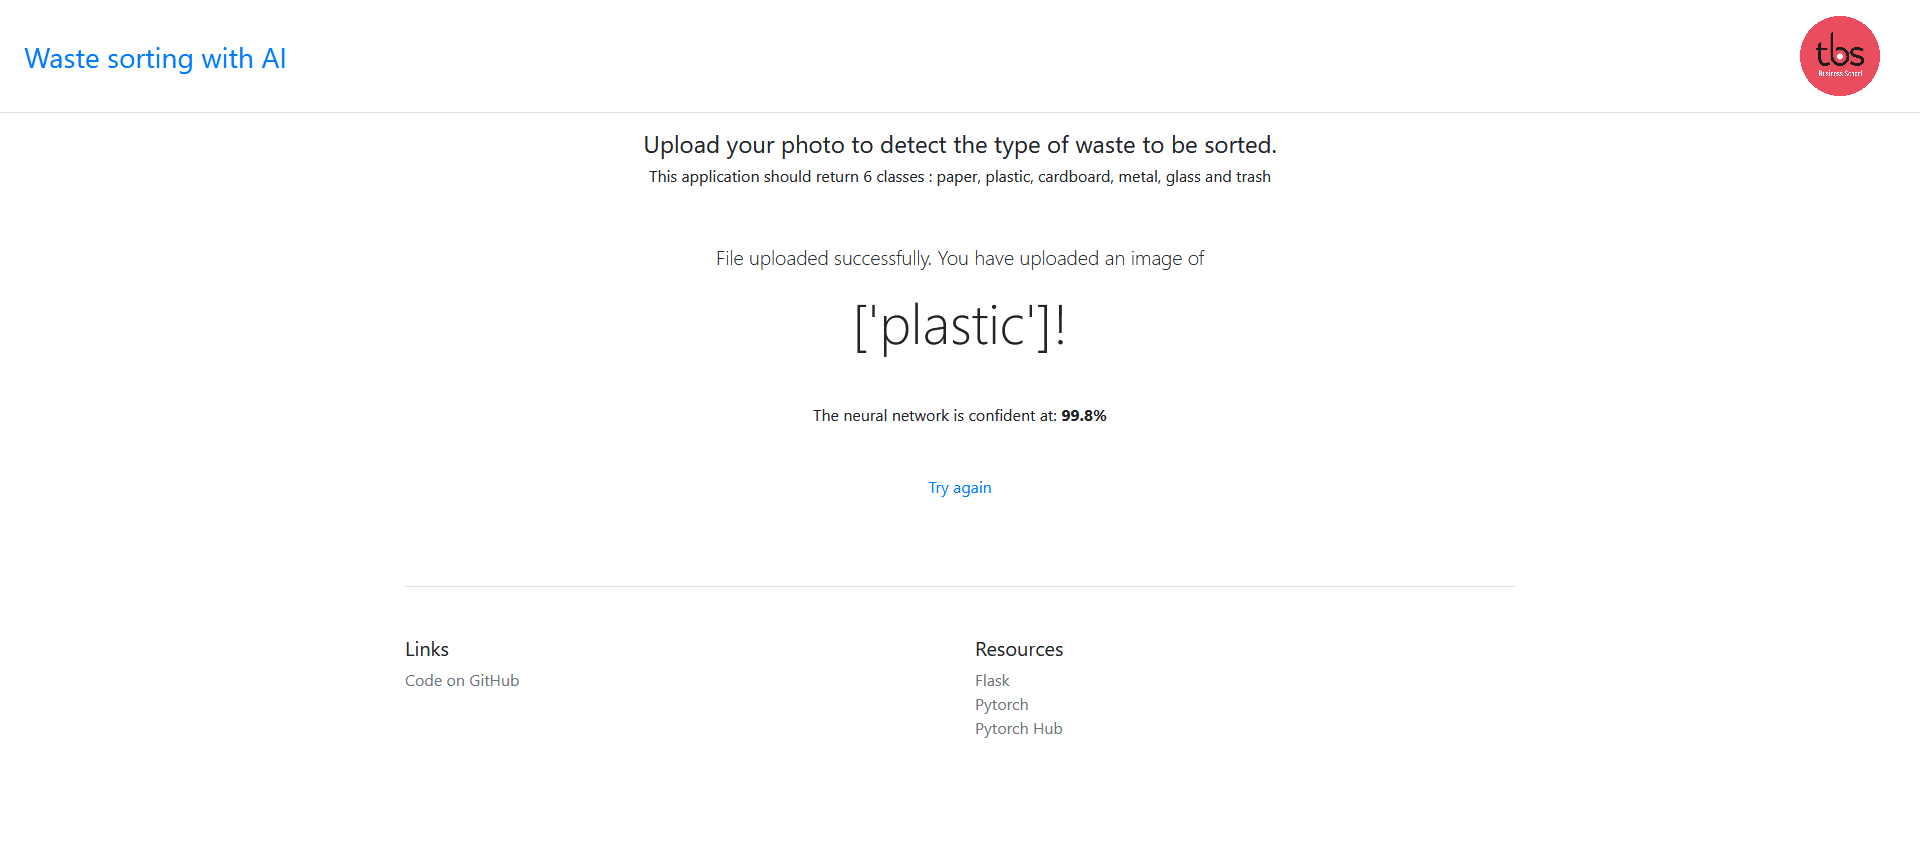
Check the demo here.
In this project we will develop a classifier to seperate waste into six classes : glass, paper, cardboard, plastic, metal, and trash based on their images. As a result of rapid urbanization and population growth, the amount of waste produced each year in the world is expected to rise to 3.4 billion tons over the next three decades, up from 2.01 billion tons in 2016, according to the World Bank.
What a Waste 2.0 report underlines the crucial importance of household waste management for sustainable, healthy and inclusive urban development, and highlights the fact that this sector is often neglected, particularly in low-income countries.
This project aims to demonstrate the potential of AI in waste management and in autoamtic sorting systems helping ciruclar economies to better design product reuse and recycling.
Automatically classifying the types of waste would effectively :
- be an aid to the domestic sorting of waste
- allow for a verification system at the time of waste collection
- be integrated into sorting machines in recycling plants
- Reduce toxic waste ending in landfills
The data comes from the dataset trashnet for a final project of Stanford's CS 229: Machine Learning class the dataset consists of 2527 images:
- 501 glass
- 594 paper
- 403 cardboard
- 482 plastic
- 410 metal
- 137 trash
The pictures were taken by placing the object on a white posterboard and using sunlight and/or room lighting. The pictures have been resized down to 512 x 384, which can be changed in data/constants.py (resizing them involves going through step 1 in usage). The devices used were Apple iPhone 7 Plus, Apple iPhone 5S, and Apple iPhone SE.
You can find the dataset used in the /dataset folder inside the notebook folder.
You will find our notebook used to train our model in /notebook folder and its html generated file. You can open it locally our use colab to use GPU instance provided by Google.
First, we configured our own neural network with pytorch and then tested our results with the accuracy score.
Then we used ResNet-50 CNN within the transfer learning method. Our maximum score was 97% accuracy.
ResNet-50 is a convolutional neural network that is 50 layers deep. You can load a pretrained version of the network trained on more than a million images from the ImageNet database The pretrained network can classify images into 1000 object categories, such as keyboard, mouse, pencil, and many animals. As a result, the network has learned rich feature representations for a wide range of images.
Once our model was trained, we exported its weights as a pth file "cnn2.pth" to use it in our web version deployed on heroku.
Check the demo here. You can use the dataset images for testing but also use your own images. Our model is not perfect and is only the beginning of neural network definition, so it will certainly have incorect predictions on a custom dataset.
We will appreciate any recommendations or advices to improve our model!
Clone the repo You need to have Python installed in your computer.
-
Install
virtualenv:pip install virtualenv -
Create a Python virtual environment:
virtualenv venv -
Activate virtual environment:
- Windows:
cd venv\Scripts activate cd ..\..- Lunix / Mac:
source venv/bin/activate -
Install libraries:
pip install -r requirements.txt
- Run the app:
flask run - Run on a specific port:
flask run -p <port>
-
Create a Docker image
docker build -t flaskml .This will create an image with the name
flaskml. You can replace that with a custom name for your app. -
Run the docker image
docker run -d -p 127.0.0.1:5000:80 flaskmlThis will run the app on port
5000. You can replace that with which ever port that is more suitable.
- Create Heroku app
heroku create
git push heroku master
OR
- Add to existing Heroku app
heroku git:remote -a <your-app-name>
git push heroku master
- Pytorch - The Machine Learning framework used
- Flask - The web server library
- Pytorch-Flask-Starter
- Stanford CS 229 & trashnet dataset
- Fastai kaggle notebook
- Pytorch-Flask-Starter
- ML-web-app


