Ionic makes it easy for web developers to best-in-class build mobile apps across major platforms, like iOS and Android.
Since the initial release of Ionic in November 2013, 700,000 apps have been created with the Ionic SDK, and many have been featured as top apps in the Apple App Store, Google Play Store, and Amazon App Store.
Ionic is a collection of CSS and Javascript components based on Angular 2. The core philosophy behind Ionic is that a web developer can use the standard HTML5/CSS/Javascript stack they already know and love, but get real mobile components underneath that adapt automatically to the device and platform they run on.
If Ionic 2 is your first exposure to Ionic, jump right in with the Getting Started guide. Otherwise, read below for some design philosophy changes from v1.
Ionic 2 brings even more parity to native SDKs like iOS and Android for the web stack.
With that in mind, some core components (like routing) work differently in v2 than v1.
In Ionic 1, we used UI Router with URL routing heavily to define navigation in your app.
The overwhelming feedback from Ionic 1 developers is that the routing and navigation system was too difficult to use in practice. It was challenging to correctly map URLs to views, and the navigation system didn't give the developer enough fine-grained control.
With v2, we've taken a more native-friendly navigation approach with a simpler push/pop system.
For example, in v1 we'd create a ContactDetail page like this:
$stateProvider
  .state('contact', {
    url: "/contact/:contactId",
    templateUrl: "templates/contact.html",
    controller: 'ContactCtrl'
  });
Then, to navigate to this, you'd do <a ui-sref="contact({contact: contact})">{{contact.name}}</a>
We'd also need to make sure we wired up the current <ion-nav-view name> which was considerably more
challenging when using nested navigation.
In v2, this works a bit differently. Instead of navigating through URLs and routing (which is still possible as we will see a bit later), we push and pop views onto the stack:
`<ion-item (^click)="showContact(contact)">{{contact.name}}``
class ContactsPage {
  showContact(contact) {
    this.nav.push(ContactDetail, {
      contact: contact
    });
  }
}
There are also shortcut directives we can use for links much like ui-sref, such as
nav-push and nav-pop which can be used like this:
<button [nav-push]="myContactComponent" [push-data]="contact">See contact</button><button nav-pop>Go back</button>The really nice thing about this is you can infinitely navigate now (for example,
you can keep pushing new ContactDetail pages onto the stack), and
control things like animation and the history stack the user has to navigate through.
You can also navigate inside of practically any container. For example, a modal window that slides up can have its own navigation, and two split views can navigate independently, something that was not possible before.
It also makes it incredibly easy to navigate to the same page in completely different
contexts. For example, if you were building something similar to Apple's App Store
app where there are multiple tabs at the bottom and each tab navigates independently,
you could navigate to an AppDetail page from any tab, which is exactly how the App Store app works.
For example, here's how the Minecraft AppDetail page looks in different tabs:
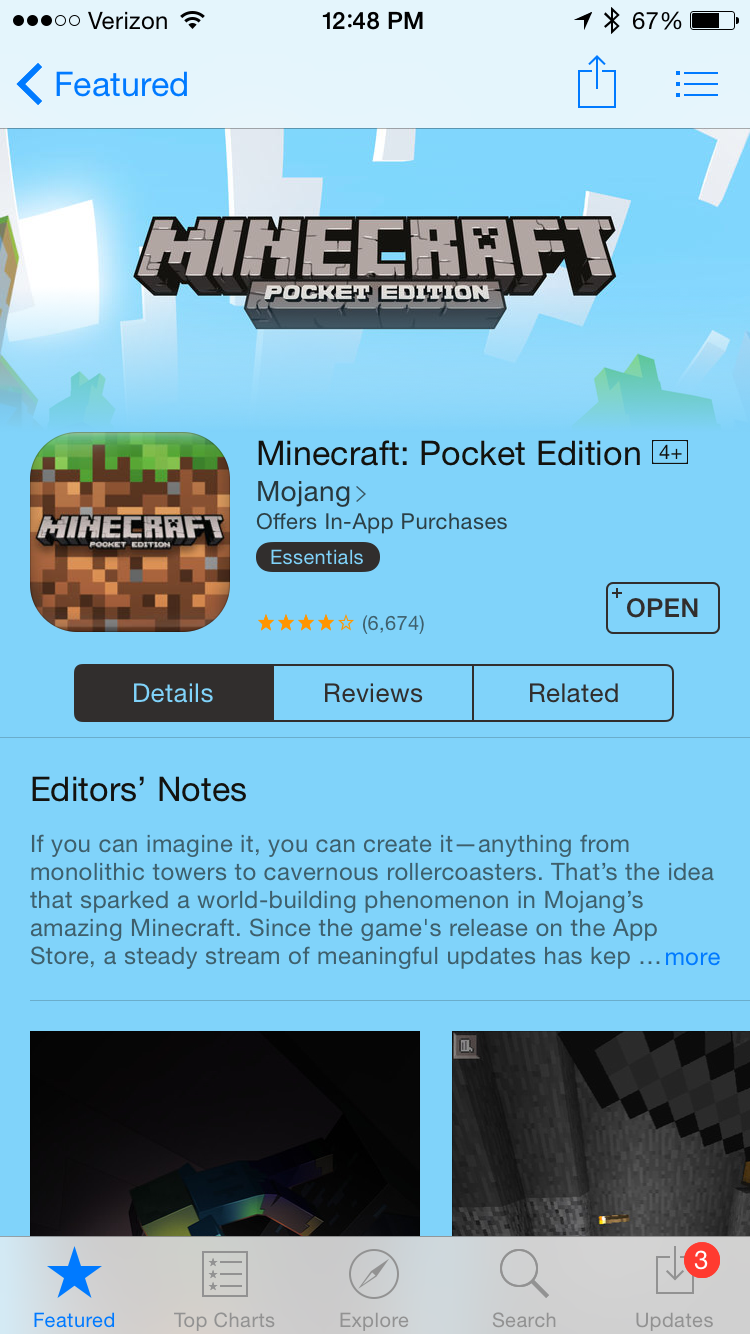
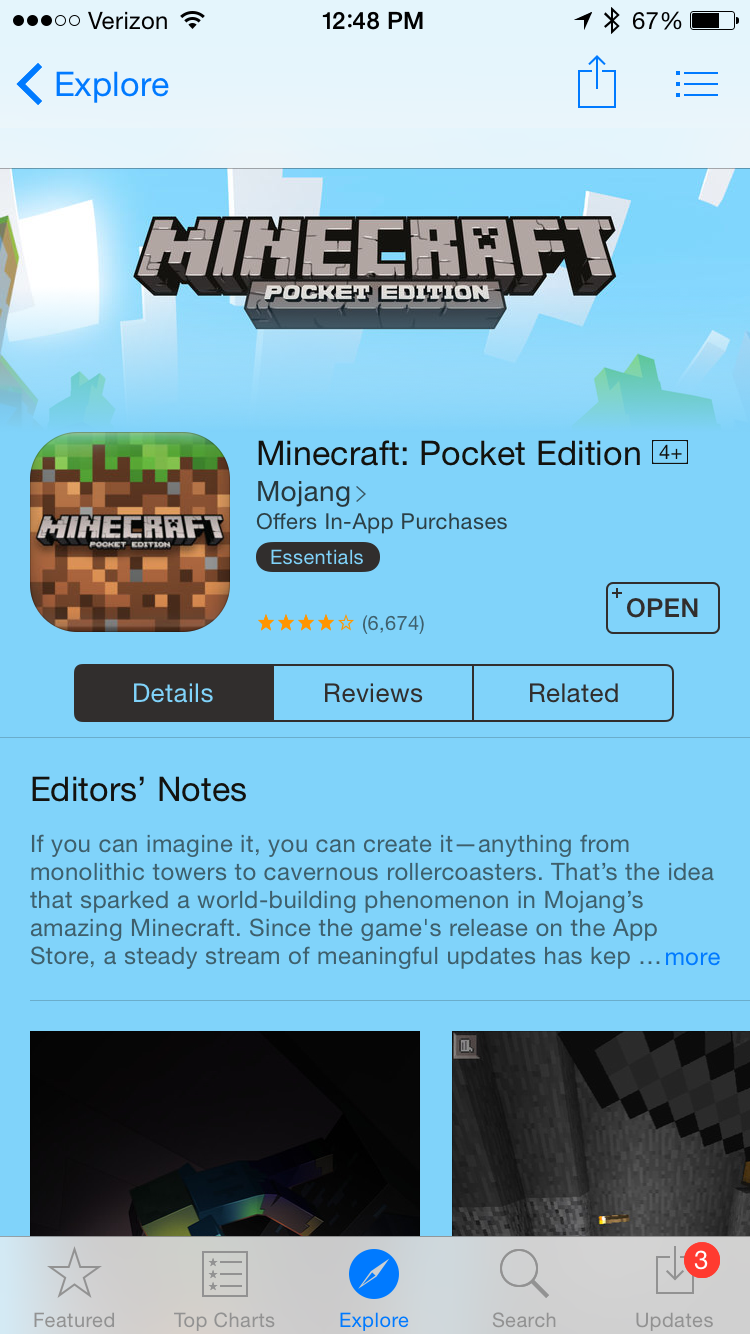
Notice the page is exactly the same, but the way the user navigated to it is different.
This hits on a core change in Ionic 2: the history state of the app is now your responsibility as a developer. It's up to you to make sure navigation provides a good UX, but you have the freedom to navigate as you see fit.
In Ionic, routing is used more for breadcrumbs and loading state than it is for active navigation.