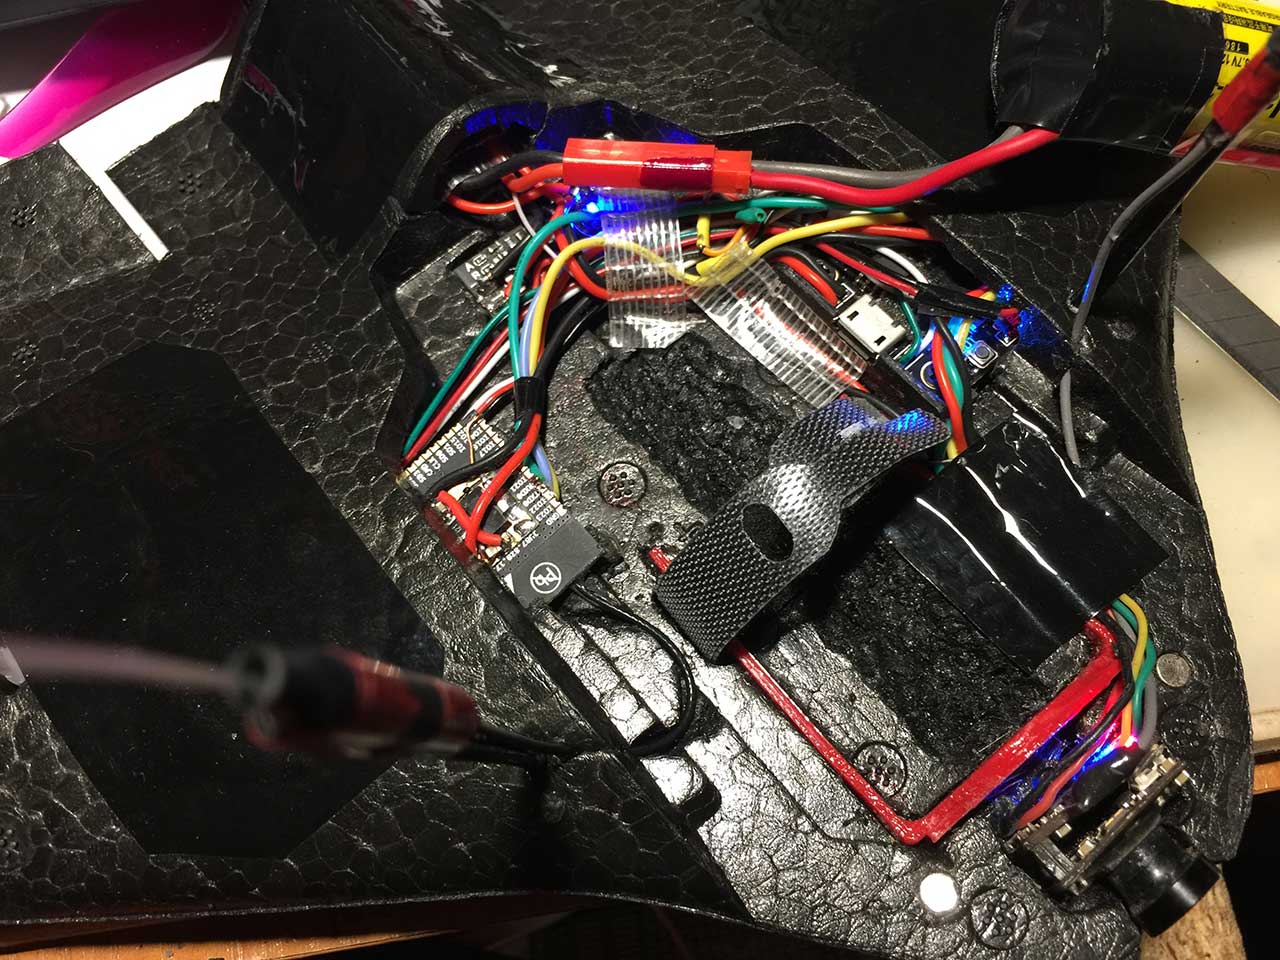
Receiver to be used with flight controller. Receives 15 channels and outputs RC_CHANNELS_OVERRIDE messages. Transmits mavlink telemetry stream from UAV.
As inav supports Mavlink RC now iNavFlight/inav#6738, it is possible to setup RC and mavlink telemetry using single UART.
Mavlink v1 and Mavlink v2 are supported. v1 allows to pass 8 channels only.
In current implementation, uplink telemetry is ignored. It is replaced with RC_CHANNELS_OVERRIDE messages. So telemetry is one-way: air => ground.
RSSI is injected into channel 16(or 8).
Receiver can be powered from 5V BEC or directly from 1S battery (3.0V...5.0V). If you are going to power it from 1S battery, linear regulator should be low-drop one (0.2...0.3V at 340mAh). ESP32 will operate stable down to 2.7V, allowing dischaging battery down to 3V.
Peak power consumption is ~340mA.
Compared to ESP01 based receiver, ESP32 allows to use LR (long range) mode. LR mode is special mode introduced by Espressif Systems with ESP32. Theoretically it should provide 2x better range, in practice the difference is 1.3...1.5x.
TODO: work as telemetry blackbox?
There are no RC_CHANNELS_OVERRIDE messages on failsafe.
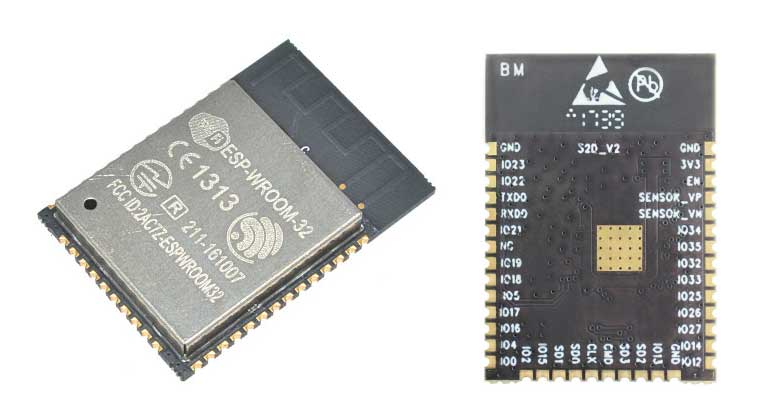
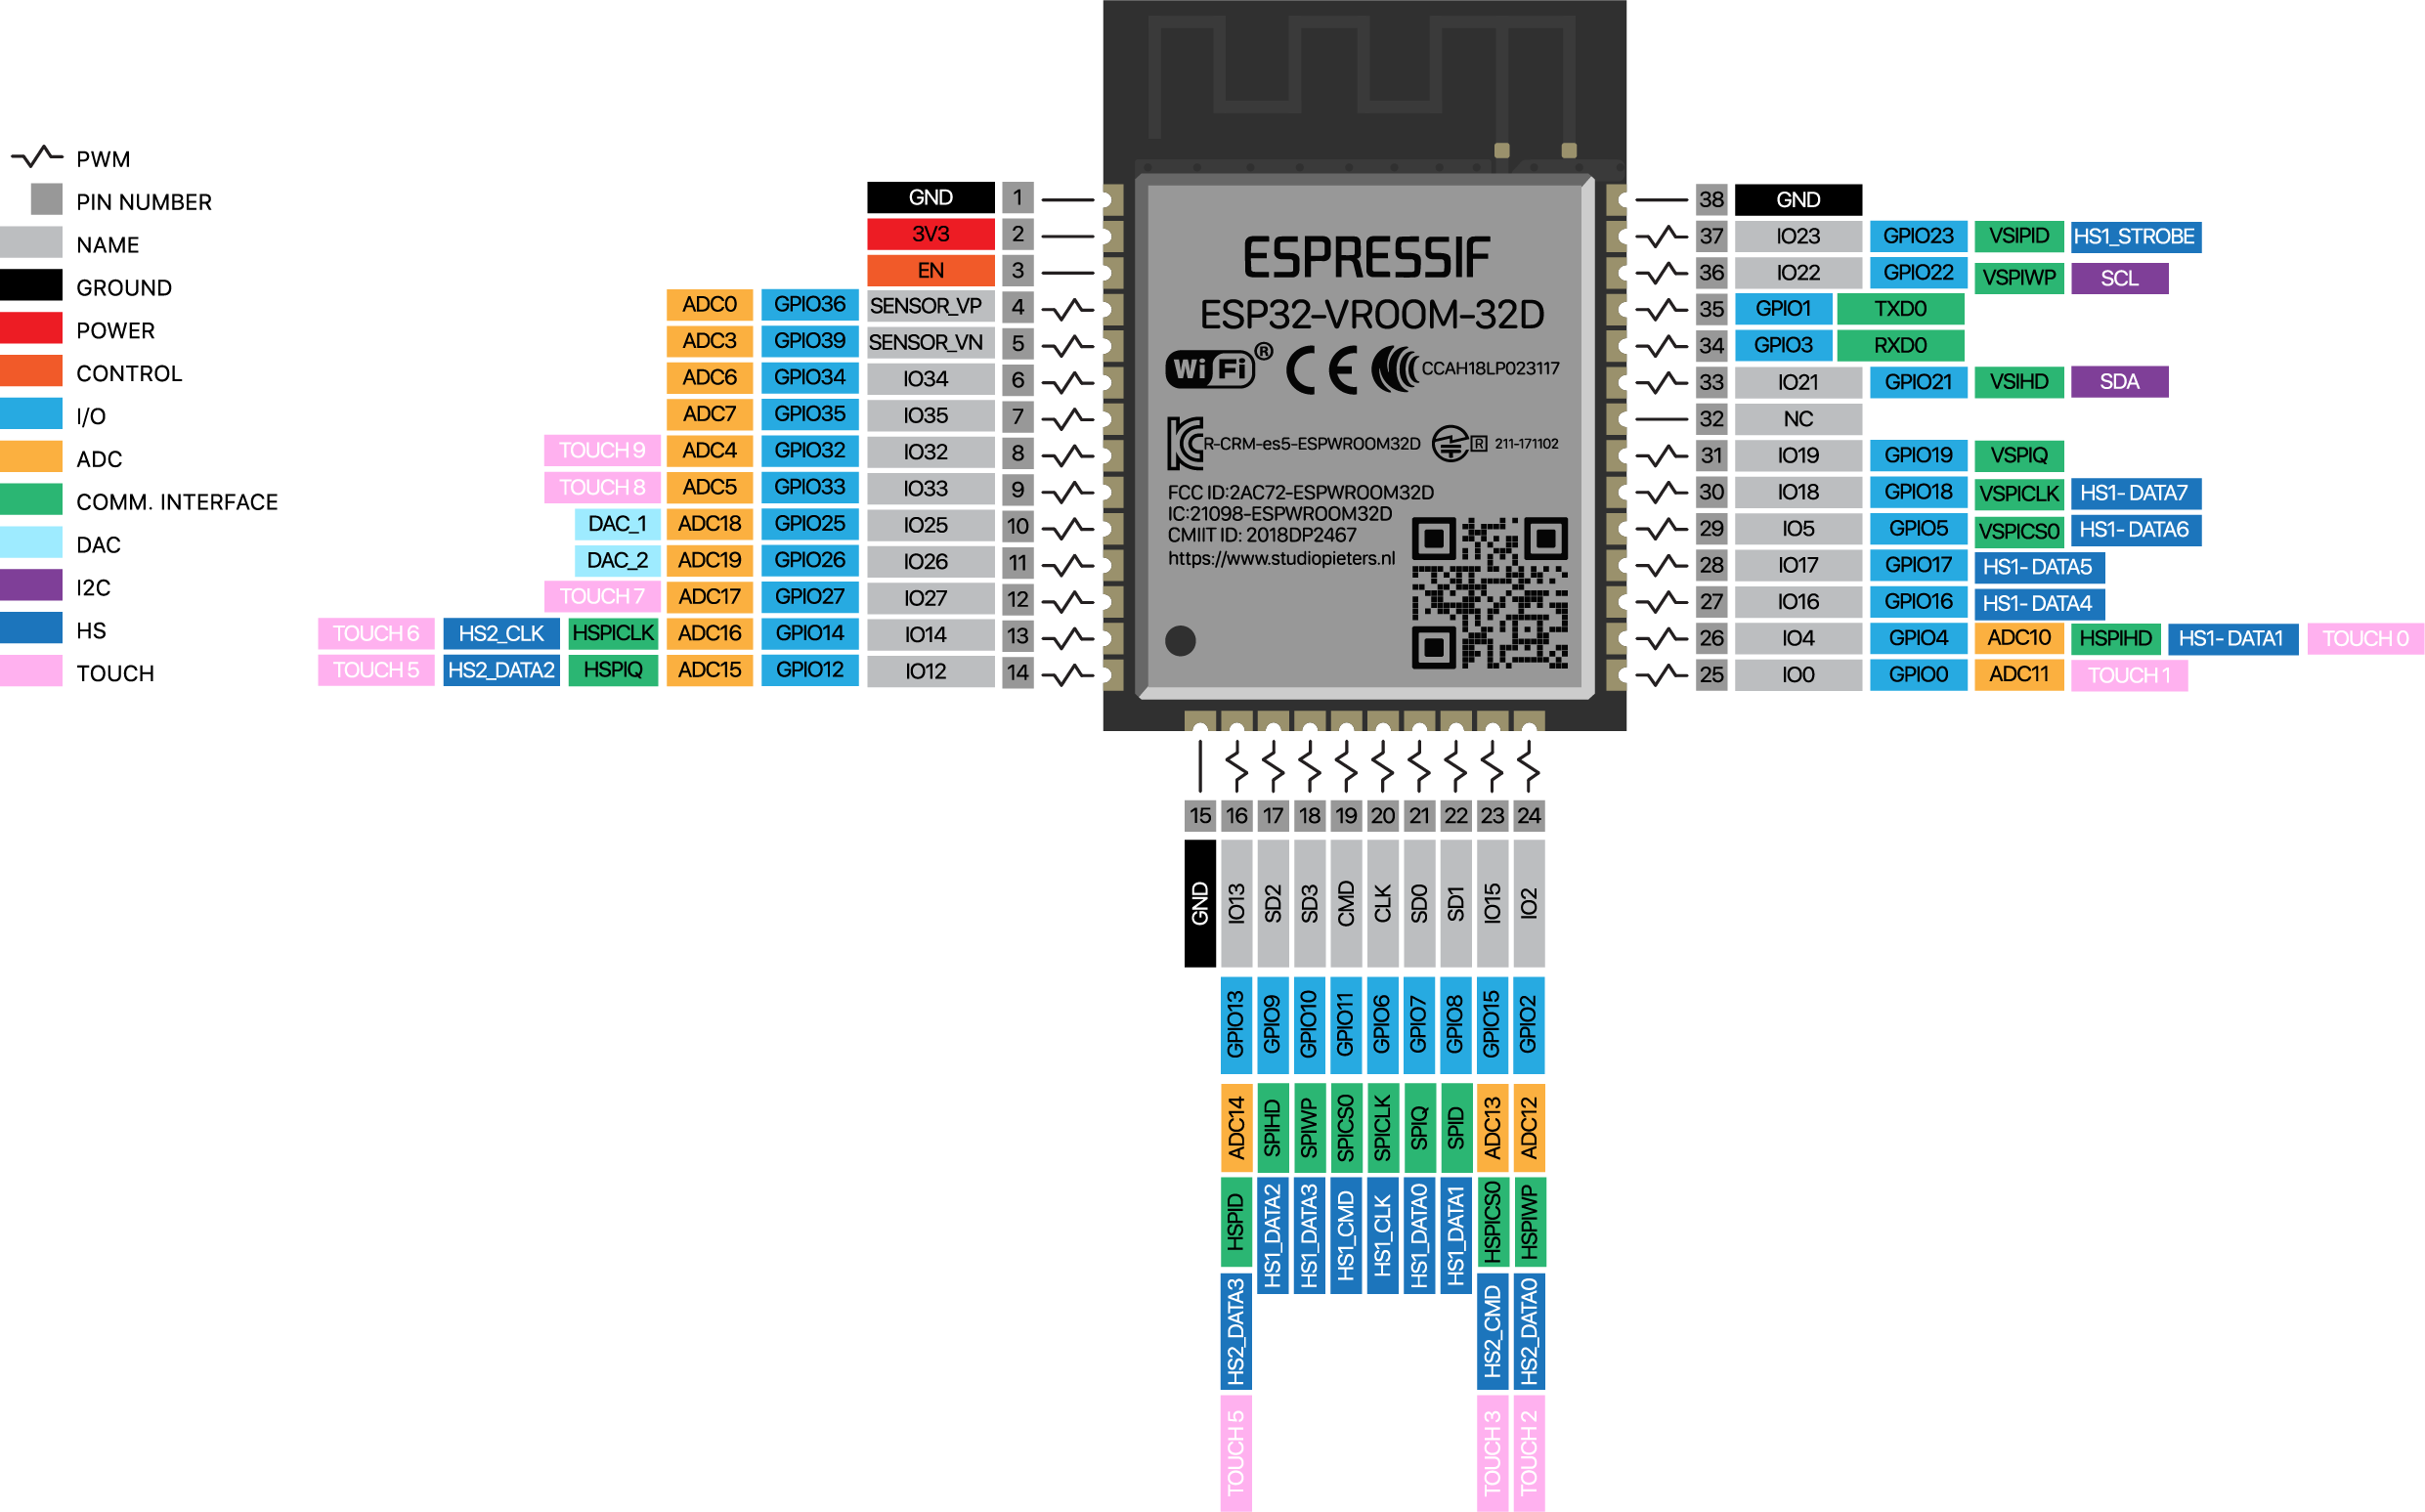
- ESP32-WROOM-32 or ESP32-WROOM-32U (recommended) module
- 3.3V LDO SOT223 (AMS1117-3.3, LM1117-3.3, LM3940 or other)
- 2x 10k 0804 smd resistors
- 2x 1206 10uf capacitors
- dipole or whip antenna (optional)
- USB-UART-TTL adapter (for initial flashing)
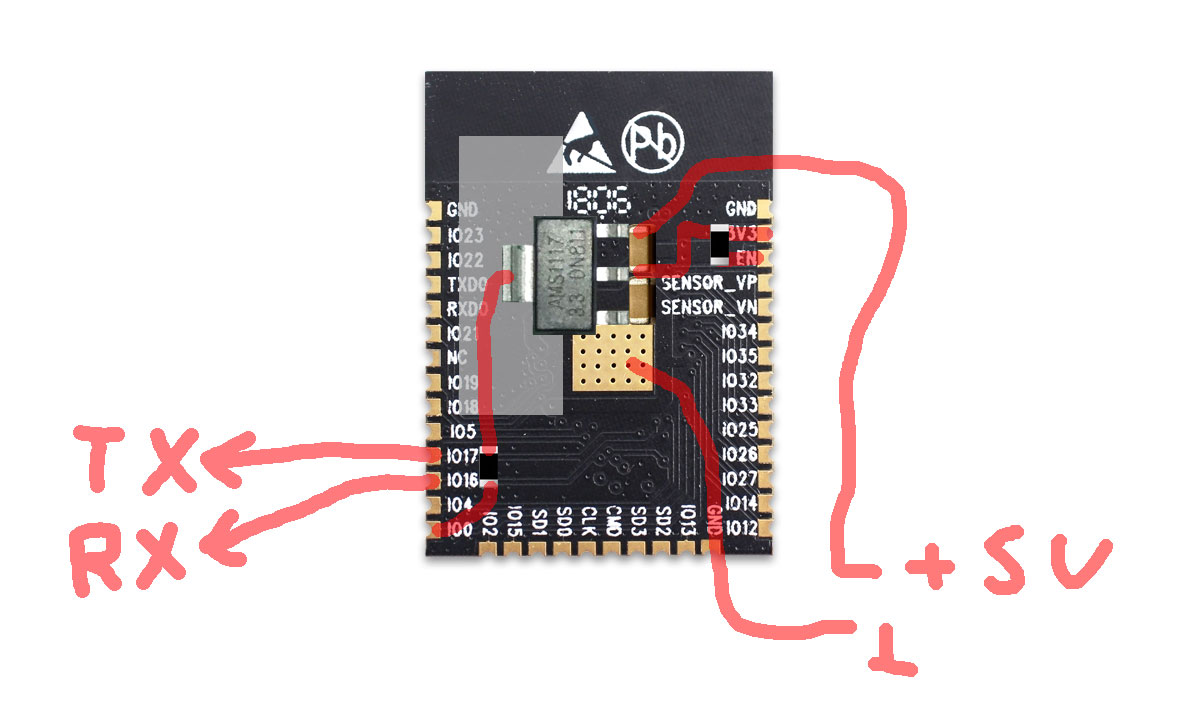
- Glue small PCB with 3.3 LDO to the back of ESP32. Connect according to connection diagram above.
-
Solder 10k resistors
-
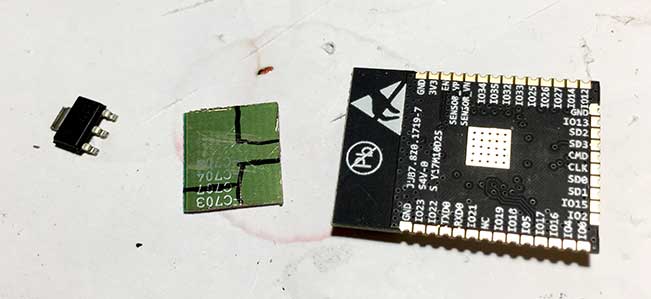
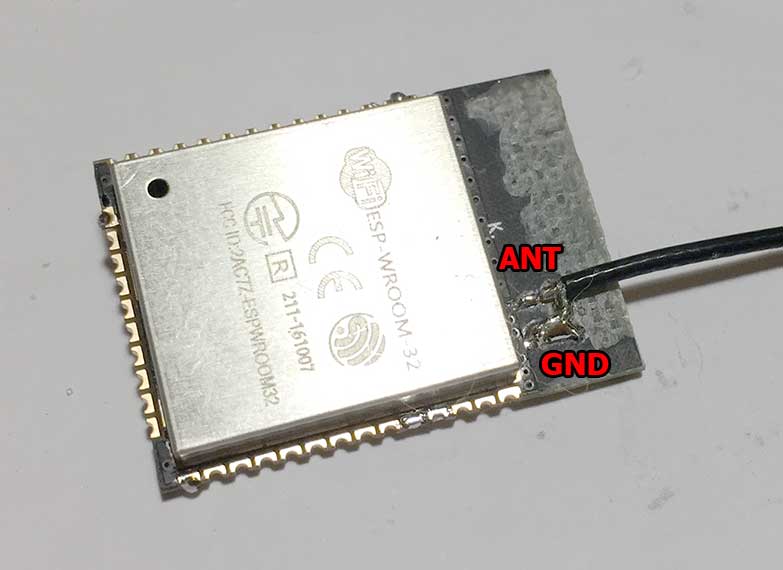
Remove PCB antenna using dremel, leaving two small pins only:
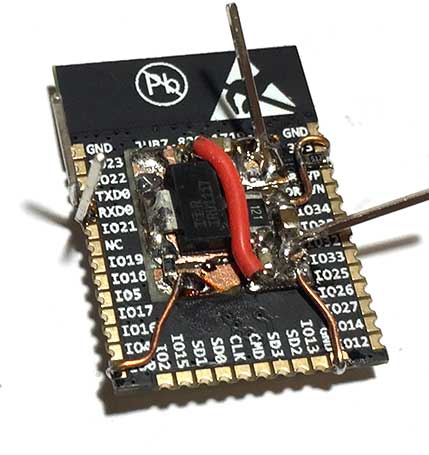
- Solder dipole or whip antenna
-
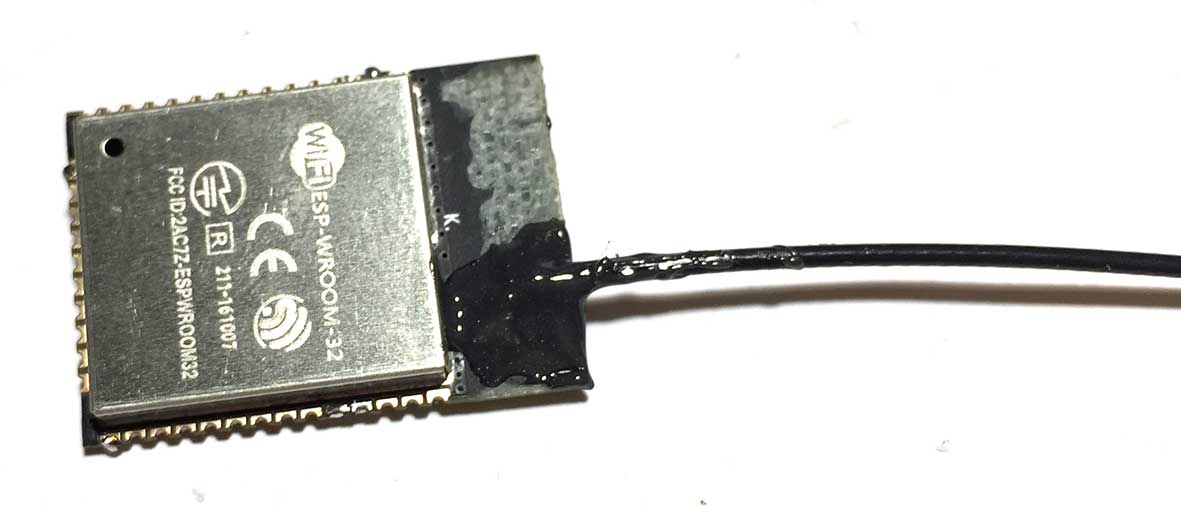
Glue antenna wire using some epoxy
-
Flash firmware
- Edit receiver configuration: examples/esp32_rx_mavlink_rc/include/rx_config.h
- configure key, wifi channel and LR mode (USE_KEY, USE_WIFI_CHANNEL)
- configure LR mode (USE_LR_MODE)
- configure Mavlink v1 or v2 protocol version.
- configure Mavlink port baud rate.
- configure mavlink port pins
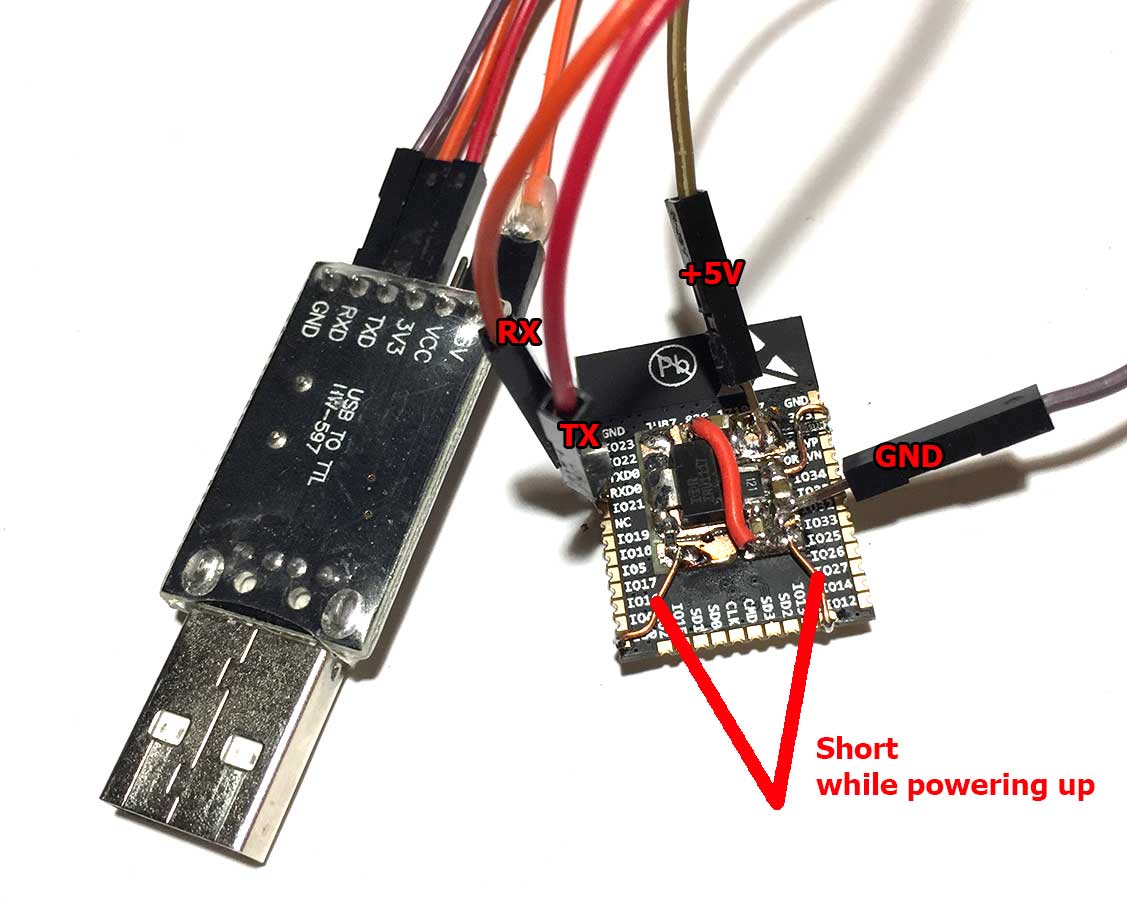
- Connect to USB-UART adapter according the connection diagram below:
- Plug USB-UART adapter while shorting two wires as shown above with a tweezers. Upload examples/rx_esp32_mavlink_rc/ project using PlatformIO.
After initial flashing, firmware can be updated wirelessly (OTA).
When transmitter is not working, it is possible to update receiver.
- Connect to access point "hxrcmavlink" without password.
- Uncomment:
upload_protocol = espota
upload_port = 192.168.4.1
lines in platformio.ini.
- Build and upload using PlatformIO IDE as usual.
If receiver is flashed in LR mode, access point will not be visible initially. Receiver will switch to normal mode to show AP and allow OTA updates after 1 minute of inactivity. Just power on receiver without transmitter enabled, and wait for 1 minute.
- Set Receiver type: Serial, Provider: Mavlink
- Enable Mavlink telemetry on some UART, set corrent speed
- Enable "Telemetry output" in configuration tab
- use set mavlink_version = 2 in CLI to enable Mavlink v2 if necessary.
