🔗 Tell Me The Real URL - A simple personal databaseless URL shortener and redirect
Repository: https://github.com/Zavy86/tmtru
Please consider supporting this project by making a donation via PayPal
The Dockerfile will set up an Apache2/PHP server running tmtru.
- Port: application run on port 80 but if you want you can specify another port. In this examples we will use the port 8080.
- Volume dataset: as tmtru stores configuration and links as flat-files in json format, mapping this on the host allows easy access to settings and links. This can also be a named volume if you prefer like in this examples.
- PUID/PGID (optional): in linuxserver.io fashion, this sets the UID/GID of the apache user within the container, so you can easily match a user on the host machine. Defaults to 1000/1000 if not set.
docker run --name tmtru -d -p 8080:80 -v tmtru-dataset:/dataset -e PUID=1000 -e PGID=1000 zavy86/tmtru
version: '3'

services:
  tmtru:
    image: zavy86/tmtru
      ports:
        - 8080:80
      environment:
        - PUID=1000
        - PGID=1000
      volumes:
        - tmtru-dataset:/dataset
From the source code directory execute commands:
docker build --no-cache -f development.dockerfile -t tmtru-dev .
docker run --name tmtru-dev -d -p 8080:80 -v ${PWD}:/var/www/localhost/htdocs tmtru-dev
Get the source code cloning the repository with git clone https://github.com/Zavy86/tmtru.git
or download the latest release from https://github.com/Zavy86/tmtru/releases.
Create a new virtual host pointing to the /public directory.
- Open your browser to the defined url (example http://localhost:8080)
- Click on the tmtru logo (link image)
- Enter password
passwordand press the Login button - Click the Settings menu on the navigation bar
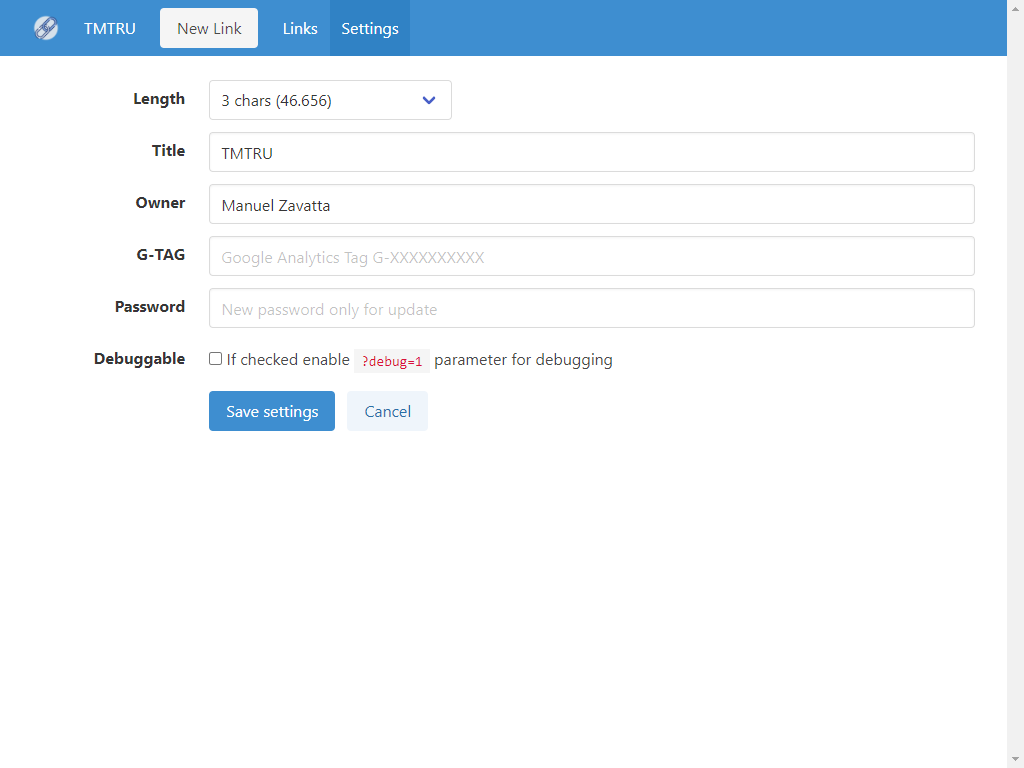
- Choose the length of the generated UIDs (default 3)
- Change the title if you want
- Insert your Name or your Company
- Optionally add your Google Analytics Tag
- Choose a new password
- Press the Save settings button
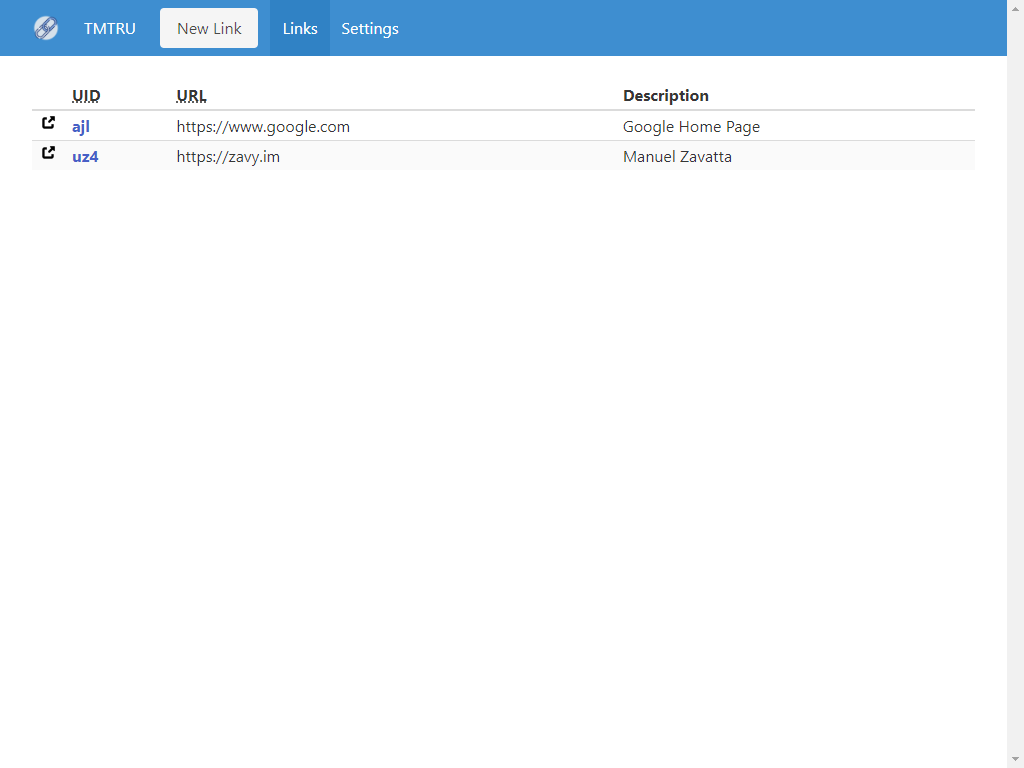
In the administration page you can view all existing links.
- Click on the link icon to open the selected link.
- Click on the UID to view or edit a link.
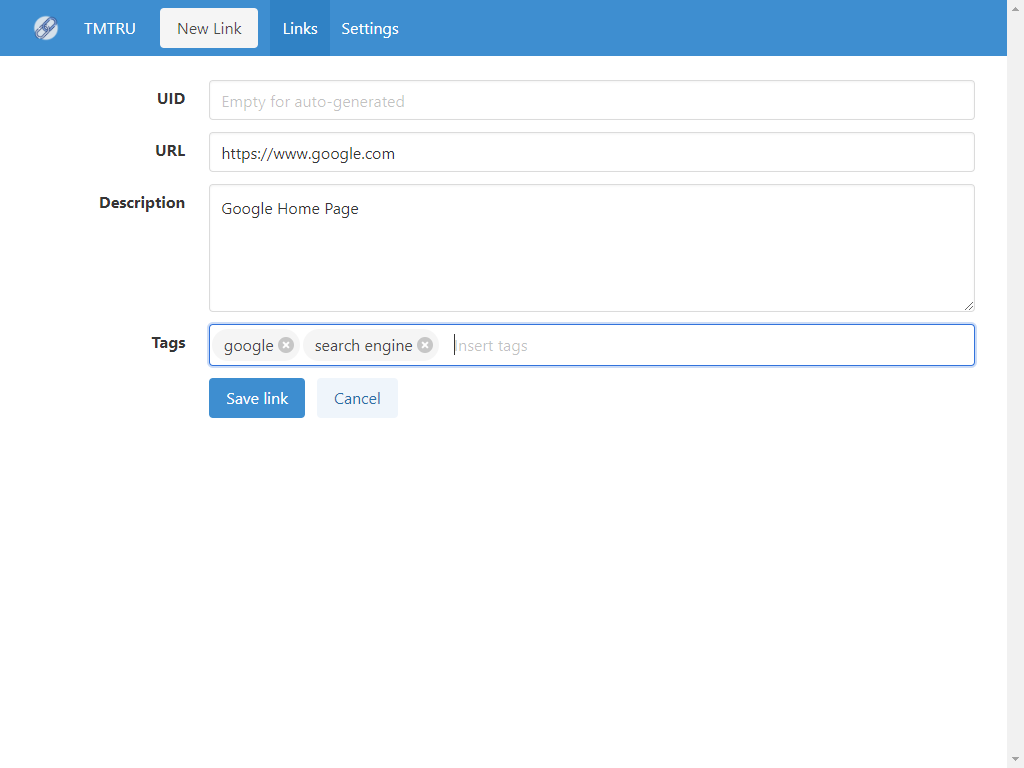
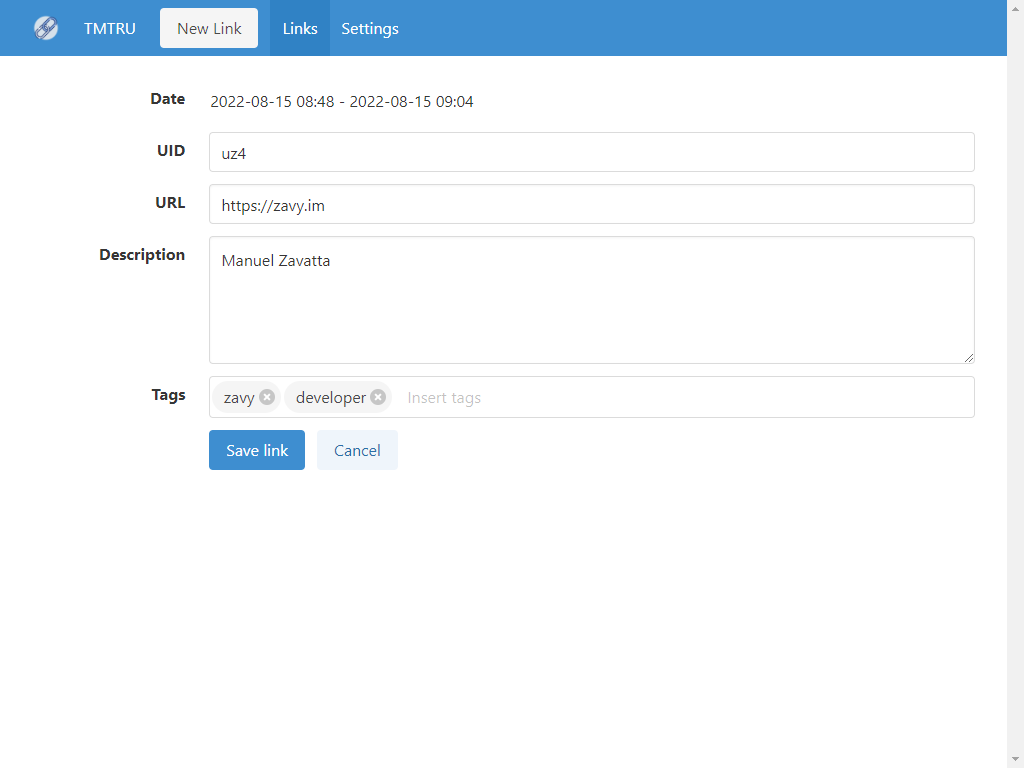
In the administration page you can create a new link.
- Click on the New link button in the navigation bar.
- Fill the uid manually or leave it blank to have it generated automatically.
- Enter the URL you want to point to.
- Enter a description and some tags.
- Press the Save link button.o

