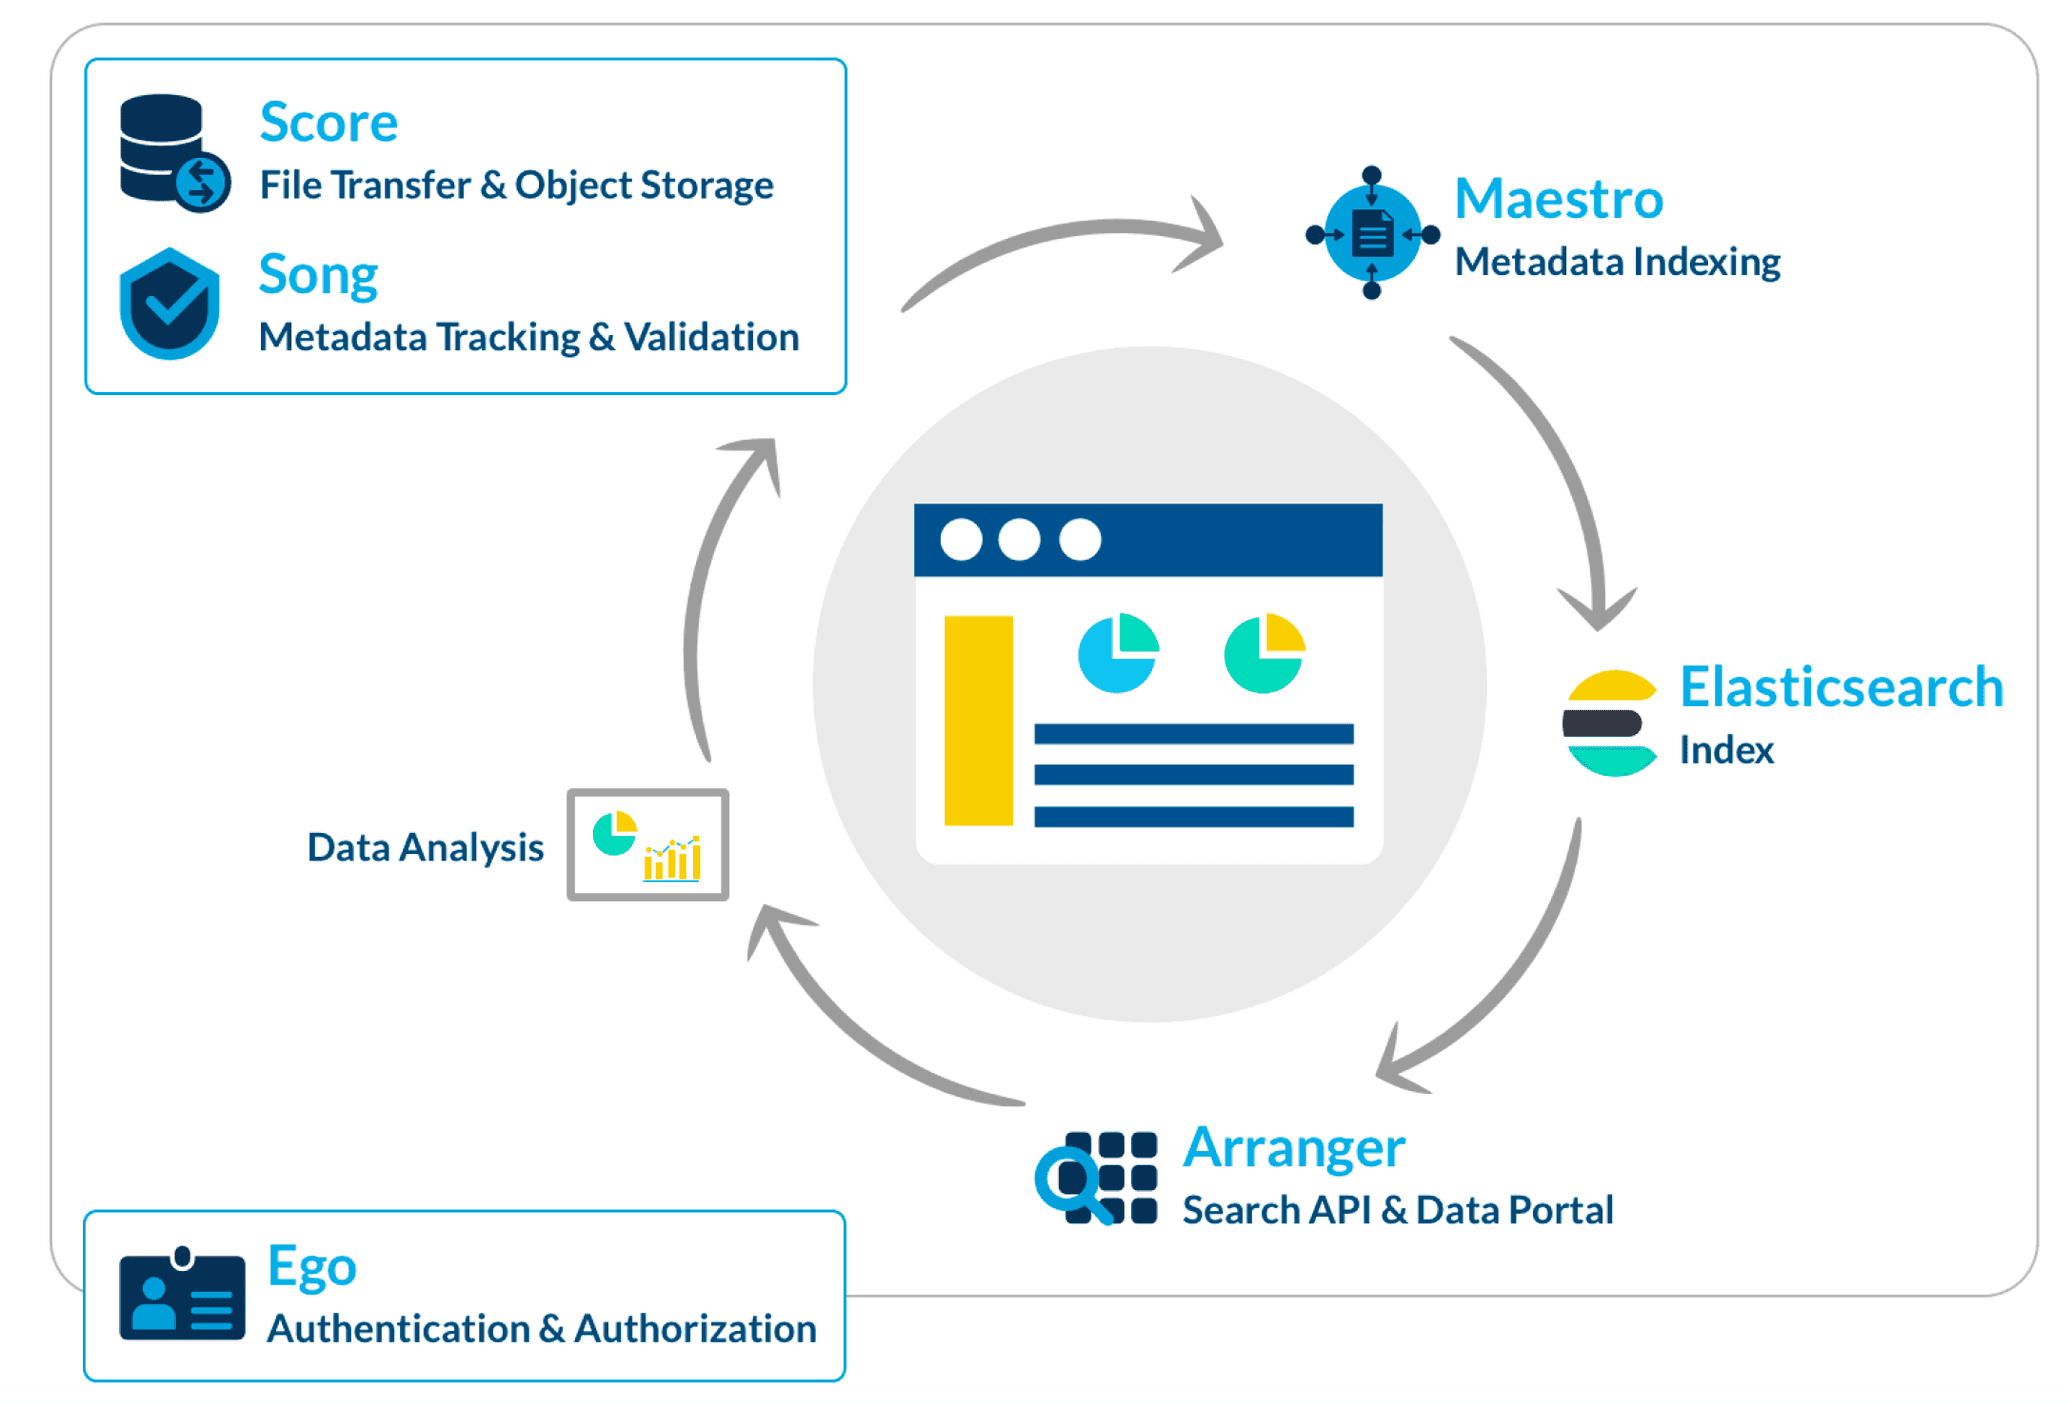
In this Overture repository, we (the OICR Genome Informatics Team) develop Ego, our open-source authentication and authorization microservice. Overture is an ensemble of modular solutions for big-data genomic science. Our core products work in concert to manage, explore and visualize molecular and clinical data. Visit our website for more information on what Overture offers, and check out our other projects on GitHub.
Access to sensitive and valuable information necessitates complex and secure methods to verify users and authorize what data and applications they are allowed to access. Ego simplifies user management by providing a secure system to authenticate and authorize users of your application. Ego uses well-known single-sign-on identity providers like Google, GitHub, LinkedIn and ORCiD in place of managing usernames and passwords.
Ego is OAuth 2.0 and OpenID Connect compliant. It is written in JAVA and uses Sprint Boot and Spring Security Frameworks. Because it uses JSON Web Tokens (JWT) for stateless authorization, it can scale to accommodate many users. See our thorough documentation for further details.
Overtures' modular architecture allows you to utilize and mix any of our products to fulfill your individual needs. Our core technologies, however, can also work in concert as an end-to-end data management system (DMS) designed to satisfy the needs of modern large-scale genomic research. For more information on our DMS, please see our DMS documentation.
See the links below for additional information on our other modular solutions:
| Product | Description |
|---|---|
| Ego | A stateless authorization and user management service |
| Score | Transfer data quickly and easily to and from any cloud-based storage system |
| Song | Quickly and reliably track genome metadata scattered across multiple Cloud storage systems |
| Maestro | Organizing your distributed data into one index |
| Arranger | Organize an intuitive data search interface, complete with customizable components, tables, and search terms |
This is a step-by-step guide for setting up a dockerized version of Ego. See our setup section below for a comprehensive setup guide.
1. Set up a google oauth client app (see here).
2. Clone or Download the repository and update the docker-compose-all.yml file with the provided client id and secret.
spring.security.oauth2.client.registration.google.clientId : "<insert-provided-client-Id>"
spring.security.oauth2.client.registration.google.clientSecret: "<insert-provided-clientSecret>"
3. Run docker compose from your CLI
docker-compose -f docker-compose-all.yml up
4. Ego will require seed data to authorize the Ego UI as a client.
docker exec ego_postgres_1 psql -h localhost -p 5432 -U postgres -d ego --command "INSERT INTO EGOAPPLICATION (name, clientId, clientSecret, redirectUri, description, status, errorredirecturi) VALUES ('ego ui', 'ego-ui', 'secret', 'http://localhost:8080/', '...', 'APPROVED', 'http://localhost:8080/error') on conflict do nothing"
Alternatively if you have Make installed you can run make init-db
5. You can now access the Ego UI through http://localhost:8080/ego-ui
- This will require your google sign in
- Once signed in you will have access to the admin dashboard (image above).
- The Ego swagger ui can be located at
http://localhost:8080/swagger-ui.html
Please see the documentation linked below:
Please see the documentation linked below:
Licensed under the GNU Lesser General Public License v3.0 license.


