The aim of this Rmarkdown website is to automatically run Clustering, Deseq2 and Enrichment analysis using bulk RNA-seq data.
Documentation for this code can be accessed here
Ths report requires either:
- a counts table (samples x genes) generated from running running mapping (hisat2) followed by featurecounts (using this pipeline) or
- a directory containing kallisto quant output (using this pipeline).
To run the analysis workflow:
- Clone the repository:
git clone https://github.com/Acribbs/deseq2_report.git
In order to run the report you require the following input files for the report to generate a report correctly:
- A meta data file following the naming convention design__.csv
- A counts table called featurecounts.tsv.gz
- A config.yml for modifying the output of the deaseq_report
- A full.csv file listing all the input files
Example files are currently within the repo so if you are unsure on how each of these files should be layed out please refer to the repo.
-
Navigate to the directory and rename the deseq2.Rproj file to something of your choosing
-
modify the config.yml file
-
Remove the design_* files and make your own based on the following naming convention:
design_<test>_<control>_<test>_<column>.csv
<test>- refers to the test that you plan to run. There are two options "ltr" or "wald".<control>- This is the name of your control condition i.e. the samples you want to test against. This should match on of the samples in the of the file.<test>- This is the name of the test condition. This should match with one of the samples in the of the file<column>- This is a column that you want to use for your Deseq model in the design_* file
You can have multiple design_* files in the folder.
- Double click the Rproj folder and the project should open in Rstudio then click "Build Website"
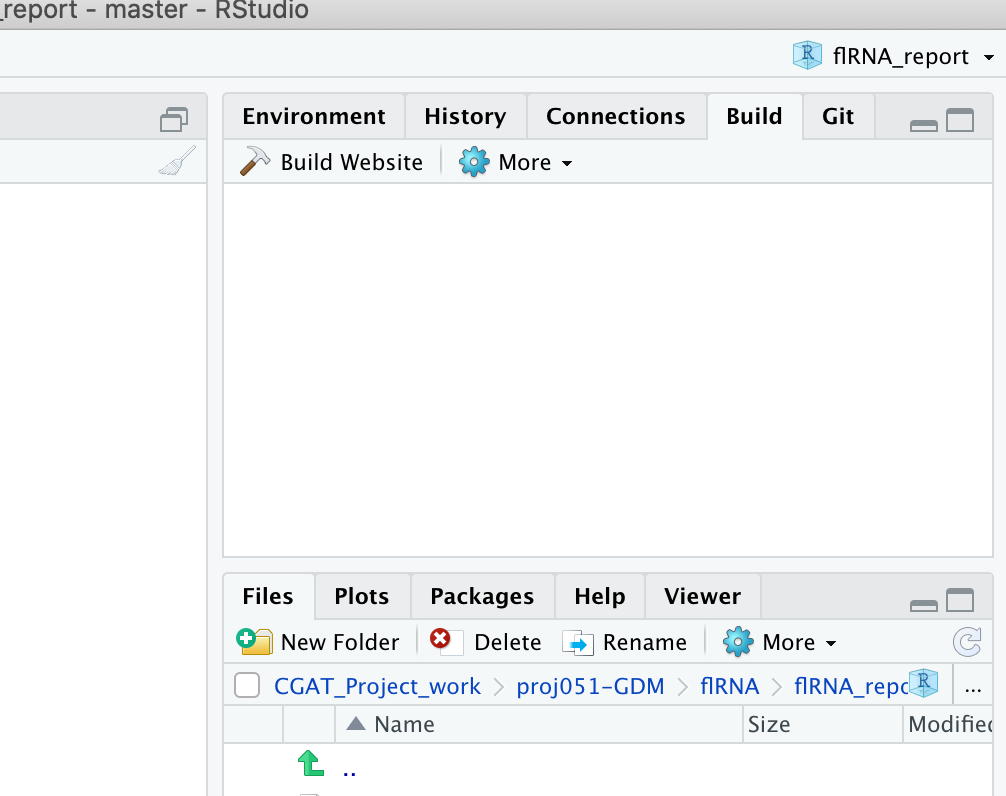
Make sure rmarkdown is installed in your library and hit the build tab on the environment window and then click "Build Website". When the website has finished building a window will pop up with the rendered site. The final report is in the directory "Final_report" and can be accessed by opening the index.html file in a web browser.
In order to run the report you require the following input files for the report to generate a report correctly:
- A meta data file following the naming convention design__.csv
- A kallisto quant directory containing the output from kallisto
- A config.yml for modifying the output of the deaseq_report
- A kallisto_input.csv file listing all the files
Example files are currently within the repo so if you are unsure on how each of these files should be layed out please refer to the repo.
-
Navigate to the directory and rename the deseq2.Rproj file to something of your choosing
-
modify the config.yml file
-
Remove the design_* files and make your own based on the following naming convention:
design_<test>_<control>_<test>_<column>.csv
<test>- refers to the test that you plan to run. There are two options "ltr" or "wald".<control>- This is the name of your control condition i.e. the samples you want to test against. This should match on of the samples in the of the file.<test>- This is the name of the test condition. This should match with one of the samples in the of the file<column>- This is a column that you want to use for your Deseq model in the design_* file
You can have multiple design_* files in the folder.
- Double click the Rproj folder and the project should open in Rstudio then click "Build Website"
Make sure rmarkdown is installed in your library and hit the build tab on the environment window and then click "Build Website". When the website has finished building a window will pop up with the rendered site. The final report is in the directory "Final_report" and can be accessed by opening the index.html file in a web browser.