A template for problem sets of NYU Algorithmic Problem Solving class (CSCI-UA 0480).
Auto generate unit tests based on input and expected output files.
- Java 11 (recommended)
- IntelliJ IDEA
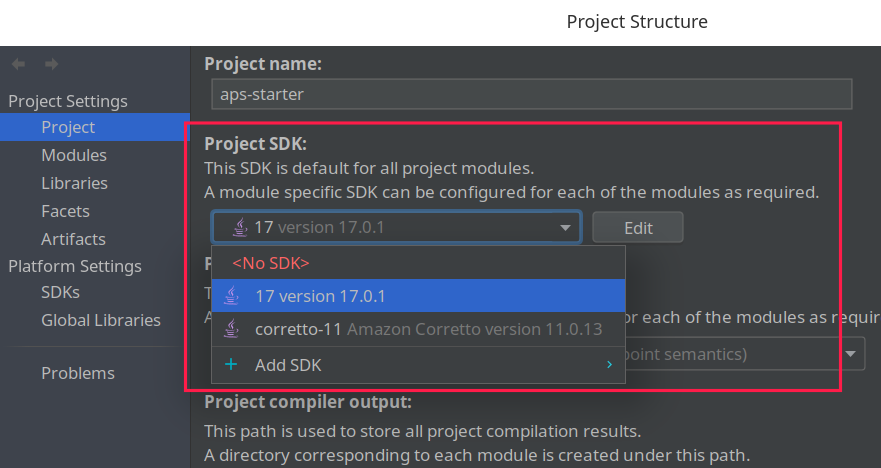
If you are using Java of version other than 11, you may need to assign a Gradle JVM from File/Settings/Build, Execution, Deployment/Build Tools/Gradle.

Also, you might need to assign project JDK to your Java version in File/Project Structure
-
Clone / Download the repo
$ git clone https://github.com/dekunma/nyu-aps-starter-java.git
-
Open the project in IntelliJ IDEA
-
Start the app (sanity check)
-
enter
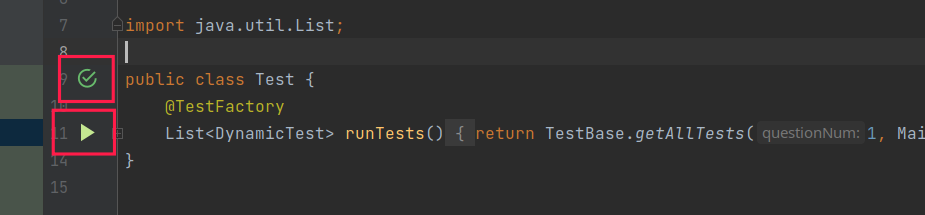
src/test/java/q1/Test.java -
Click either of the green arrows on the left to run an empty test case (
1.txt)Note: the UI might be different on your machine since I'm using an IntelliJ theme
-
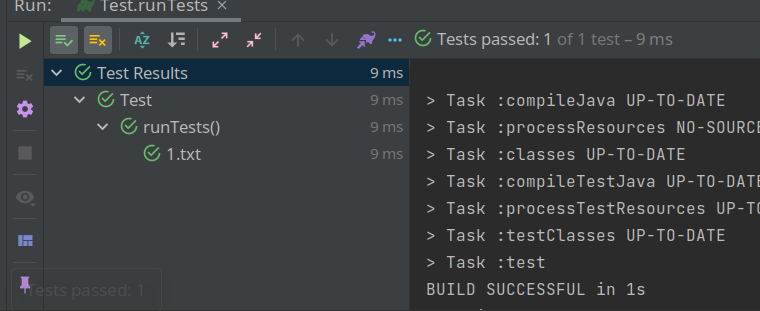
The empty test case (
1.txt) should pass without any error
Write solution code:
- Write your solution code in
src/main/java/q*/Main.java - For example, write your solution for question 1 in
src/main/java/q1/Main.java
Add test cases:
- Files for test cases are stored in
src/test/resources - Add test cases in the corresponding sub-directory for each question
- Add input in the
casesdirectory - Add expected output in
expecteddirectory - Input and expected output file must have the same name, and in txt format.
For example, if you want to add a test case 2 to problem 1, and the test case has
input as:
3
1 2 3
and output as:
6
Simply add a file named 2.txt to src/test/resources/q1/cases with the content of input:
3
1 2 3
And add a file named 2.txt to src/test/resources/q2/expected with the content of expected output:
6
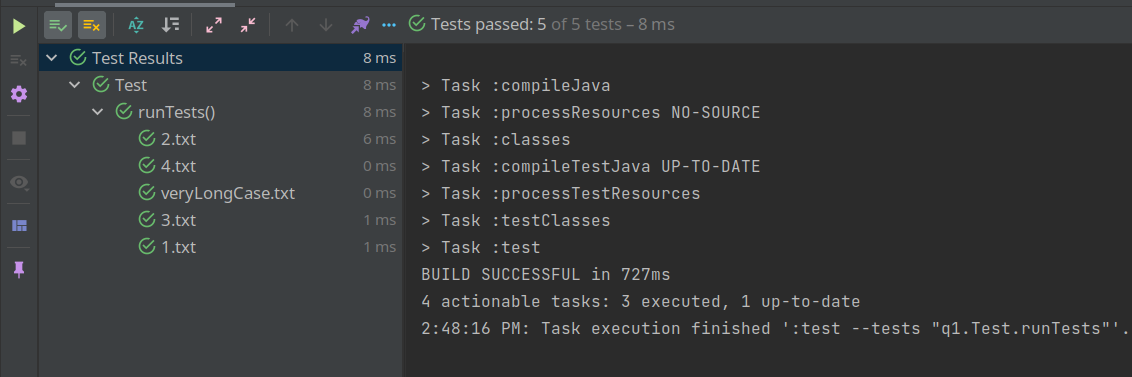
Then go back to src/test/java/q2/Test.java and run the test, you will be able to see the result for the test case you just added.
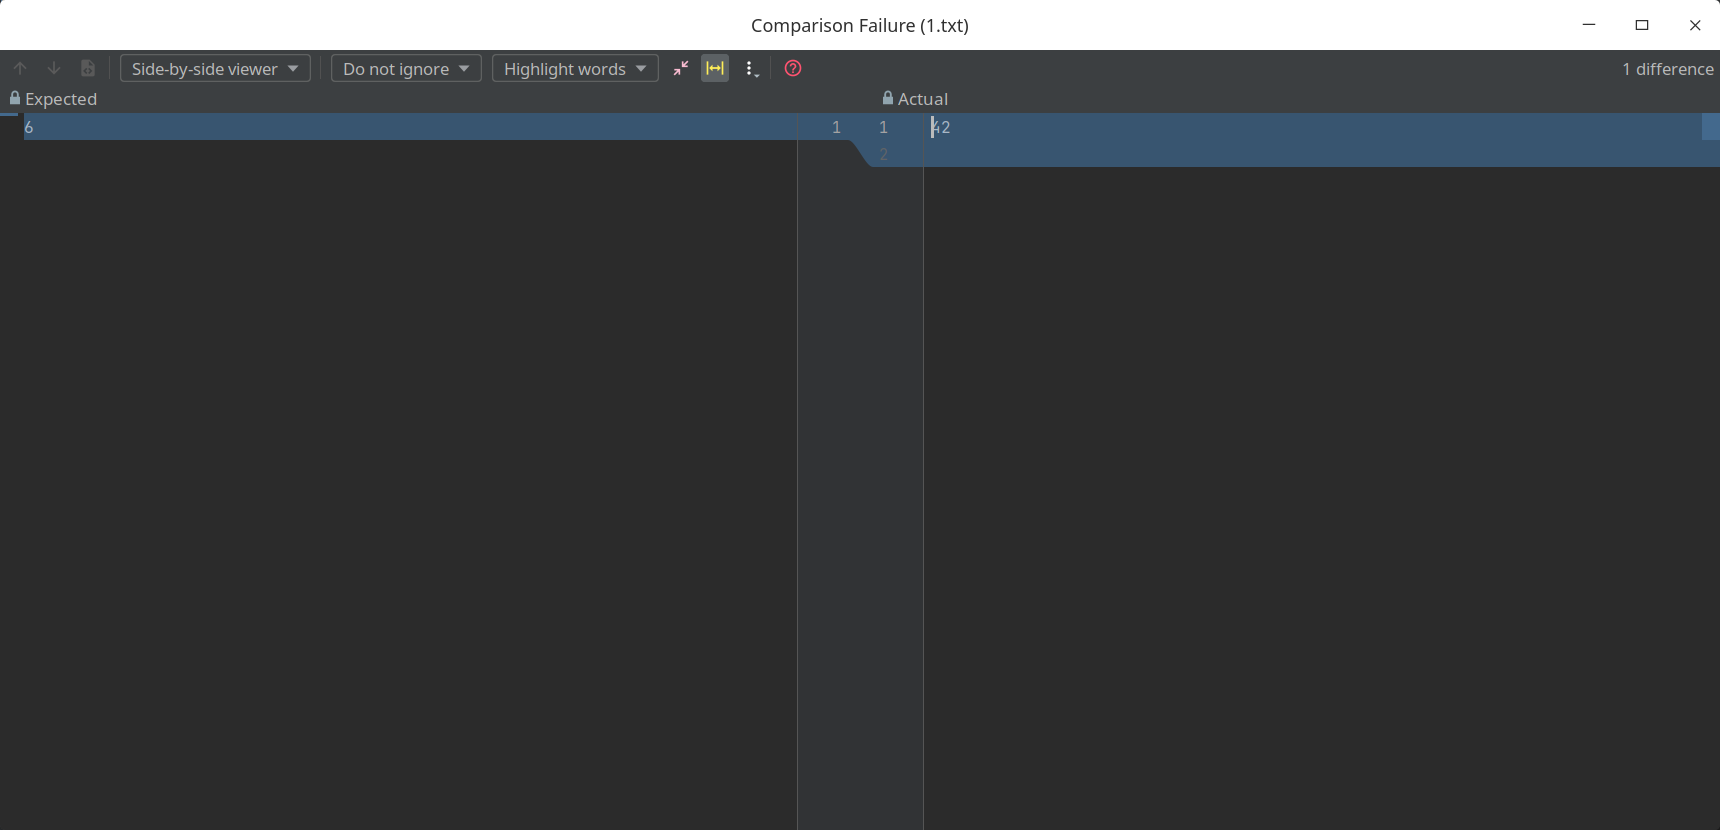
If a test failed, click on the test case to see the difference between your output and expected output.
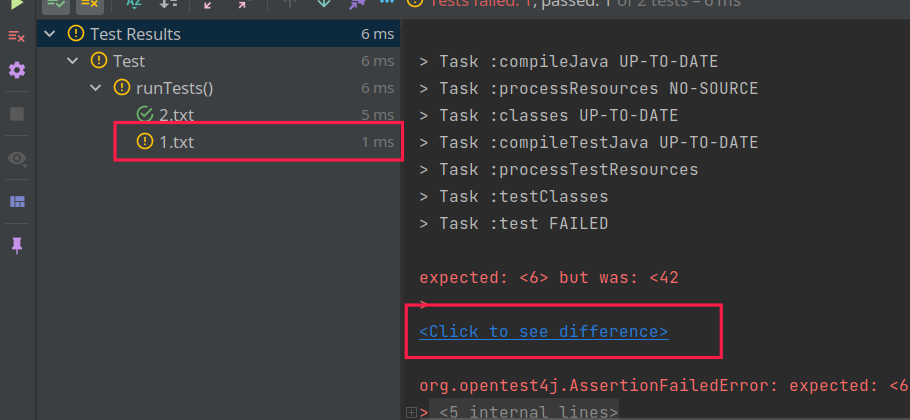
If you do not see <Click to see difference> as in the above screenshot, please try updating your IntelliJ IDEA
Contributions are what make the open source community such an amazing place to be learn, inspire, and create. Any contributions you make are greatly appreciated.
- Fork the Project
- Create your Feature Branch (
git checkout -b feature/AmazingFeature) - Commit your Changes (
git commit -m 'Add some AmazingFeature') - Push to the Branch (
git push origin feature/AmazingFeature) - Open a Pull Request
This project is licensed under the MIT license.
This means that you are free to use, share, and modify this project for any purpose.
This project used java reflection mechanism to generate test cases, which is not always considered as a good practice.