
This project is an open-source Ladder Editor designed to generate code for IoT devices. It enables interaction with program variables via the MQTT protocol, connecting with AWS IoT or Mosquitto MQTT Broker. The current version supports Arduino code generation (.ino) for ESP32 devices running FreeRTOS.
- Install Java (8+) if it hasn't already been installed.
- Install Arduino IDE (2.3+), read the setup guide (Arduino_IDE_Setup.md).
- Download the latest released .jar file (Releases).
- Run the downloaded file with doule-click if supported, or run the command:
java -jar iot_ladder_editor-0.0.2.jar
- Install Java OpenJDK 11+ (jdk.java.net/archive).
- Install VS Code (https://code.visualstudio.com/download).
- Install VS Code Extensions:
Extension Pack for Java, andMaven For Java. (Publisher: Microsoft). - Download this repository and extract the .ZIP or clone this repository with
git clone https://github.com/leofds/iot-ladder-editor. - Open the project directory
iot-ladder-editoron the VS Code. The project will be automatically builded by Maven, creating the directorytarget. - Open the file
iot-ladder-editor\src\main\java\com\github\leofds\iotladdereditor\IotLadderEditor.java. - Run the project clicking on
Run/Run Without Debugging (Ctrl+F5). SelectJavaif requested.
debug
To run in debug mode add breakpoints to the source code and click on Run/Start Debugging (F5)
generating .jar file
On the EXPLORER tab, JAVA PROJECTS navegation bar, click on Export Jar.
To understand about the Ladder Language read Ladder_Language.md.
- Use drag and drop to place instructions on the Rung and associate input/output variables to instructions.
- Go to
Project/Buildto generate the output code. - The output file plc.ino will be created in the folder
<current_folder>/out/plc. - Double click to open Arduino IDE.
- Put the ESP32 board in programming mode. (It's no longer necessary)
- Click on Update icon on the Arduino IDE to load the program on the ESP32 board.
- After success
- Reset the ESP32 board to run the program. (It's no longer necessary)
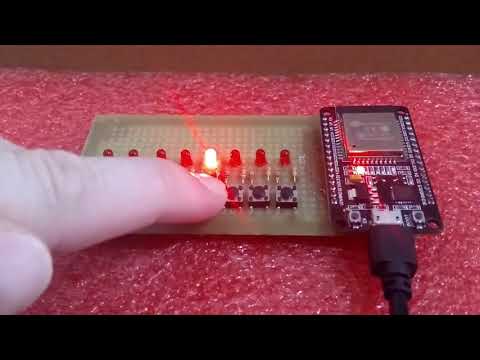
Click on picture below to see the demo video:
The table below shows recommended/equivalent Ladder Instruction for the input/output schematic.
| Input (pull-down resistor) |
Input (pull-up resistor) |
Output (active high) |
Output (active low) |
|
|---|---|---|---|---|
| Schematic |
|
|
|
|
| Ladder Instruction |
|
|
|
|


You can change the pin mapping on the Project/Properties, on the tab "Pin Mapping".

Default pinout

Before building, go to Project/Properties
Set the Wi-fi connection and on the tab MQTT set your Broker connection.


Only Integer and Floating program variable can be modified by MQTT messages.
Set the topic to subscribe on the tab MQTT/Topic.
Example of message: sending value 1 to variable MI01:
{
  "MI01": 1
}
... associate the Integer variable to instruction

Set the topic to publish on the tab MQTT/Topic.
On the tab, MQTT/Telemetry set the period and variables to send.

Message sample sent from the device:
{
  "MI01": 0,
  "Q1": 0,
  "I1": 0
}To use the AWS IoT read AWS_IoT_Setup_and_Configuration.md
To use the Mosquitto MQTT Broker read Mosquitto_Setup_and_Configuration.md.