This is the Time Interval Data Analyzer Distribution Package. The project combines the different components of the full distribution, i.e.,
- the back-end / server
- the front-end / ui
- additional drivers (e.g., JDBC, Hibernate)
If you want to develop or modify the TIDA system, the following requirements should be fulfilled:
- Java Runtime Environment (JRE) 1.8
- nodeJs with npm (currently used 5.9.1), with the following globally installed packages
- npm (currently used 3.8.9)
- bower (currently used 1.7.9)
- grunt-cli (currently used 1.2.0)
- Python (currently used 2.7, is a dependency of some node-modules used)
- IntelliJ IDEA 2016 (optional, but recommended)
- a fully configured workspace is available here
- git and/or GitHub Desktop to clone the needed repositories
Notes:
- In general, higher version should be usable. Nevertheless, the past has shown that newer version may come with new features, which break the old code. Thus, the currently used versions are recommended when developing.
- If you don't know how to install the nodeJs have a look at the nodeJs Homepage. You can find the download and instructions there.
- If you don't know how to install
bowerorgrunt-clias global modules, please have look here npm-install or just executenpm install -g bowerandnpm install -g grunt-cliin your console/terminal. - You should make sure that the commands
npm,grunt, andbowerare executable from the terminal (i.e., are in yourPATHor bind), normally this is done automatically (usingUNIXorMac), nevertheless on Windows systems this is sometimes more difficult than needed (e.g., see bower command not found windows).
The pre-defined TIDA workspace includes several repositories. To utilize the pre-configured workspace it is necessary to clone (see How to Clone) the following GitHub repositories into the following folder-structure:
- dis-timeintervaldataanalyzer
- dis-timeintervaldataanalyzer-assembly
- dis-timeintervaldataanalyzer-jdbc
- dis-timeintervaldataanalyzer-ui2
The following helper projects are also part of the workspace. The different libraries are not available on Maven Central, and therefore it is necessary that the projects are build and made available locally.
We also have some JavaScript projects in the workspace. These are actually not needed, because the needed
files are available via bower or npm. Nevertheless, for some quick testing or quick modifications, the projects are added
within the workspace:
Last but not least, the workspace itself:
After cloning the different projects, the folder structure should be as follows:
As mentioned earlier, IntelliJ IDEA is the recommended IDE for the development of the TIDA Platform. To start developing you just have to open
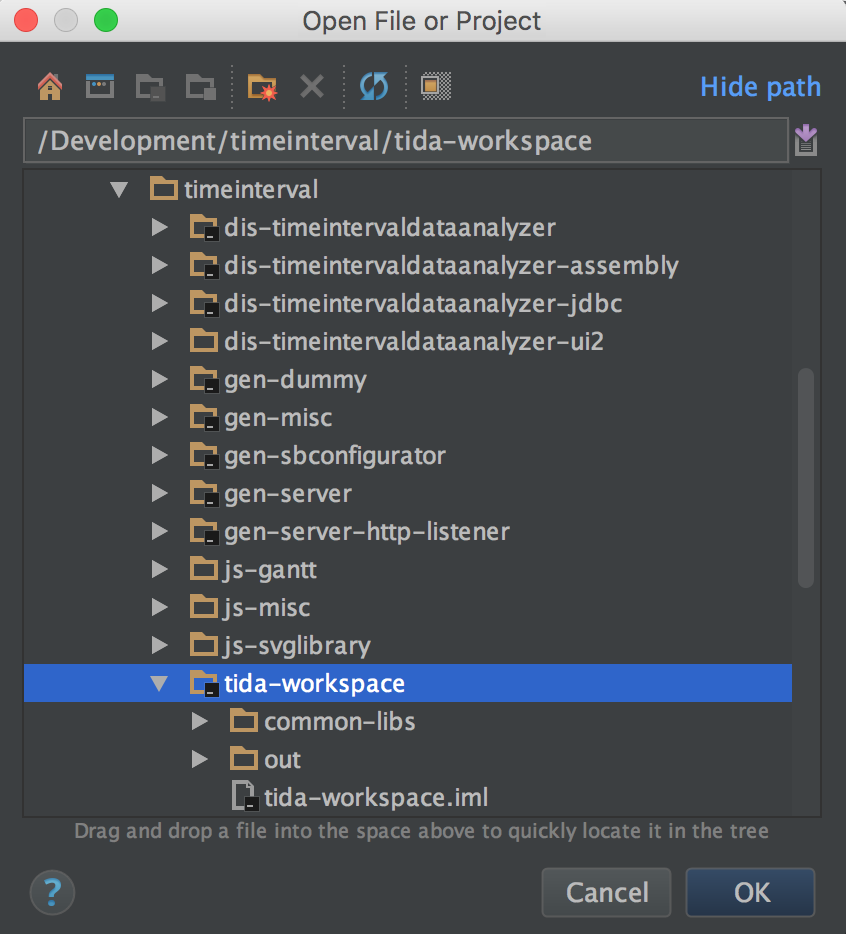
the tida-workspace project. To do so, click on open in the IntelliJ start screen (or the File menu) and select the tida-wrokspace folder (!).
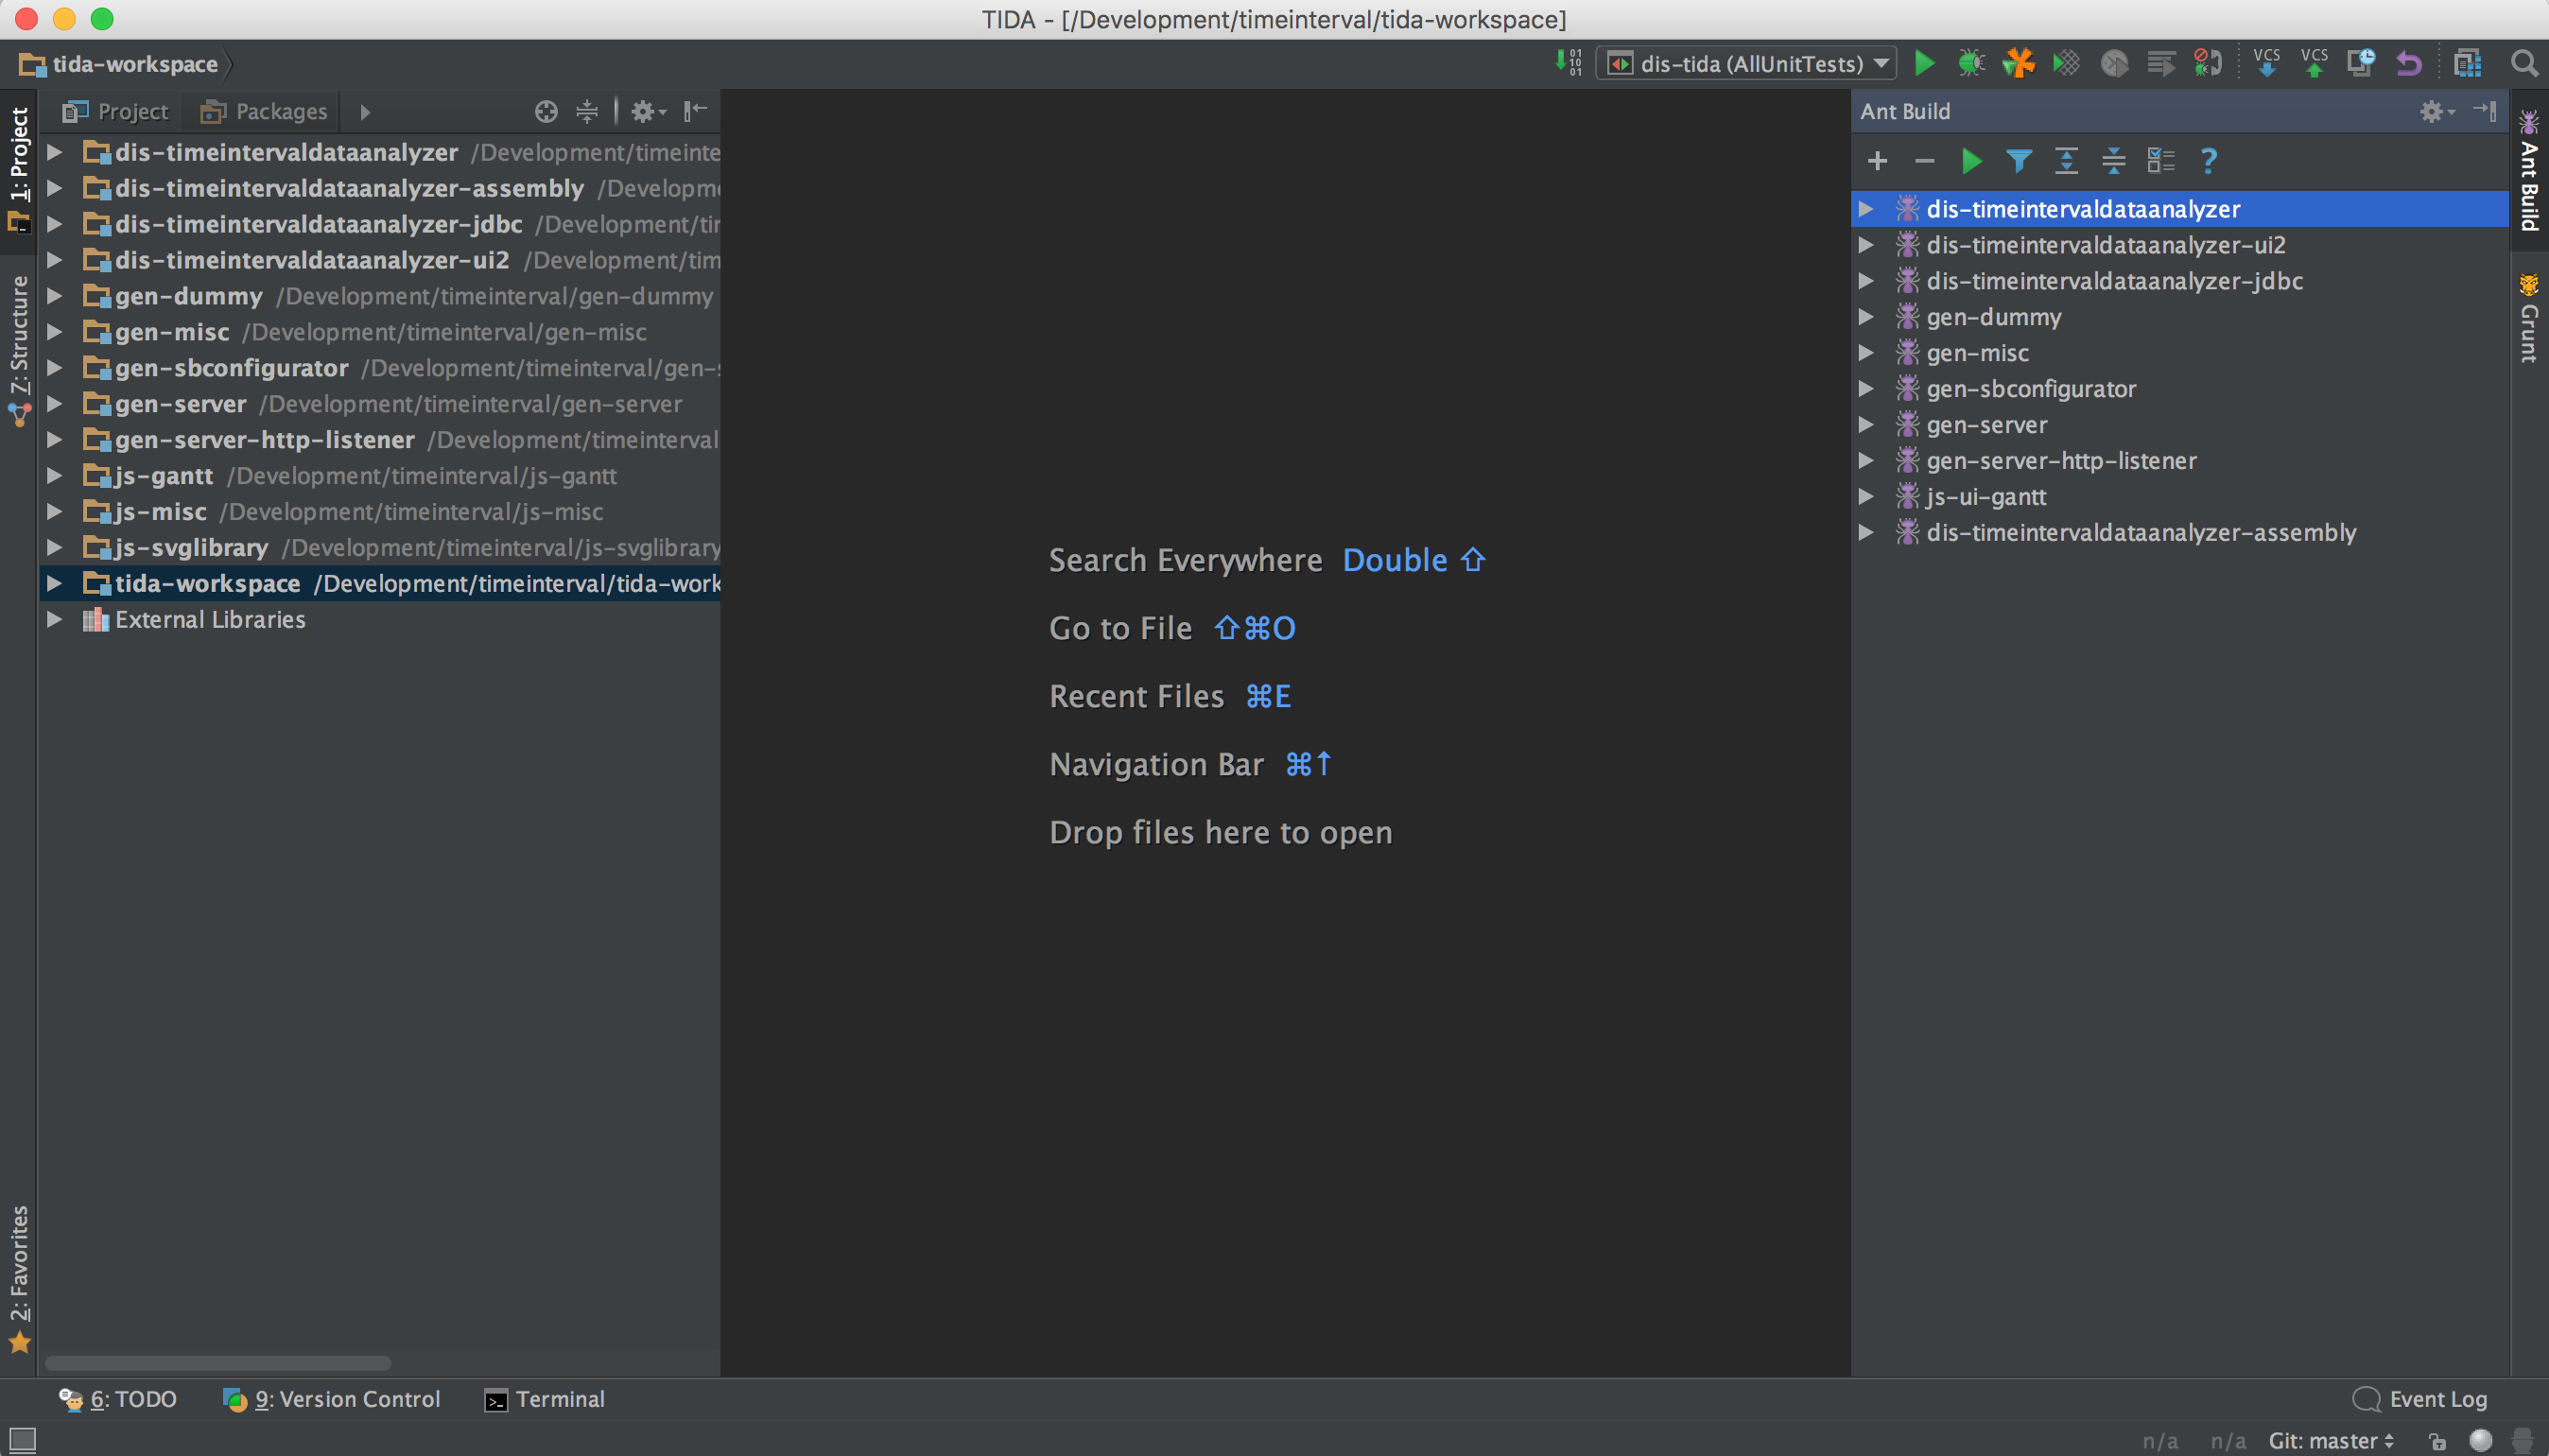
The IntelliJ IDE should open having all the modules of the project already selected. It may be necessary to open up the project view (on the left side). You may also want
to have the Ant Build view opened, so that you can easily build or deploy the different modules. The Ant scripts are only available for the Java modules of the
projects, e.g., dis-timeintervaldataanalyzer, dis-timeintervaldataanalyzer-jdbc, or gen-dummy. The JavaScript or web-oriented modules are utilizing Grunt
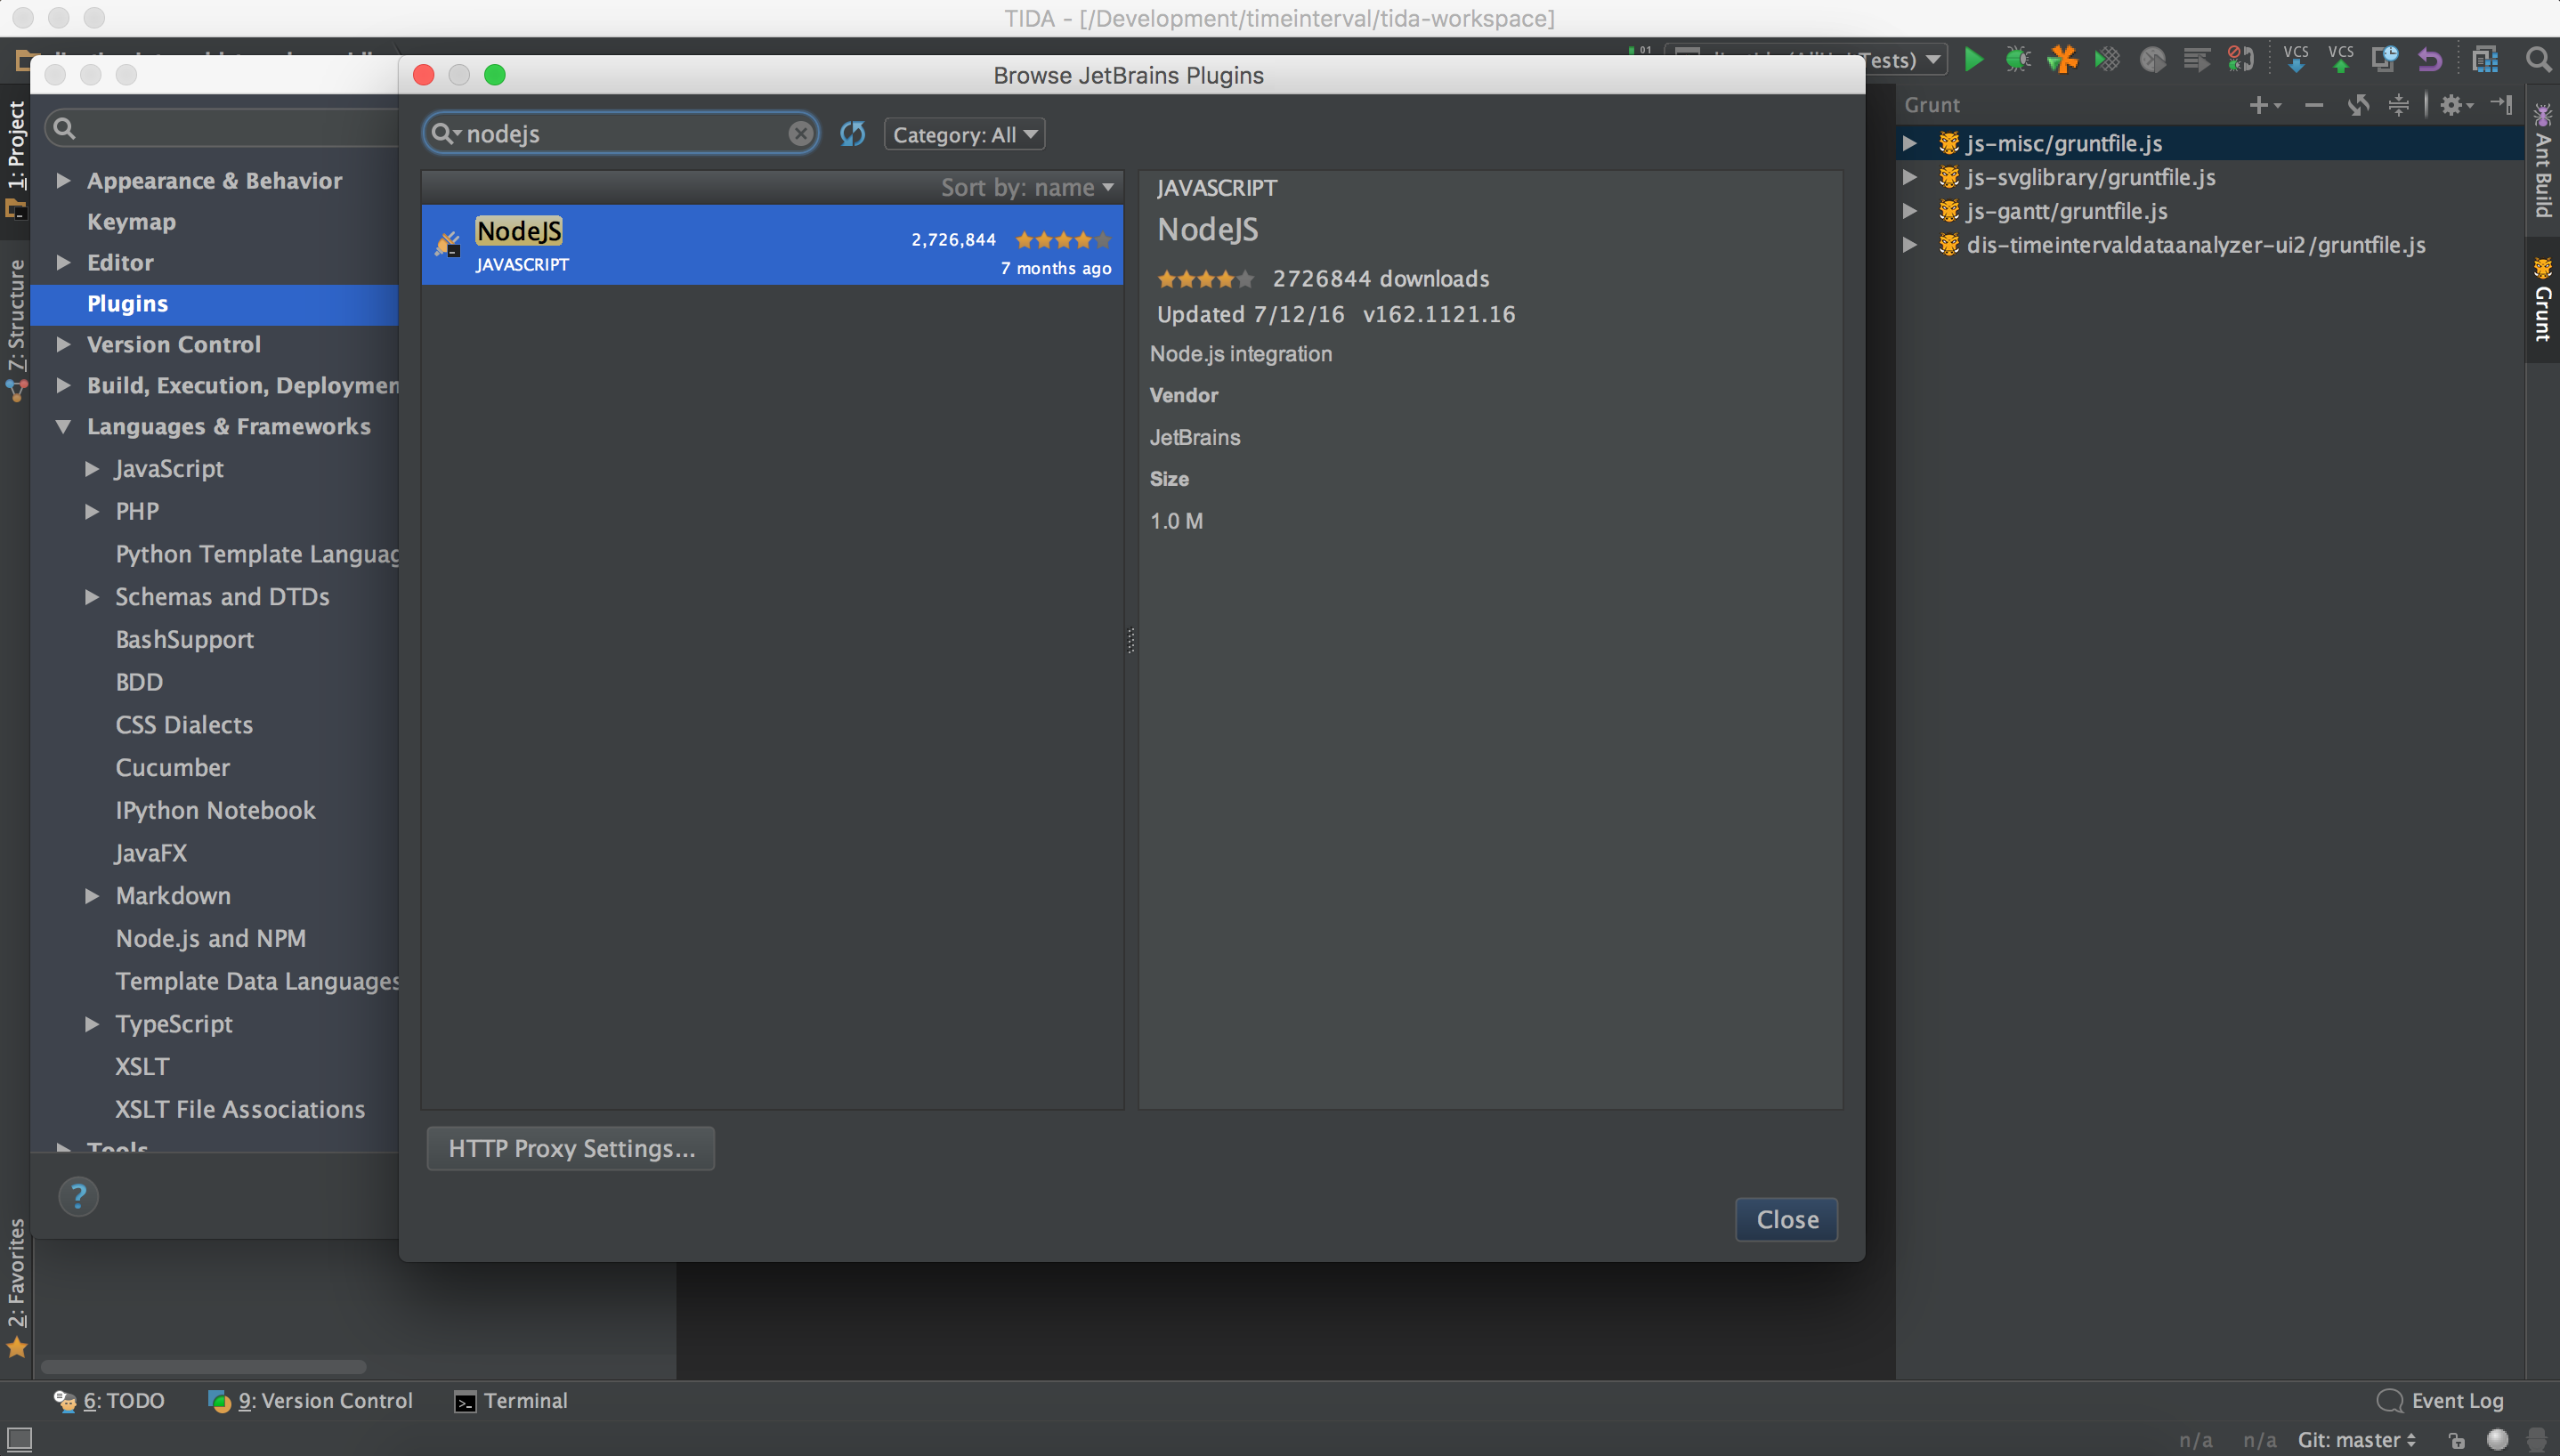
as build tool. It is recommended to install the nodeJs plug-in available for the IntelliJ IDE, so that these modules can also easily be handled via the UI. In addition,
IntelliJ provides a Grunt Tool Window similar to the Ant one. Further information can be found here:
After setting everything up, the UI should be similar to something like that (or however you prefer it):
To actually start developing, it is necessary to deploy the difference dependencies, which are not available via Maven Central and needed by the main module dis-timeintervaldataanalyzer, e.g.,
gen-dummy, gen-misc, or gen-server. To do so, the modules should be deployed using the Ant task 04-deploy in the following order:
gen-dummygen-miscgen-sbconfiguratorgen-servergen-server-http-listenerdis-timeintervaldataanalyzer-jdbcdis-timeintervaldataanalyzer
The same is not necessary for the main UI module dis-timeintervaldataanalyzer-ui2. The modules needed are available on bower and/or npm, thus the Grunt scripts are
capable to receive the dependencies from there.
To start an instance of the server for developing purposes (i.e., the front- or back-end), several options are available depending on the purpose/development goal. The different ways are described in the appropriate projects, i.e., front-end or back-end. To just start or use the server it is possible to use the solution distributed within this repository (dist).
-
Download the
tida-server.zip -
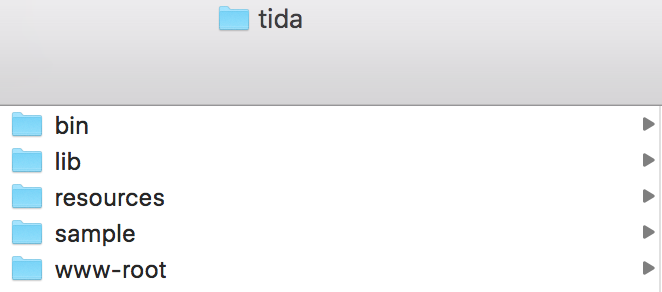
Unzip the downloaded file to a folder, e.g.,
~\tida -
Now just change to the created directory, e.g.,
cd ~\tida -
Start the server with
.\bin\start.shand check the log -
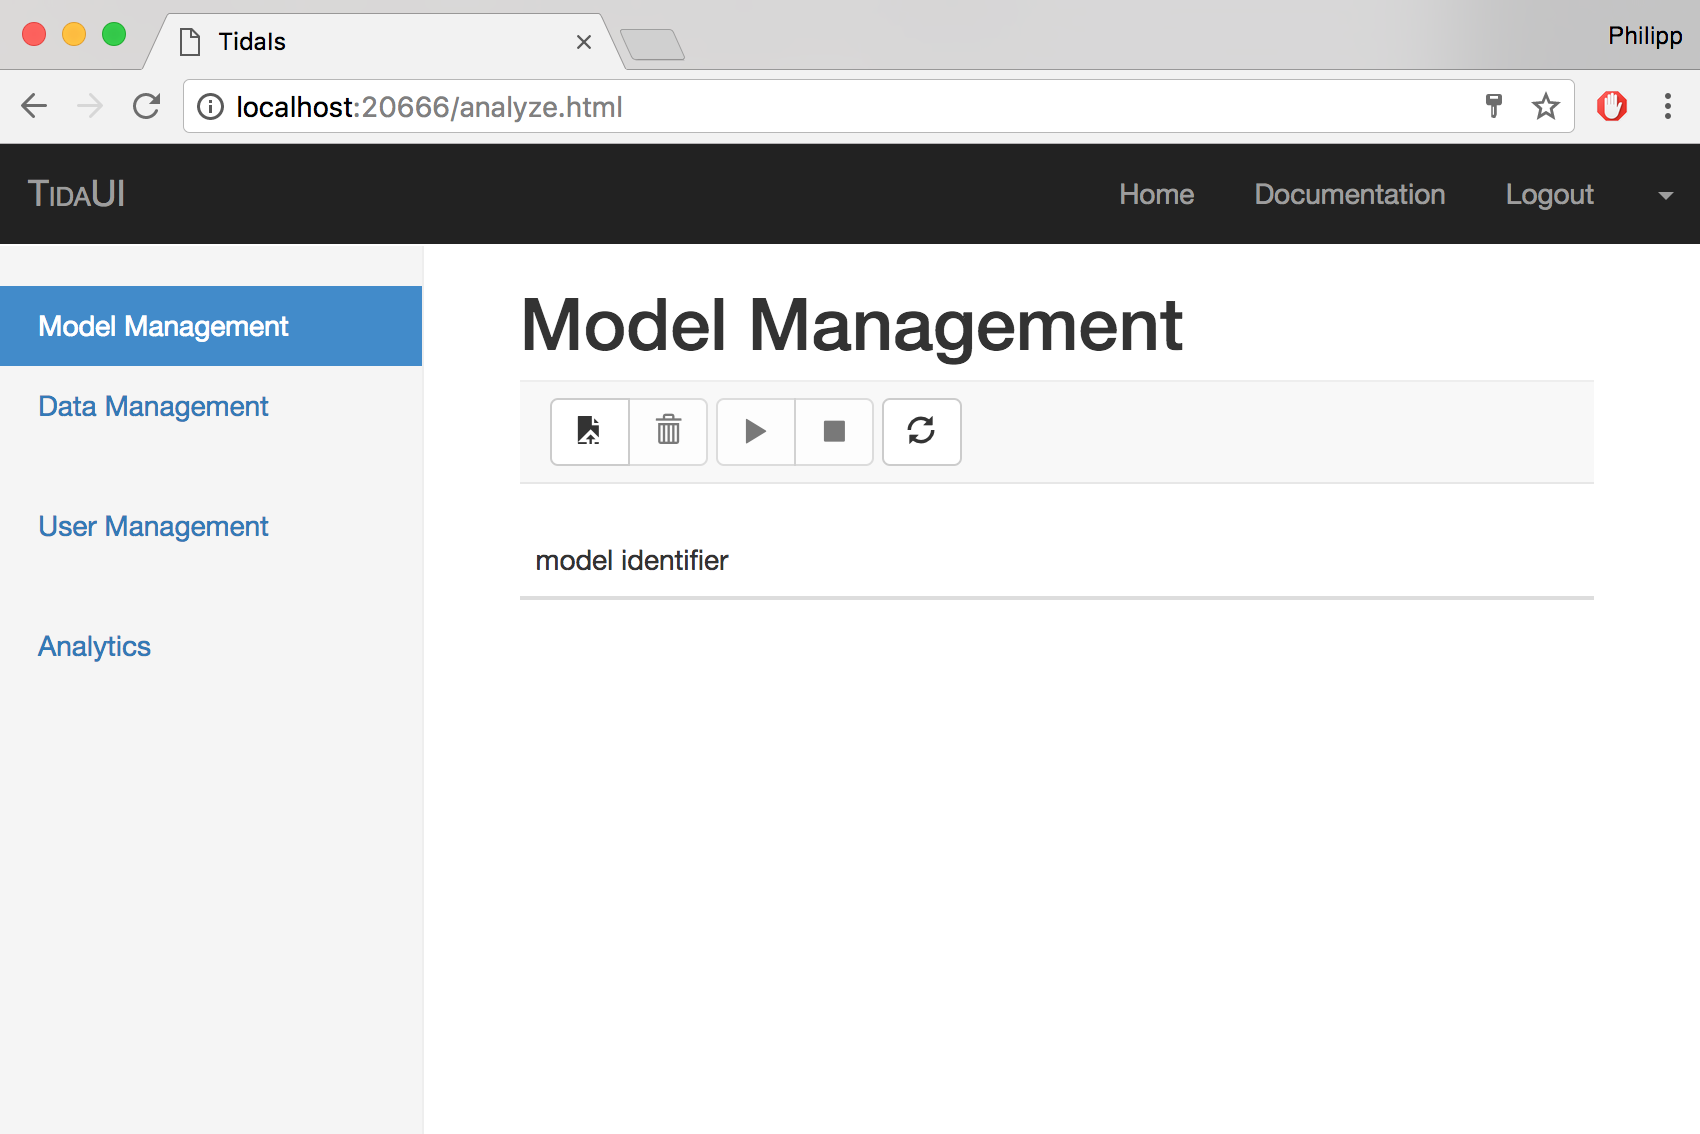
Access the UI via a browser
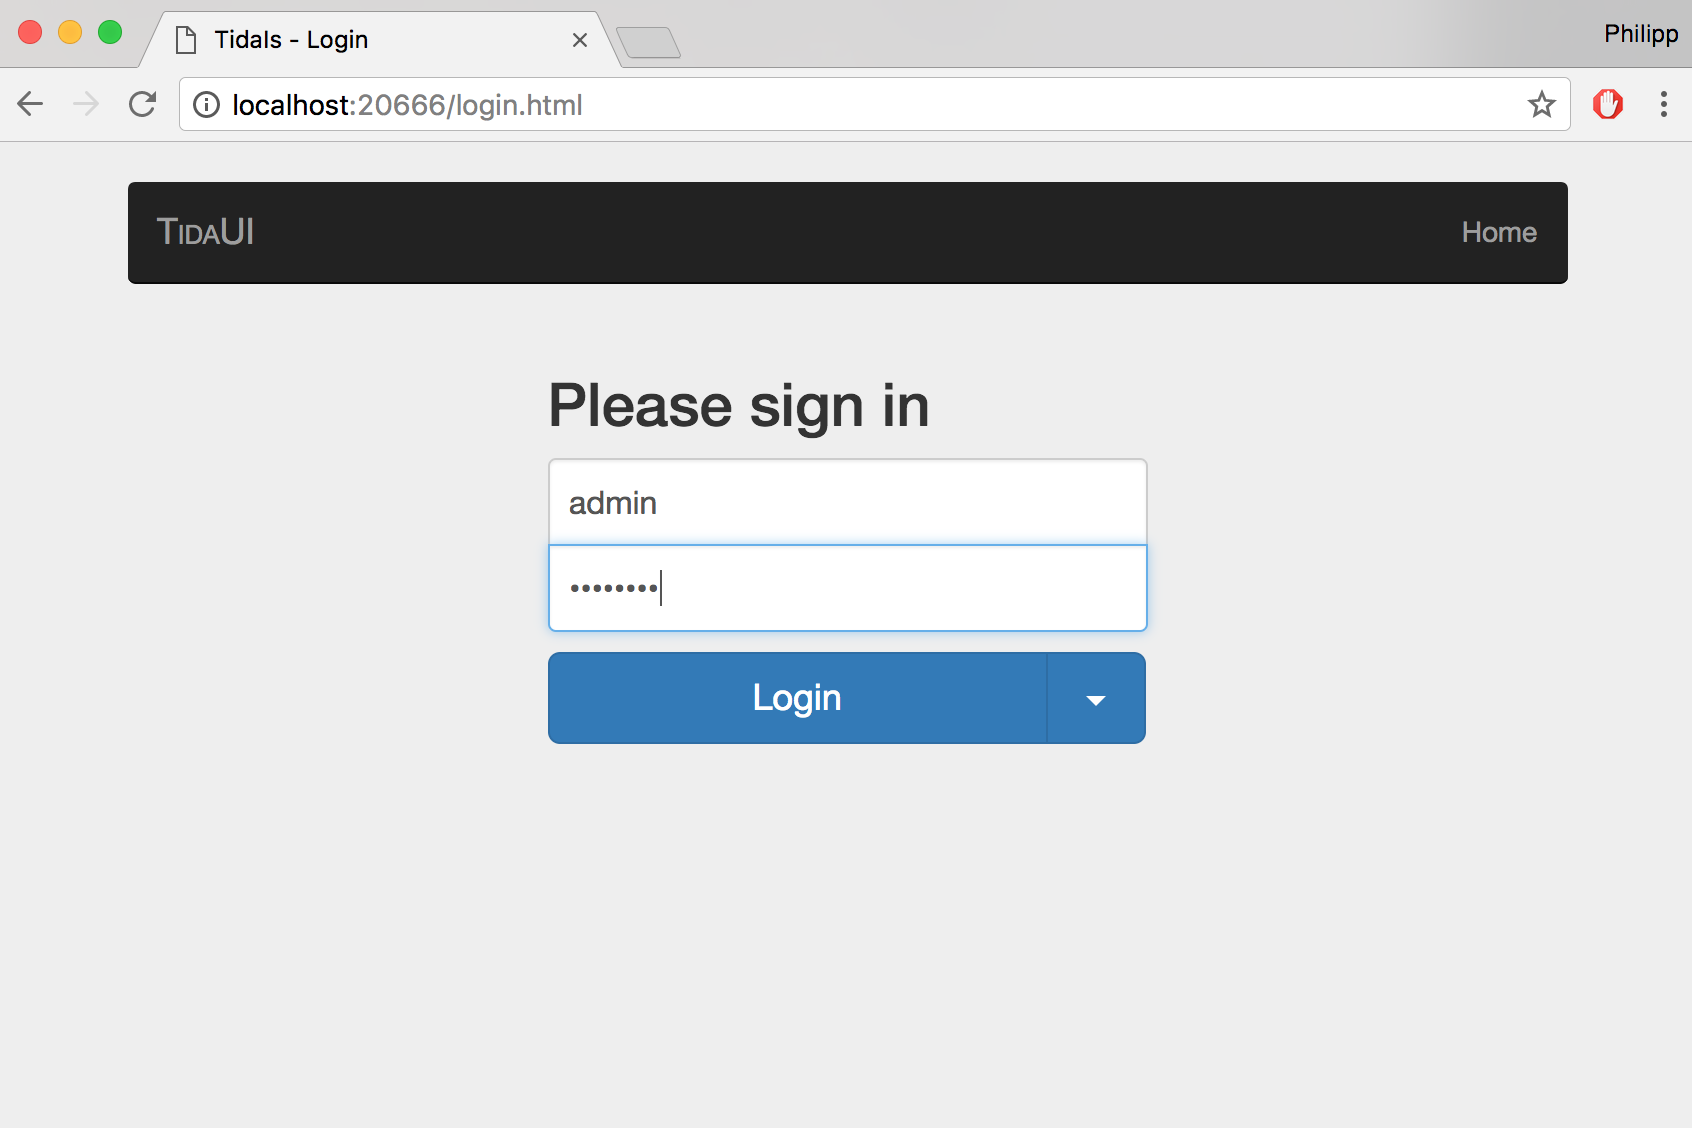
http://localhost:20666/or directly the loginhttp://localhost:20666/login.html -
Login to the server (the default configuration does not use any
AuthenticationManager, thus any username/password combination can be used)

