Every hardware hacker needs a development board. So why not make your own overkill one?
The Hackboard is a "one board fits (almost) all" development board with many useful features to ensure it works with all projects! Whether you need to drive a motor, listen through a microphone, play music on a speaker or use various peripherals, the Hackboard has you covered.
Running on Arduino or STM32CubeIDE, you can take full advantage of Hackboard due to its low learning curve. On top of all these features, it is super efficient and can easily run off a 9v battery for many hours. Still not interested. Get a larger overview of the features below!
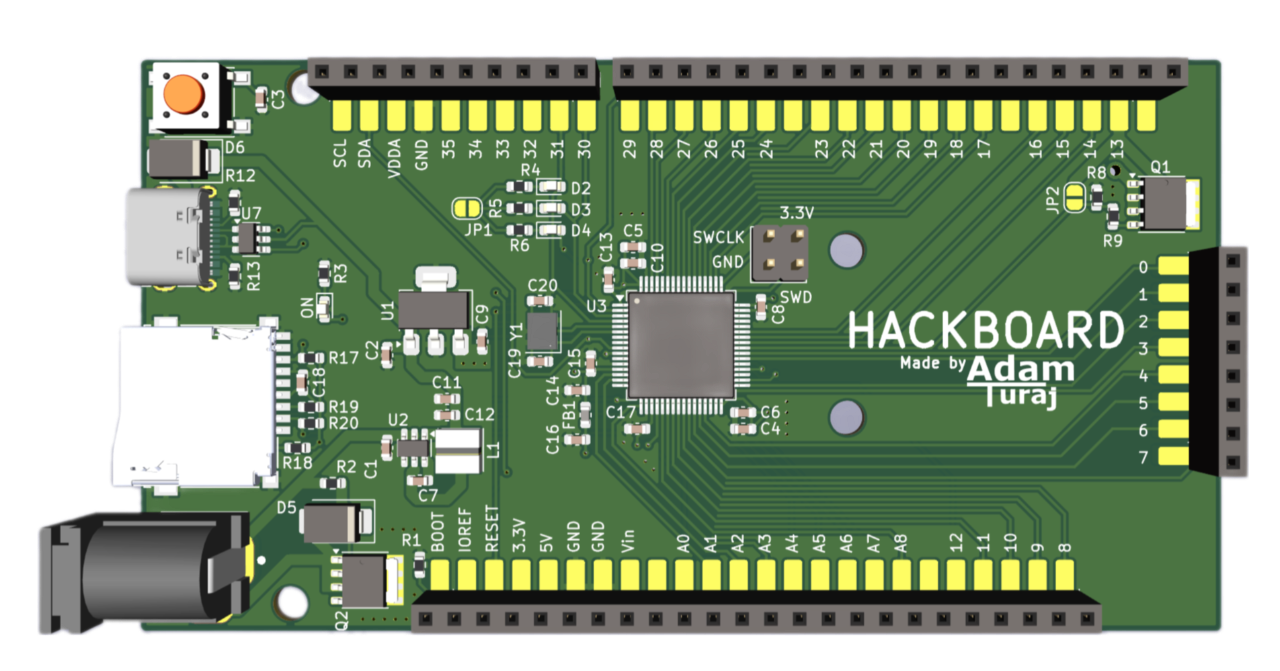
Here's a deeper dive into the features:
- 80MHz Cortex M4 Core with 1 Mb of Flash and 128 Kb of SRAM
- Abilitiy to run on a 9v battery for around 150 HOURS1
- 45 GPIO pins
- 2 SPI Interfaces2
- 1 I2C Interface
- 1 CAN Interface
- 1 UART Interface
- 18 PWM Pins
- 9 ADC's (Analog pins)
- 2 DAC's
- 1 OPAmp
- Arduino Uno Shield Compatible
- Same hole arrangement as Arduino UNO3
- Extended header pads for easy probing
- Micro SD card slot
- PWM Addressable MOSFET capable of powering up to 54W
- 3 addressable LED's
- Barrel jack supporting up to 32V at 54W
- USB C port for flashing and power
Warning
This board CANNOT be assembled through JLCPCB due to many of the parts not being available at LCSC. Alternatives are using different PCB manufacturers or assembling it yourself
The BOM can be found in the production folder or the Digikey list here.
The extra MOSFET and related circuitry on pin 13 does not need to be soldered for the board to function (hence the DNP).
JP1 and JP2 are jumpers that can be soldered/desoldered to achieve certain functionality.
JP1 must be bridged to enable the addressable LED's. JP2 must be left unbridged if the MOSFET is soldered.
Note
You must have an STLink to continue. They can be bought standalone or with a Nucleo board
A more detailed guide will be written up shortly. For now you may use STM32Duino to make it work with Arduino.
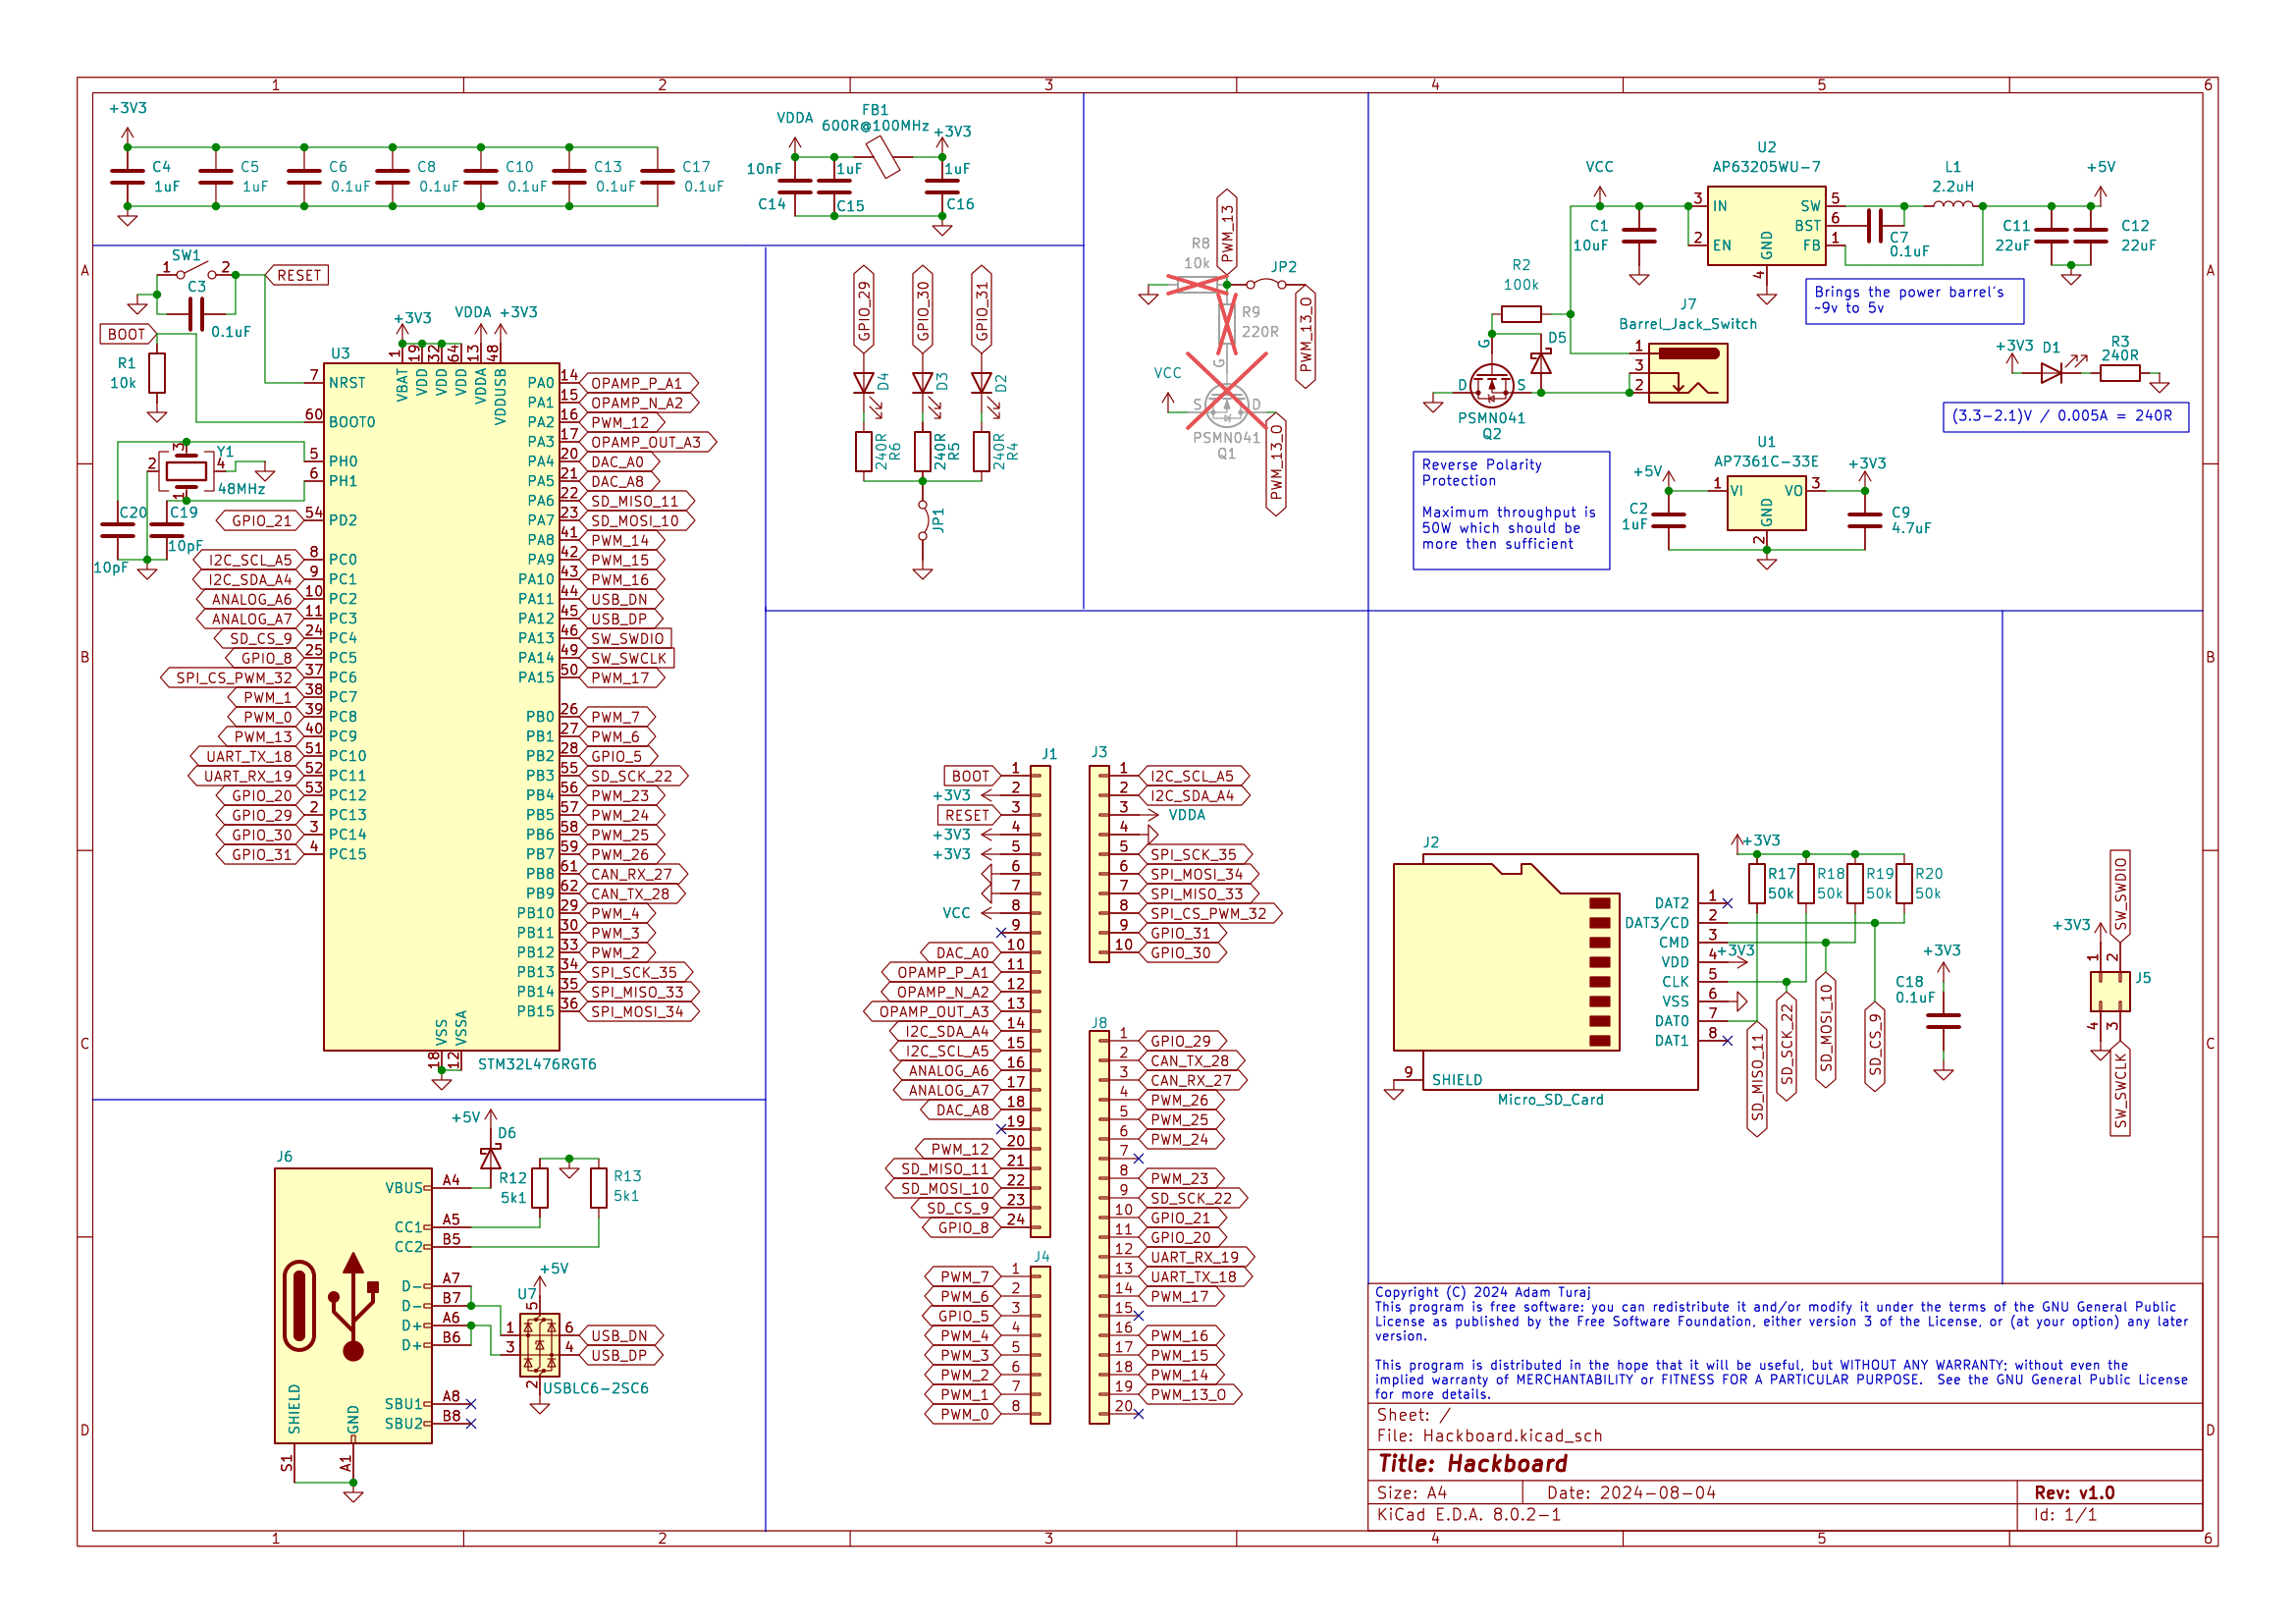
Schematic
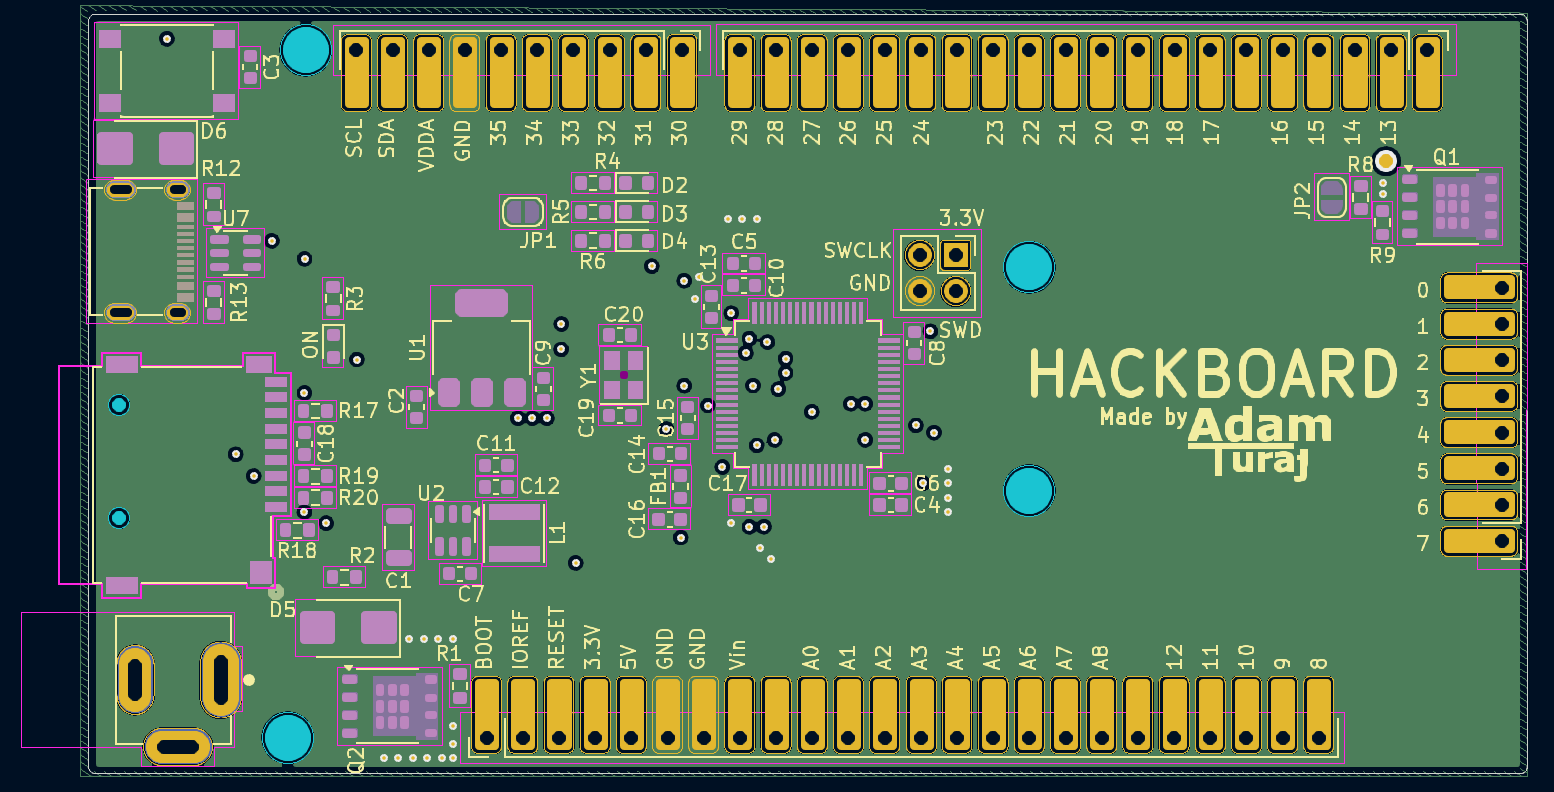
All Layers
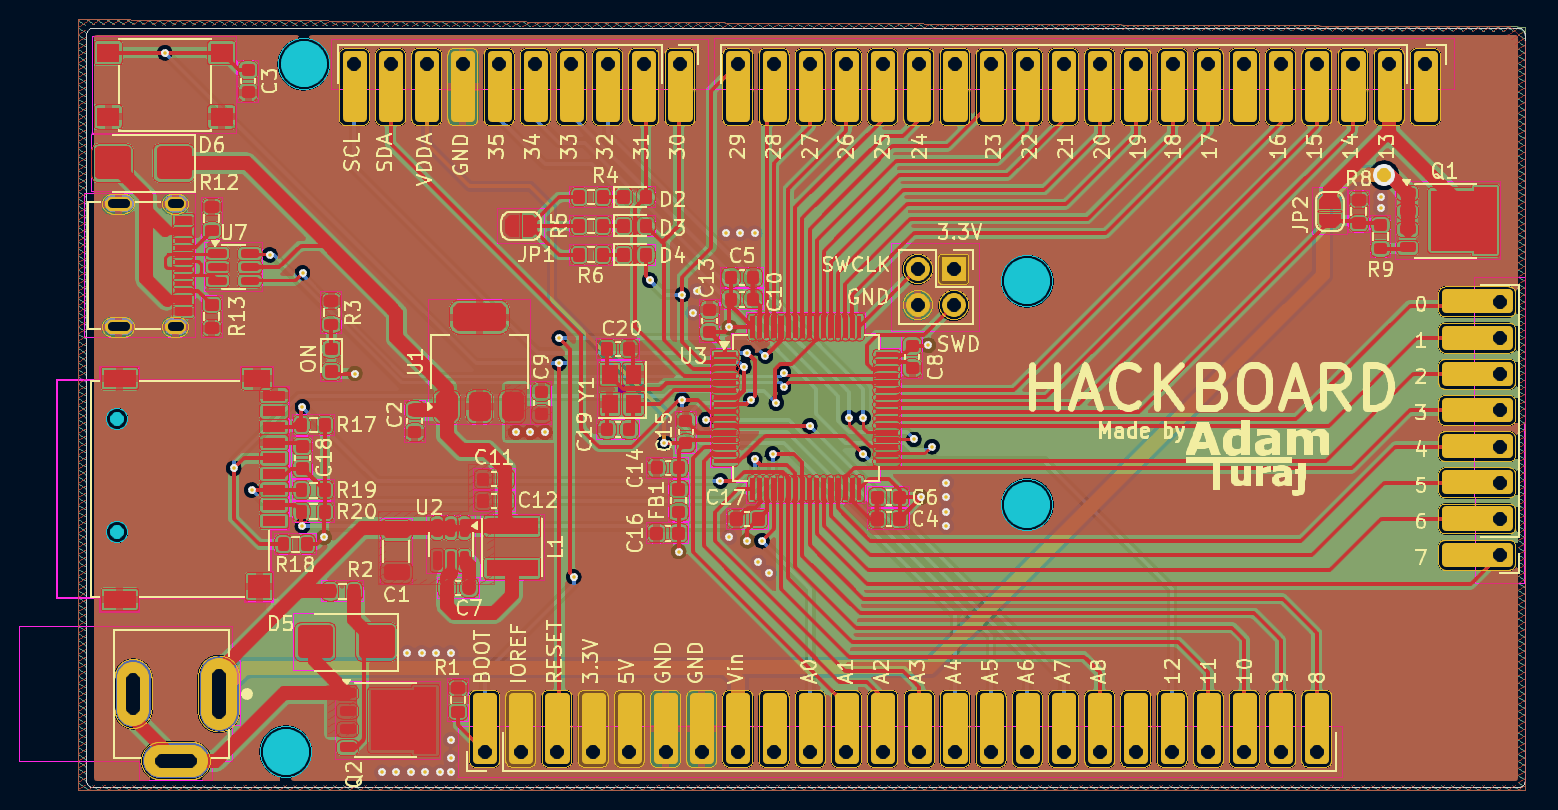
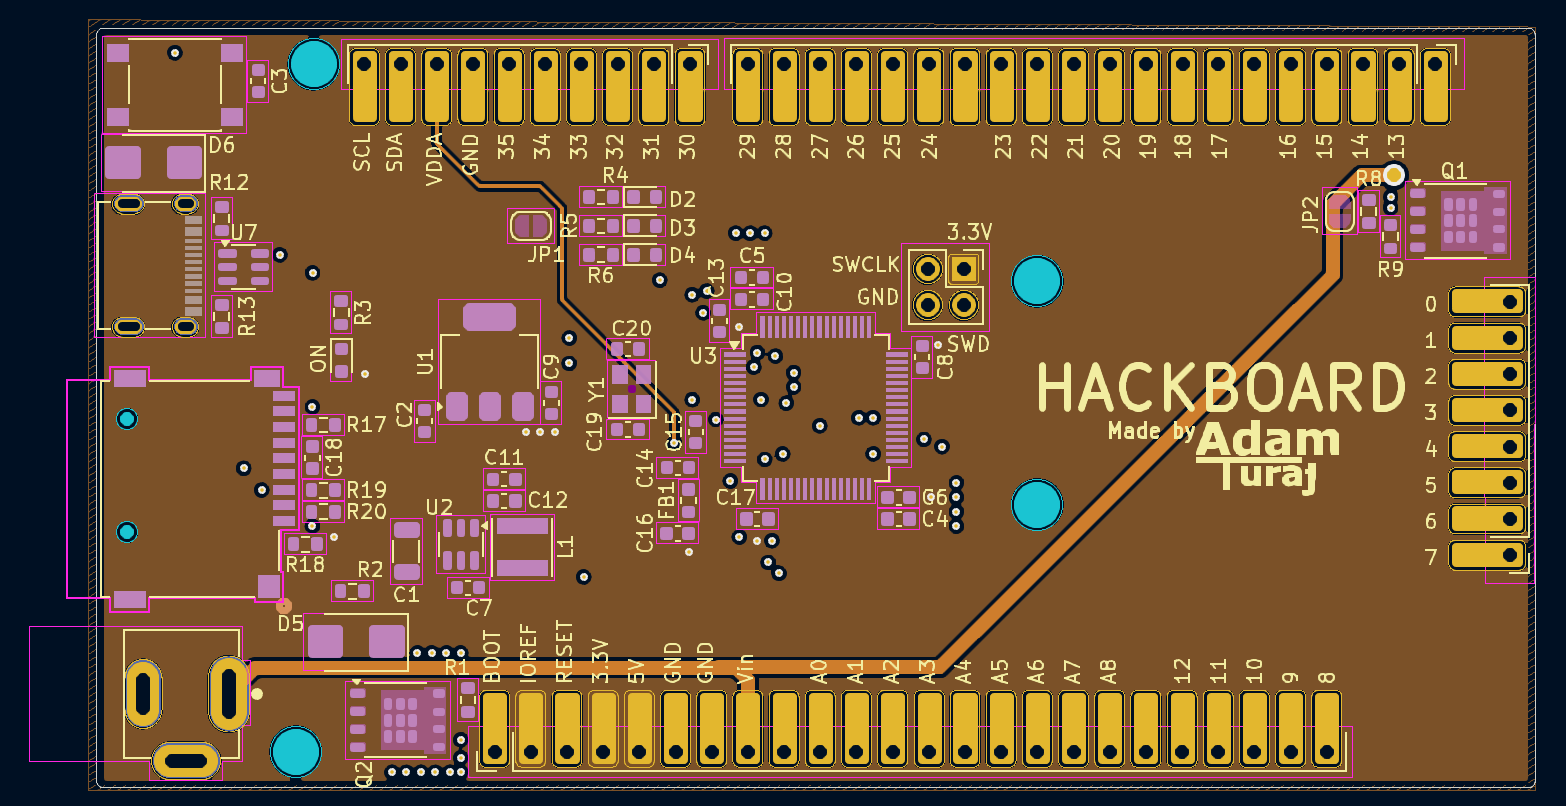
Top Layer (Signal / GND)
Second Layer (GND)
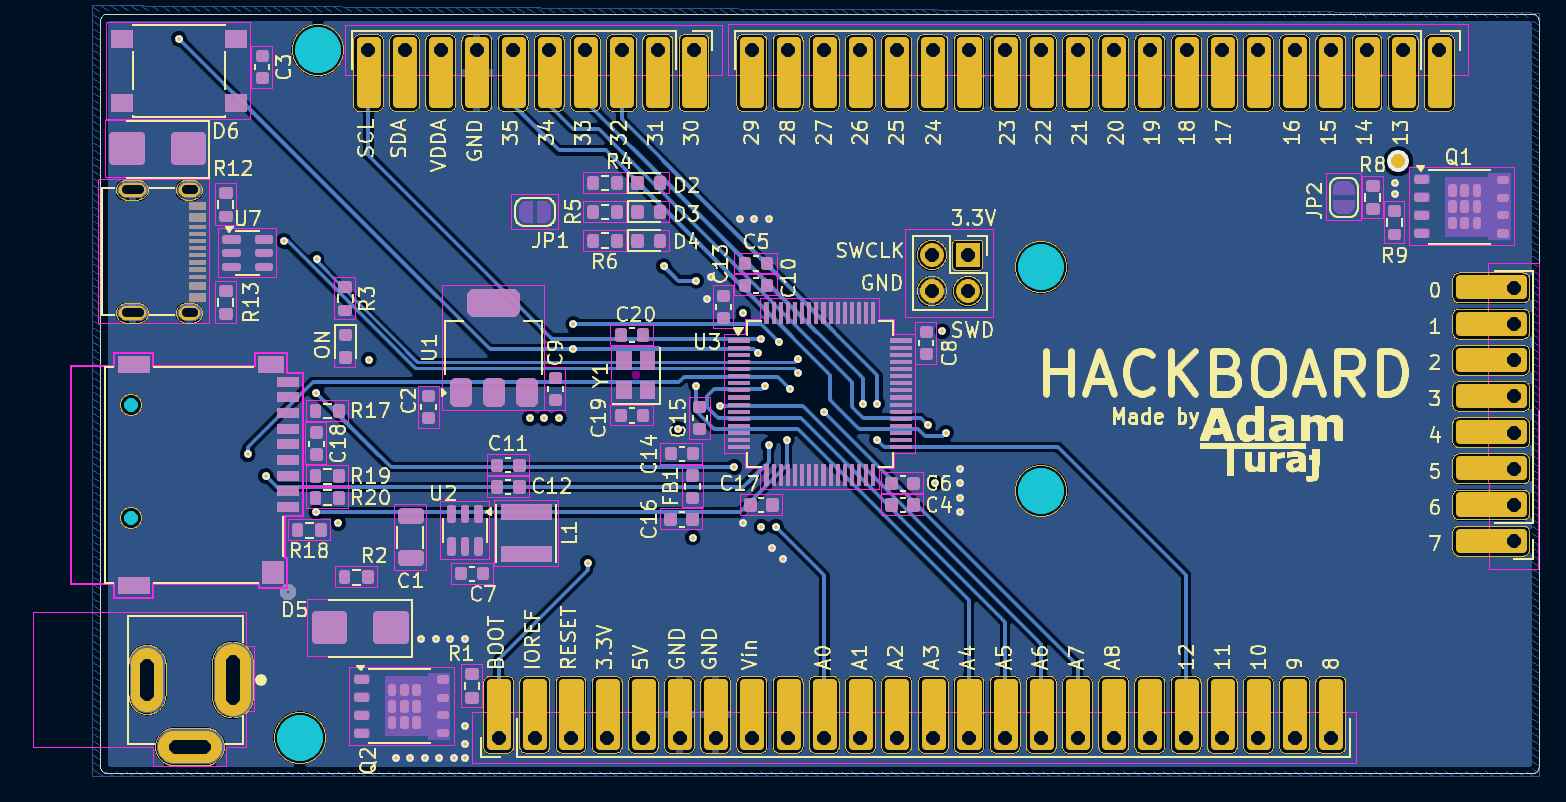
Third Layer (Power)
Bottom Layer (Signal / GND)
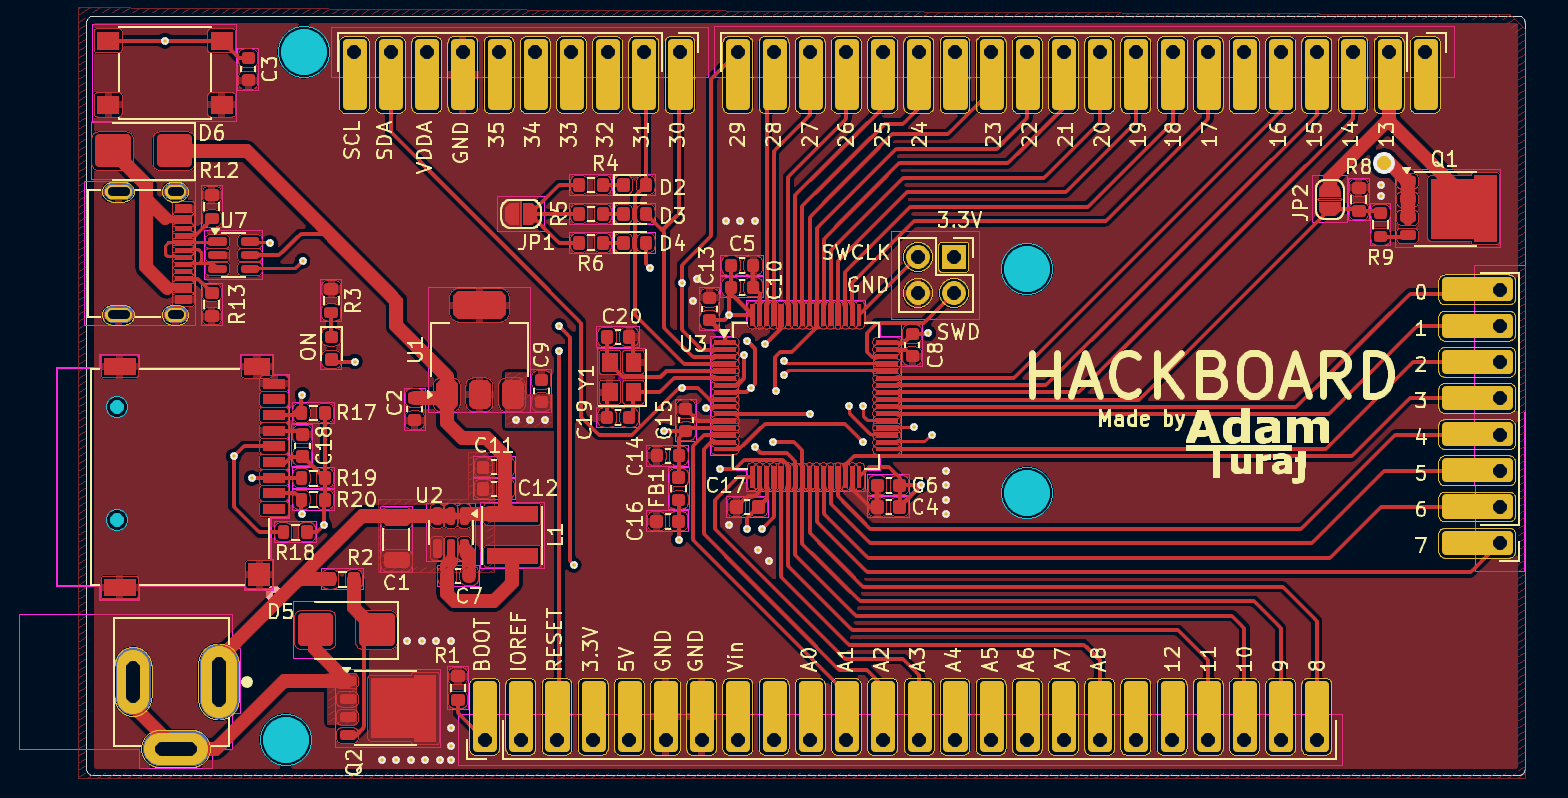
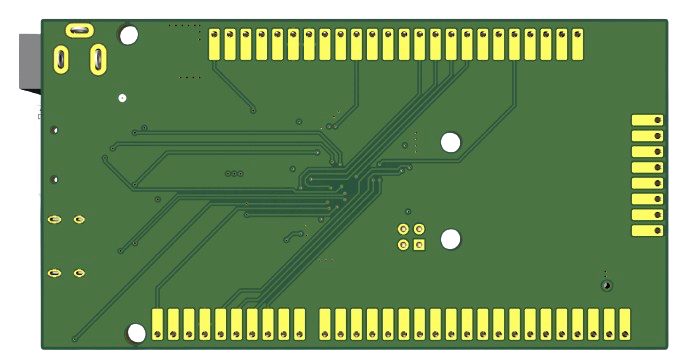
Bottom 3D View
Hackboard is licensed under the GNU General Public License. See the full license text in LICENSE.
Footnotes
-
This assumes you are running with 0 peripherals connected, and are using a Duracell 9v battery ↩
-
Only one may be used when an SD card is in use. ↩
-
The bottom right hole moved slightly up due to spacing issues. ↩