
Alex Ward
The fully deployed version can be found here: https://gpu-bytes.herokuapp.com/
My repository can be found here: https://github.com/AlexanderJWard/gpu-bytes
GPU Bytes is a purely educational website blog. It's aimed at computer enthusiasts looking to educate themselves and learn about new technologies released. Additionally, they can get information about the latest and greatest Graphical Processing Units (GPUs).
- GPU Bytes
- Table of Contents
- User Experience
- Information Architecture
- Agile Process
- Features
- Testing
- Deployment
- Credits
I believe the target audience is anyone interested in technology. Perhaps more specifically aimed at people who play computer games on PC. Because the contents of GPU Bytes are related to graphics cards designed for medium to high-end PC gaming, this makes sense as that's NVIDIA and AMD's speciality. Despite this, the blog section is more accessible about generic technology news covering the whole industry. The site is more likely to appeal to younger men between 18 - 50, the majority under 30.
Because of the target audience, I decided to design the website with a modern easy-to-access look and feel. Keeping the user experience clutter-free was my main goal. I used colors based on both GPU manufacturers and added minimal animations to the title and page navigation. All the GPU information is displayed clearly to avoid user frustration when looking at the specifications of a graphics card. Users can easily see the number of likes on a post as it's contrasted with the text.
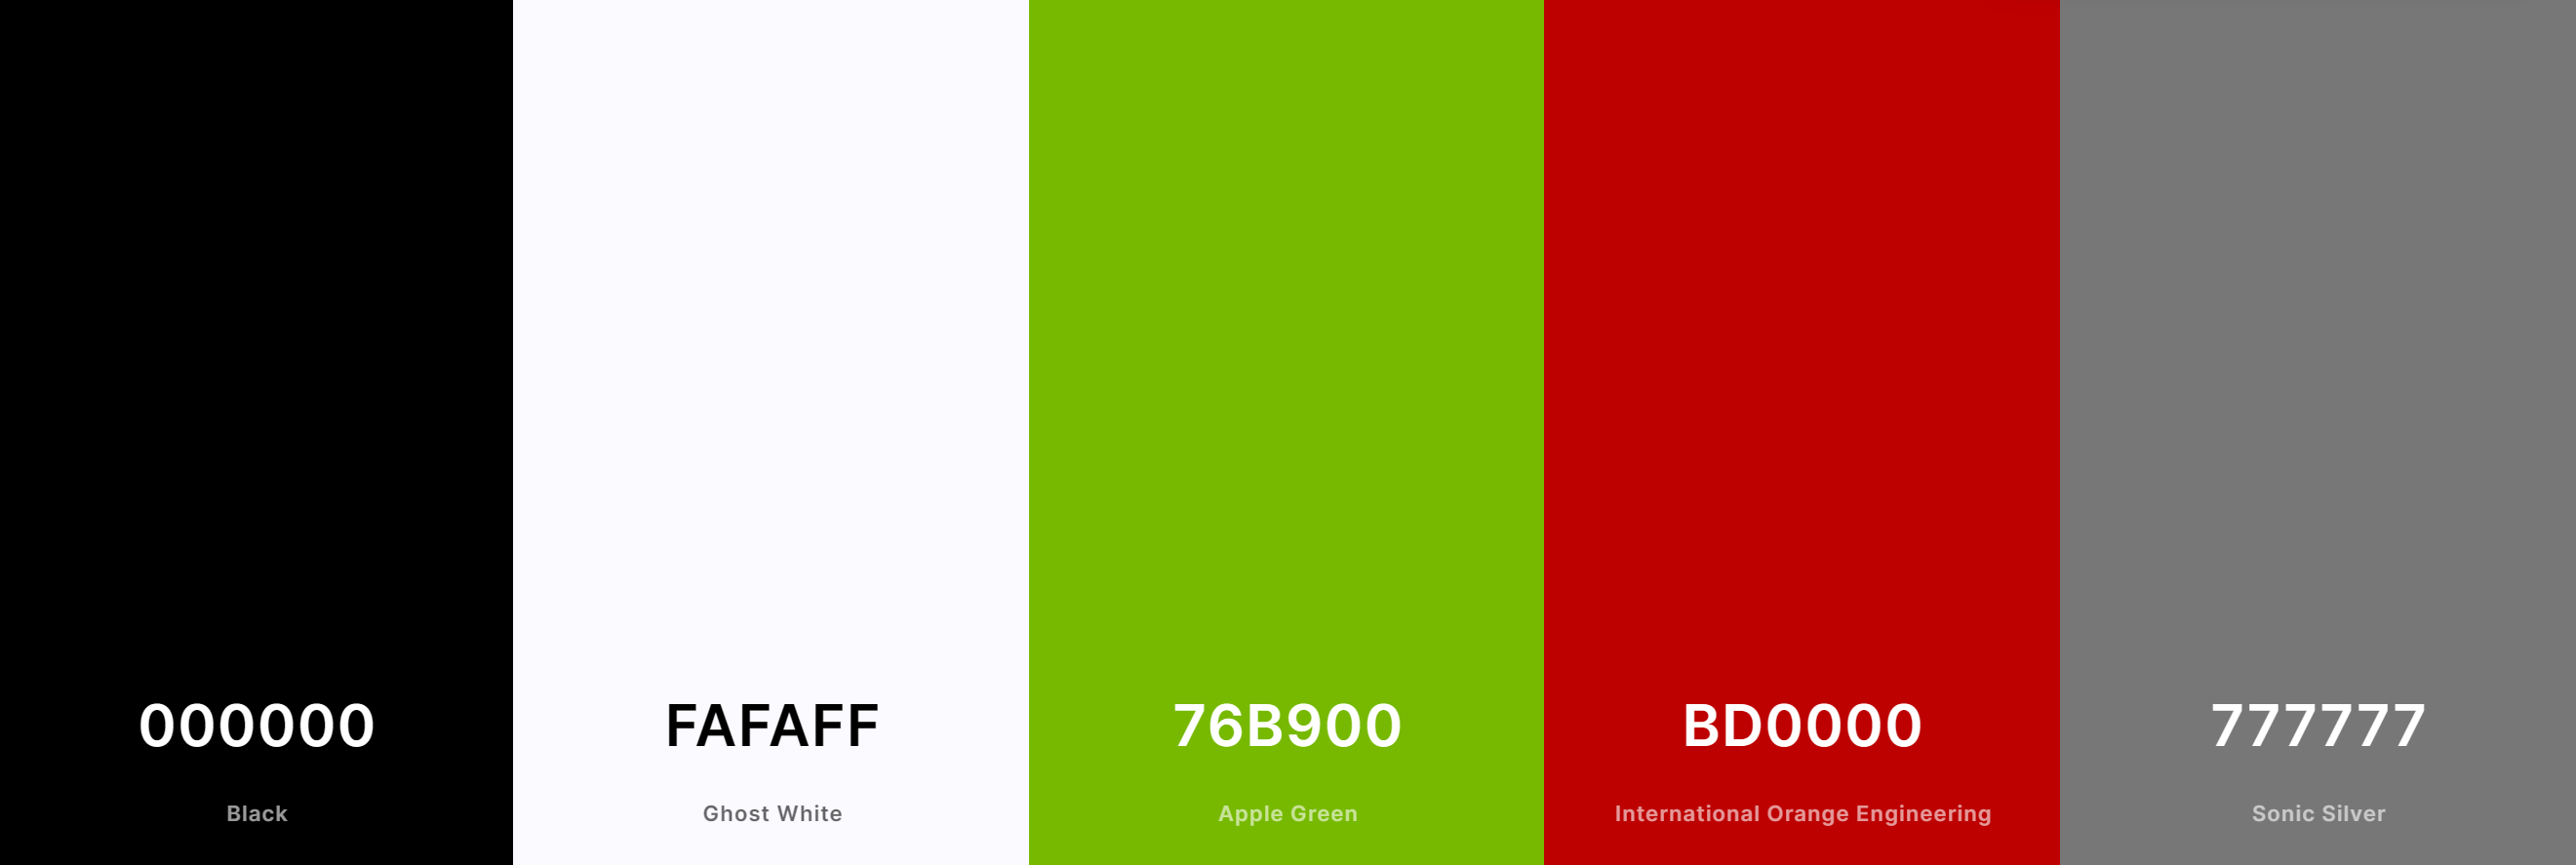
My main choice with the colors was to go with strong contrasting black and white to realy stand out on the page and compliment it with the red and green used by both graphics card manufacturers NVIDIA & AMD. I use the red in hover effects and also in some of the buttons used throughout, the green is used for edit and yes buttons throughout.
My two fonts work well together and complement each other as both are sans-serif fonts. For the titles and headers, I used Quicksand which is a modern-looking font without sharp edges and is very easy to read. The second font is Source Sans Pro which I used for content text and GPU specs. Source Sans Pro works well with Quicksand and suits the overall design choice.

https://fonts.google.com/specimen/Quicksand

https://fonts.google.com/specimen/Source+Sans+Pro
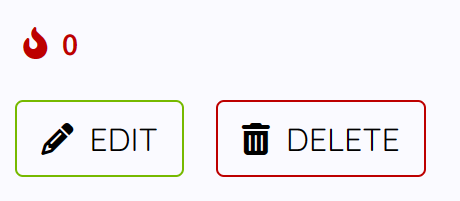
I used images such as computer fans and graphics cards to match the overall theme and design choice. Font Awesome icons were chosen because they best fit the buttons used. The pencil icon represents the ability to edit, trash can is perfect for the delete buttons. Fire icon represents leaving a like on the post.

- buttons
- cards
- drop down menu
- desktop navigation
- mobile navigation
- footer
- textarea
- text input
- pagination
- images
- icons
- Fan image rotation
GPU.Bytes.and.12.more.pages.-.Personal.-.Microsoft.Edge.2023-01-26.22-53-27.mp4
- Hover effects on buttons, drop down, and navigation
GPU.Bytes.and.12.more.pages.-.Personal.-.Microsoft.Edge.2023-01-26.22-53-58.mp4
- Pagination next and previous fan animation
GPU.Bytes.and.12.more.pages.-.Personal.-.Microsoft.Edge.2023-01-26.22-54-50.mp4
For my framework, I chose to use Boostrap as it's something I've started to learn and am most familiar with it. Fitting perfectly with my design elements the framework supports everything I require for this website.
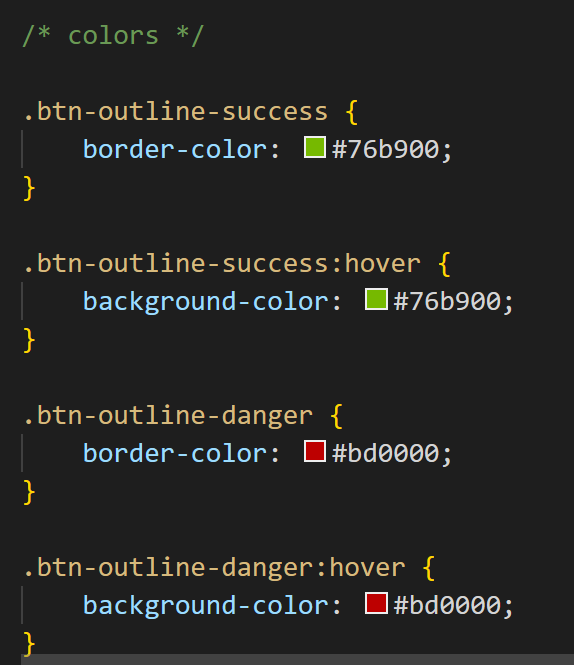
I made custom changes to some of the bootstrap classes in my style.css file located in Static/CSS folder structure. I used CSS to change the color of btn-success and btn-warning so they match my chosen design colors. Further changes can be found in the aforementioned CSS file.
- Admin users can see the Admin navigation button to take them to the Django admin console. They can also see an admin section of the dropdown menu in the GPU list view which displays all GPUs including drafts.
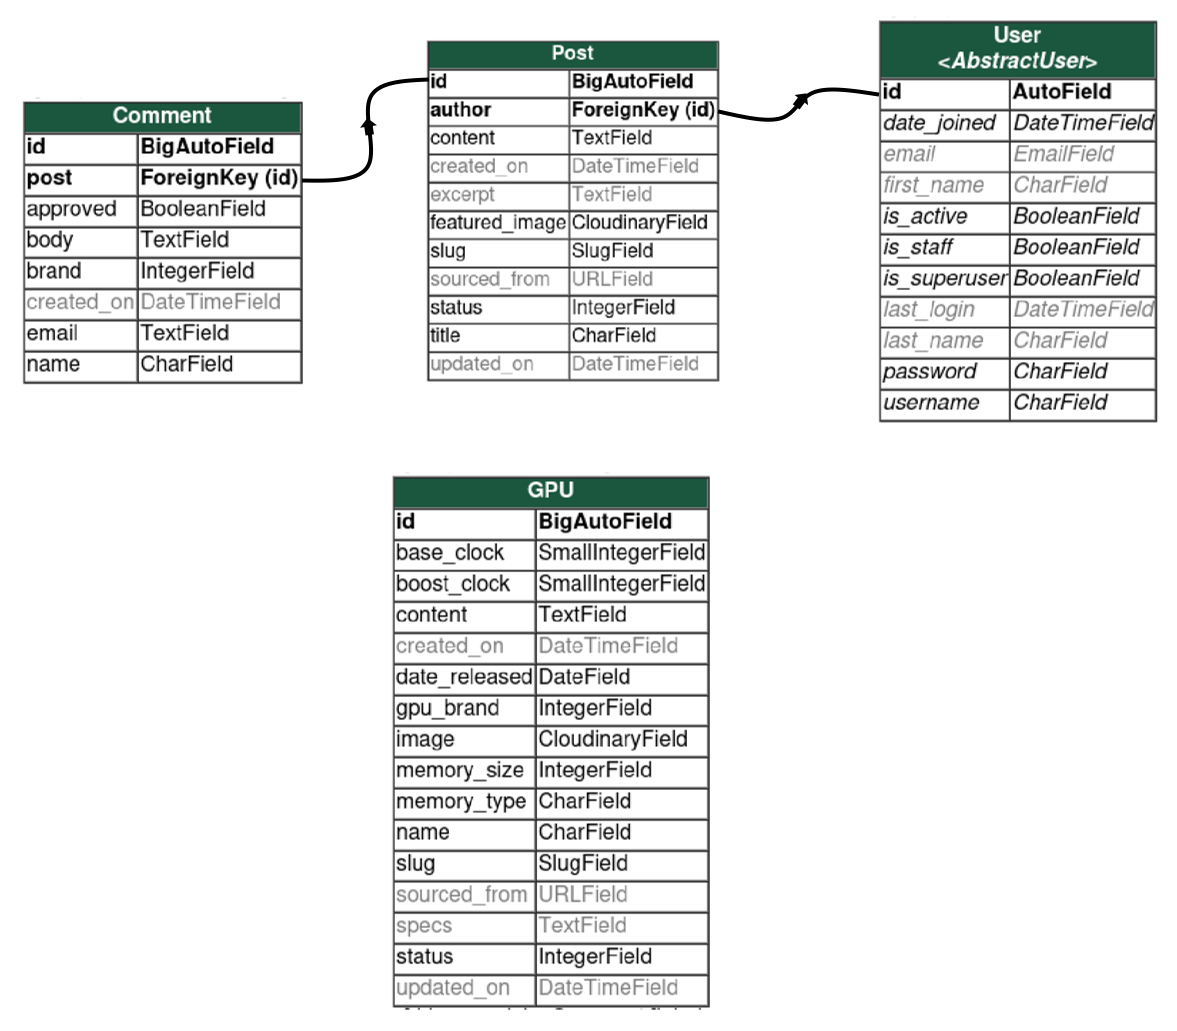
The database of choice is postgres because the data is relational and heroku manages this easily with a low cost.
Model taken from the I think therefore I blog Code Institute example blog, excluding the sourced from field.
- Create - Admin Users can create new blog posts
- Read - Site Users can view blog posts
- Update - Admin Users can update blog posts
- Delete - Admin Users can delete blog posts
| Key | Name | Type |
|---|---|---|
| Title | CharField[200] | |
| ForeignKey | Author | User Model |
| Created Date | DateTime | |
| Updated Date | DateTime | |
| Content | TextField | |
| Featured Image | Cloudinary Image | |
| Excerpt | TextField | |
| Many to Many | Likes | User Model |
| Slug (unique) | SlugField | |
| Status | Integer | |
| Sourced From | URLField |
Model taken from the I think therefore I blog Code Institute example blog, excluding brand field
- Create - Registered Users can create a new comment
- Read - Site Users can view all comments
- Update - Currently no user update function on this table. Admin can update comments in Django admin console
- Delete - Currently no user delete function on this table. Admin can delete comments in Django admin console
| Key | Name | Type |
|---|---|---|
| ForeignKey | Post | Post Model |
| Name | CharField[80] | |
| EmailField | ||
| Body | TextField | |
| Created On | DateTimeField | |
| Approved | BooleanField | |
| Brand | Integer |
- Create - Admin Users can create new GPUs
- Read - Site Users can view GPUs and filter them
- Update - Admin Users can update GPUS
- Delete - Admin Users can delete GPUs
| Key | Name | Type |
|---|---|---|
| Name | CharField[200] | |
| GPU Brand | Integer | |
| Created On | DateTime | |
| Updated On | DateTime | |
| Content | TextField | |
| Image | Cloudinary Image | |
| Memory Size | Integer | |
| Memory Type | CharField[10] | |
| Base Clock | SmallInteger | |
| Boost Clock | SmallInteger | |
| Other Specs | TextField | |
| Date Released | DateField | |
| Slug (unique) | SlugField | |
| Status | Integer | |
| Sourced From | URLField |
- Registered users can interact with other users by leaving comments and liking posts they enjoy.
- Admin users can create new blog posts and add the latest GPUs with related specs.
- Admin users can modify existing posts and GPUs to update information that may have changed.
- Admin users can delete existing posts and GPUs to remove them from the database.
- Users can read and enjoy blog posts on various topics.
- Users can easily view and learn about GPUs and what specs they have.
- As a Site User I can view a list of GPU blog posts so that I can choose what GPU news and information to read
- As a Site User I can click on a GPU blog post so that I can see the selected GPU blog post text contents
- As a Site User I can sign up for an account so that I can like and comment on GPU blog posts, NVIDIA cards and AMD cards
- As a Site User I can navigate to the NVIDIA page so that I can view a list of NVIDIA graphics cards
- As a Site User I can click on an NVIDIA graphics card so that I can see detailed information about that card
- As a Site User I can navigate to the AMD page so that I can view a list of AMD graphics cards
- As a Site User I can click on an AMD graphics card so that I can see detailed information about that card
- As a Site User or Site Admin I can view comments on a GPU blog post so that I can read user comments
- As a Site User I can leave comments on a GPU blog post so that I can voice my opinion and interact with other users
- As a Site User or Site Admin I can view number of likes on a GPU blog post so that I can see which posts are popular with users
- As a Site User I can like a GPU blog post so that I can interact to let users know I liked the content
- As a Site User I can optionally choose NVIDIA or AMD when posting so that other users viewing my comment know the brand of GPU I'm using
- As a Site Admin I can create, read, update and delete posts so that I can manage blog content on the home, NVIDIA and AMD pages
- As a Site Admin I can approve or disapprove comments so that I can filter out objectionable comments
- As a Site Admin I can create draft posts so that I can finish writing the content later
- As a Site User I can view a paginated list of posts so that posts are easily viewed
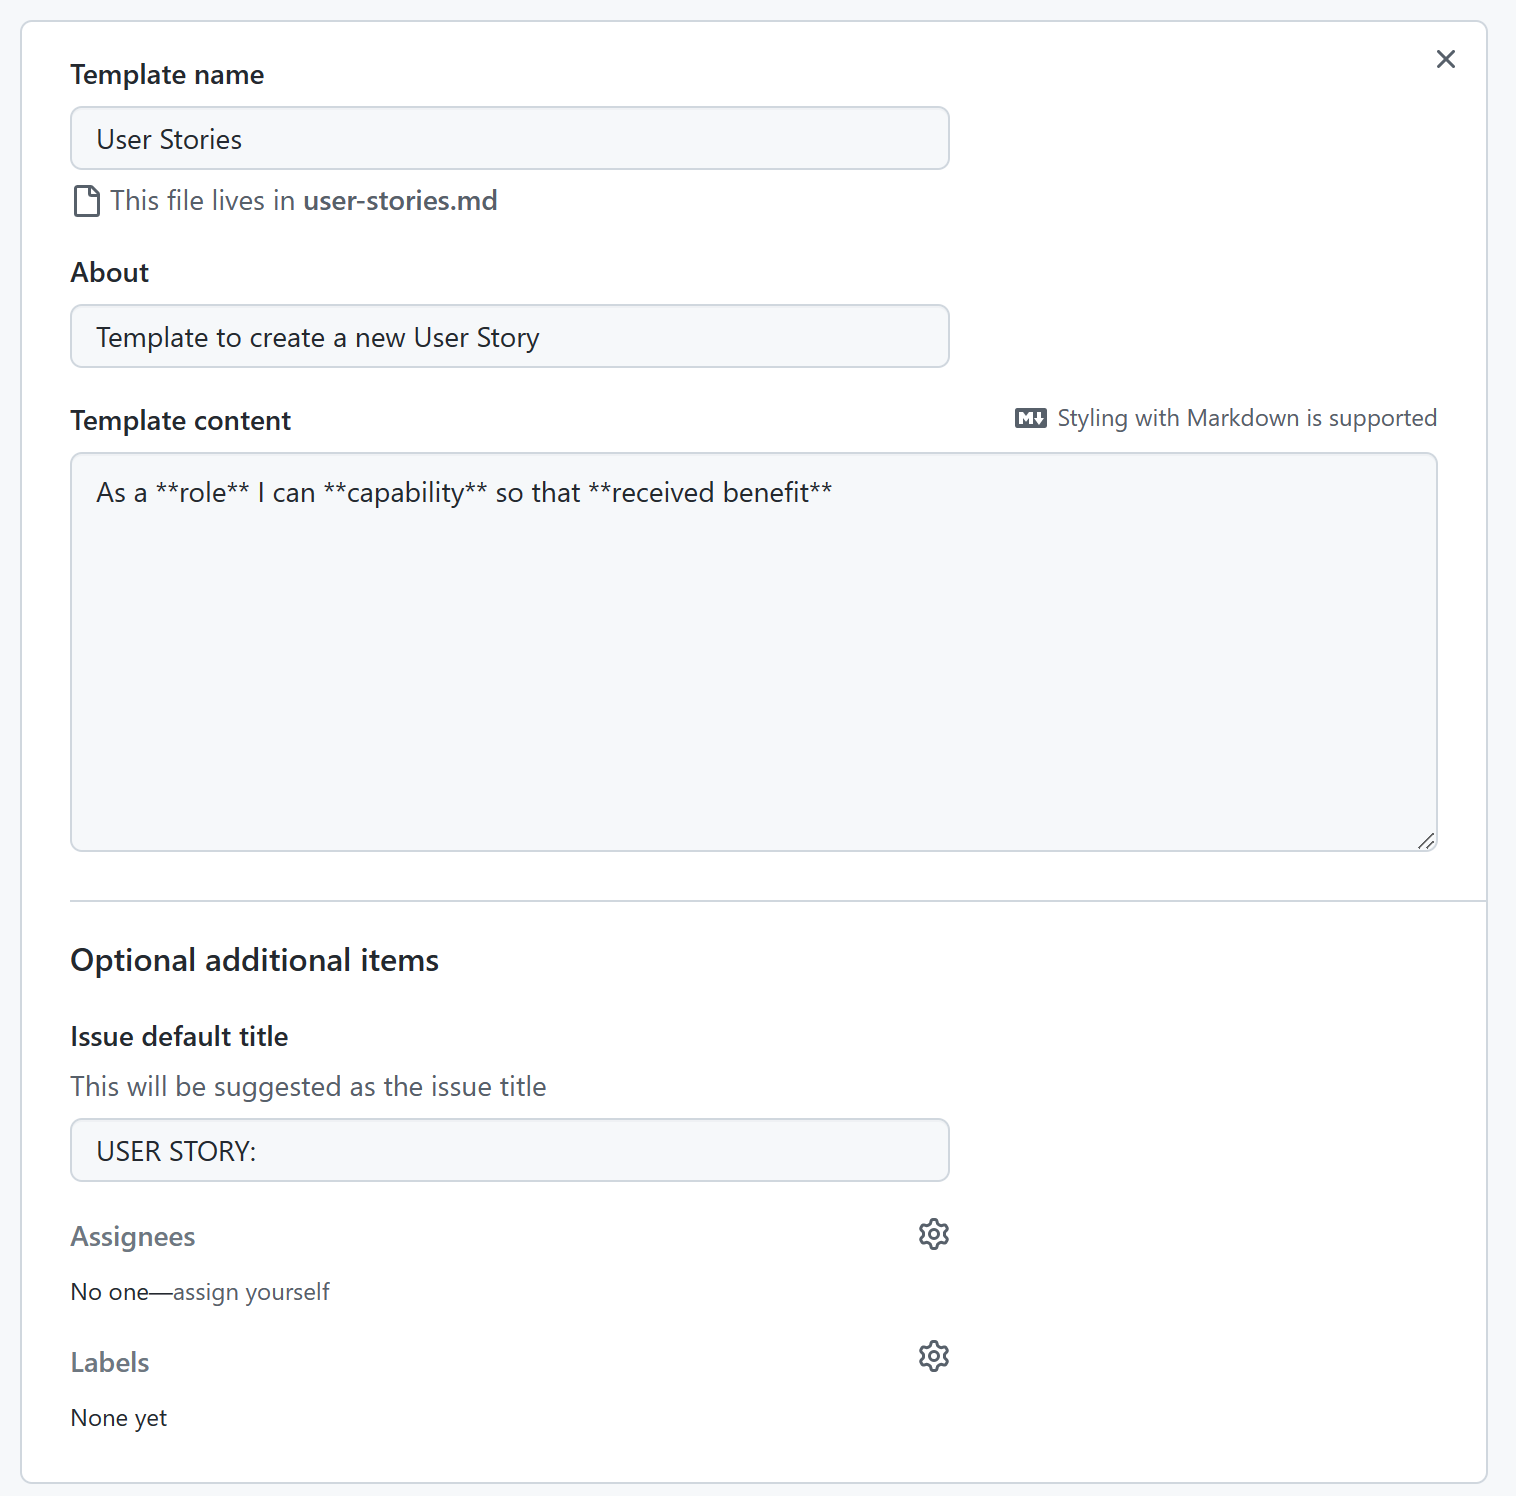
I created my User Stories on GitHub using the Issue section and a custom template. After the User Stories were created I connected them into a GitHub project KanBan board. Here are the links for both Issues and Project.
GitHub Issues: https://github.com/AlexanderJWard/gpu-bytes/issues GitHub Project: https://github.com/users/AlexanderJWard/projects/3
Here is my User Story template in GitHub:
- Admin option allows the superuser to see all GPUs together and to see drafts
GPU.Bytes.and.12.more.pages.-.Personal.-.Microsoft.Edge.2023-01-26.22-55-17.mp4
- View all option allows the superuser to see drafts
GPU.Bytes.and.12.more.pages.-.Personal.-.Microsoft.Edge.2023-01-26.23-31-21.mp4
GPU.Bytes.and.12.more.pages.-.Personal.-.Microsoft.Edge.2023-01-26.23-27-10.mp4
GPU.Bytes.and.12.more.pages.-.Personal.-.Microsoft.Edge.2023-01-26.23-30-28.mp4
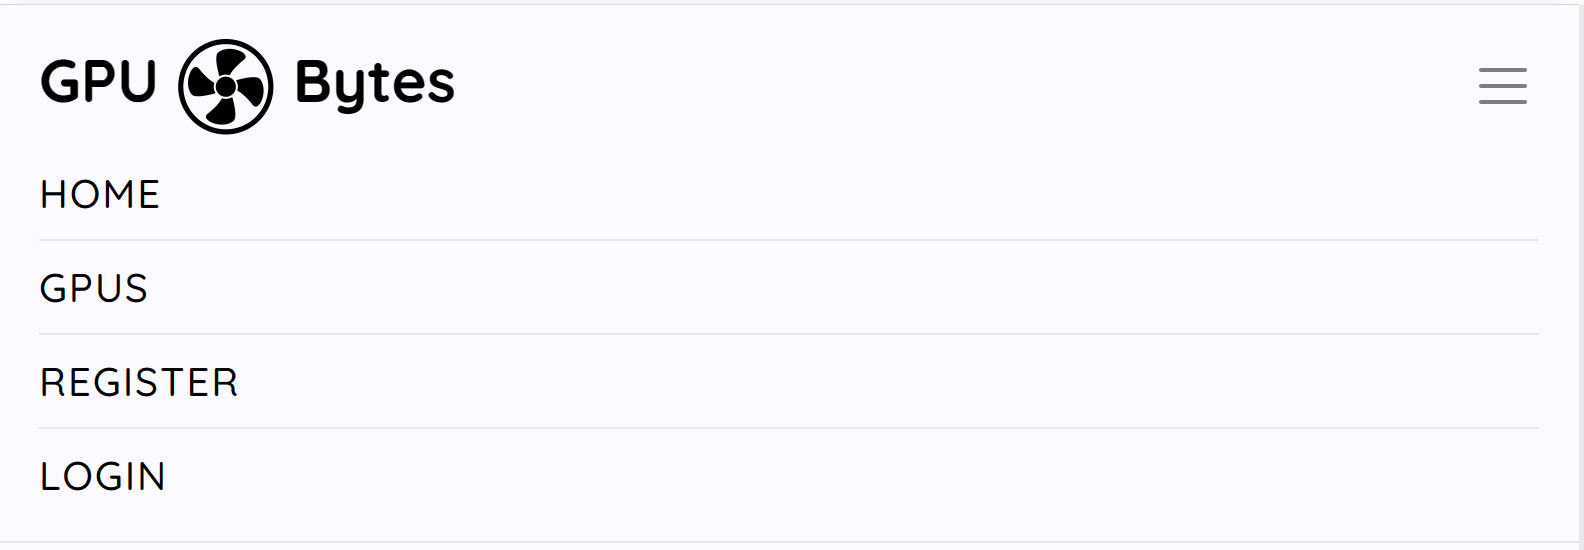
The header has different navigation buttons based on what type of user is logged in or if the user is not authenticated. This allows all users to navigate through the site with ease. Home takes the user to the default Post List view, GPUs takes the user to the default GPU list view, Admin takes a superuser to the Django admin panel, Register takes an unauthenticated user to the custom sign up page, Login takes an unauthenticated user to the custom login page, Logout takes any authenticated user to the logout confirmation page.
Unauthenticated User
- Desktop

- Mobile
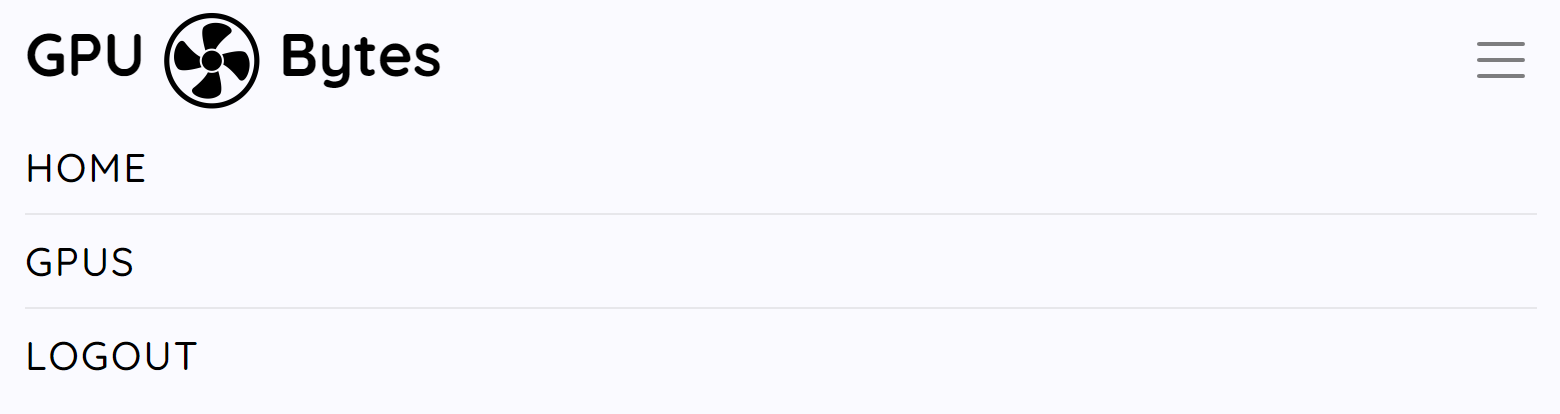
General Authenticated User
- Desktop

- Mobile
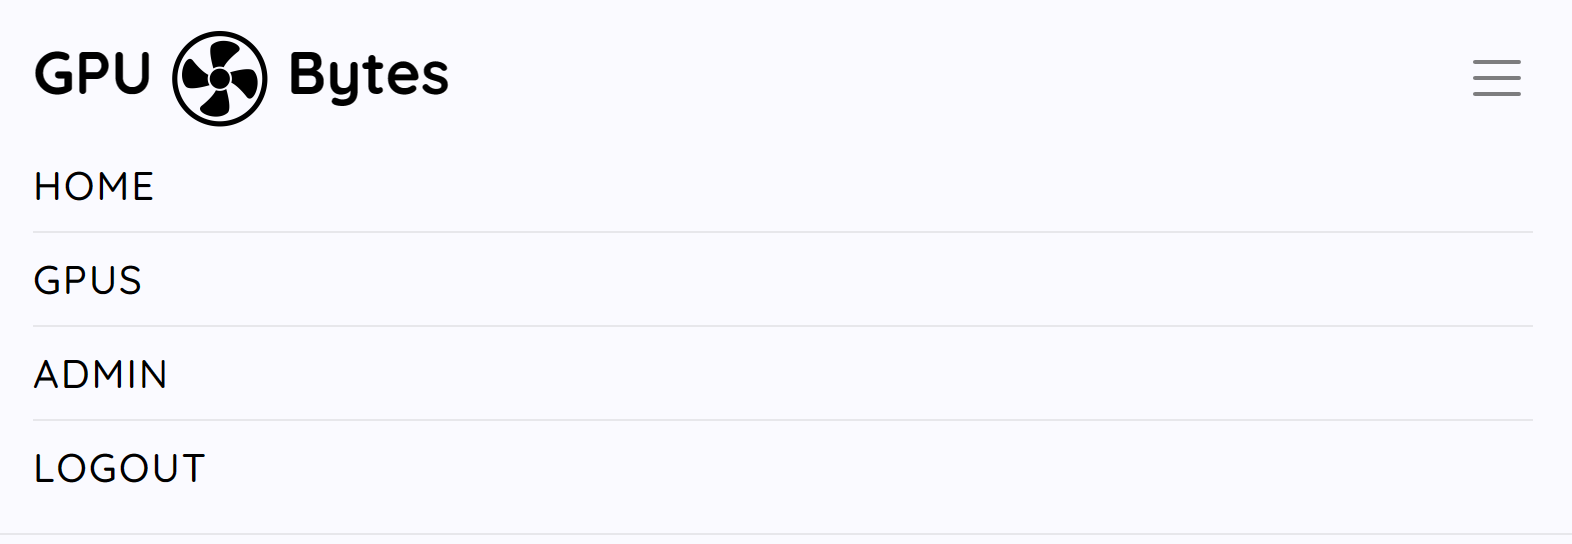
Admin User
- Desktop

- Mobile
All Users
- Desktop
Footer taken from I think therefore I blog CI example blog
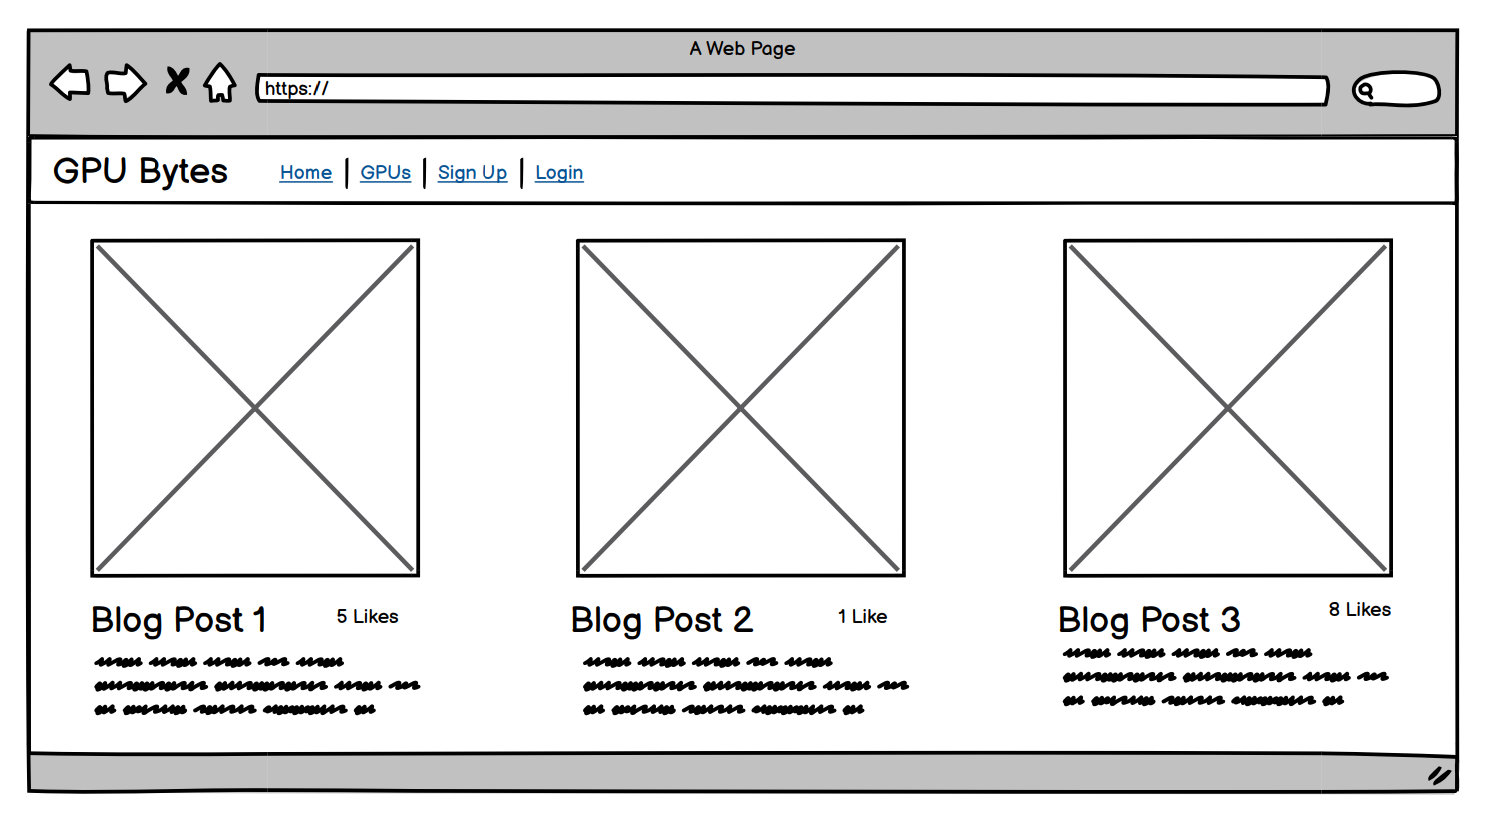
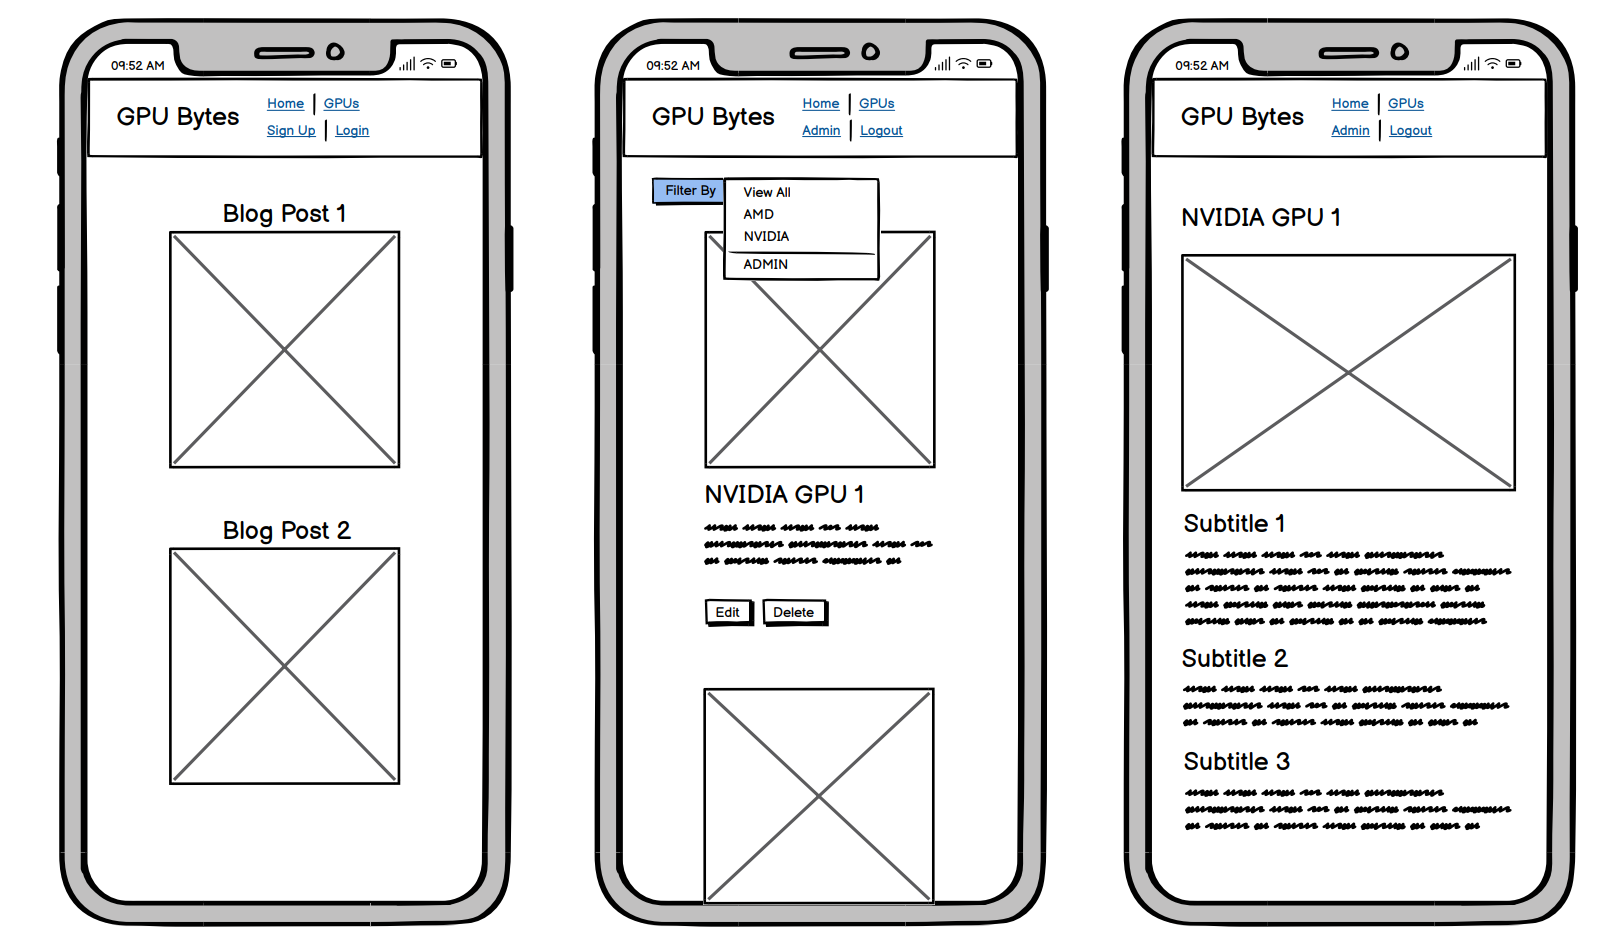
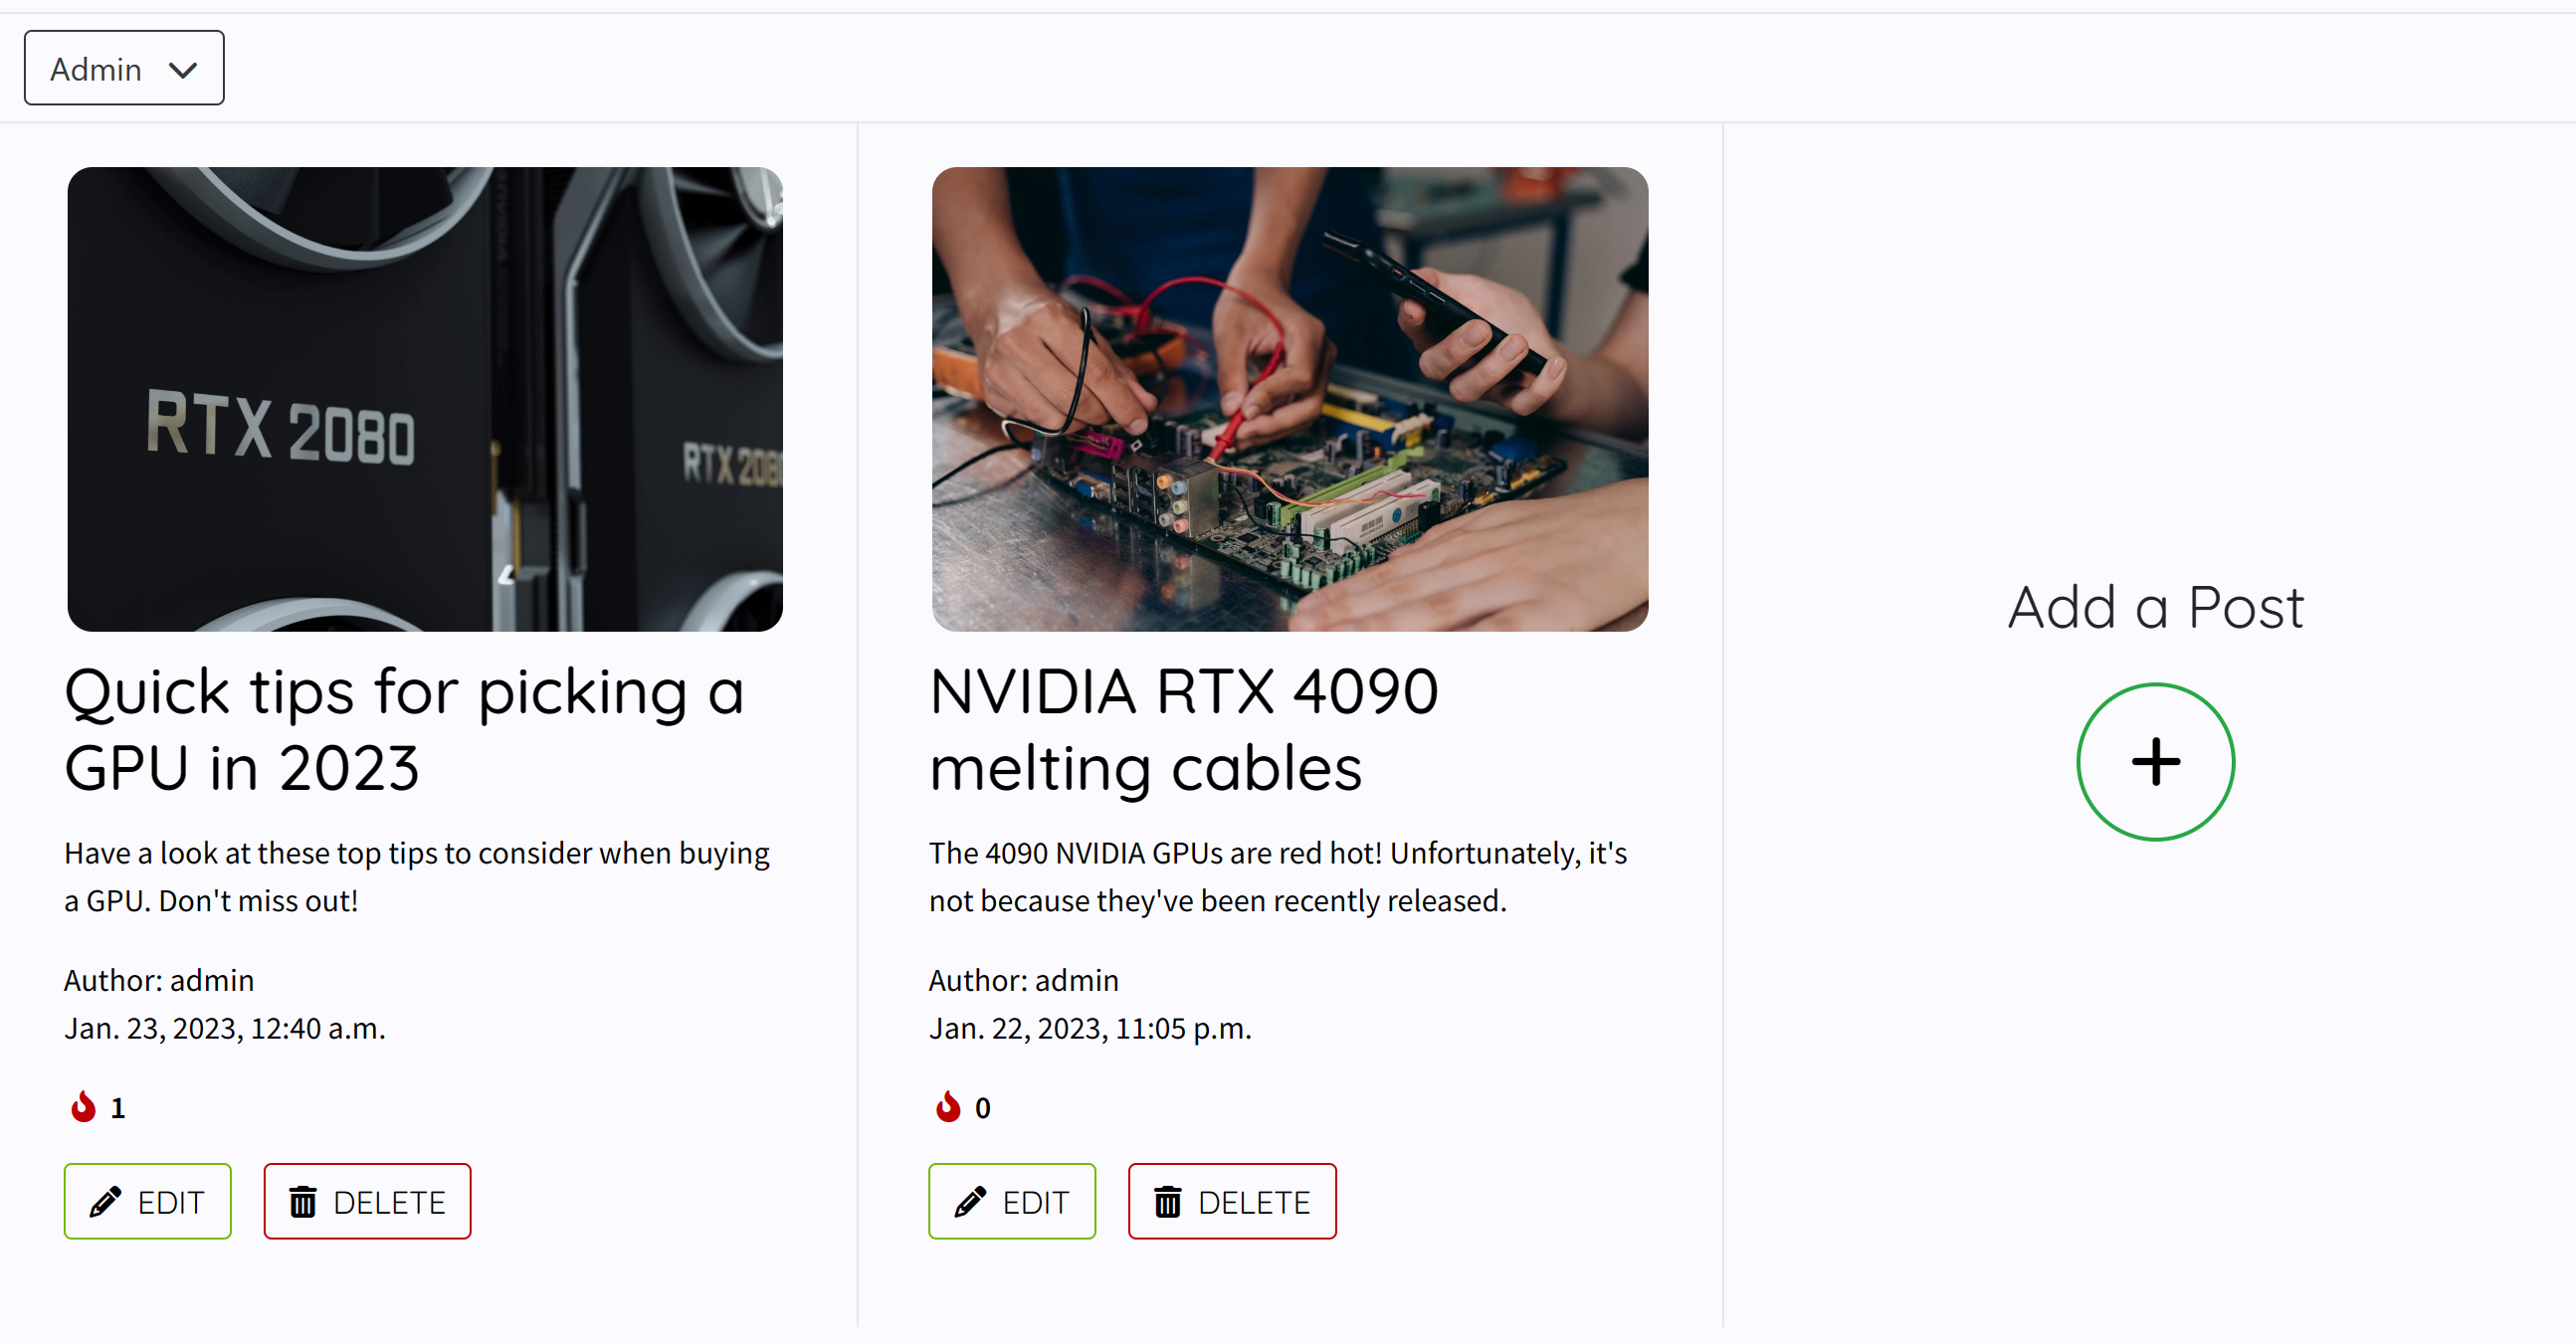
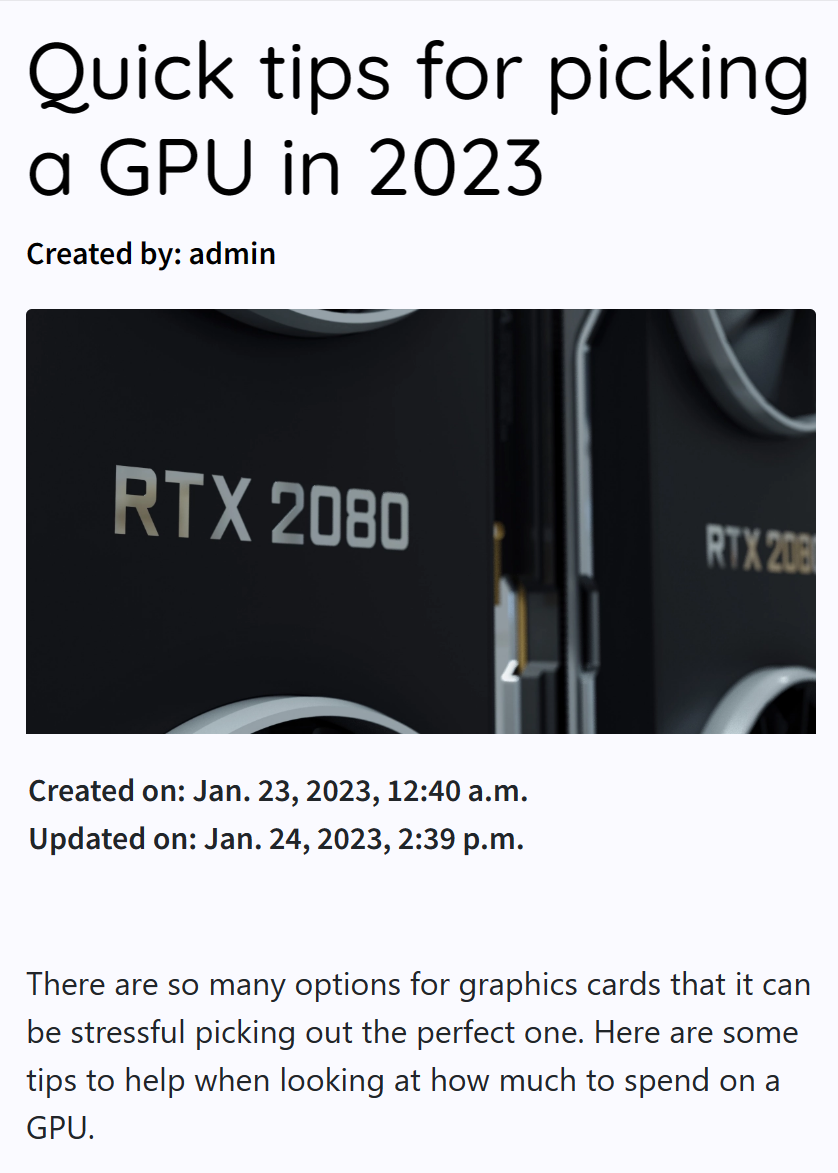
The default home page of the blog containing all the tech posts created by admin users. From here all users can open and view posts, admin users can click on the edit and delete buttons to take those actions for each post. They can also click on the Add a Post button to create a new post in the database.
General Authenticated User & Unauthenticated User
- Desktop
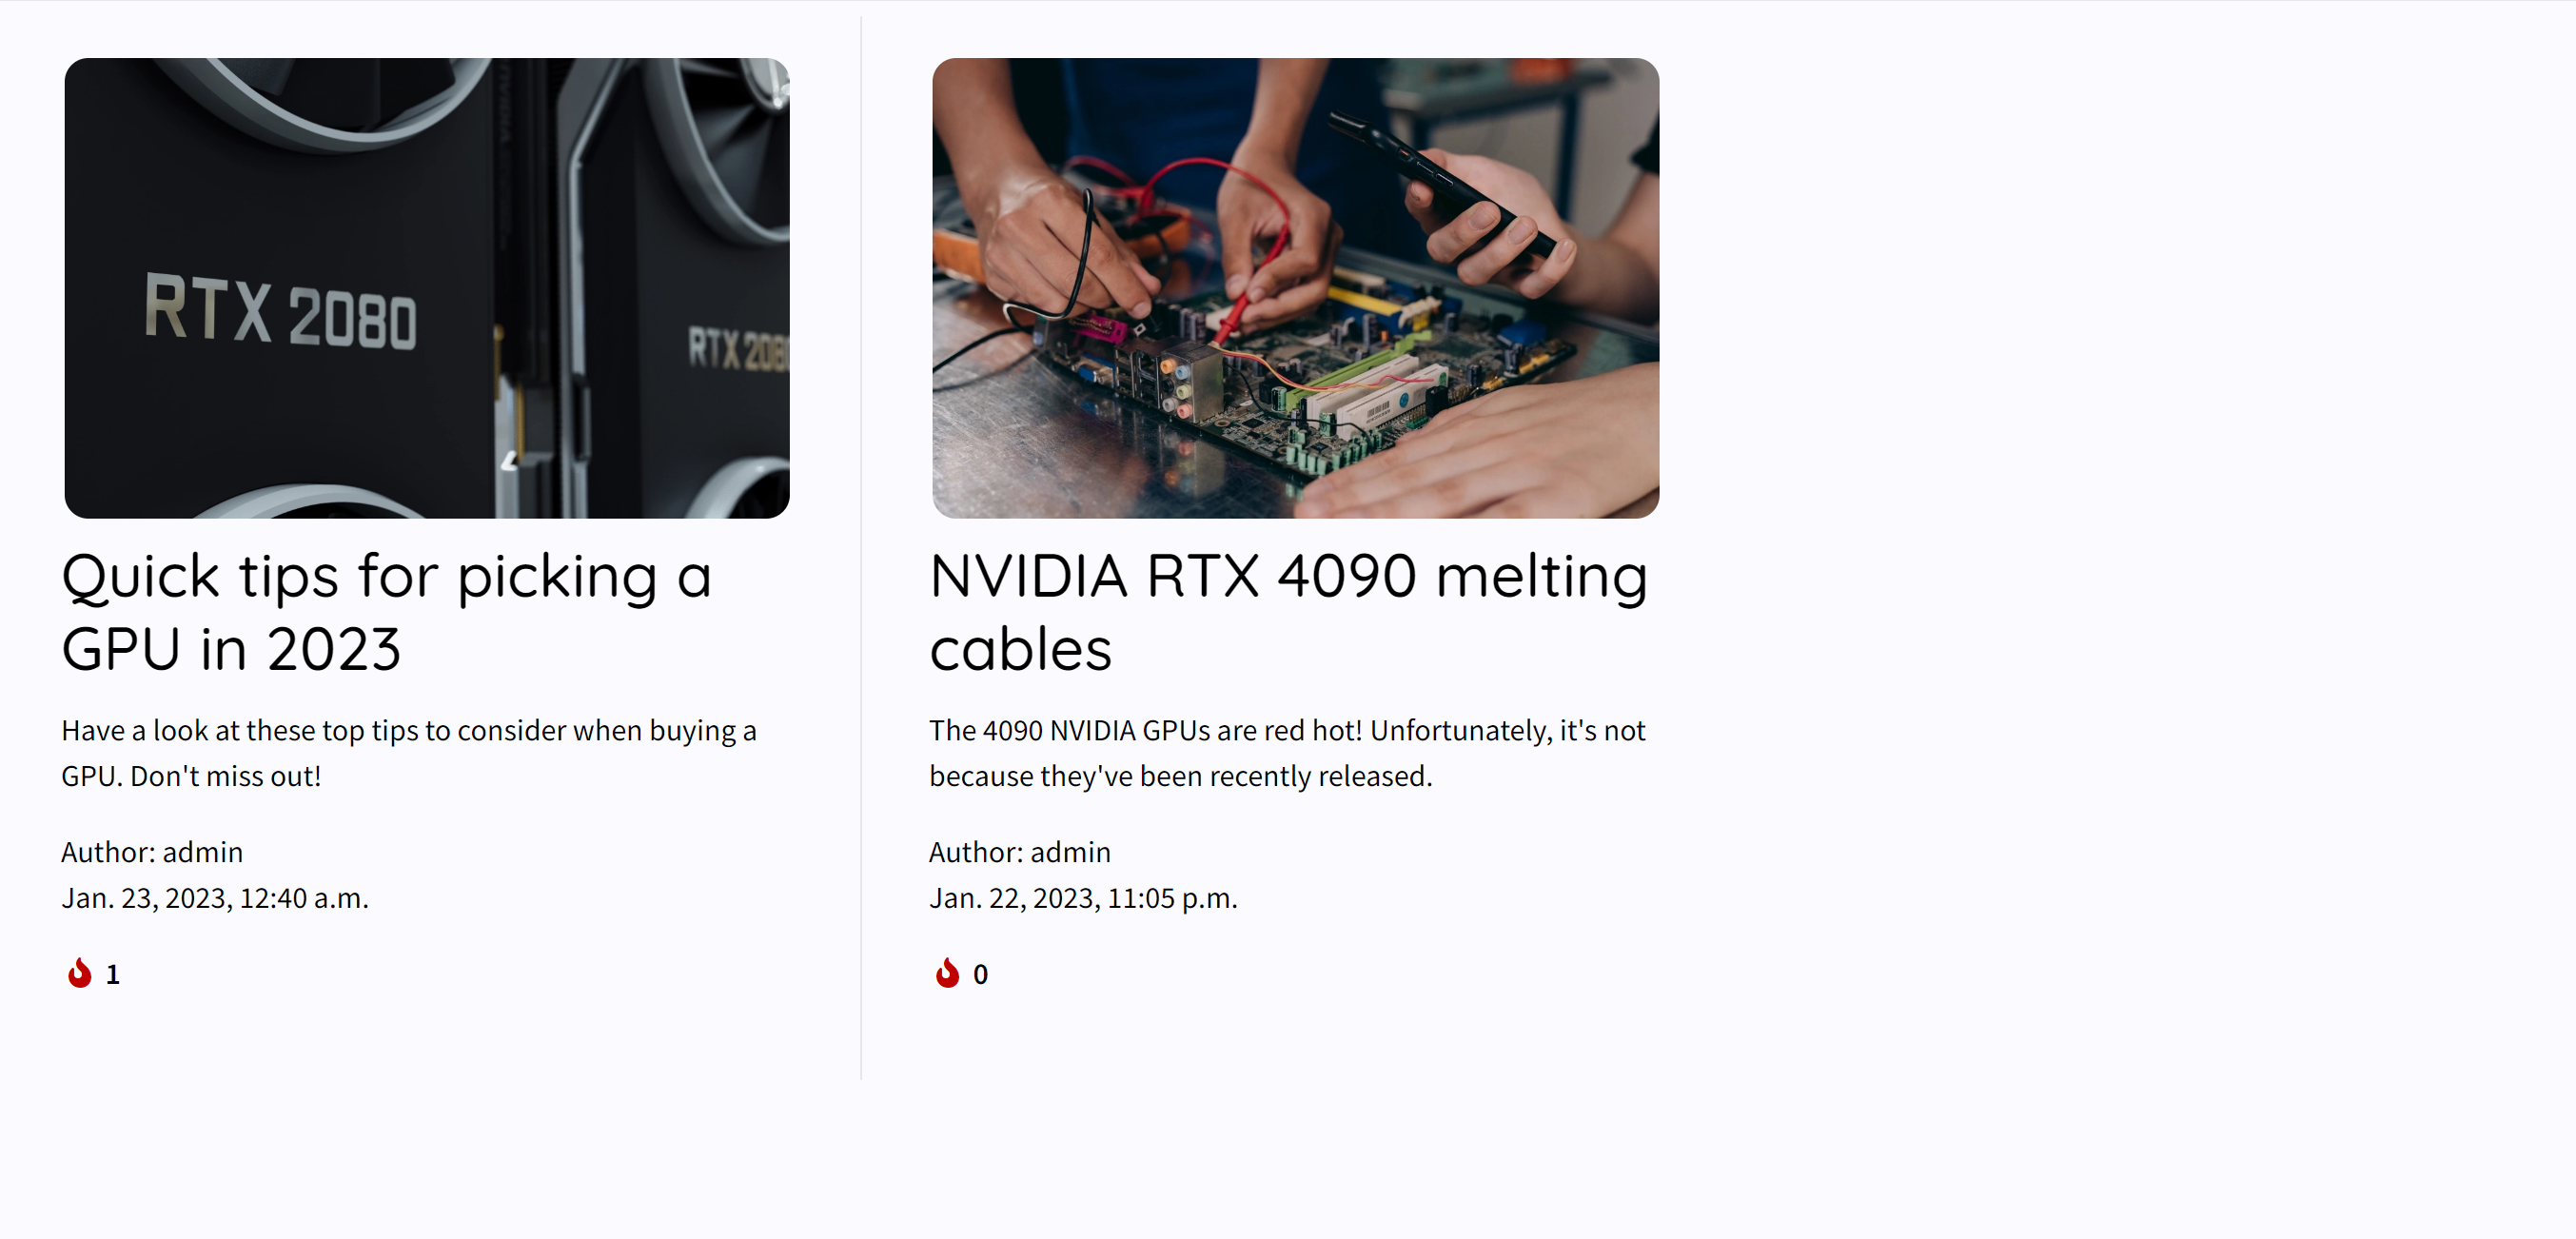
- Mobile

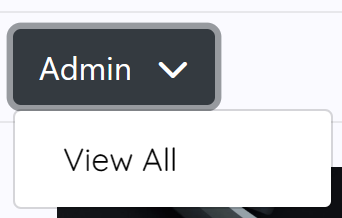
Admin User
- Admin Drop Down View
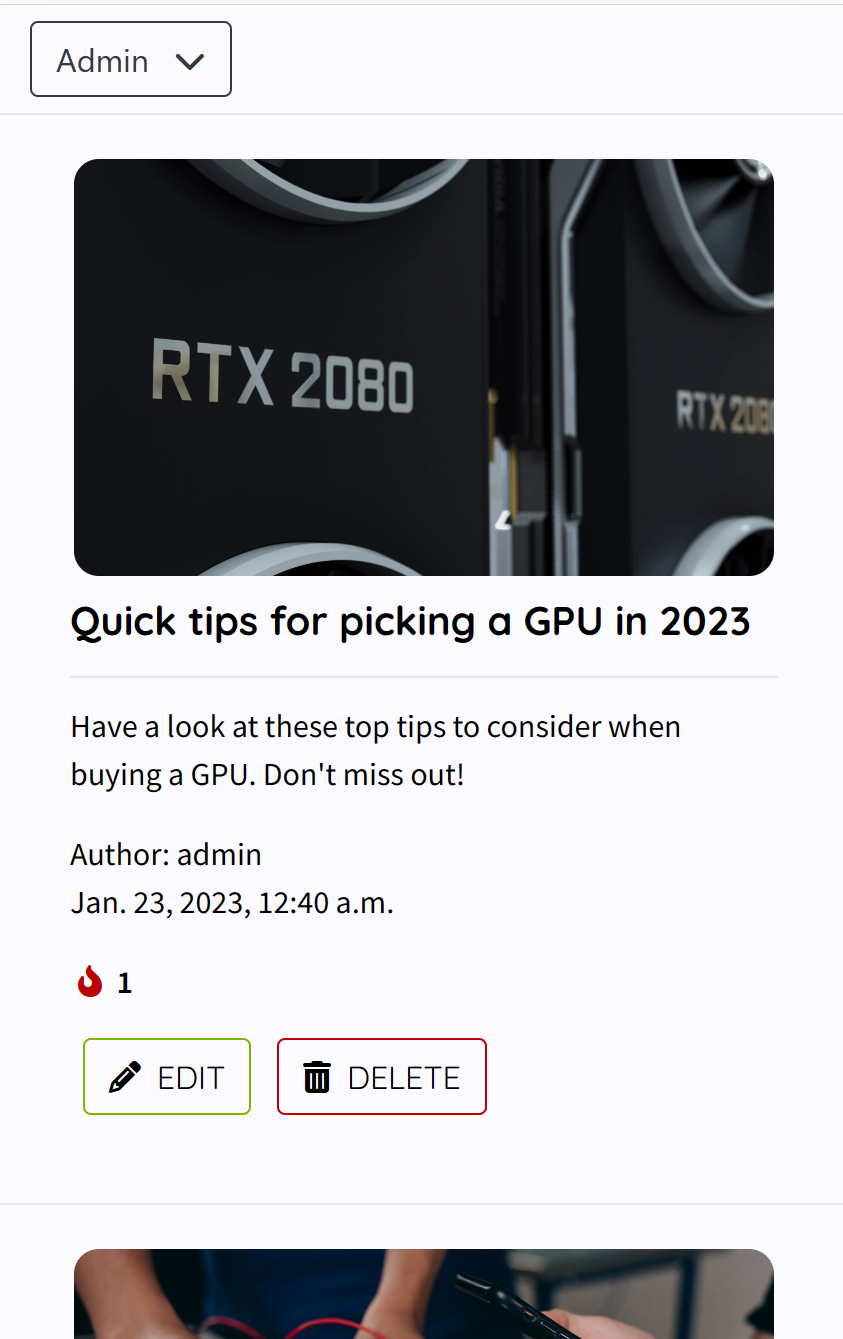
As an admin user you can open the drop down menu and select View All which changes the view to show all posts including drafts which regular users won't be able to normally view.
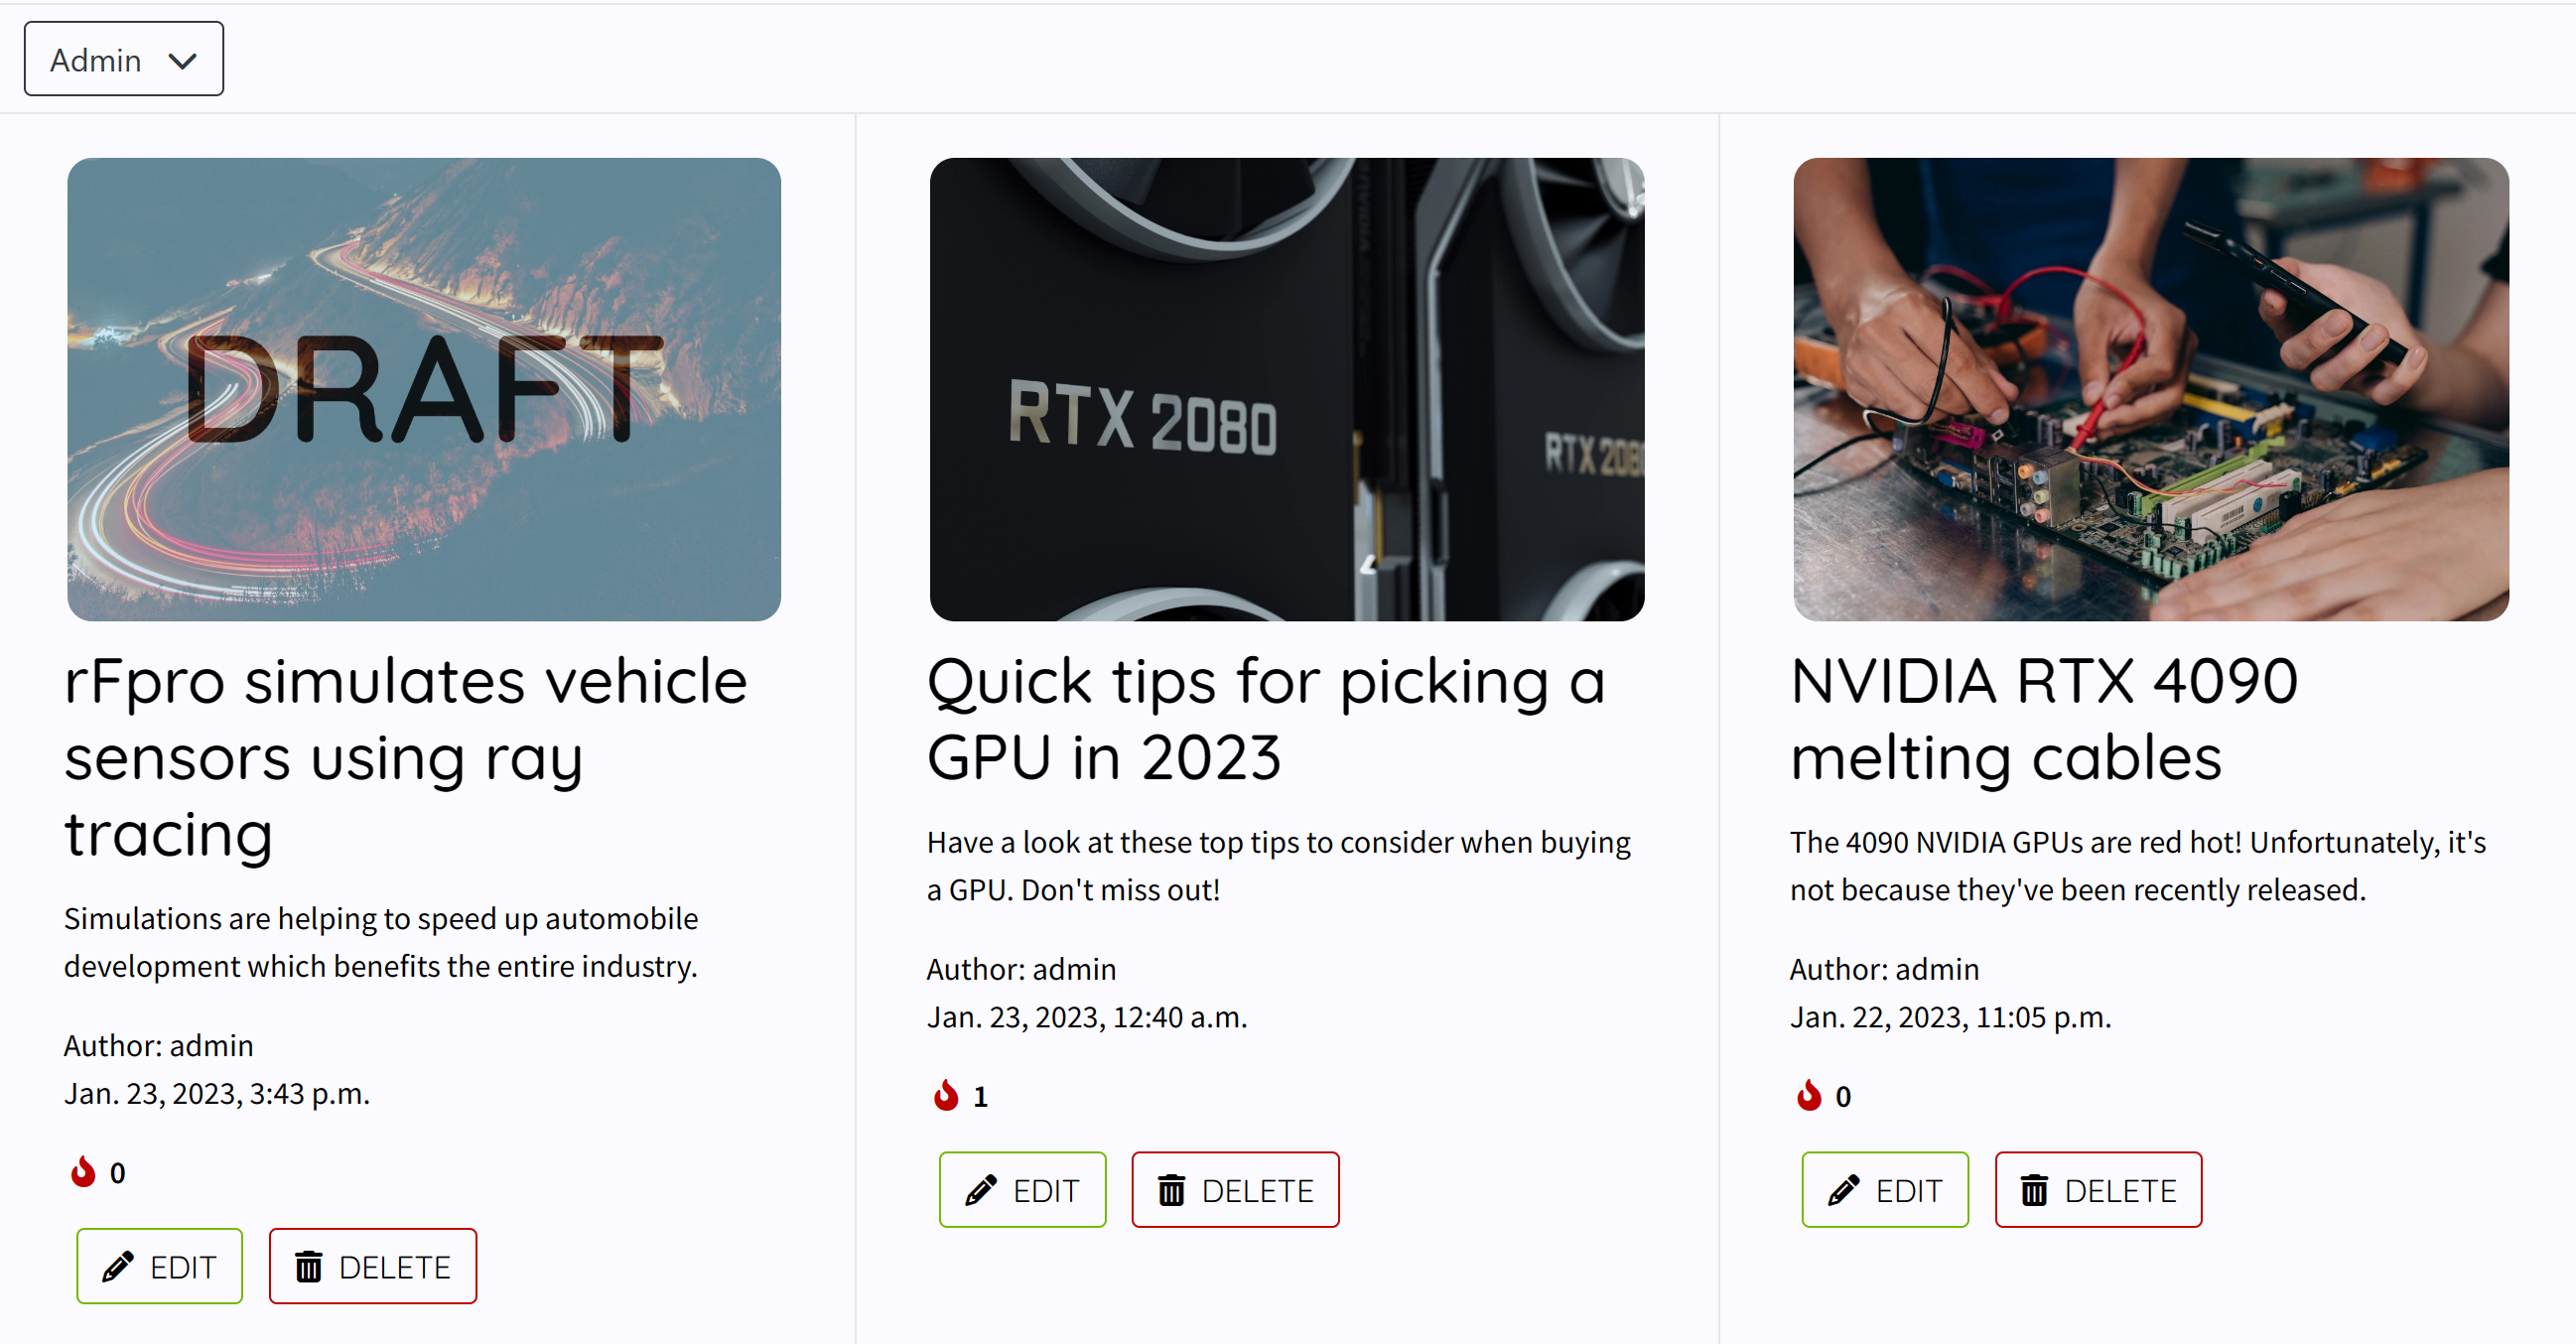
- Desktop
- Tablet
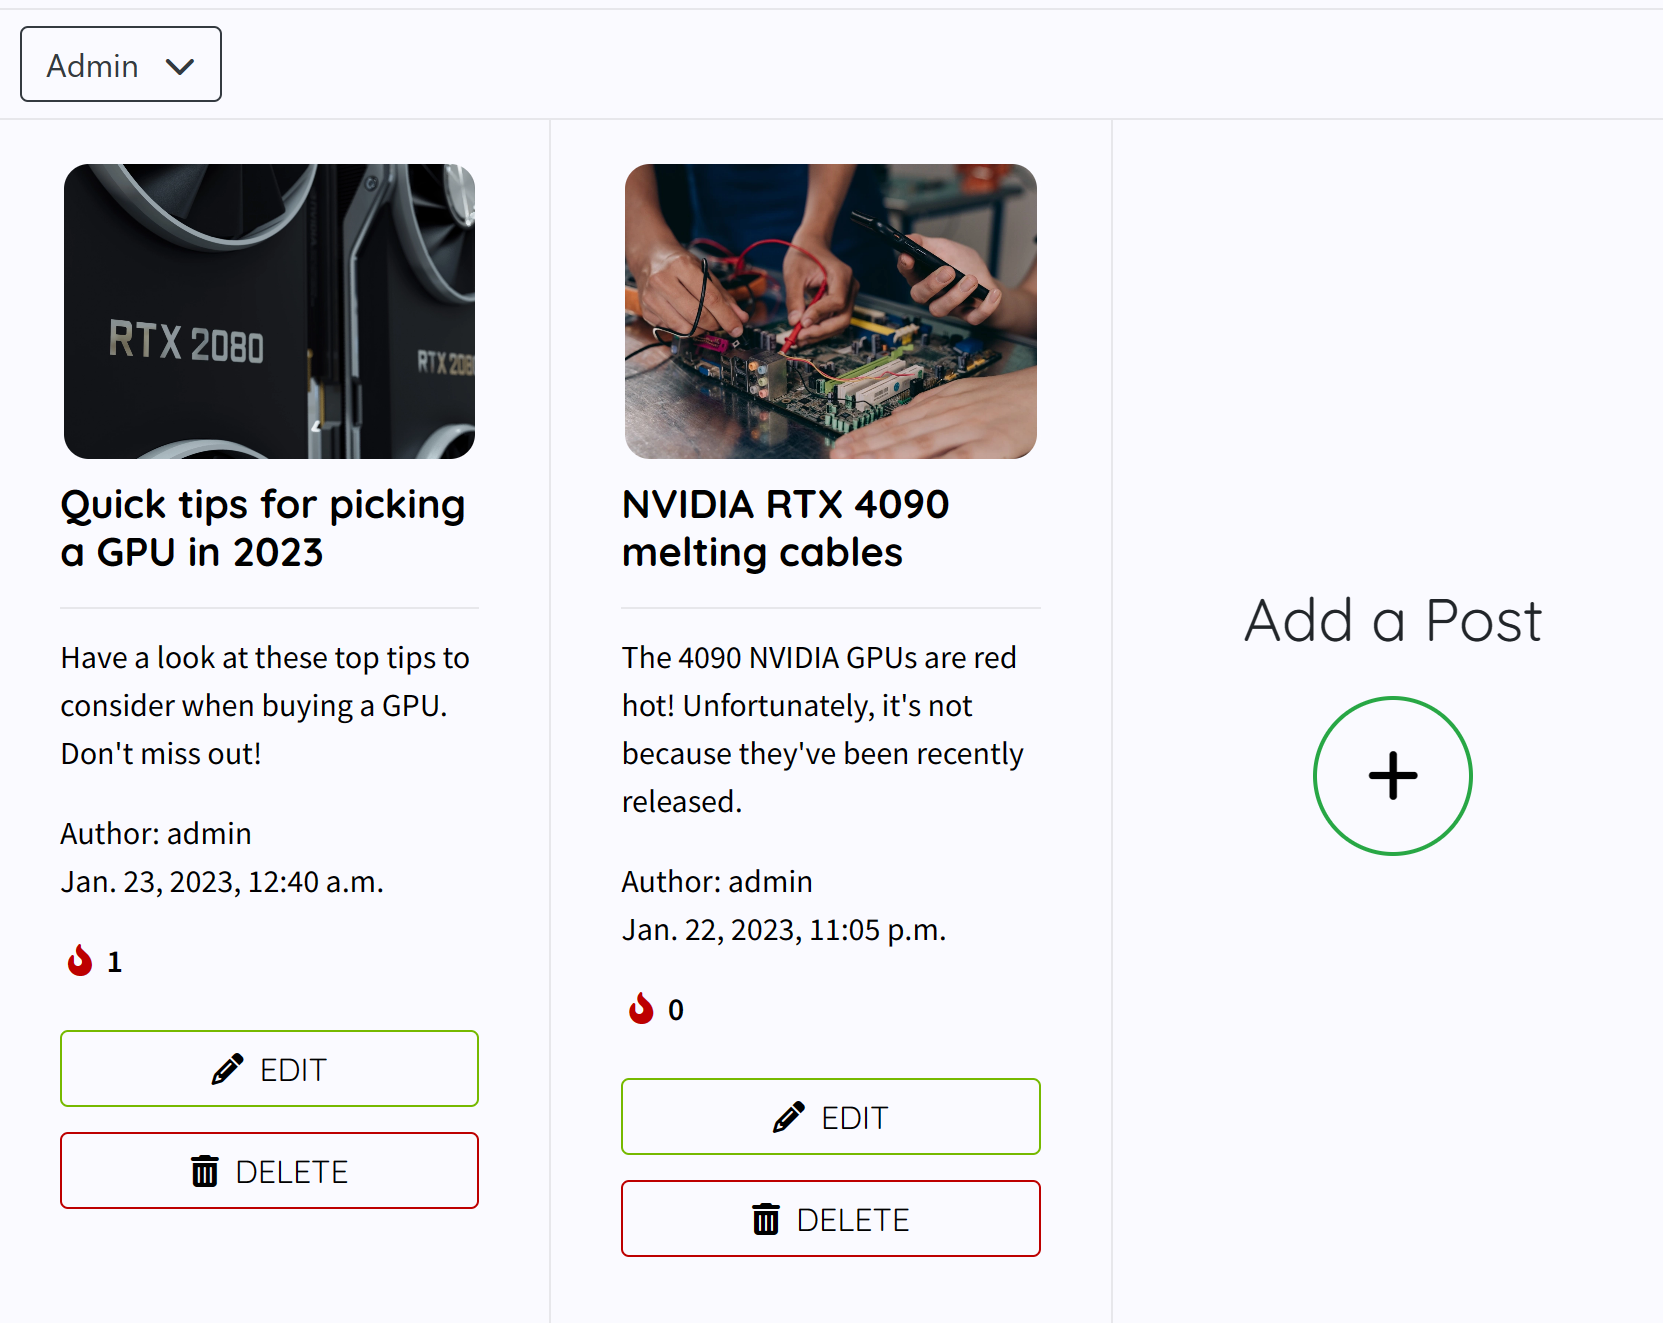
- Mobile
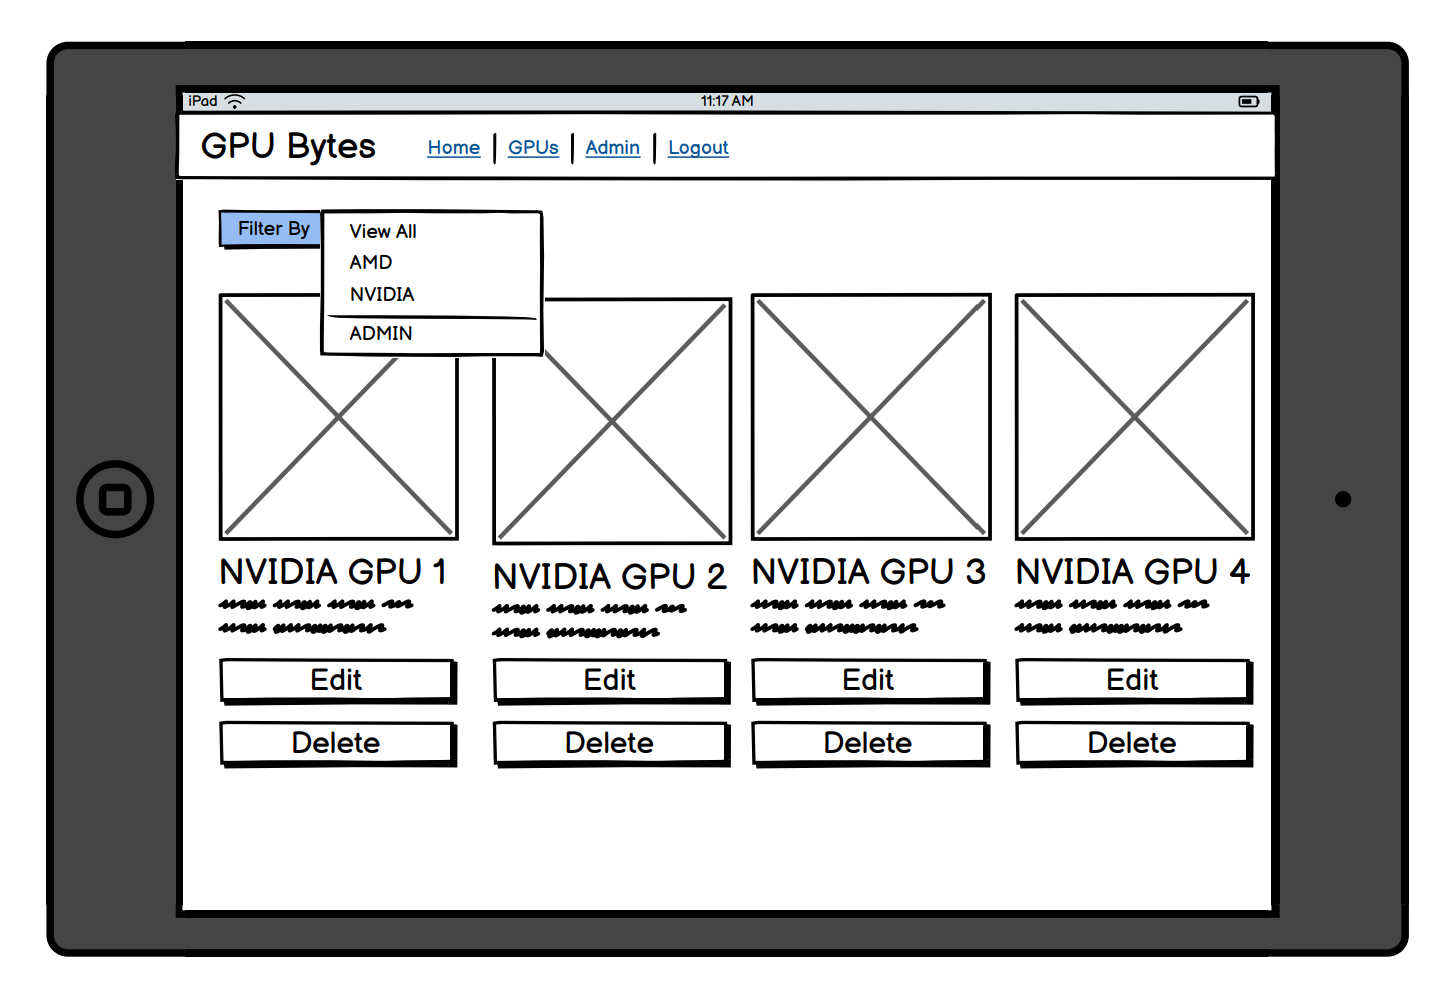
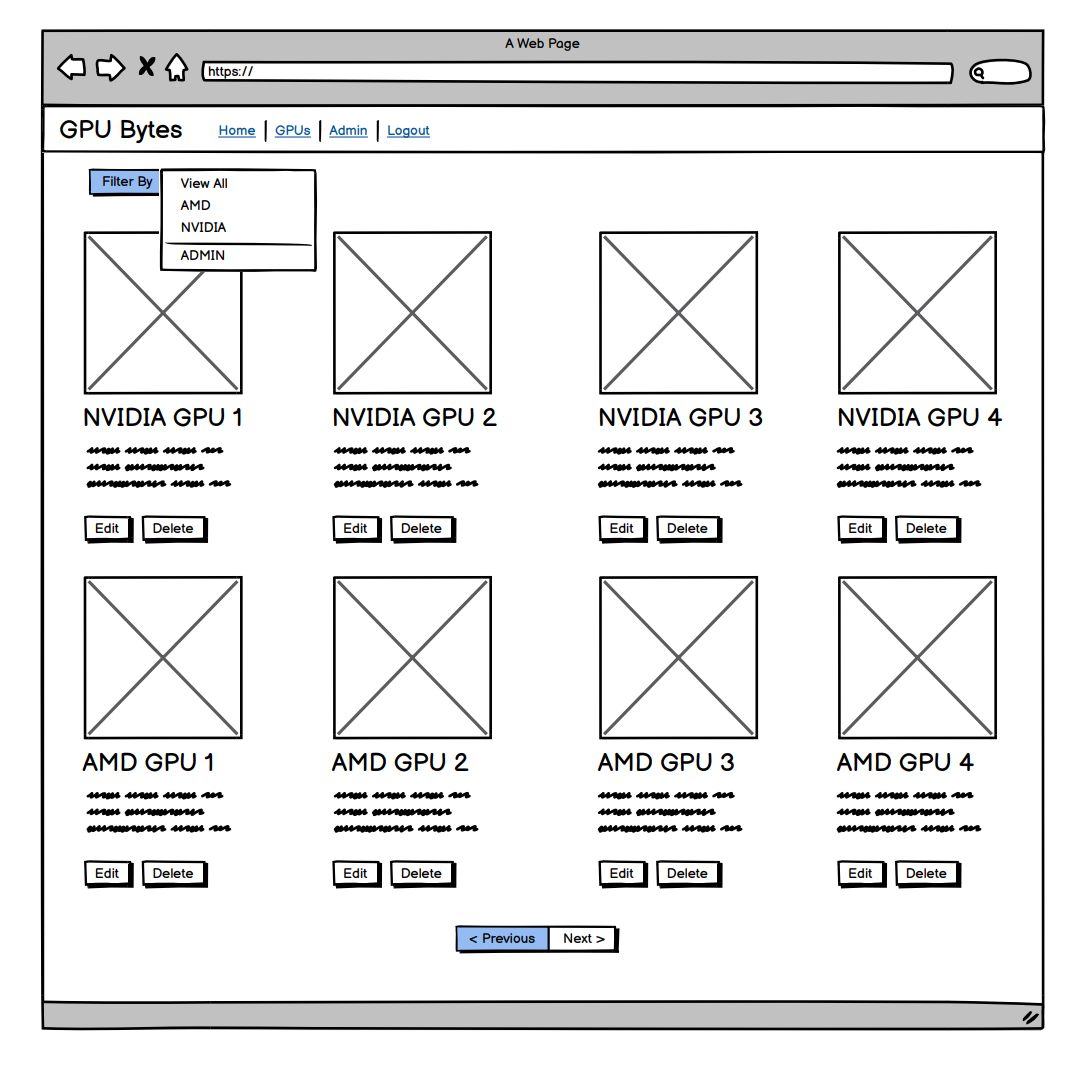
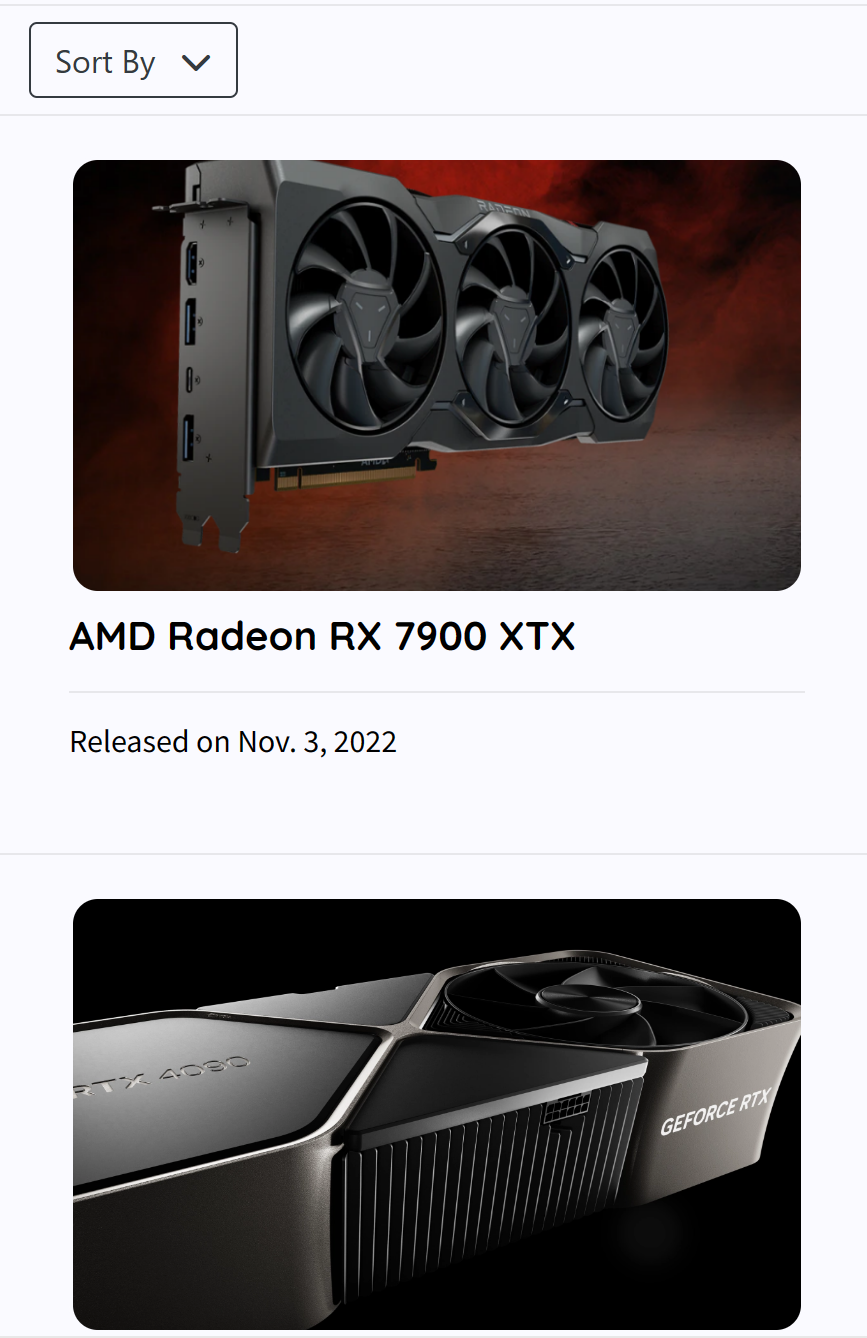
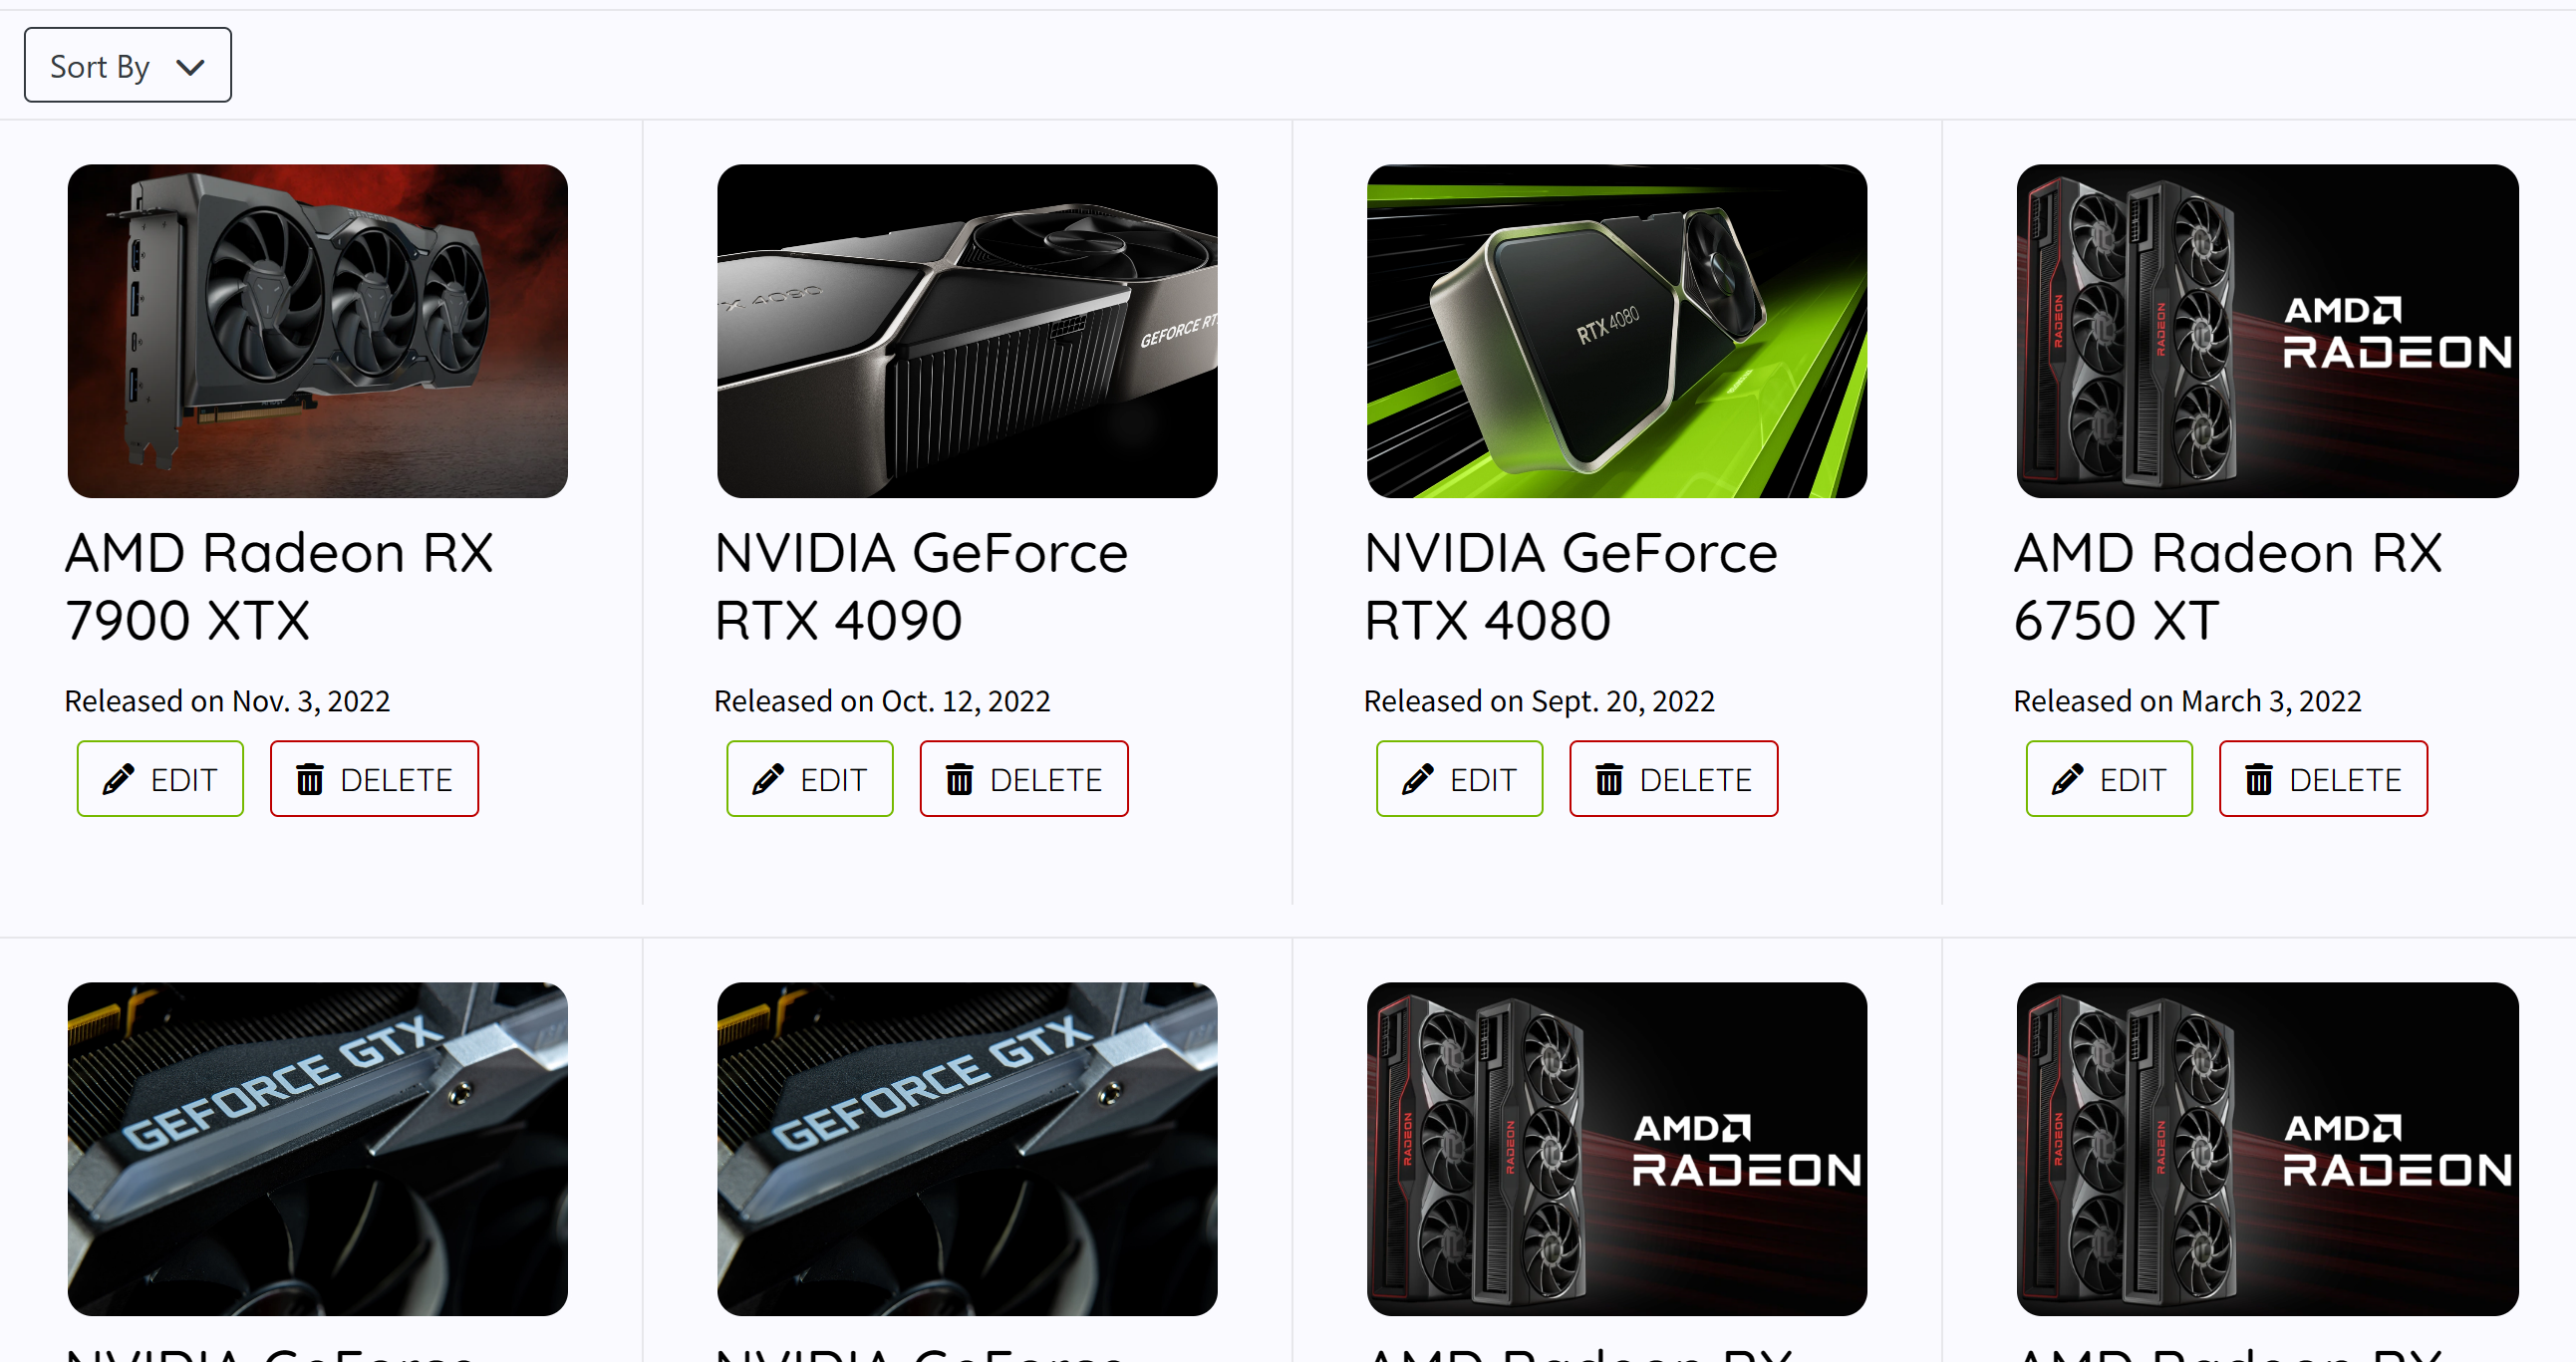
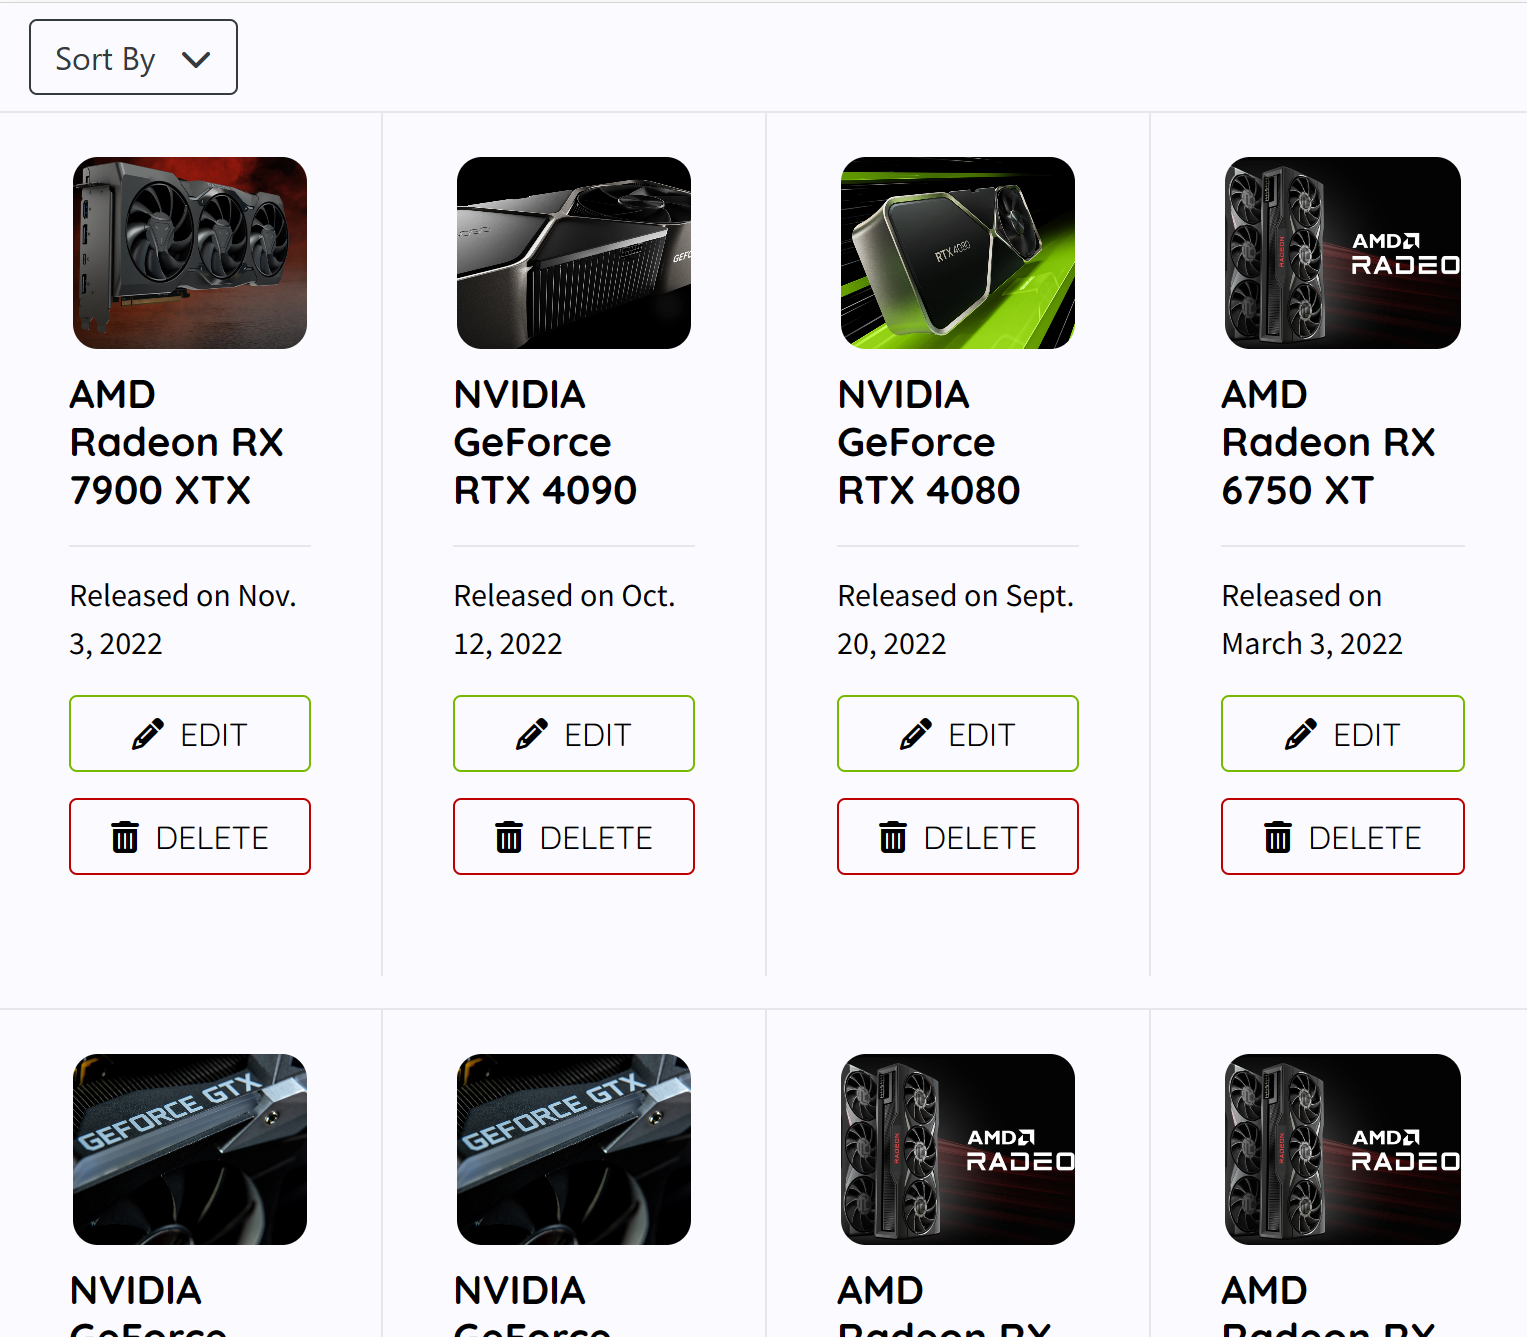
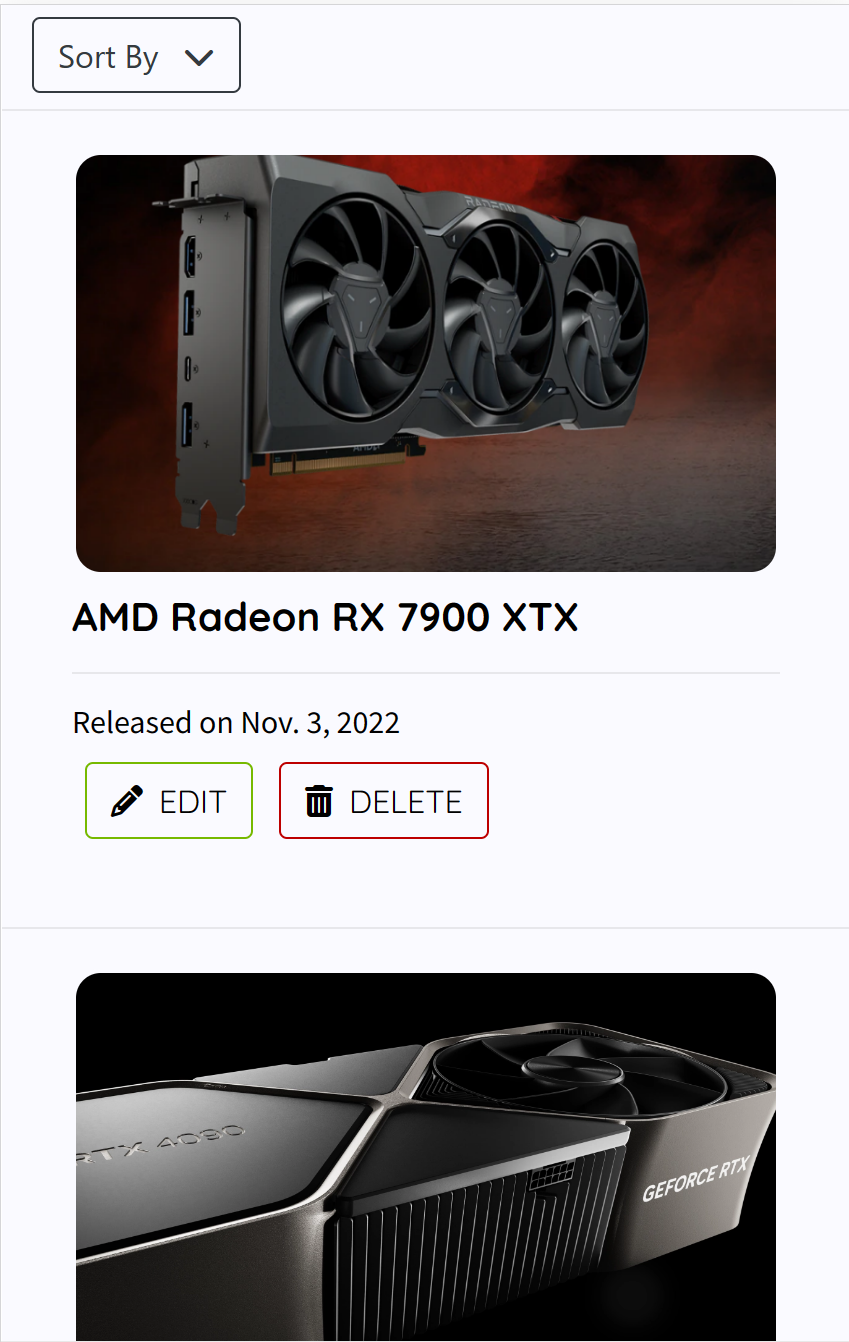
The GPU list shows all the graphics cards added by an admin user, these can be clicked and viewed by all users. Admin users can click the edit and delete buttons to complete the action for each GPU, there is also an Add GPU button to create a new entry in the database. All users can click the Sort By dropdown menu to change the view between View All, AMD, and NVIDIA which filters the view based on GPU.
General Authenticated User & Unauthenticated User
- Desktop
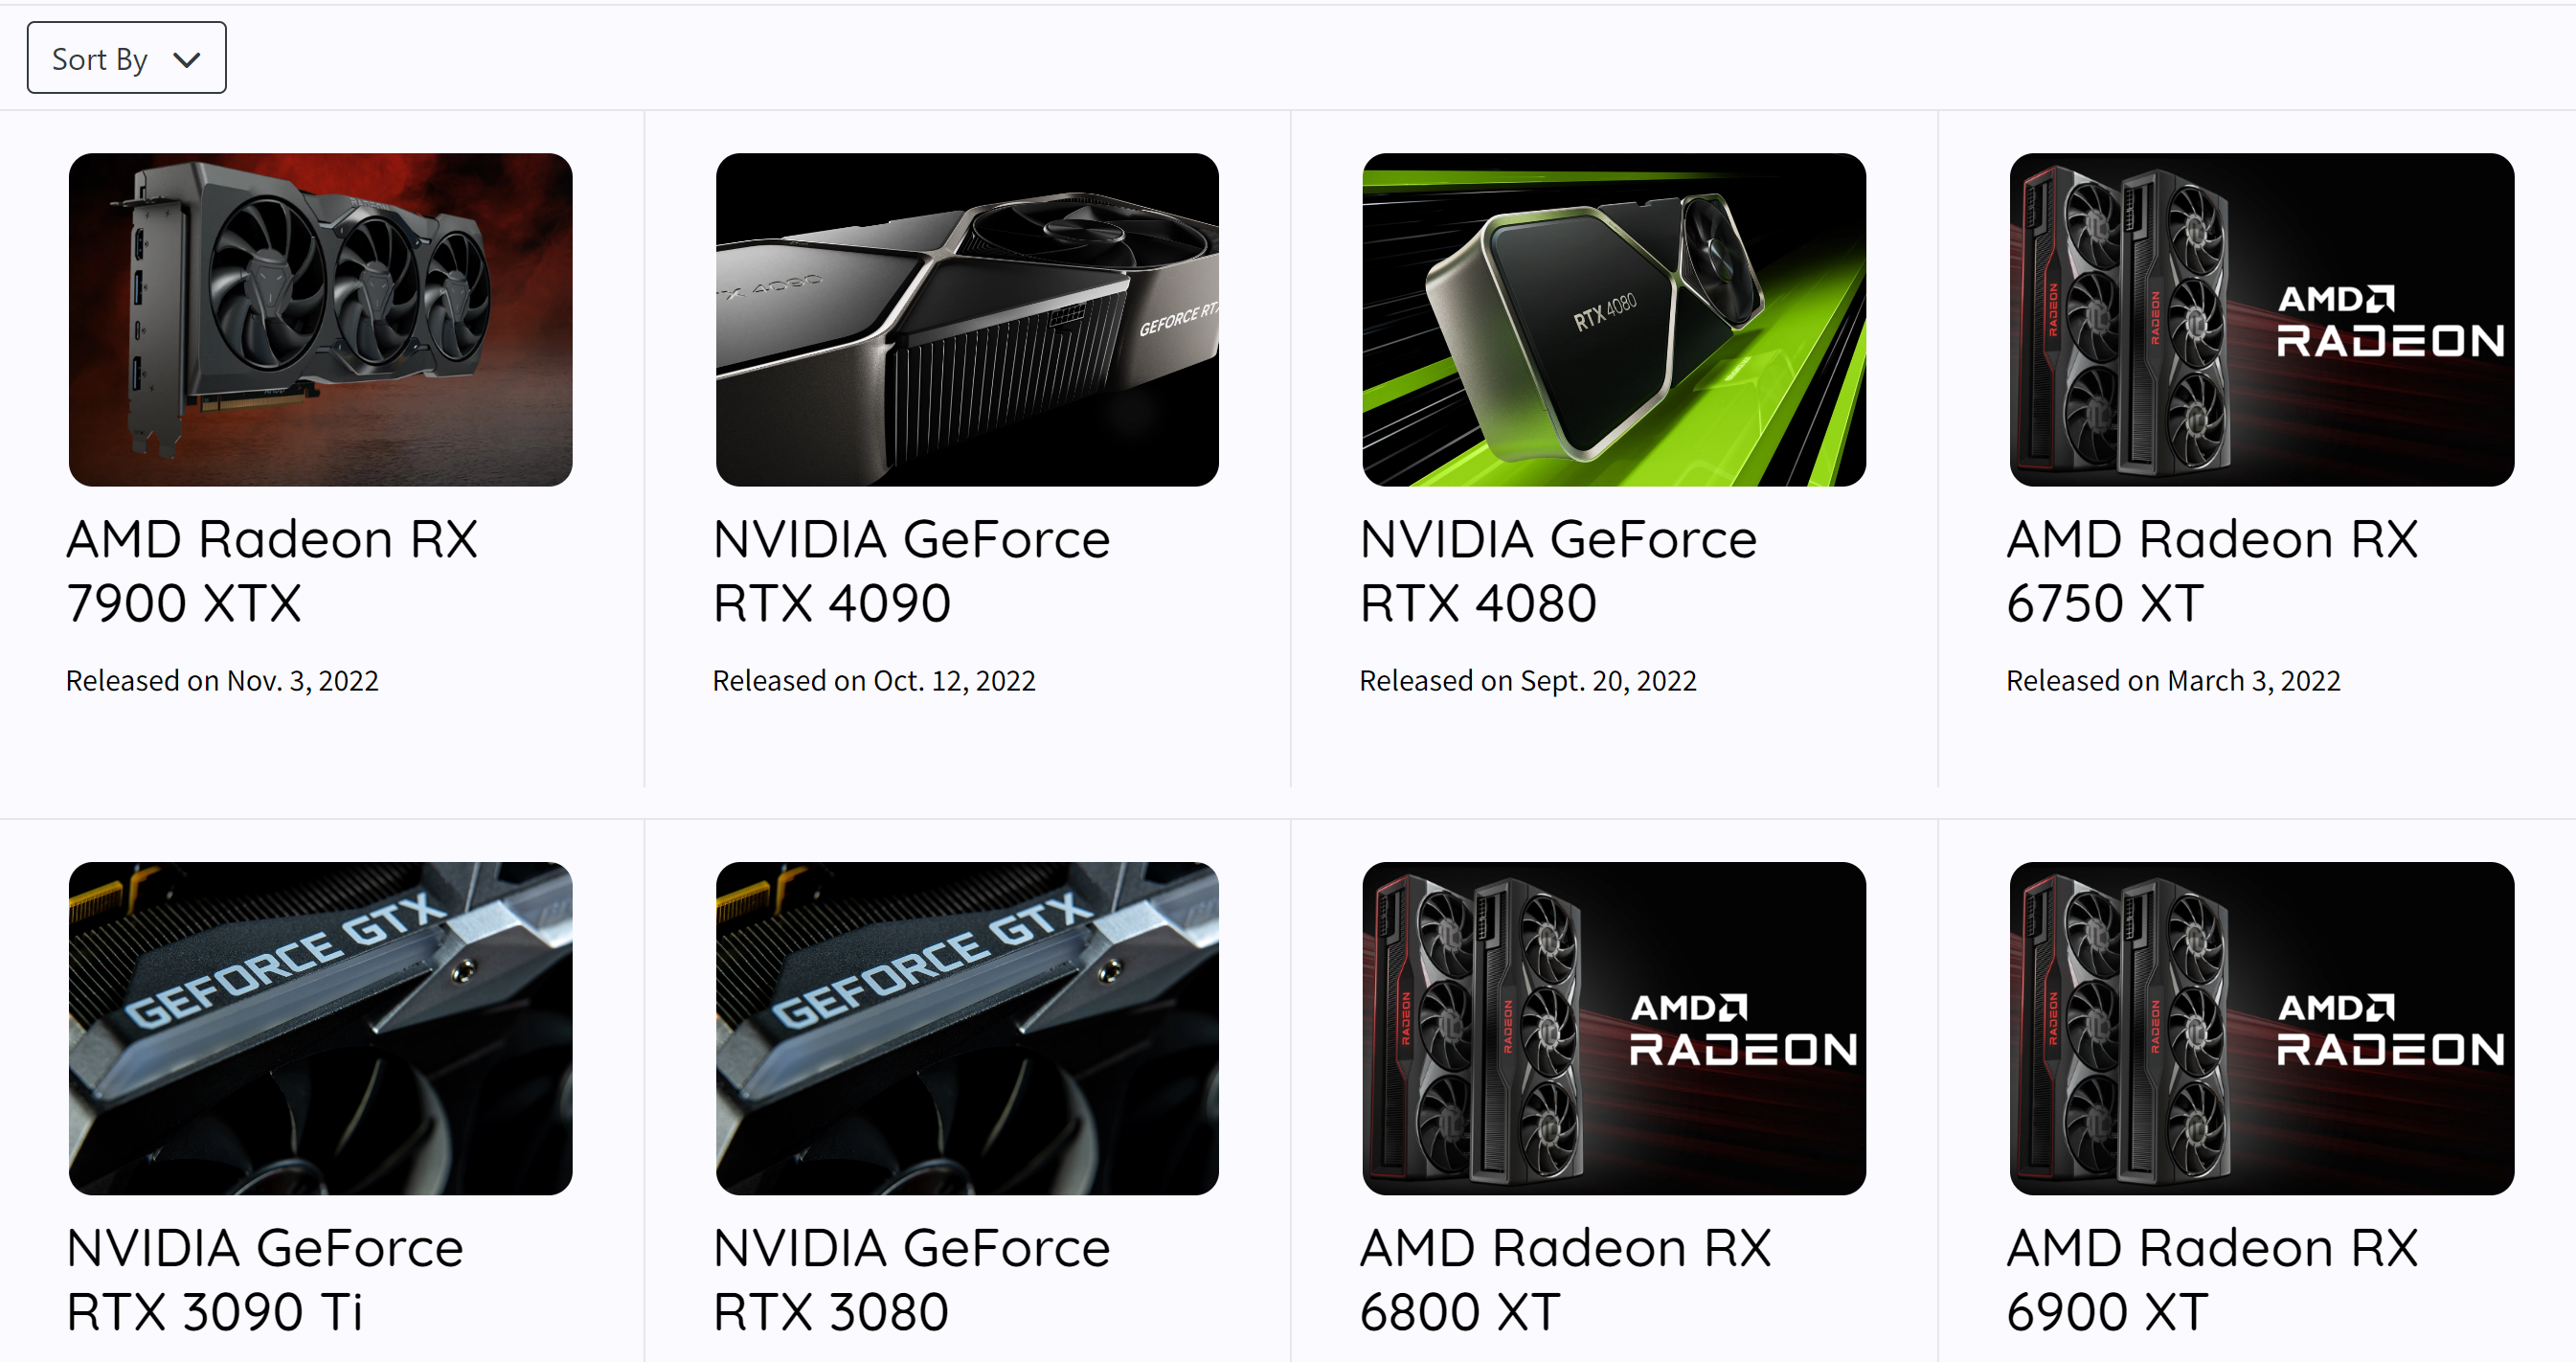
- Mobile
Admin User
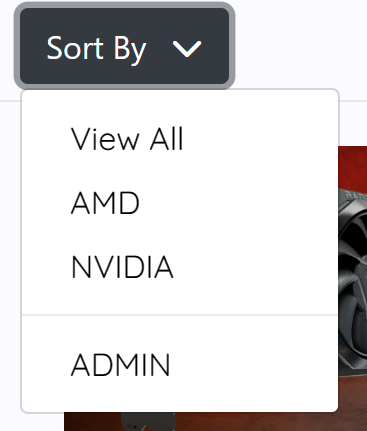
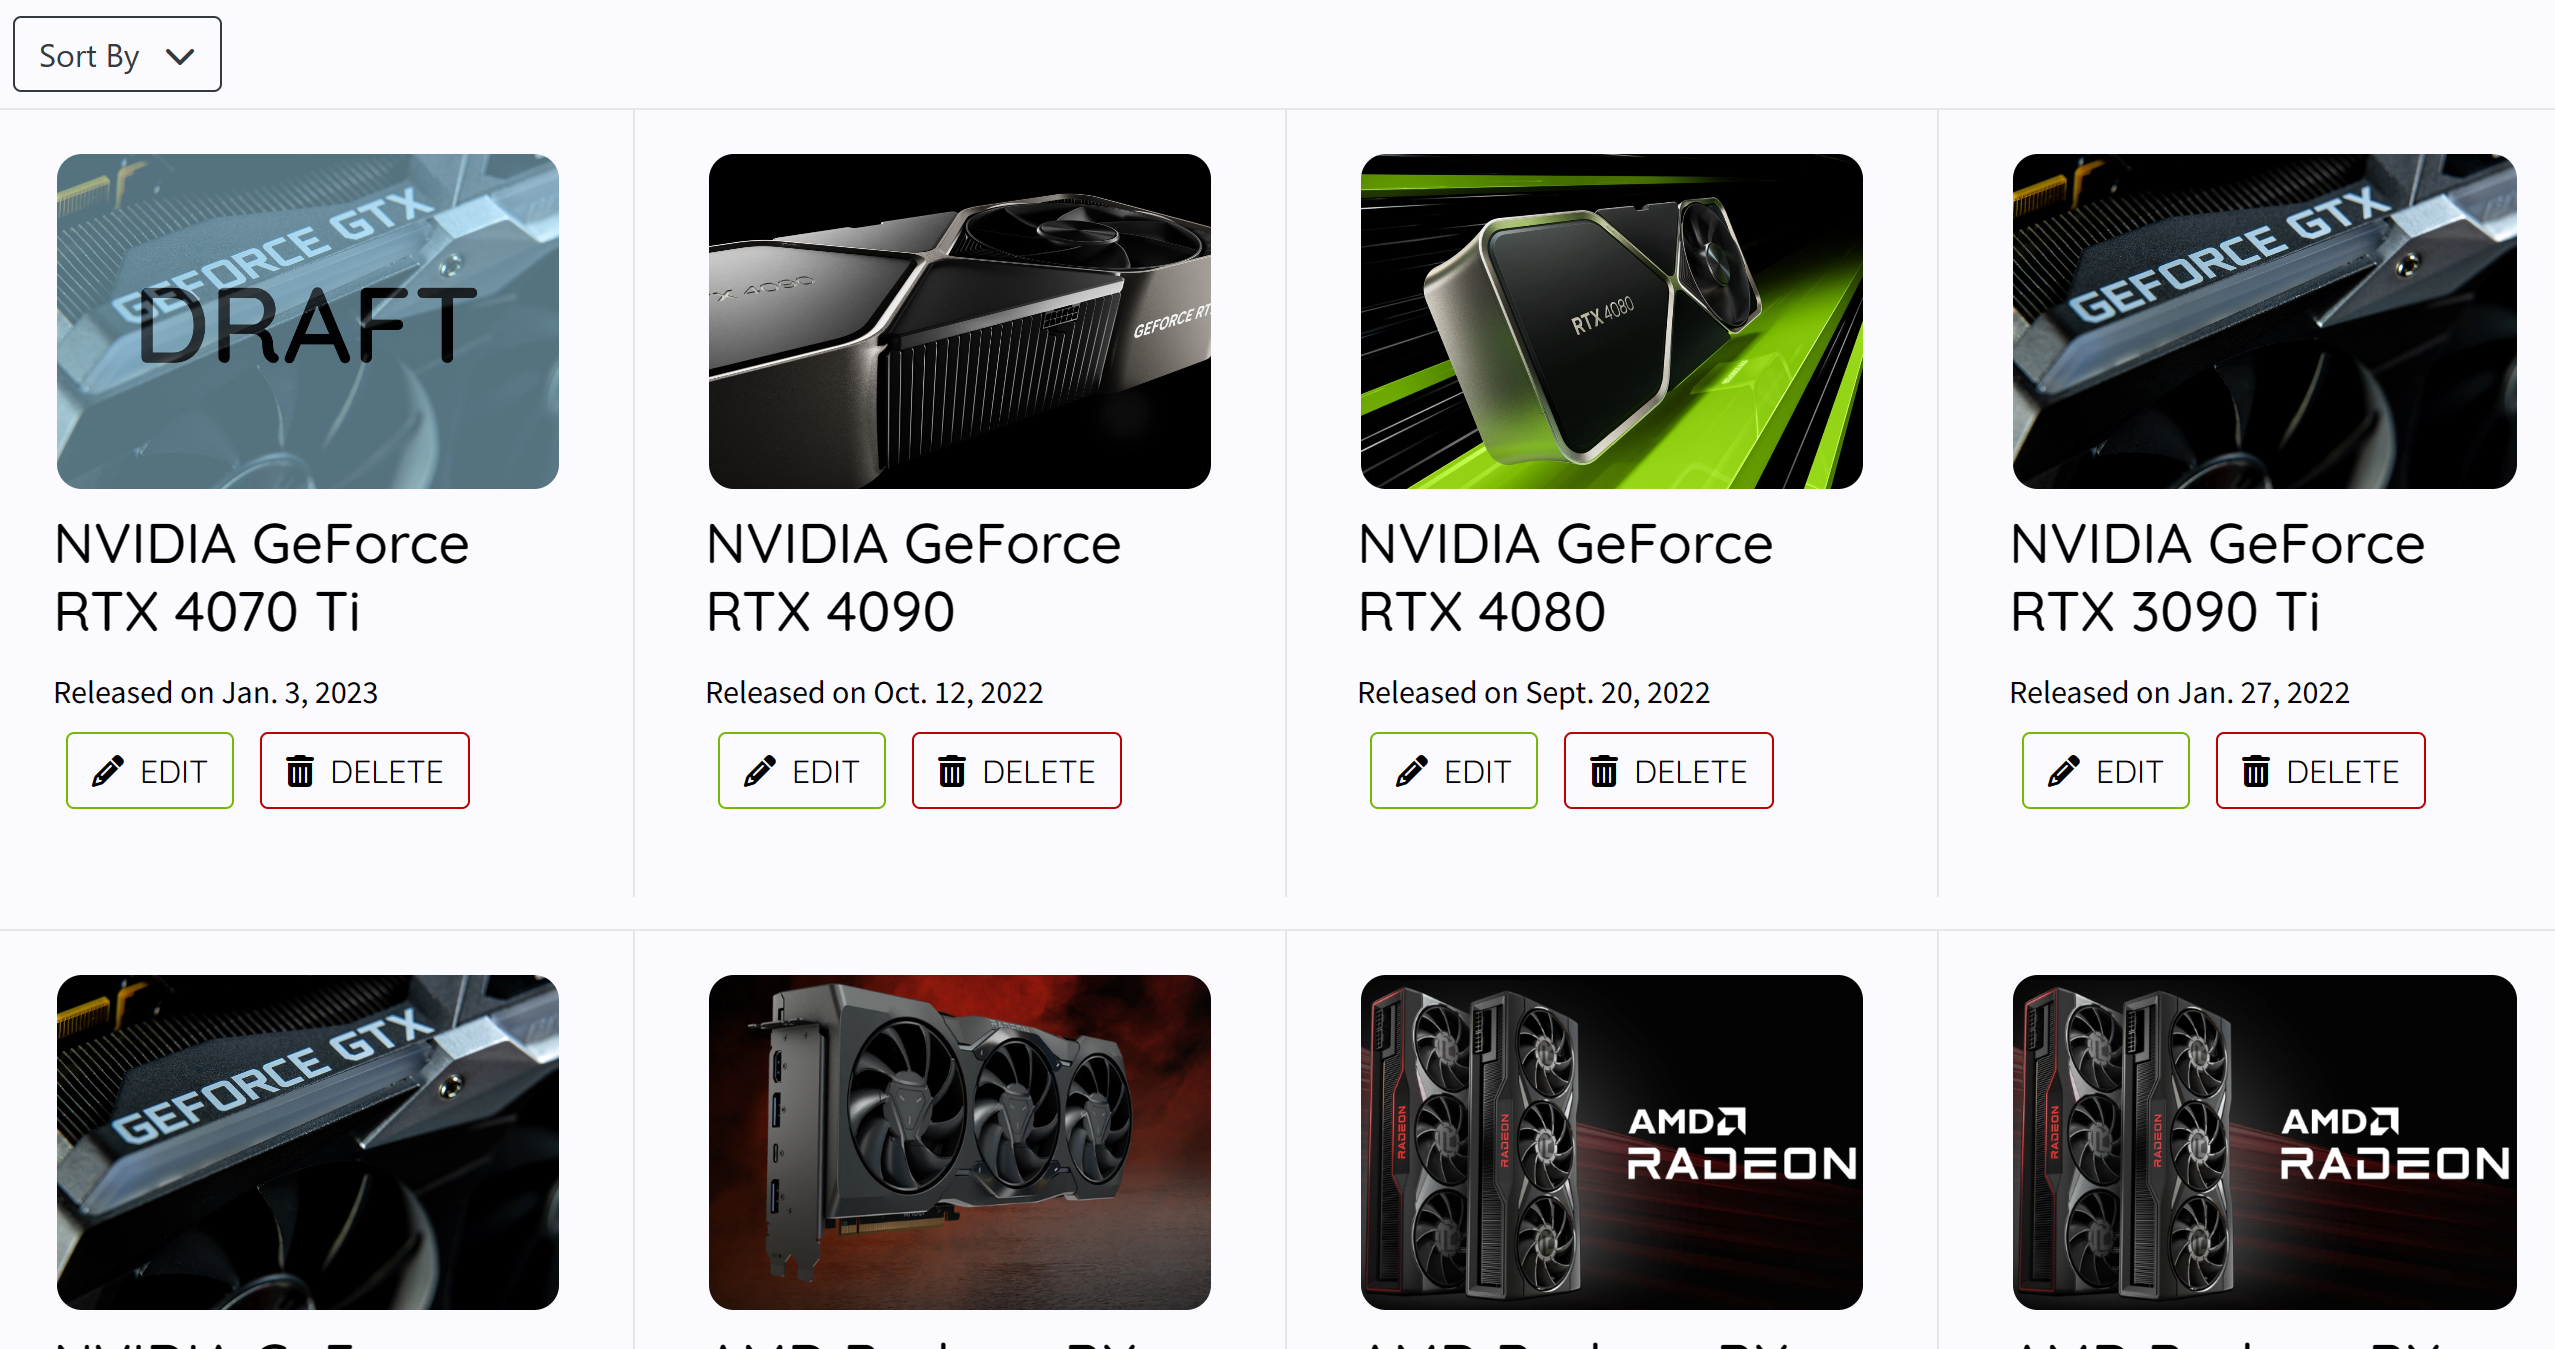
- Admin Drop Down View
The admin user can see an Admin option in the drop down which shows all GPUs including drafts which regular users cannot view.
- Desktop
- Tablet
- Mobile
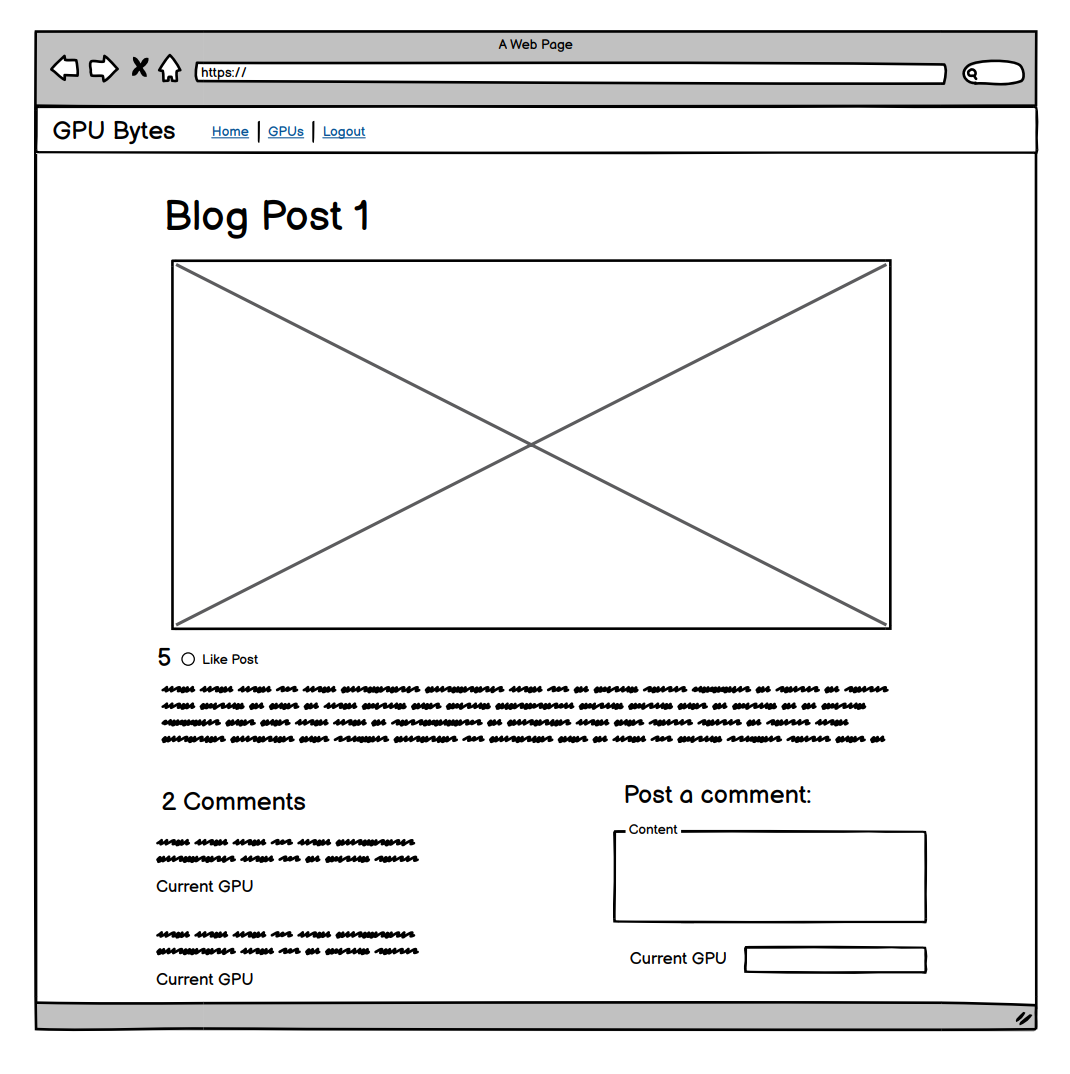
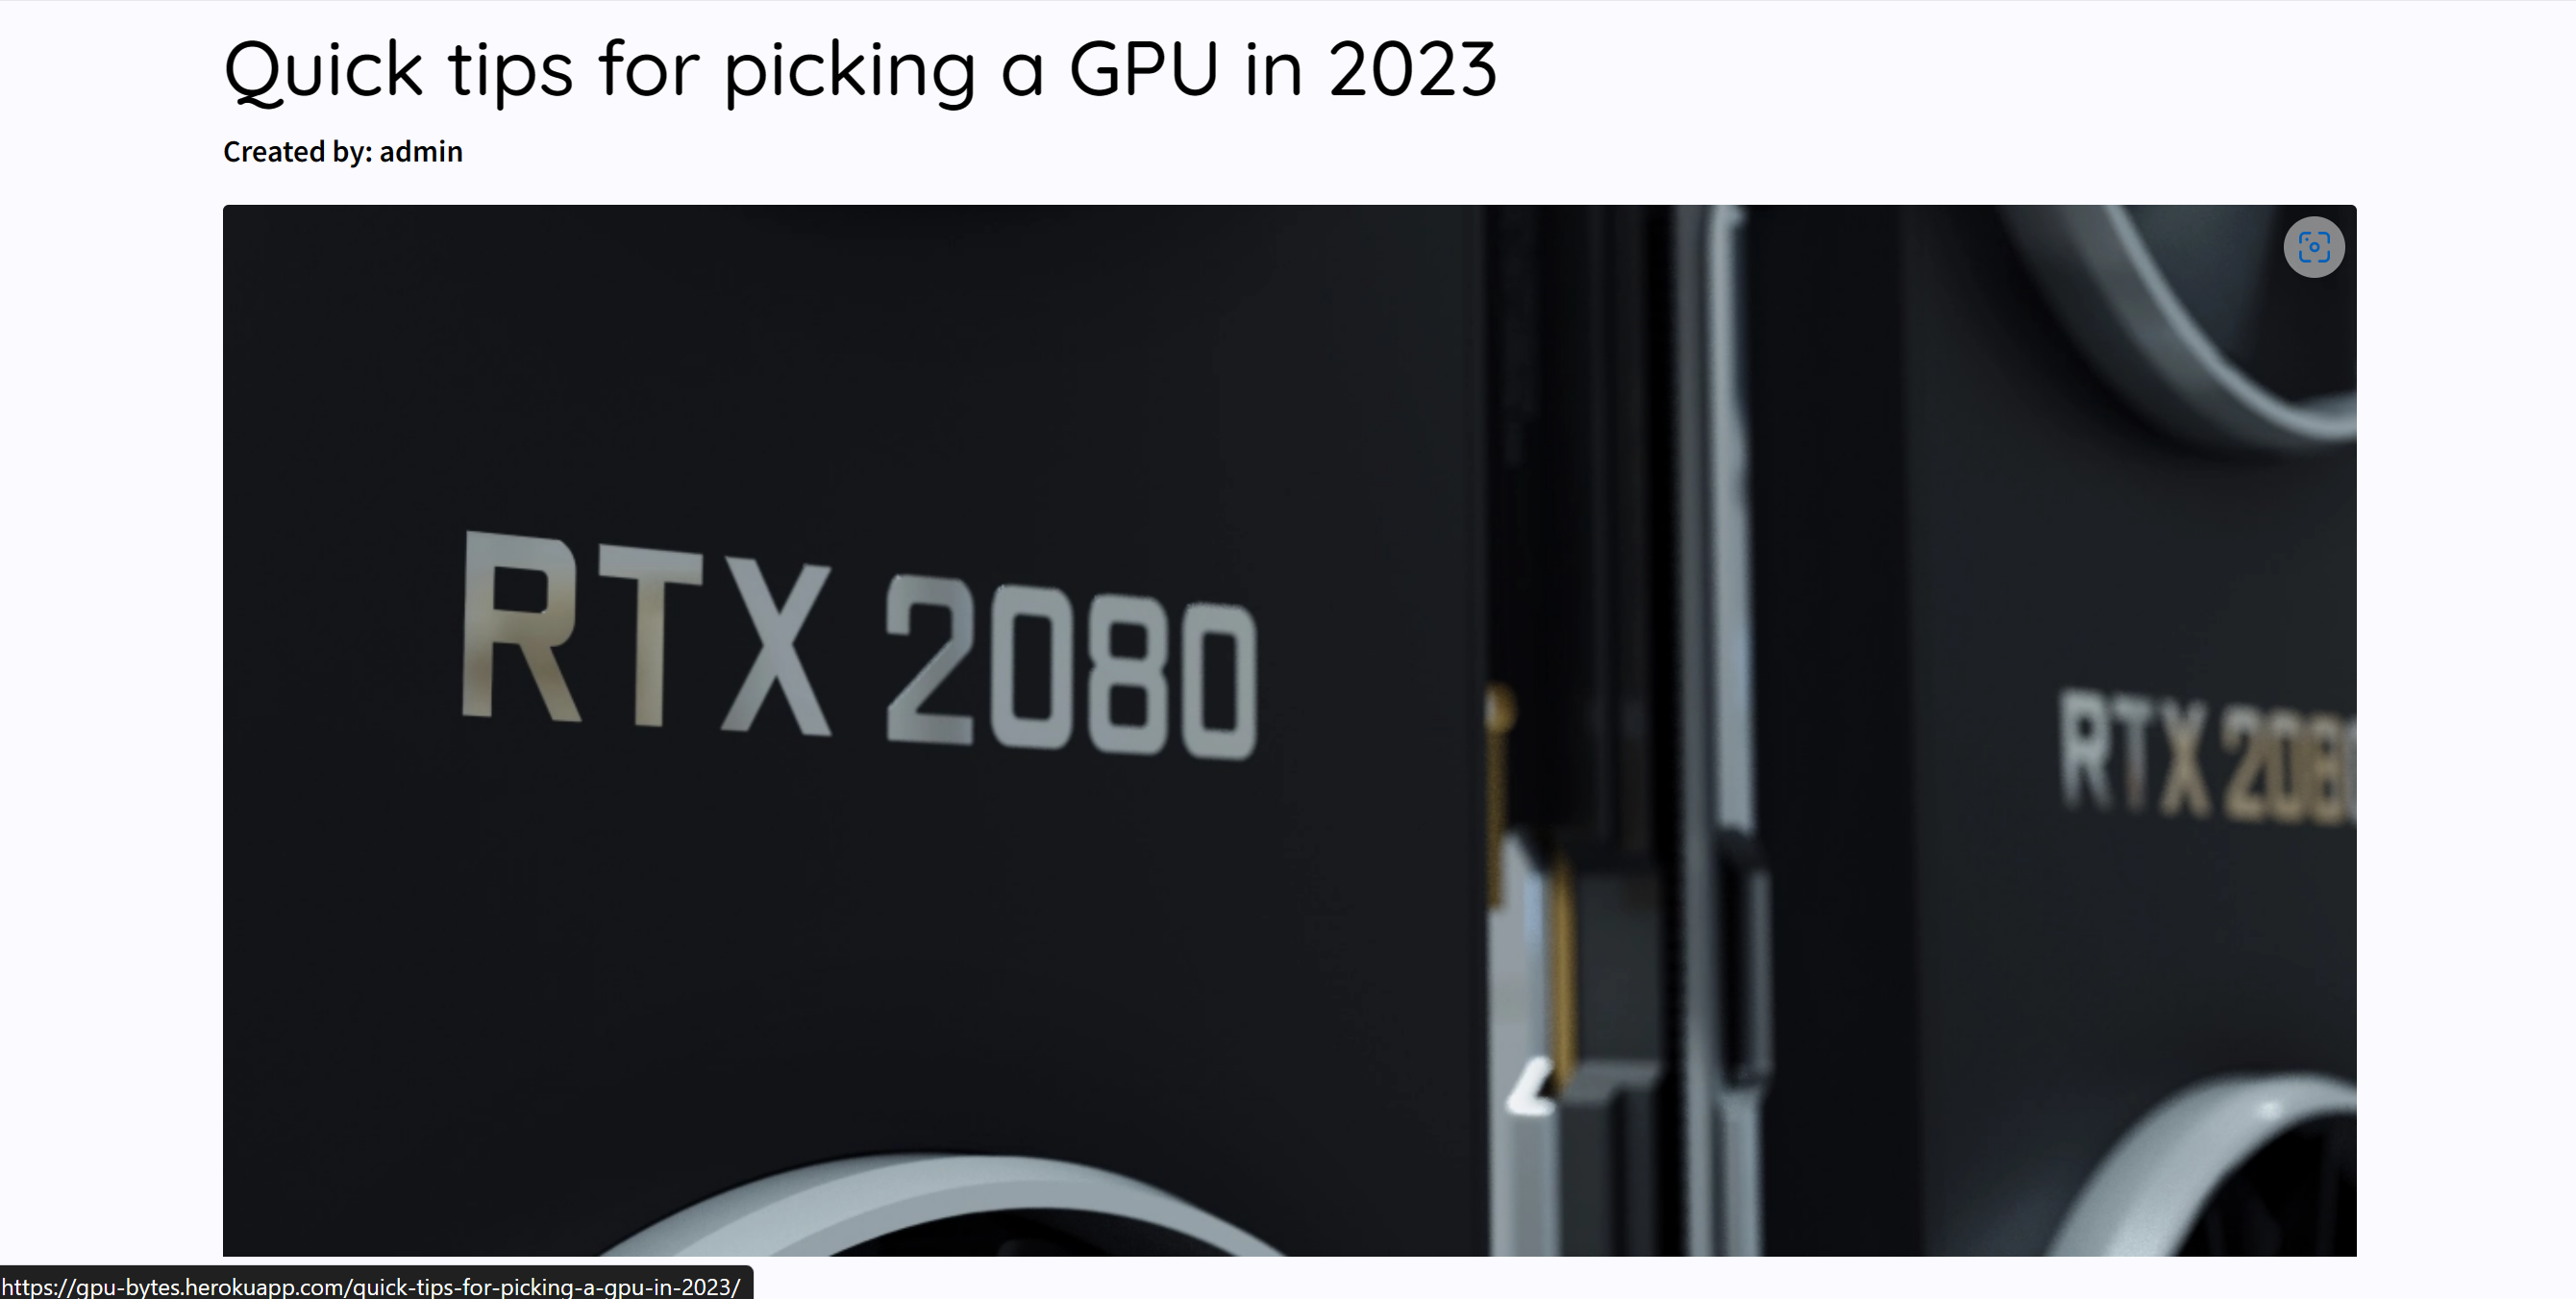
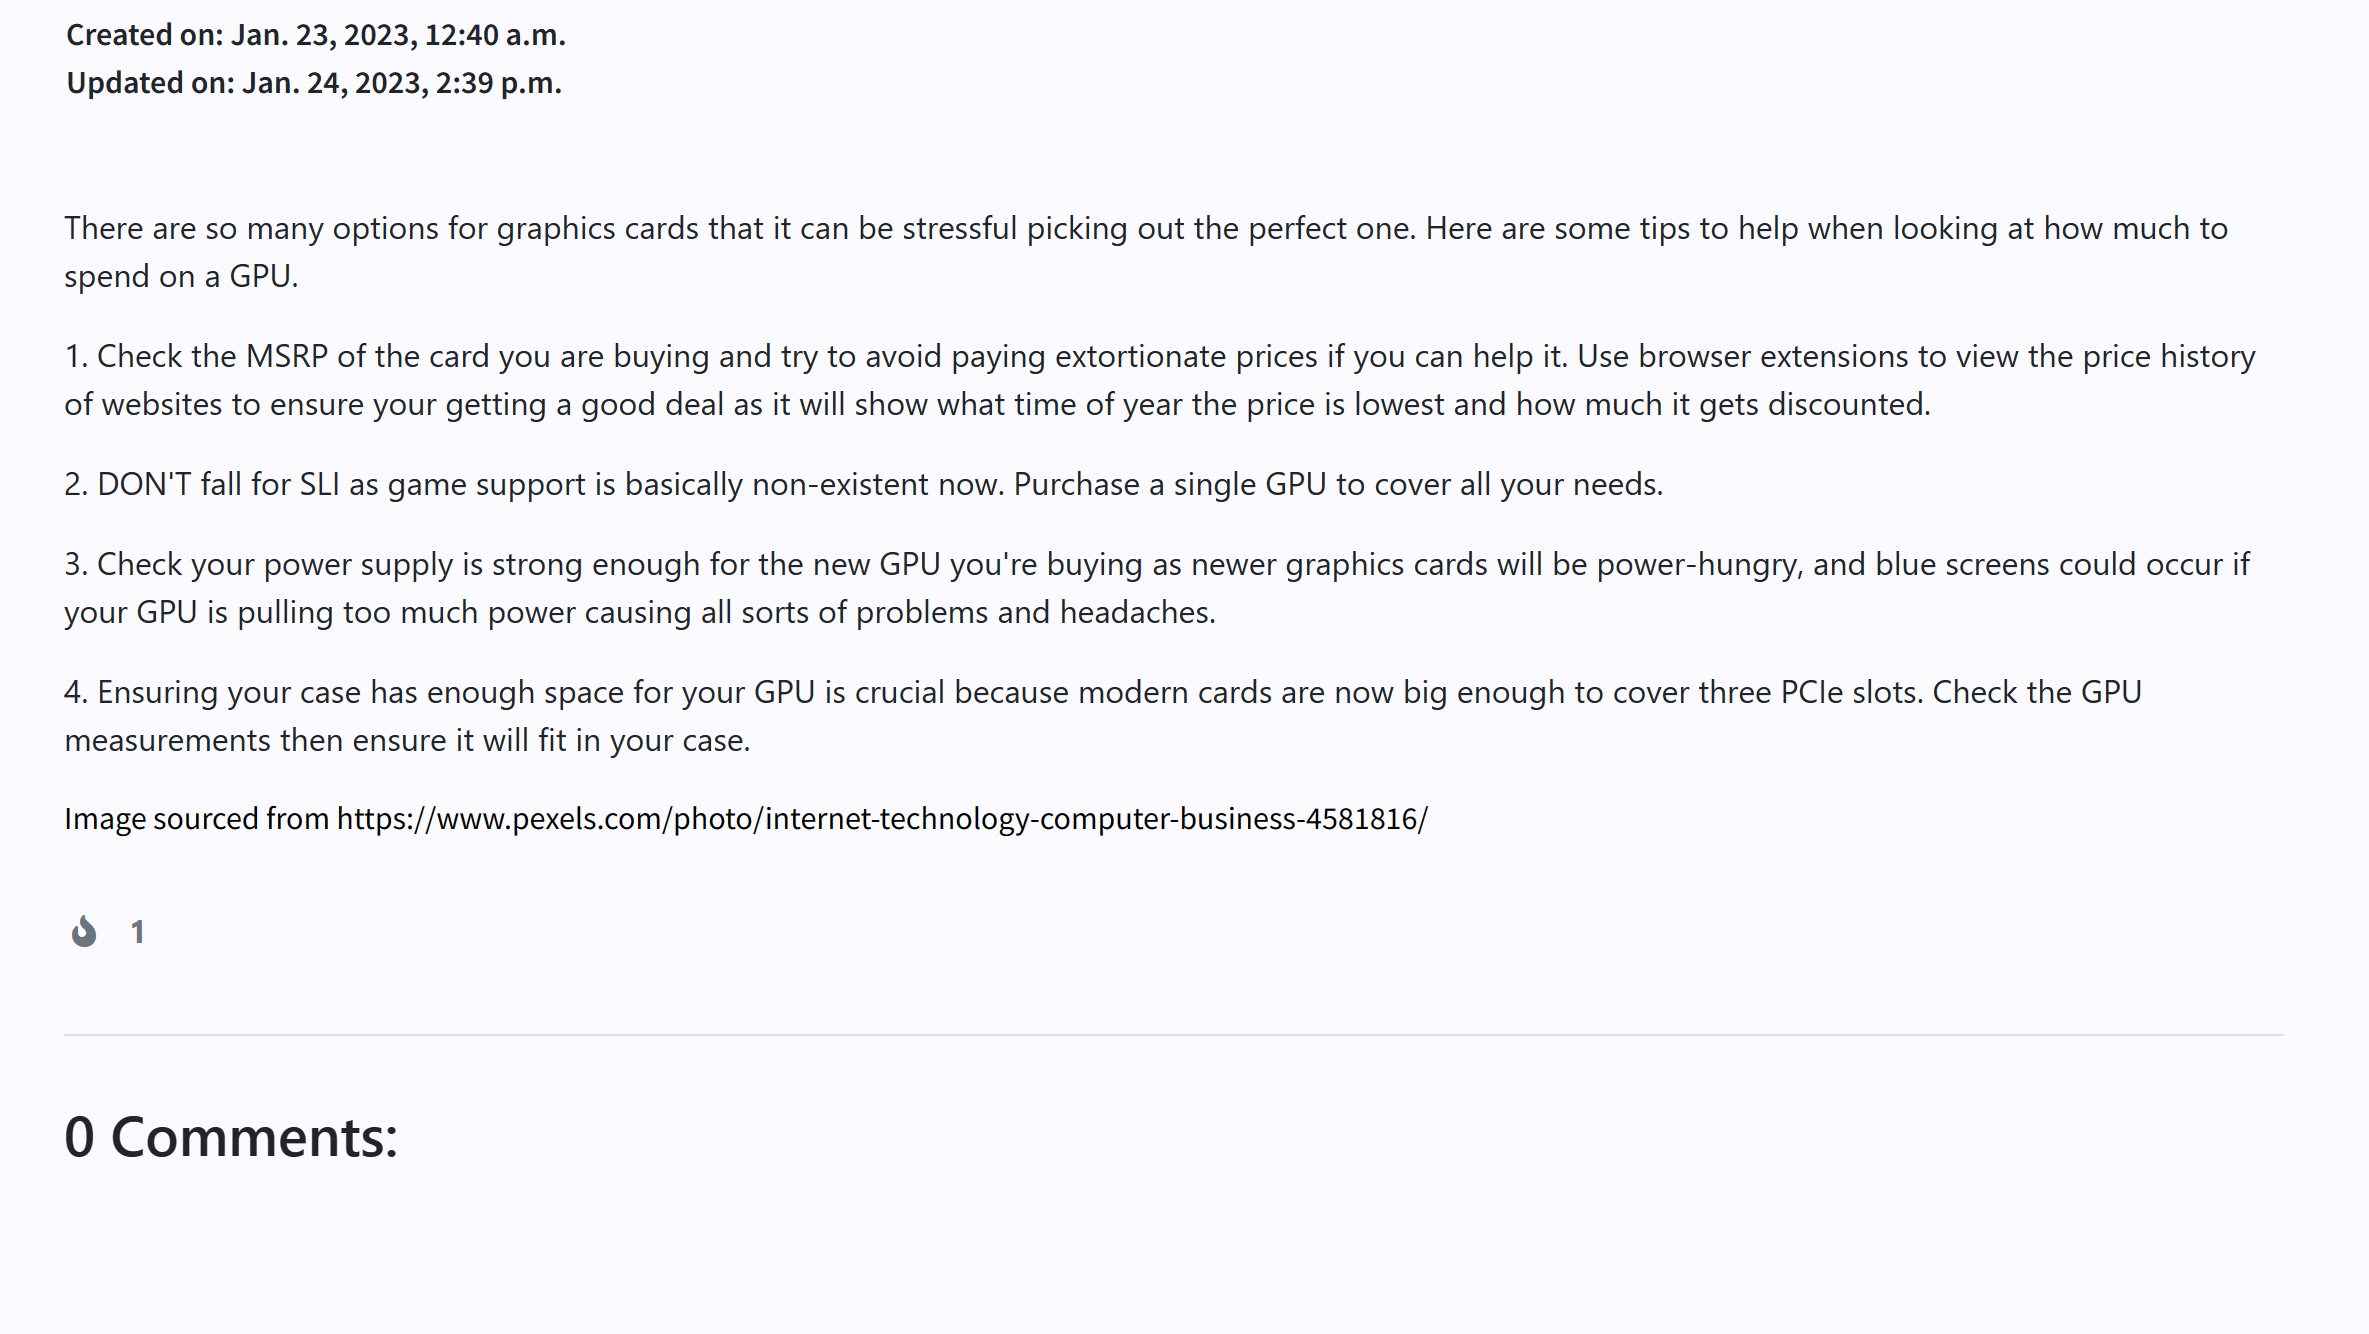
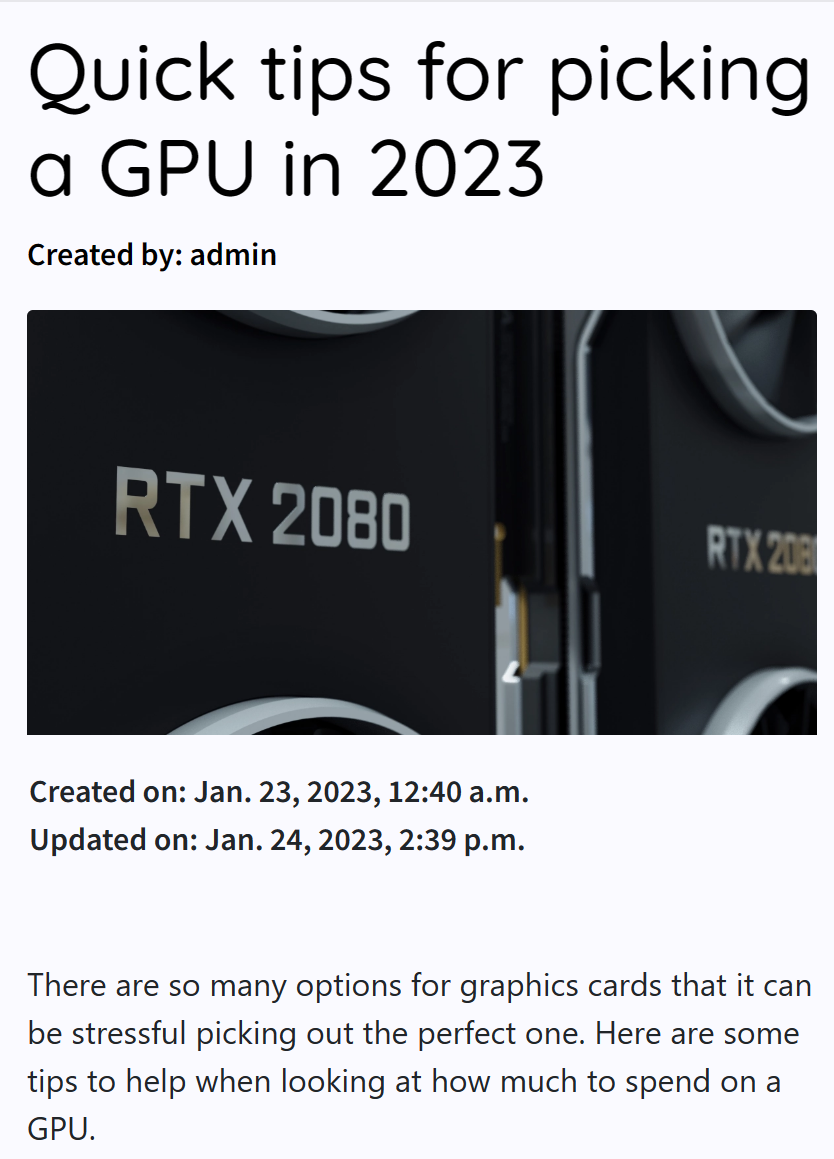
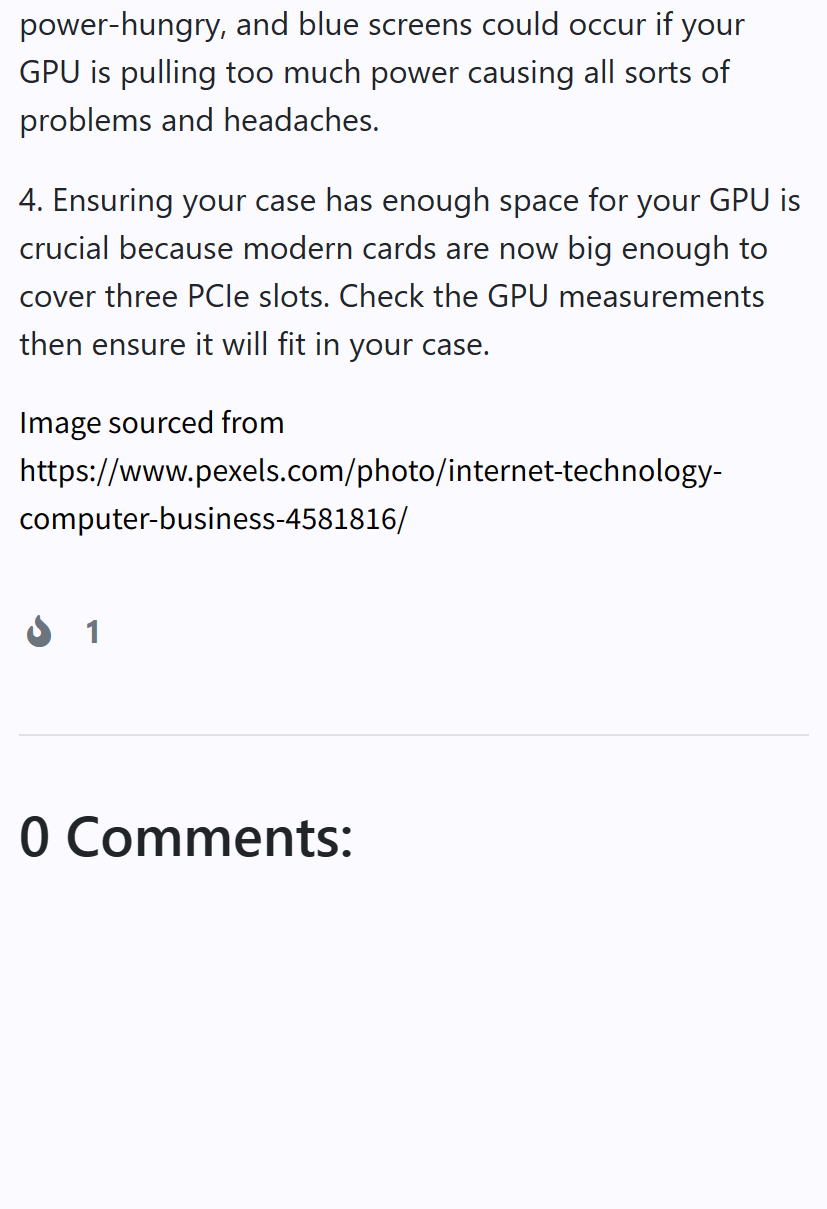
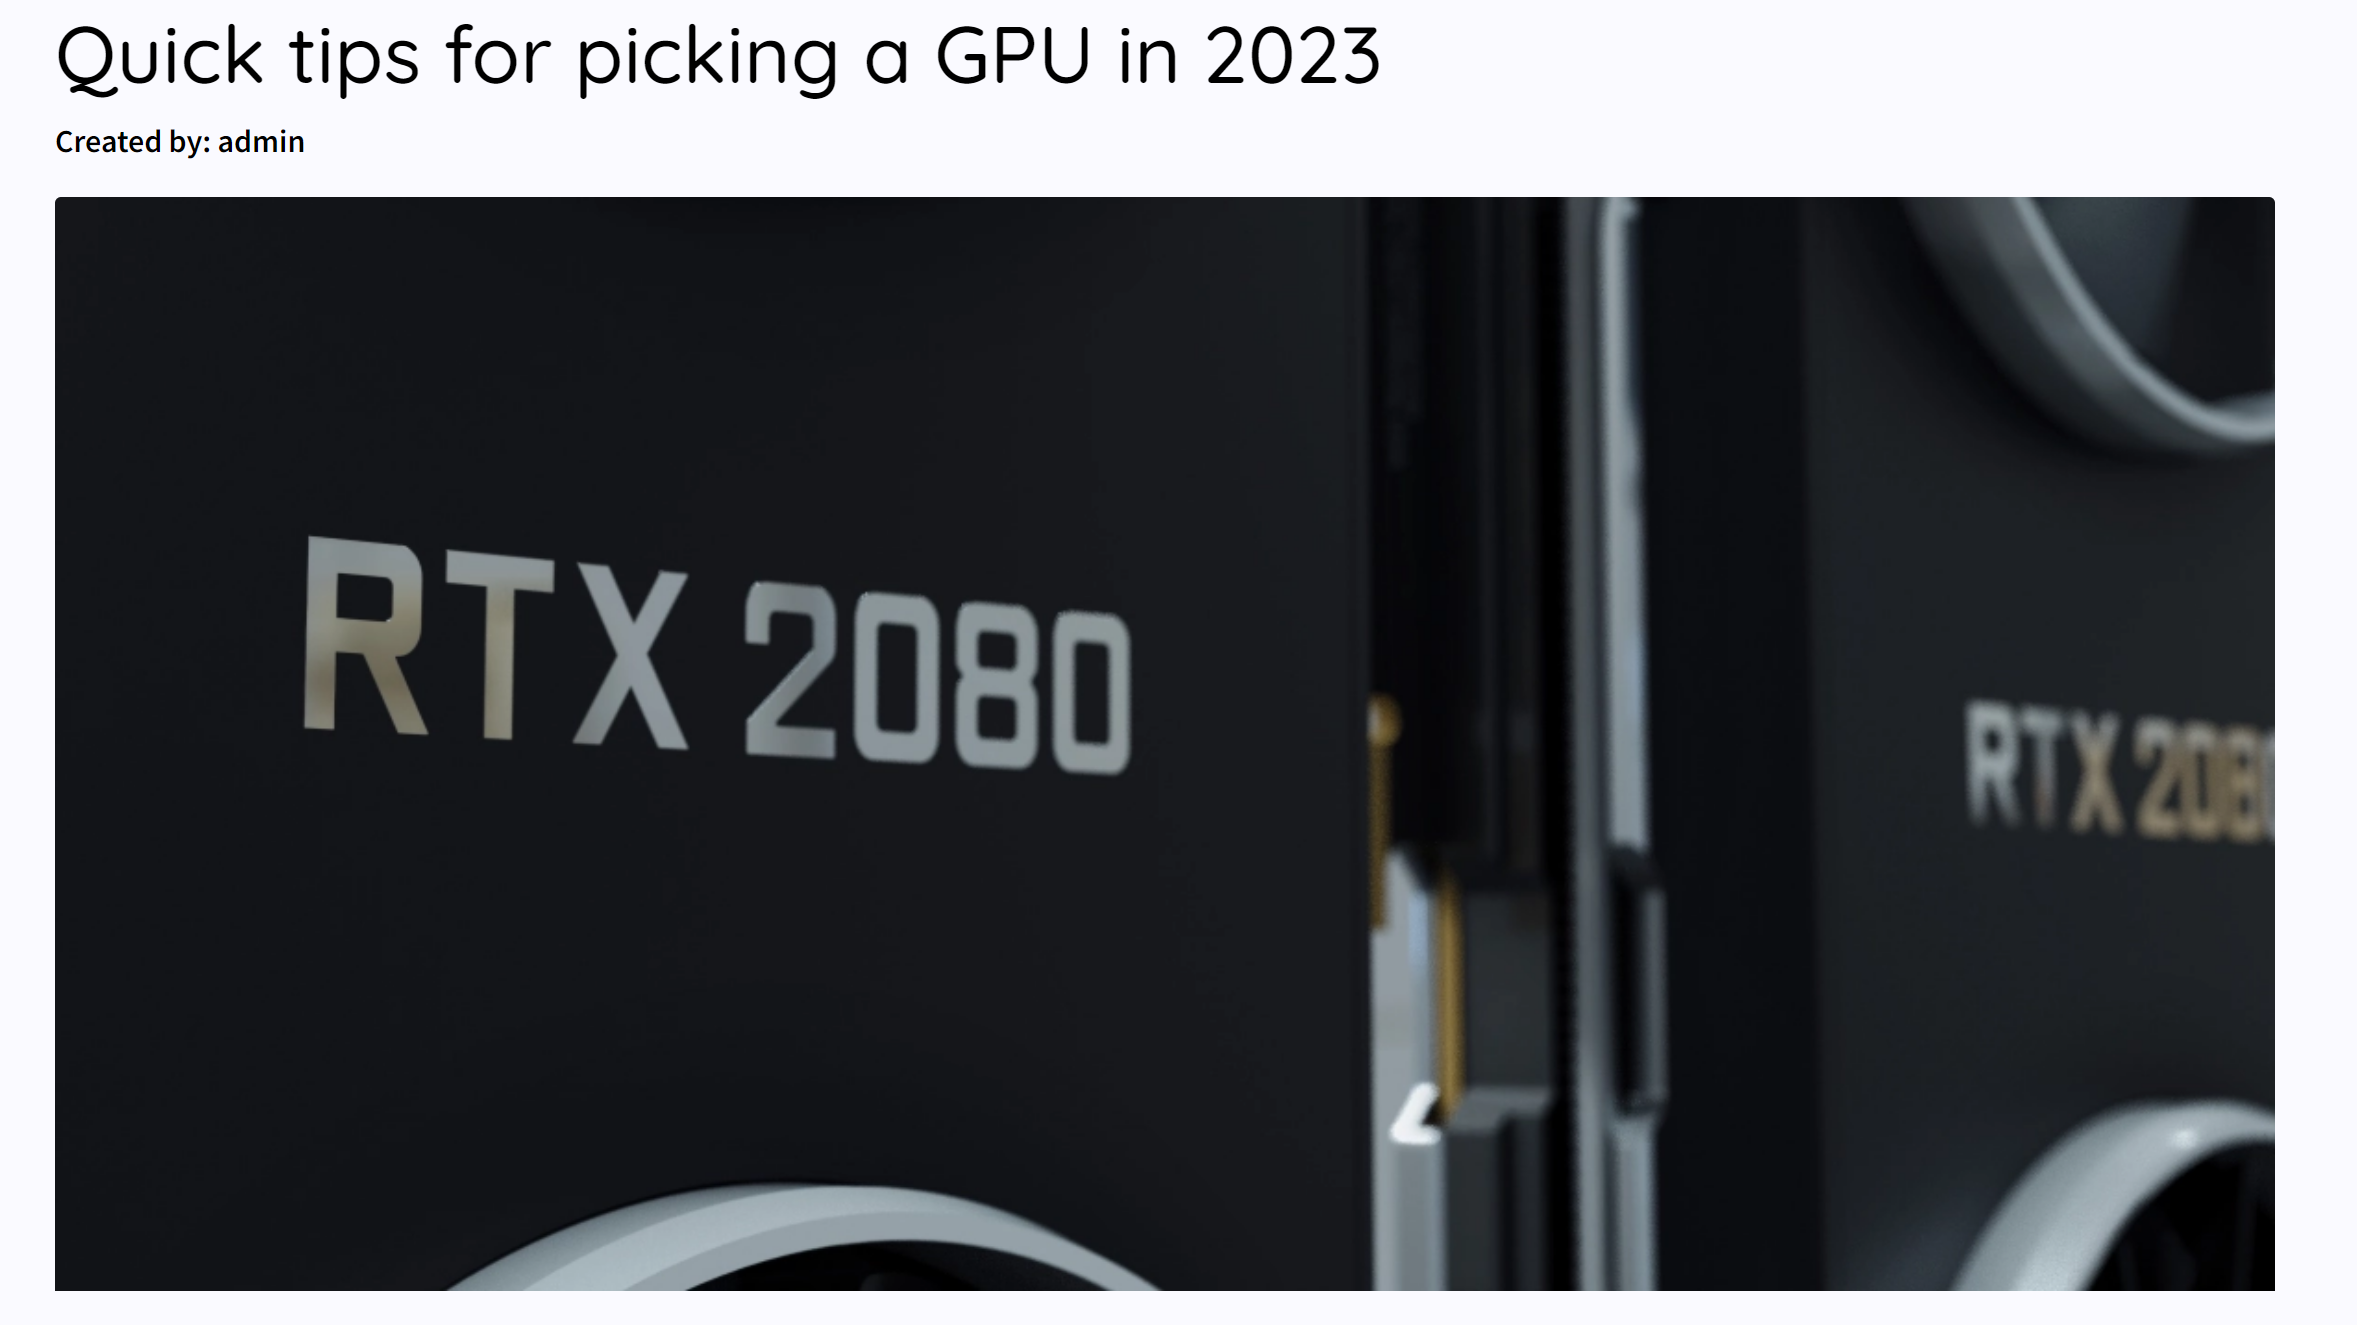
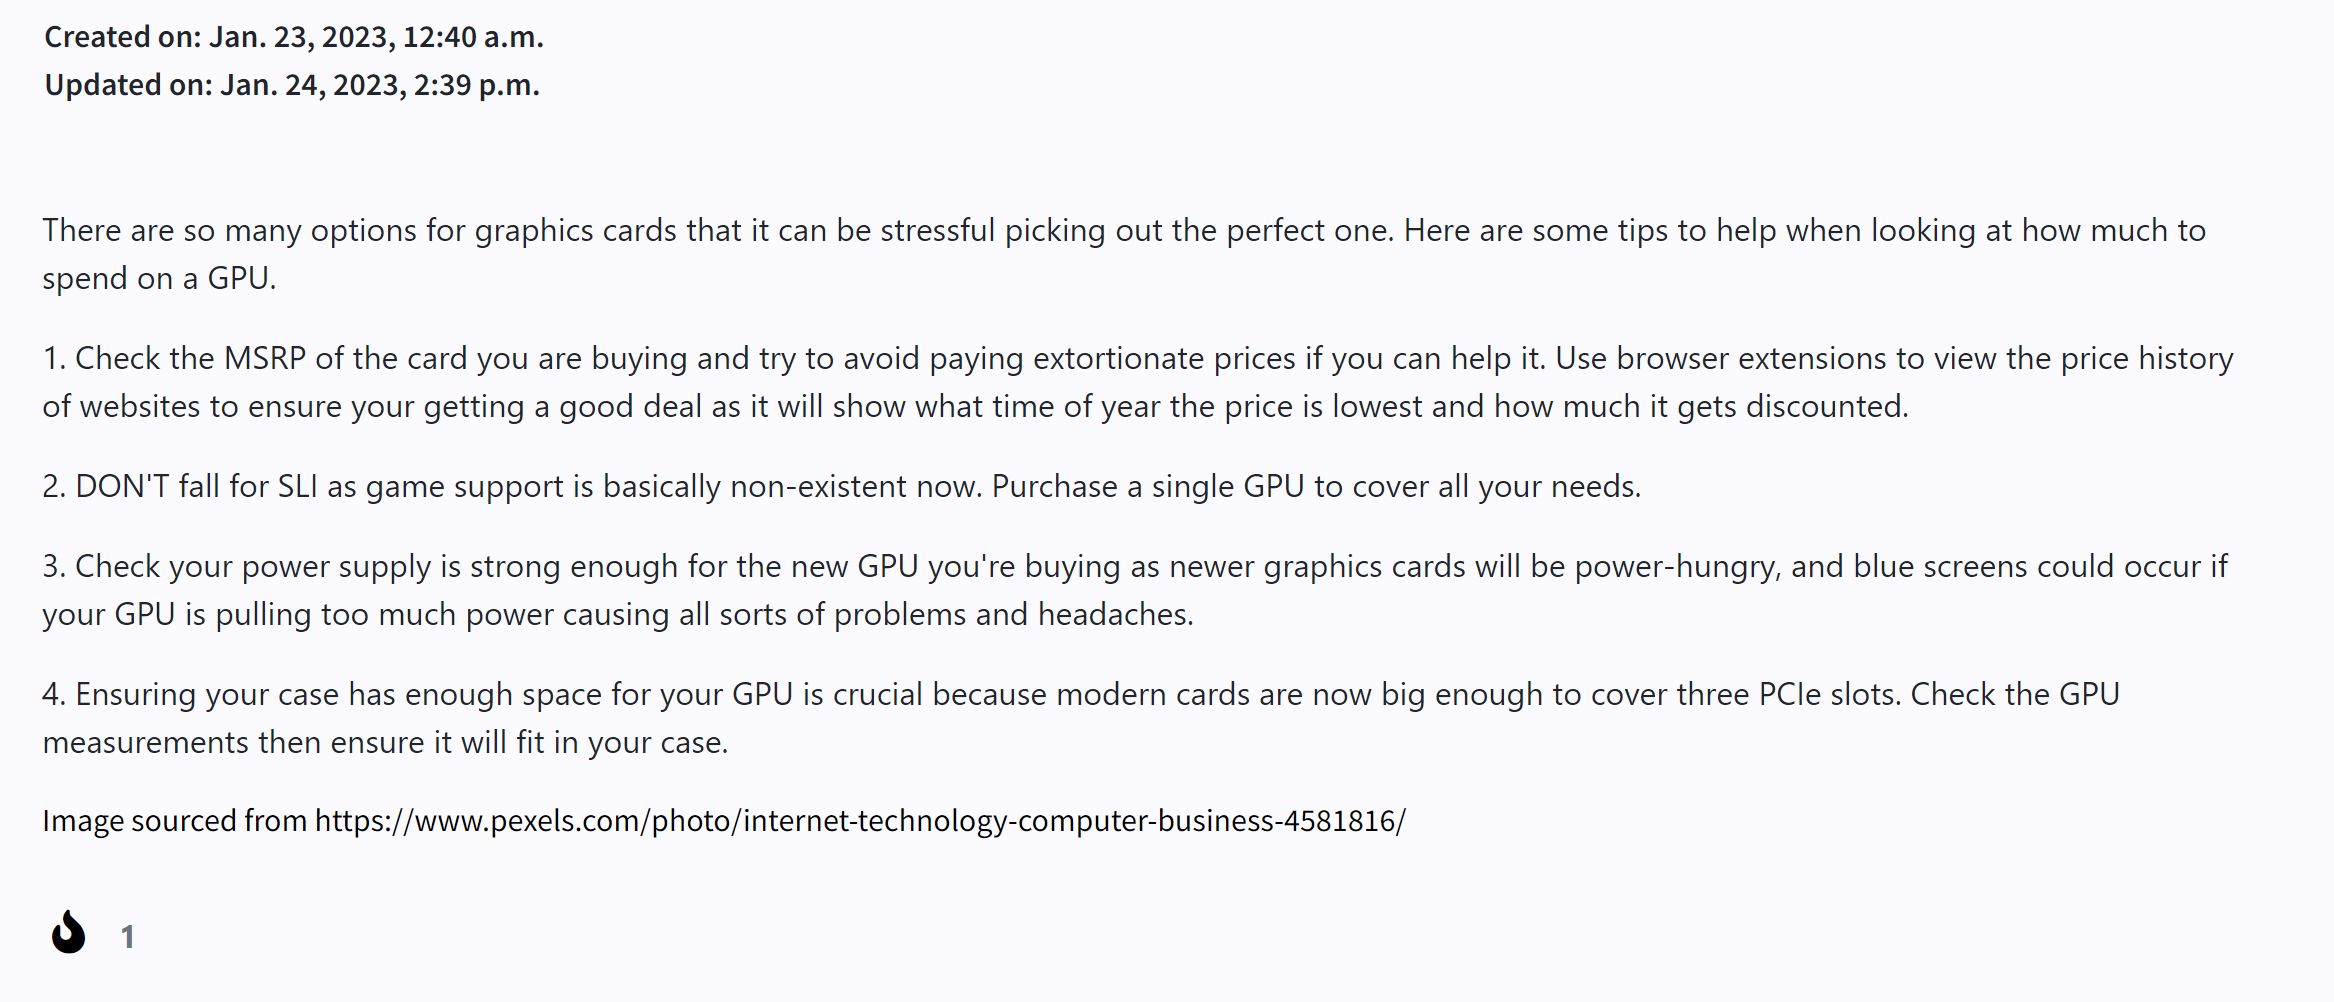
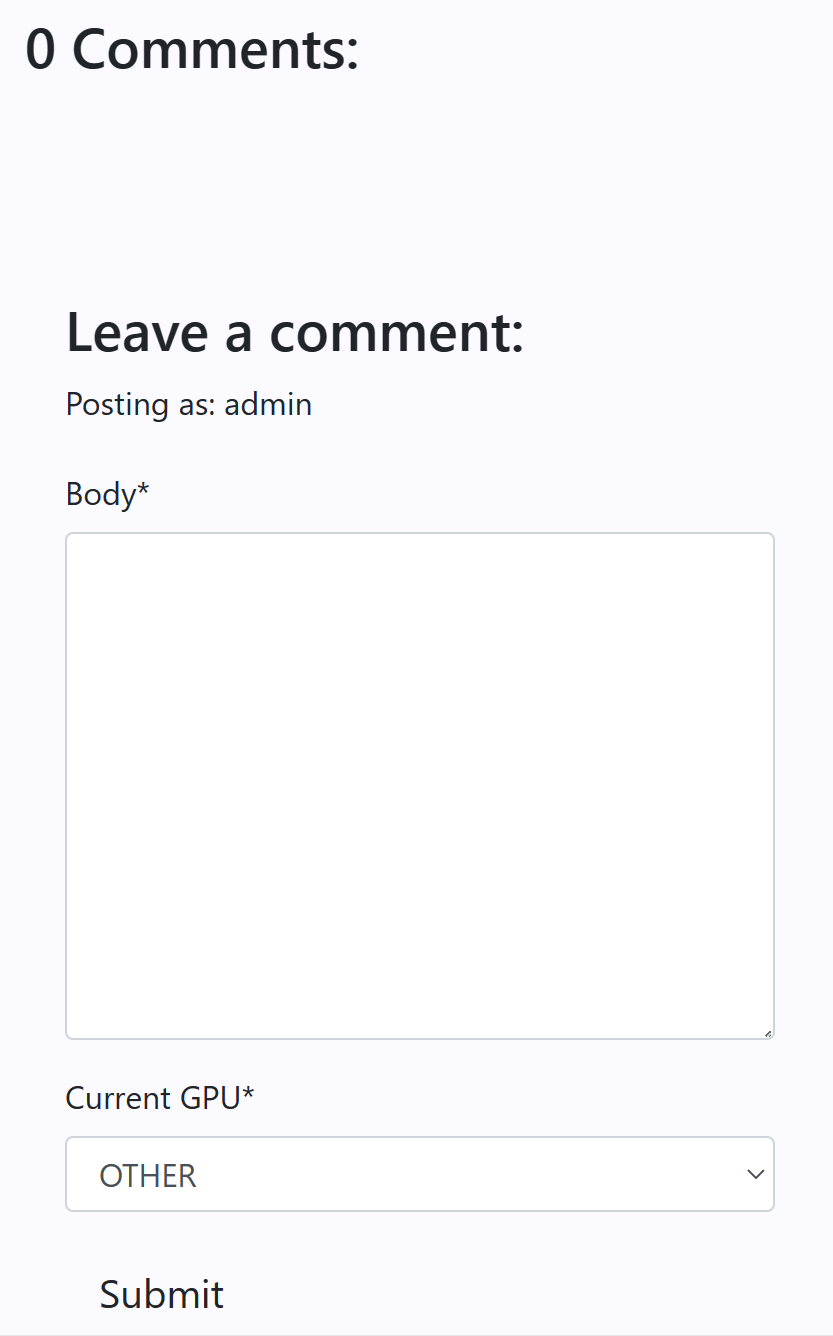
This is the post detail view when a user clicks on a post that shows the post image and content as well as letting authenticated users leave a comment and like the post.
Unauthenticated User
- Desktop
- Mobile
Authenticated Users
- Desktop
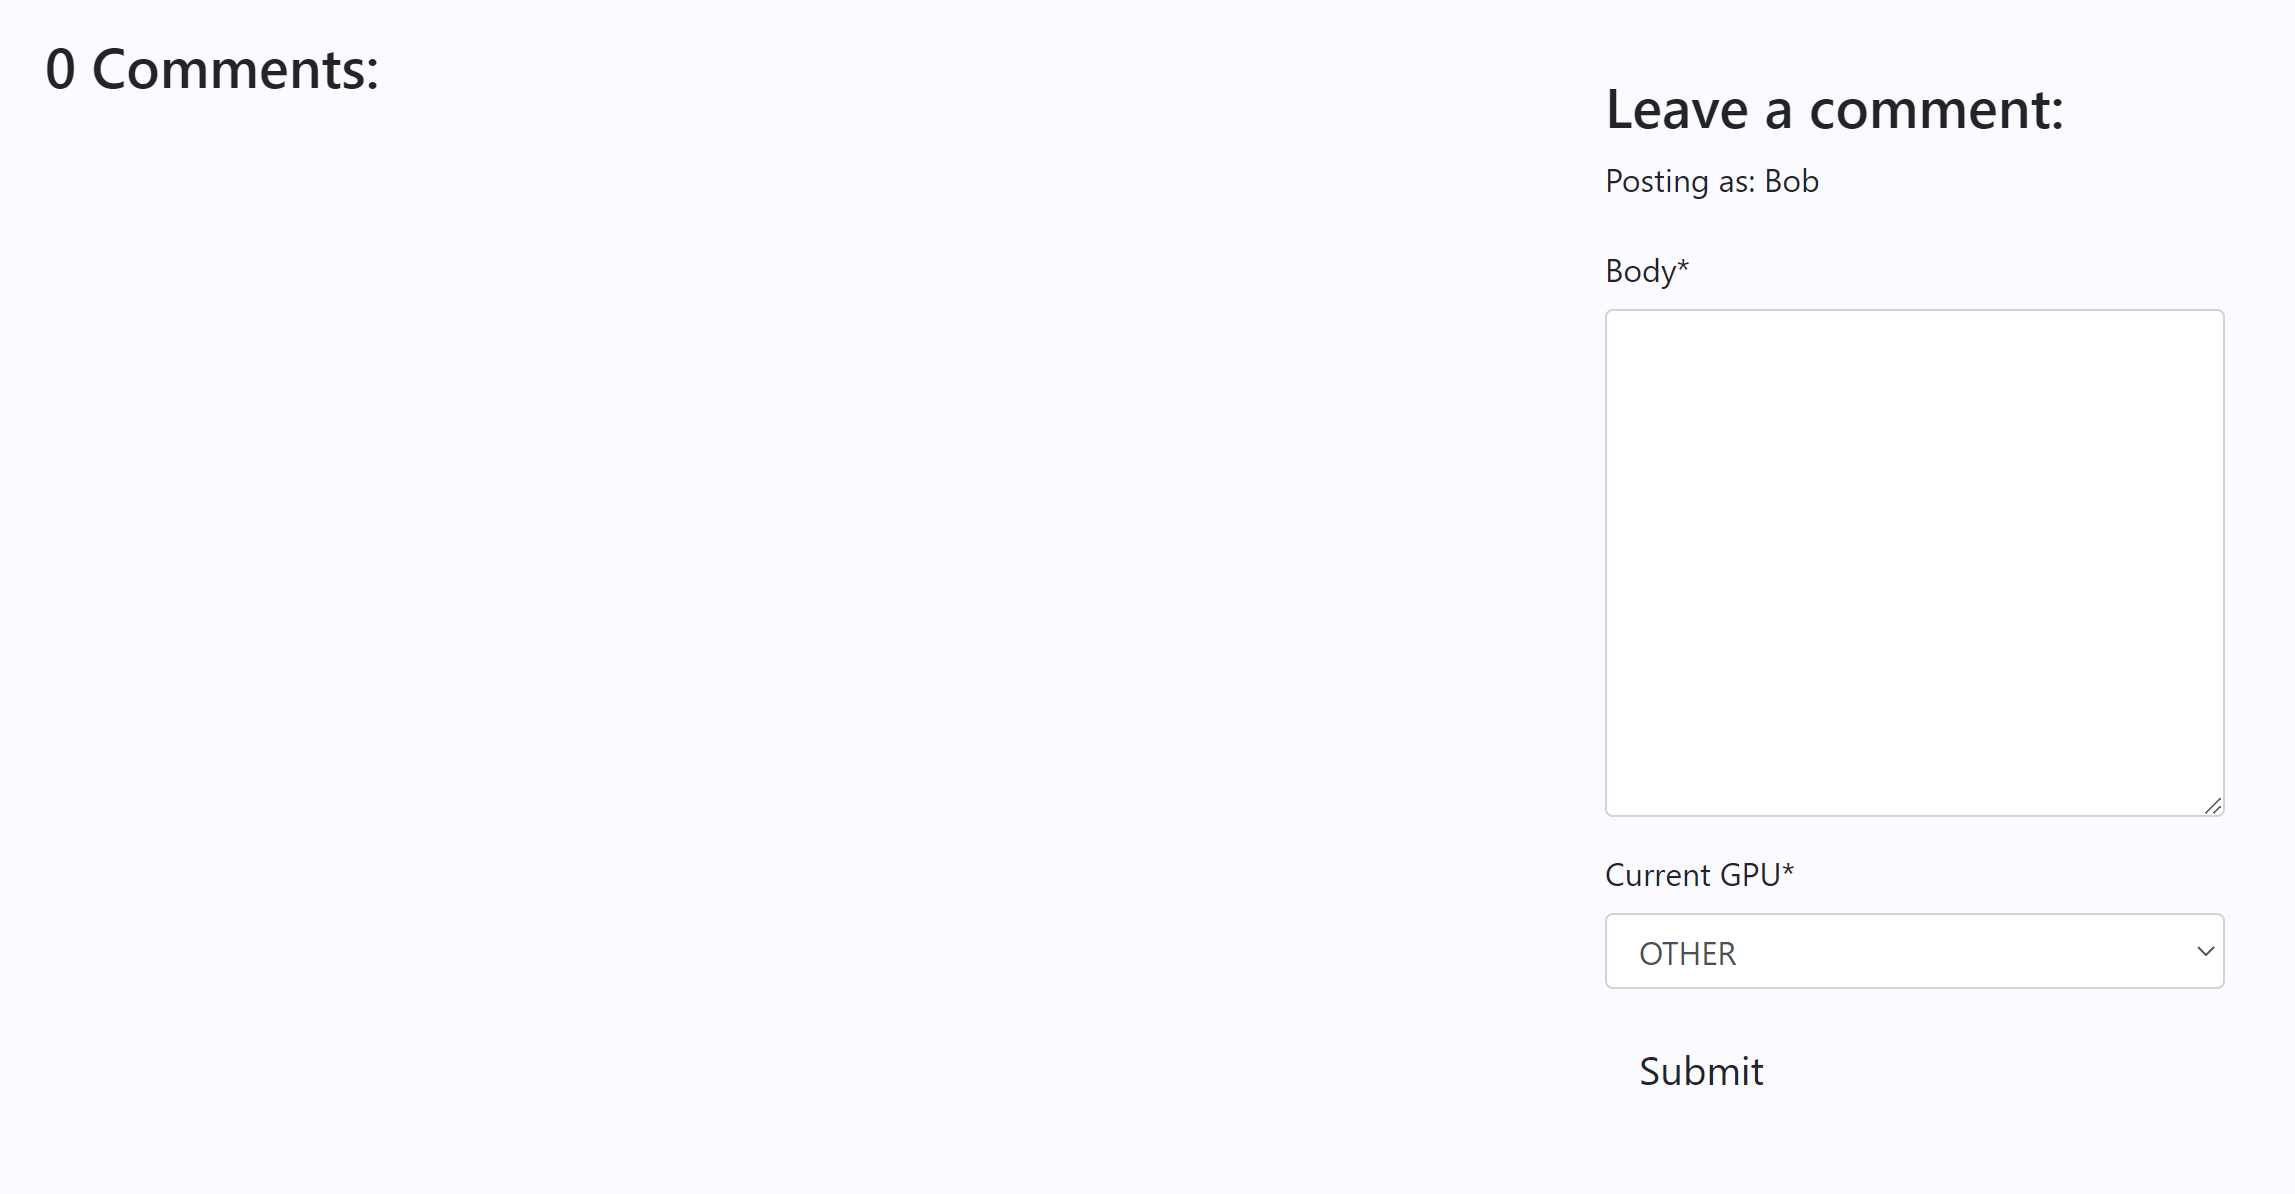
- Mobile
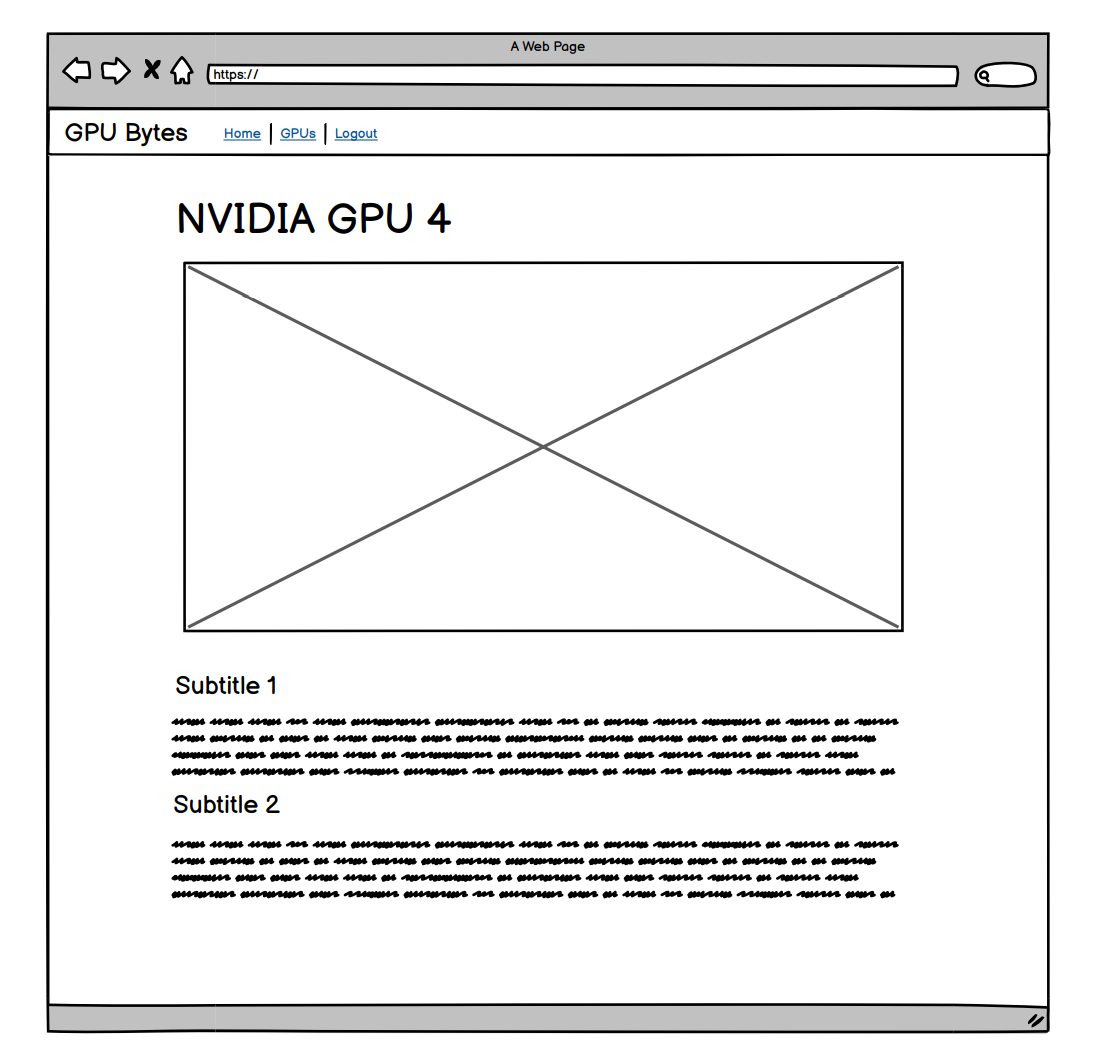
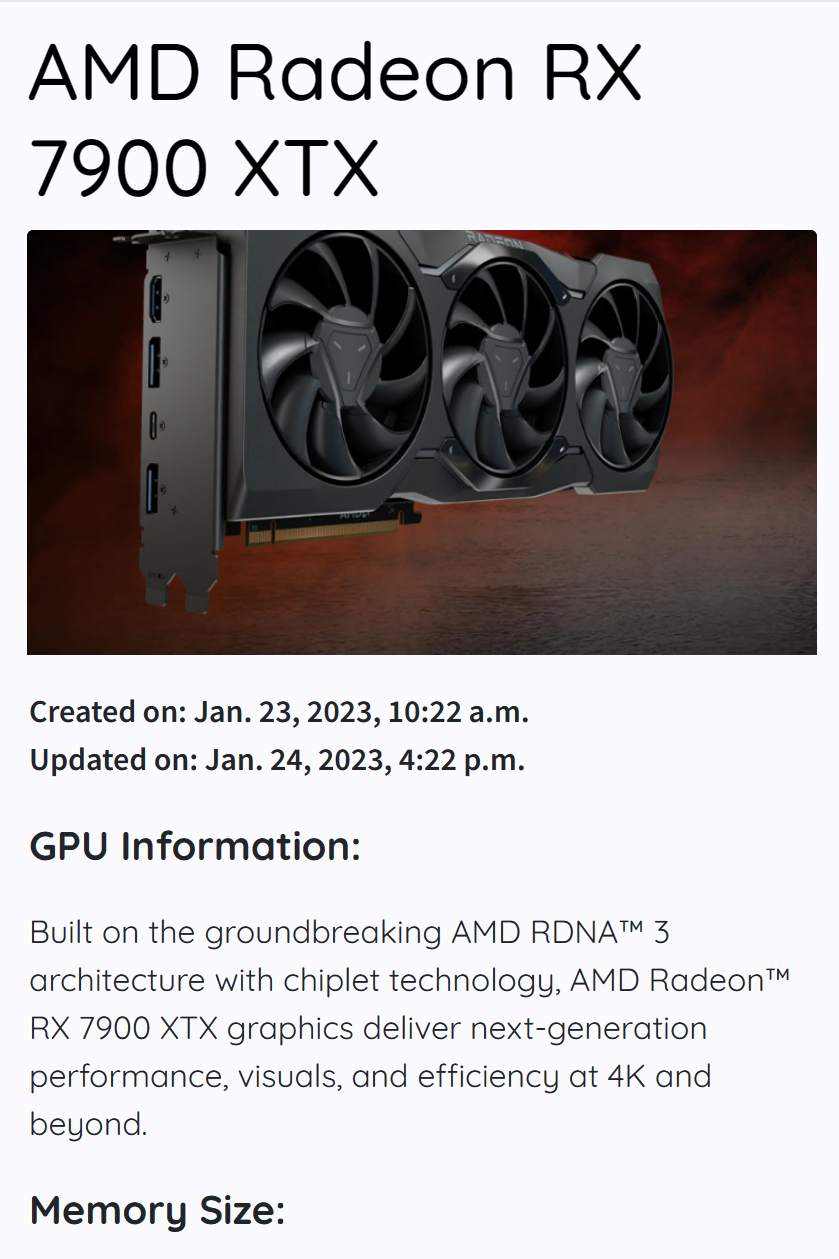
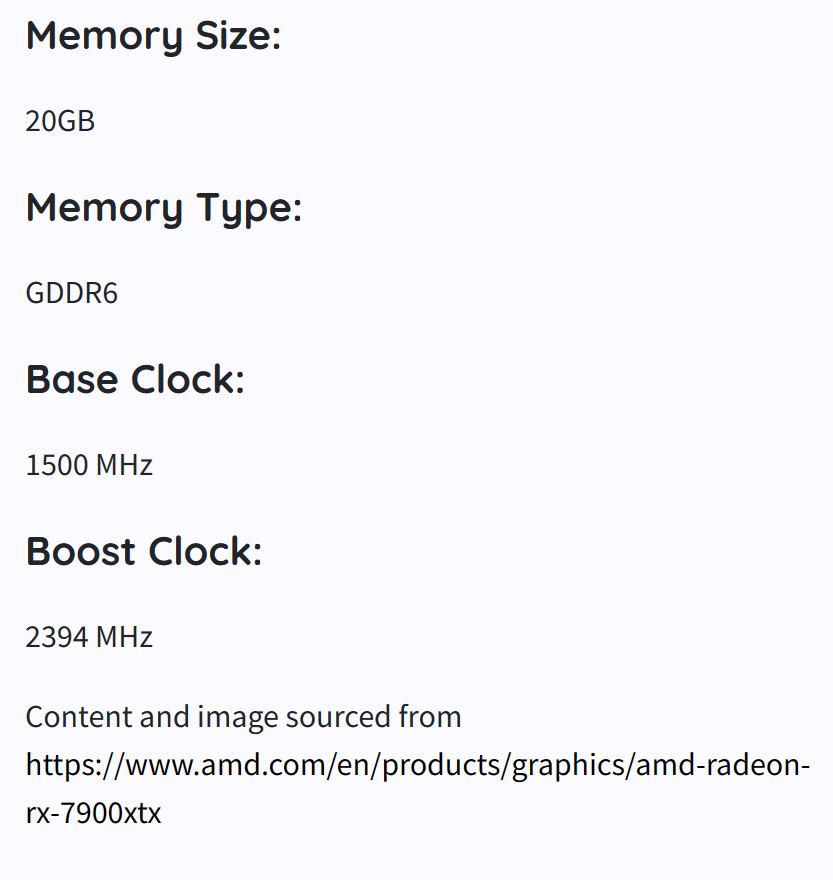
This is the GPU detail view after a user clicks on a GPU that shows all related content and specs for that GPU.
All Users
- Desktop
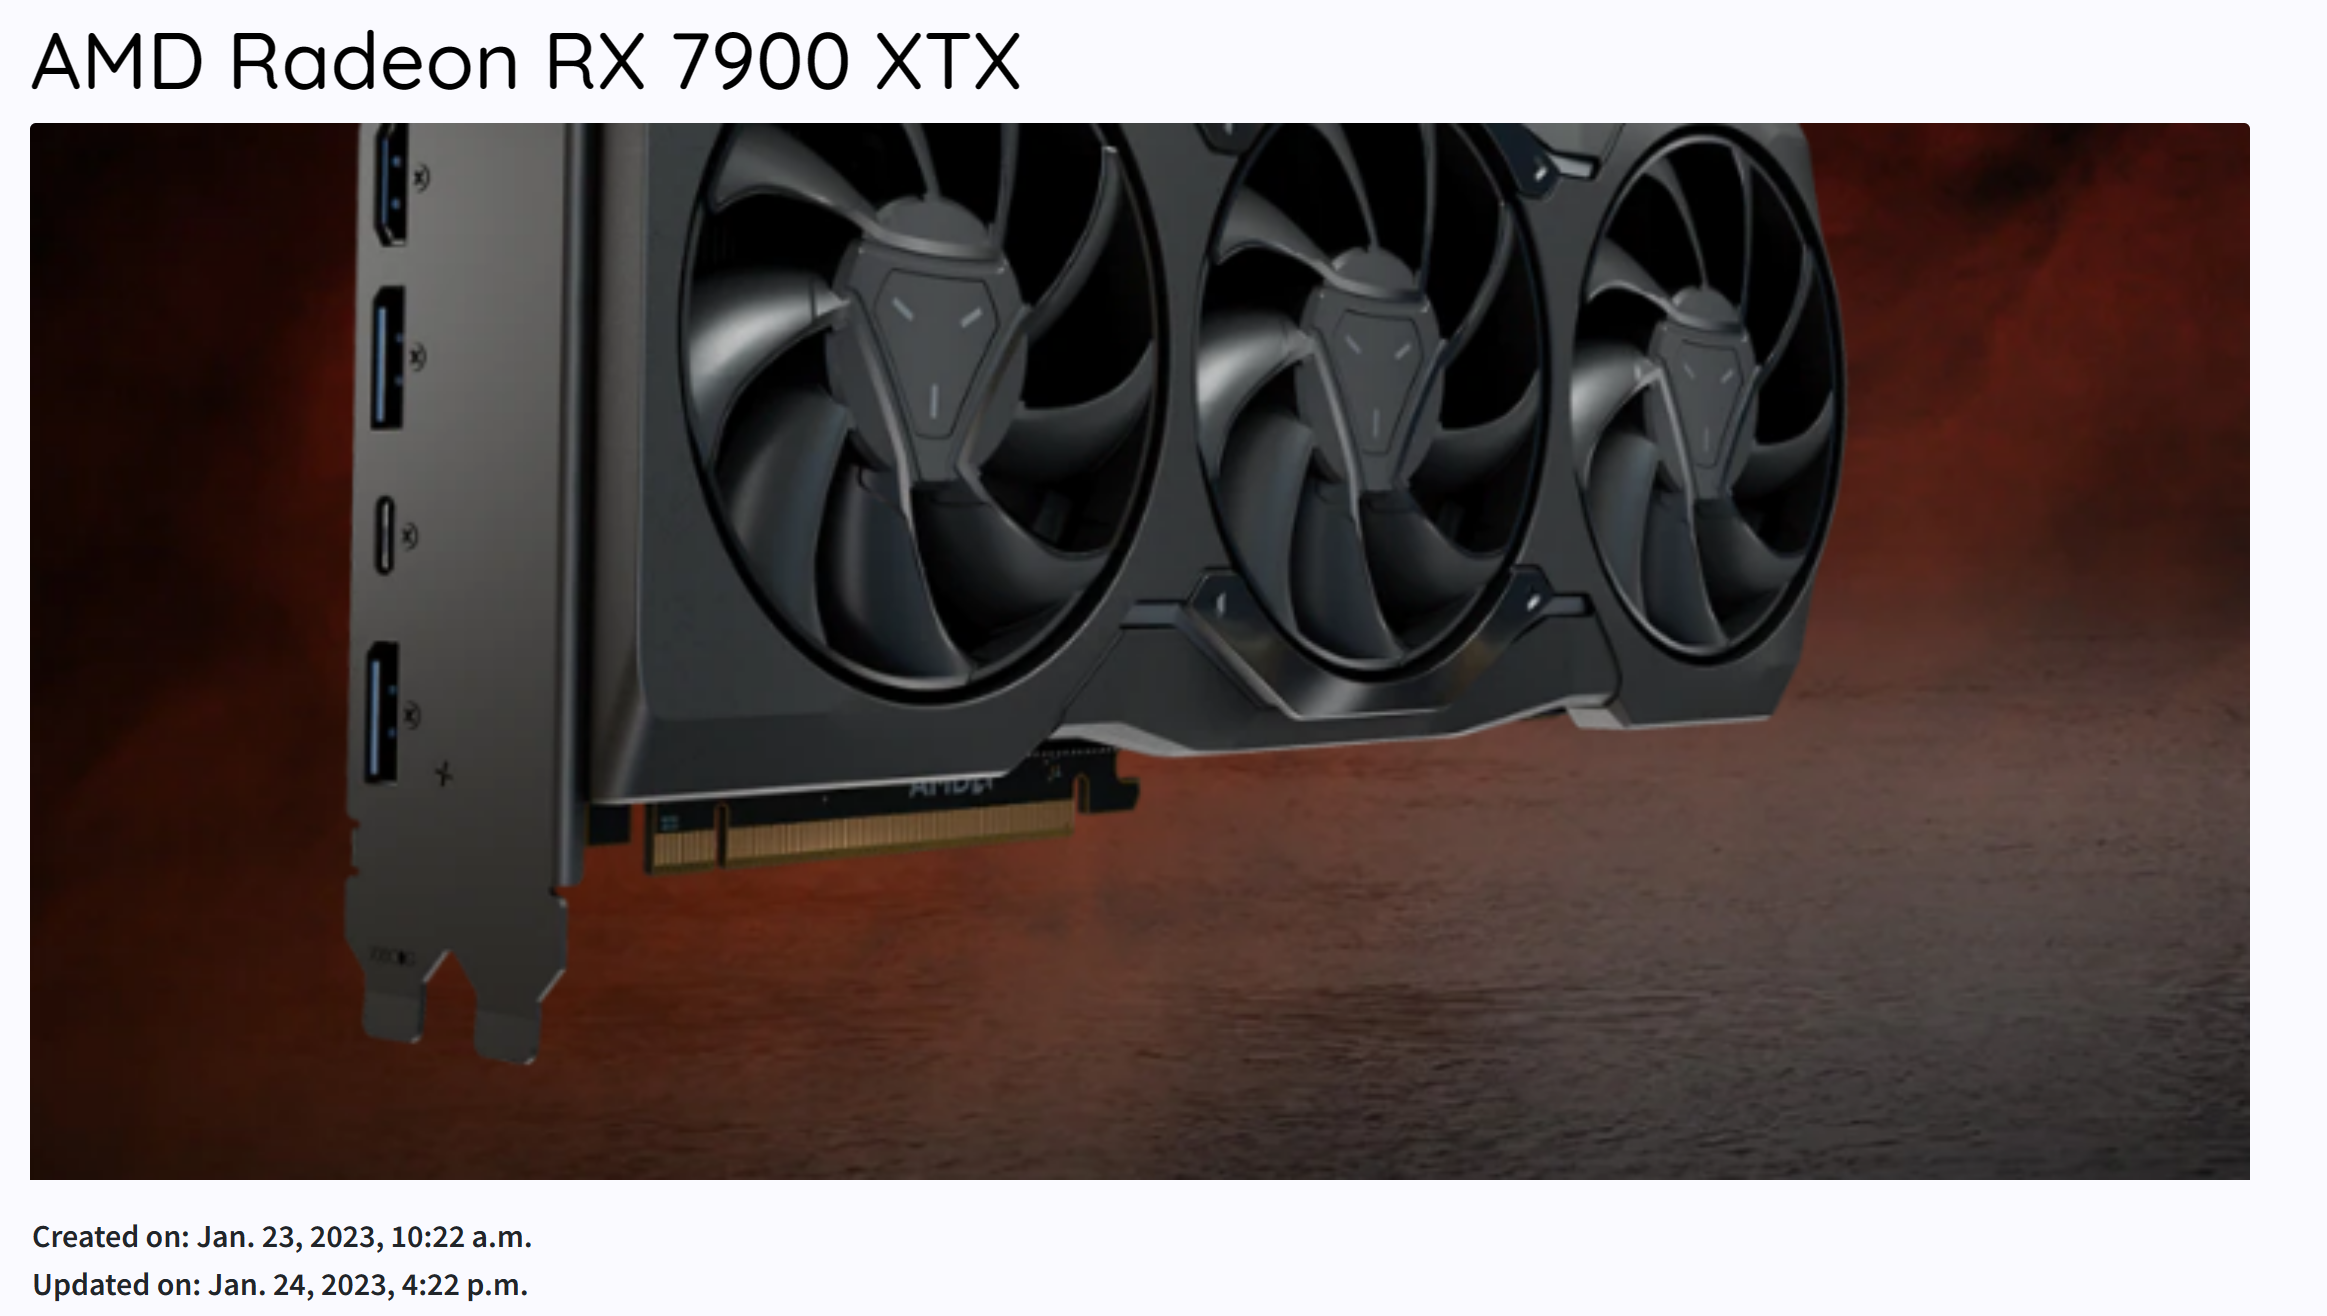

- Mobile
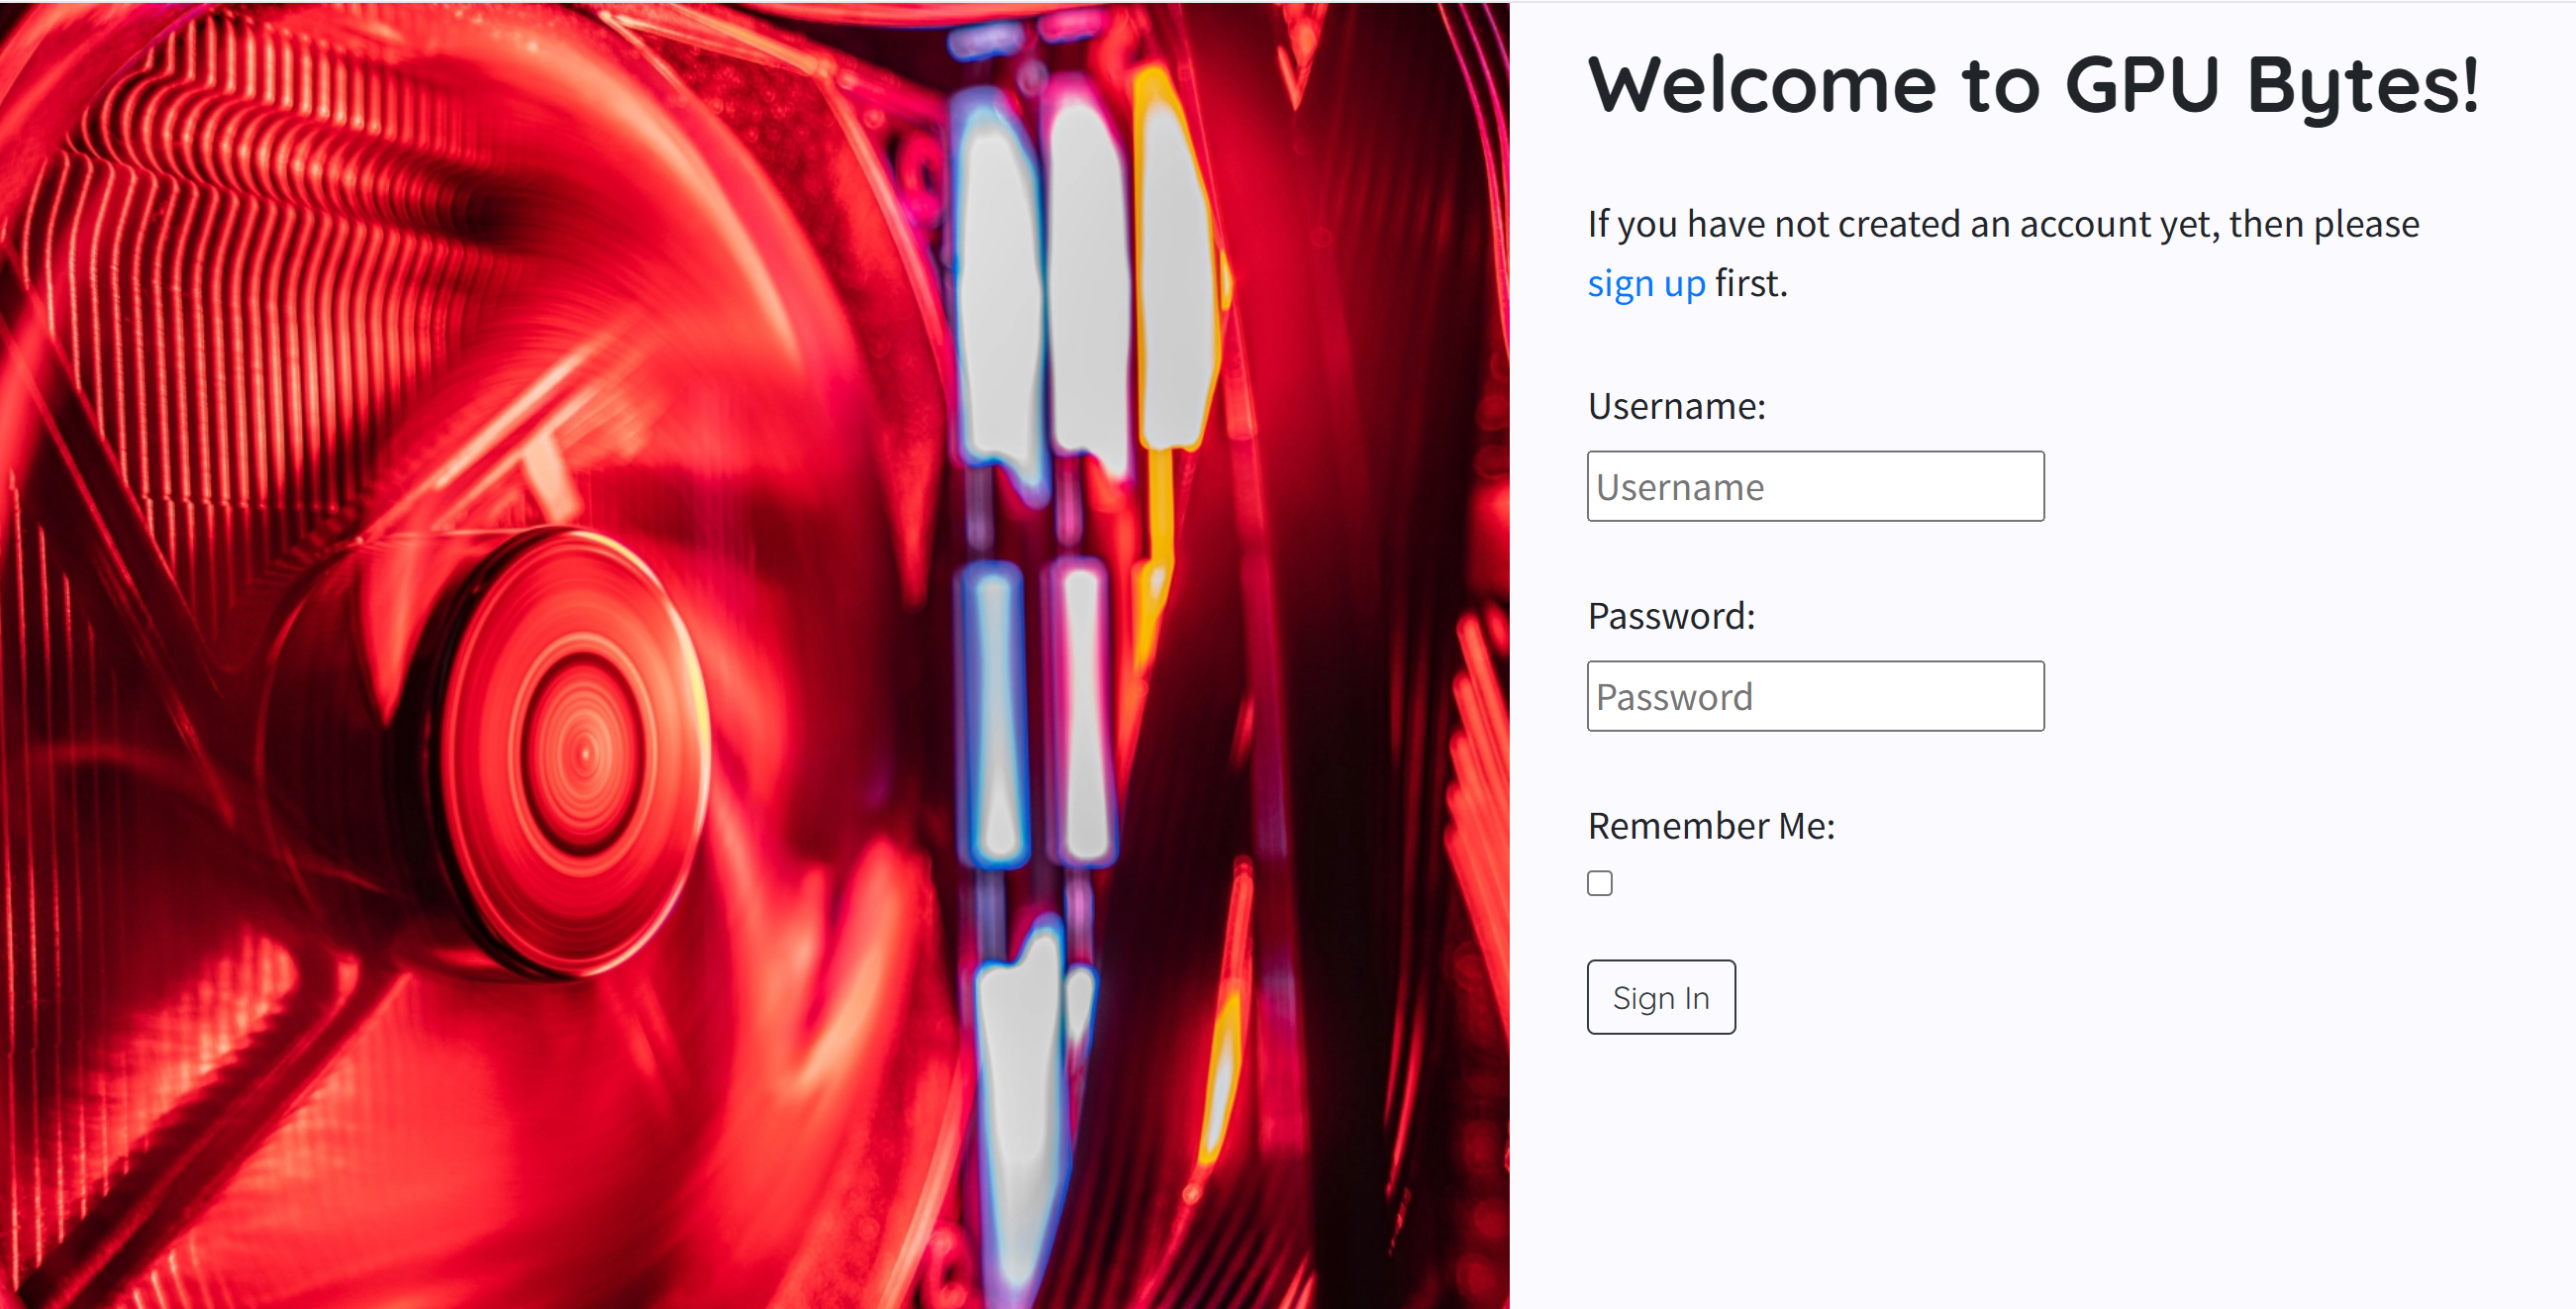
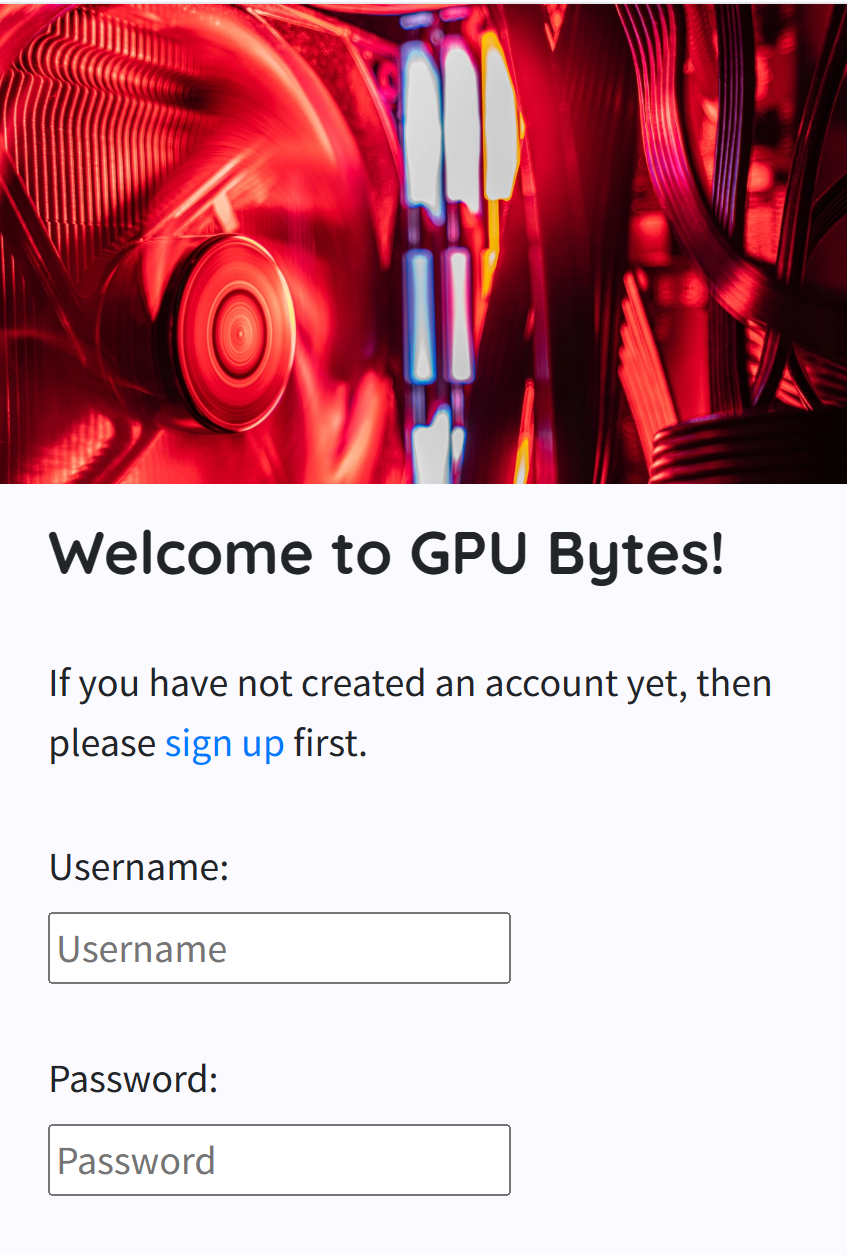
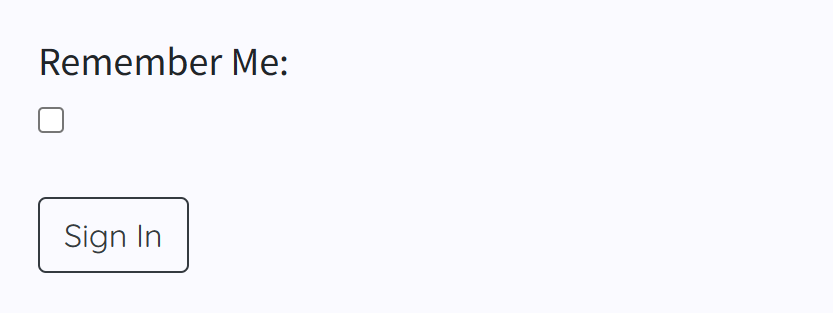
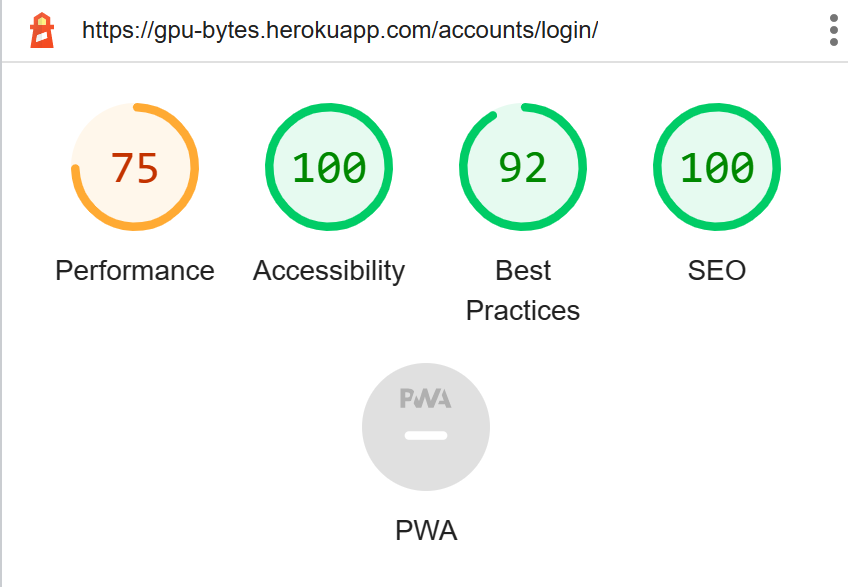
The login page that shows for all users who are not logged in, it allows them to enter a username and password.
Unauthenticated User
- Desktop
- Mobile
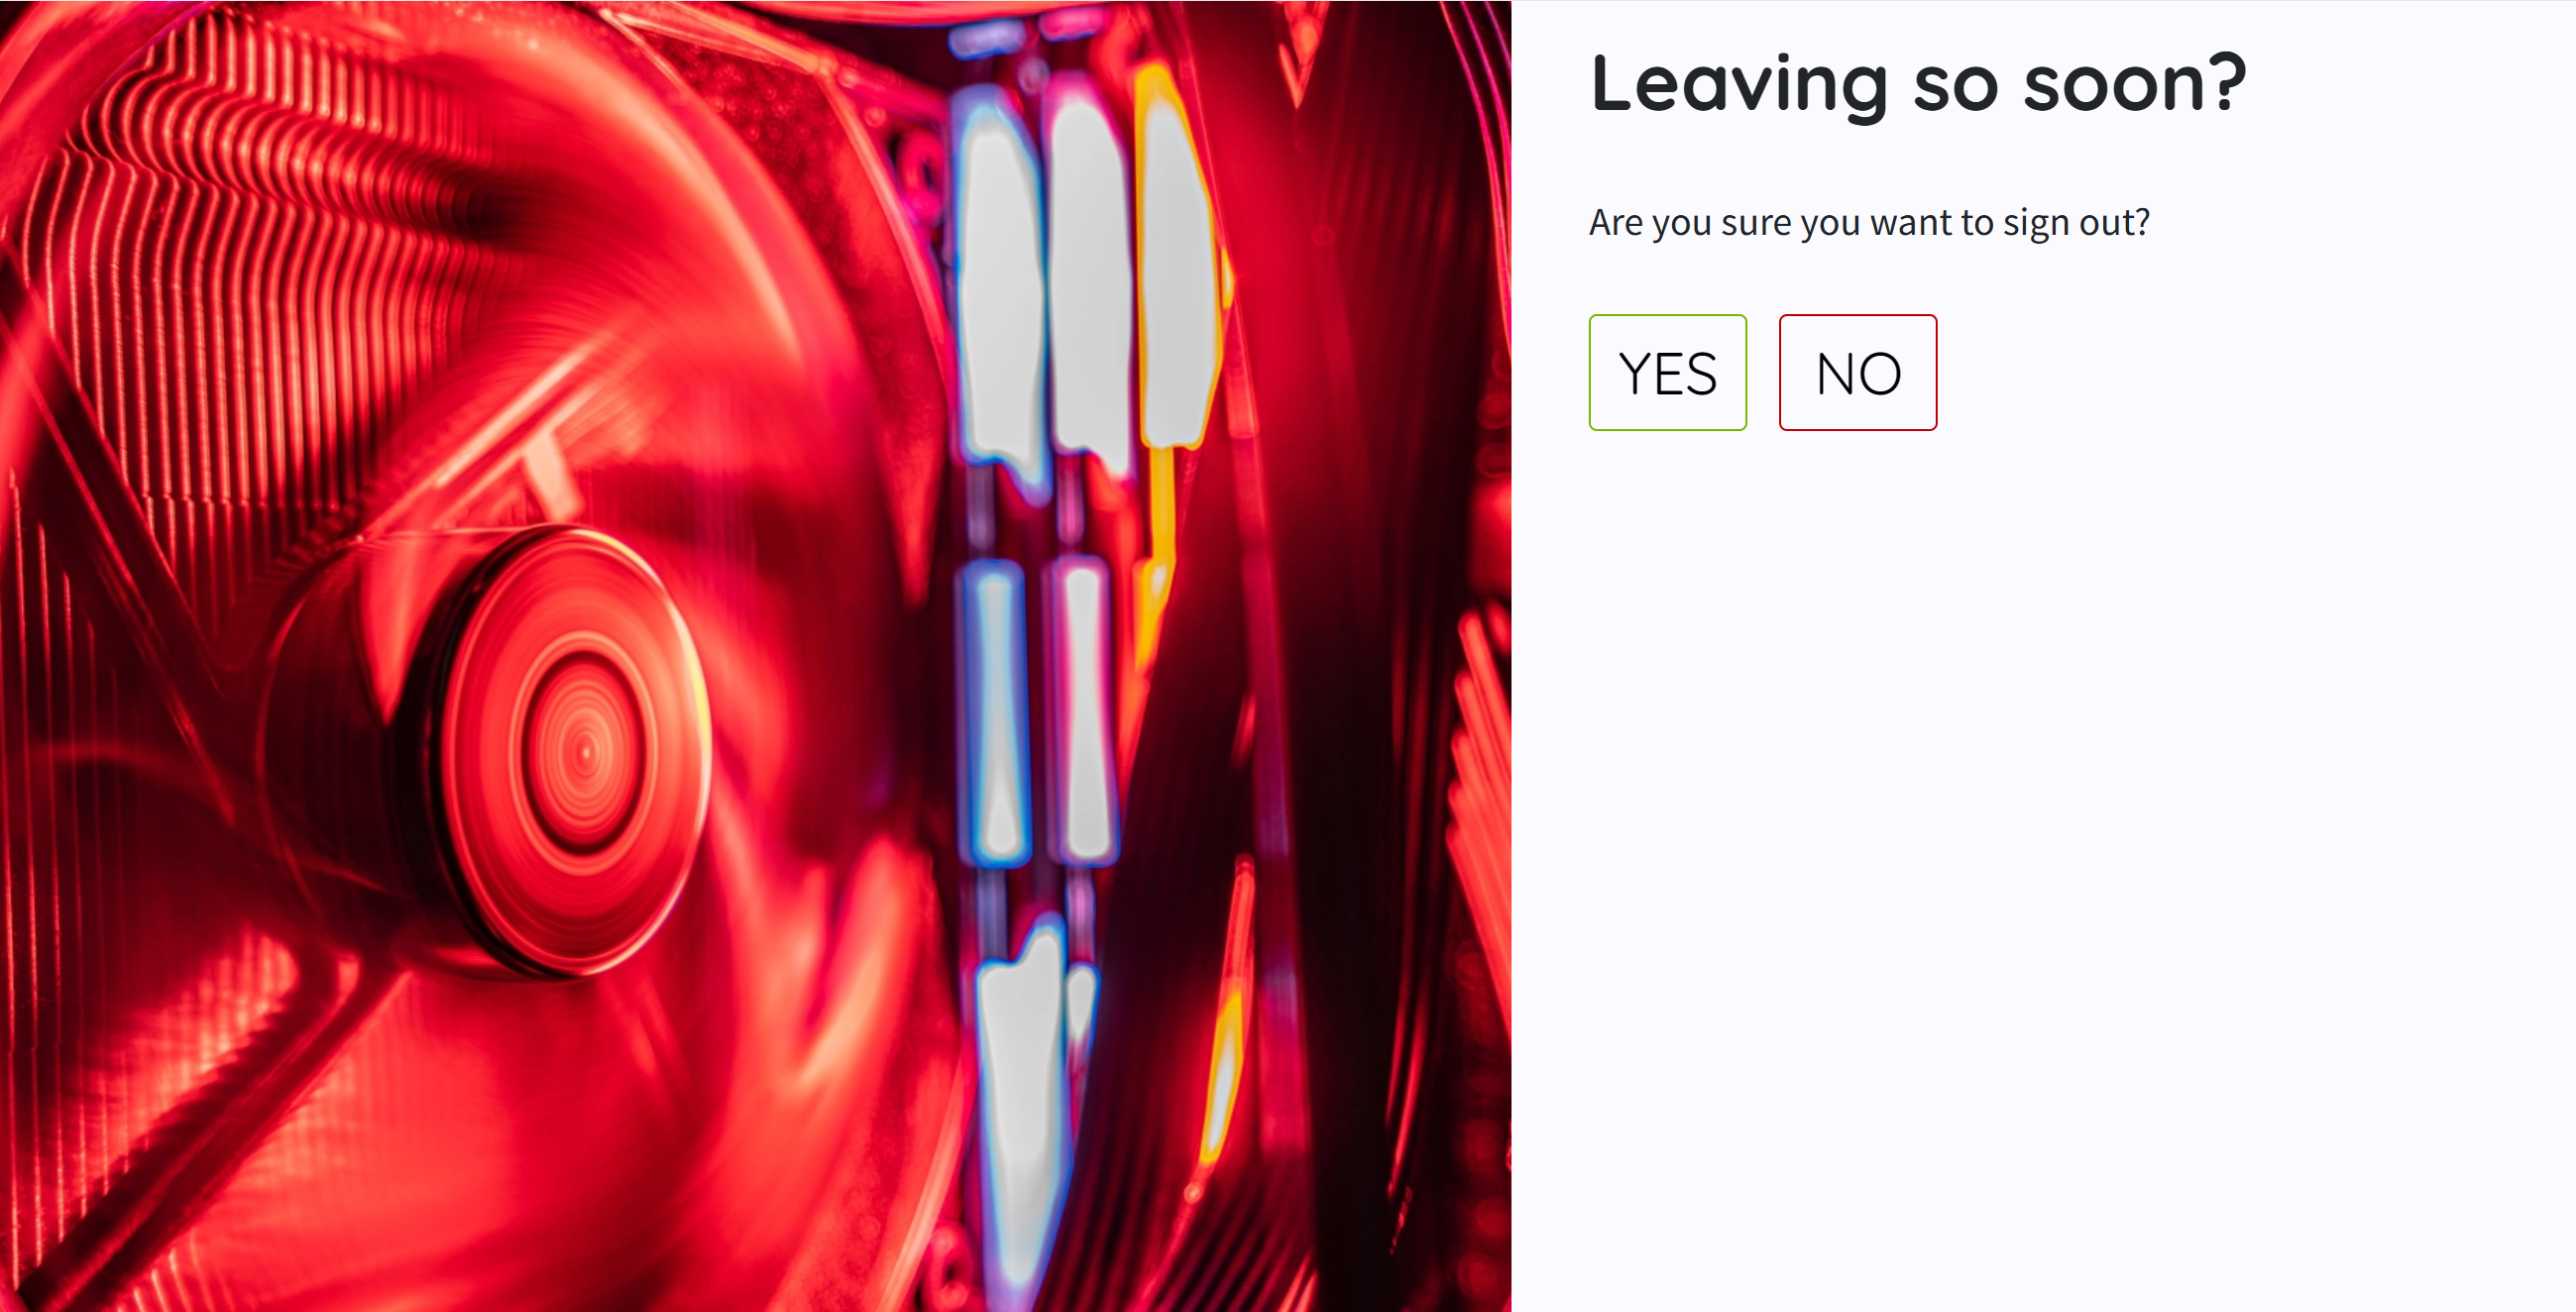
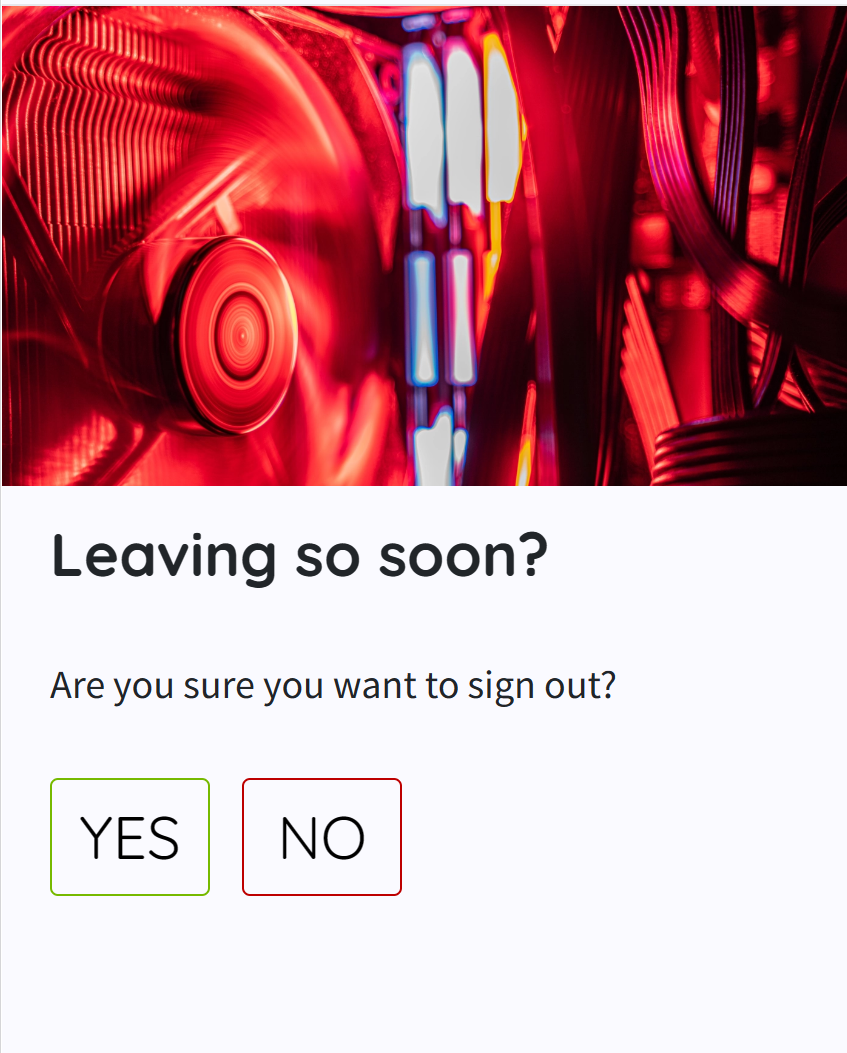
The logout page shows for all authenticated users and is a confirmation page asking the user to press either yes or no to logout or be redirected to the home page.
Authenticated Users
- Desktop
- Mobile
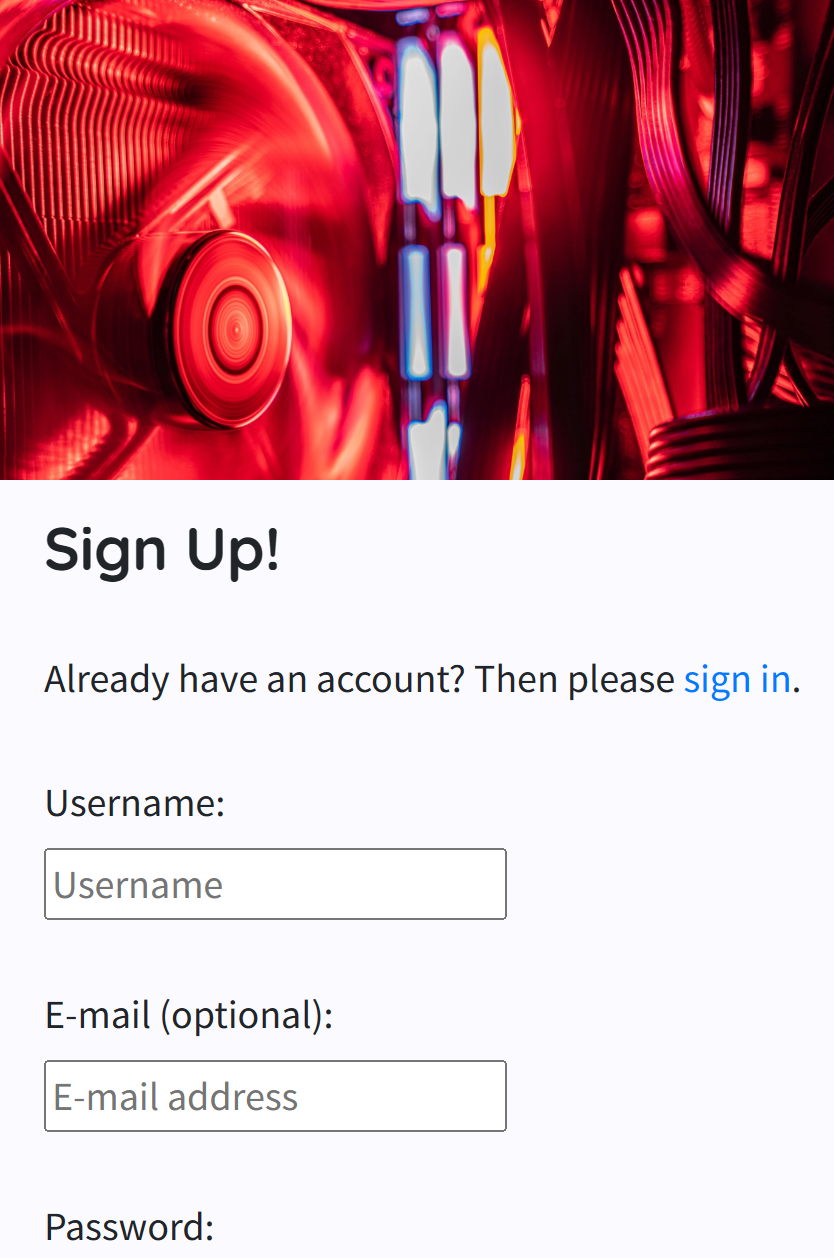
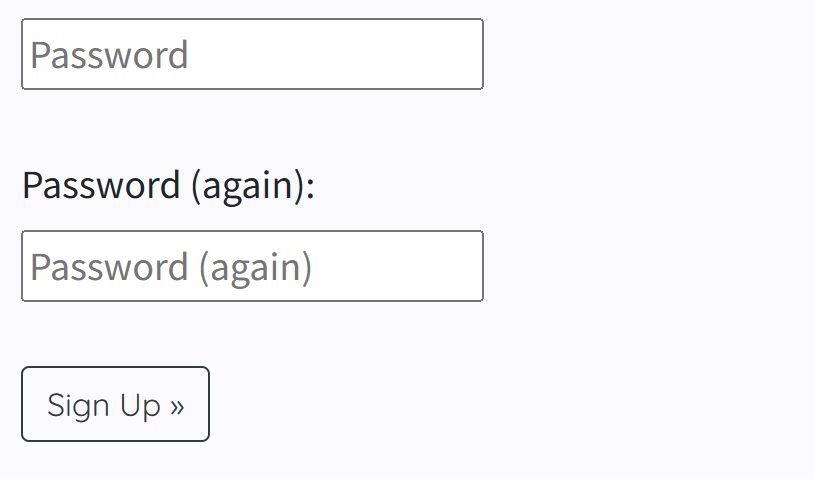
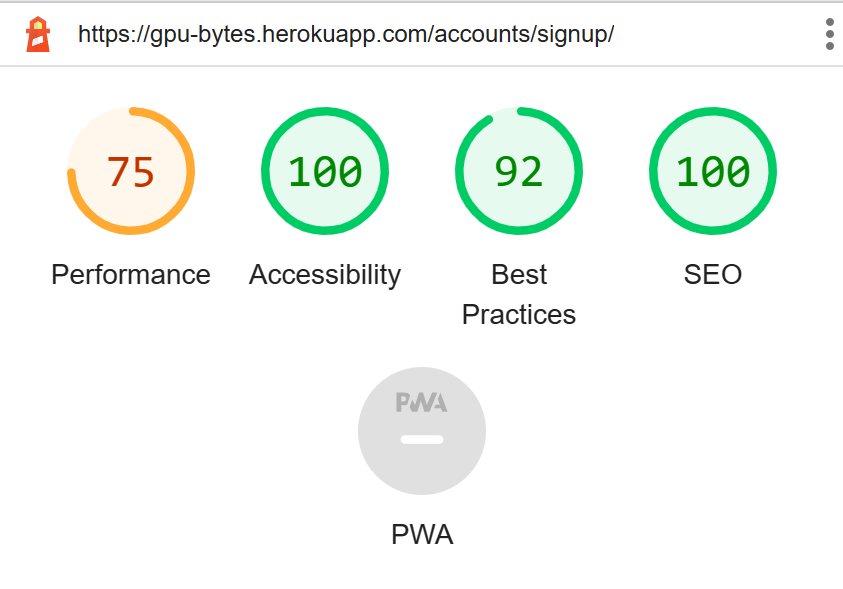
The signup page shows for all unauthenticated users, it allows them to register an account by creating a username, password then confirm the password.
Unauthenticated User
- Desktop

- Mobile
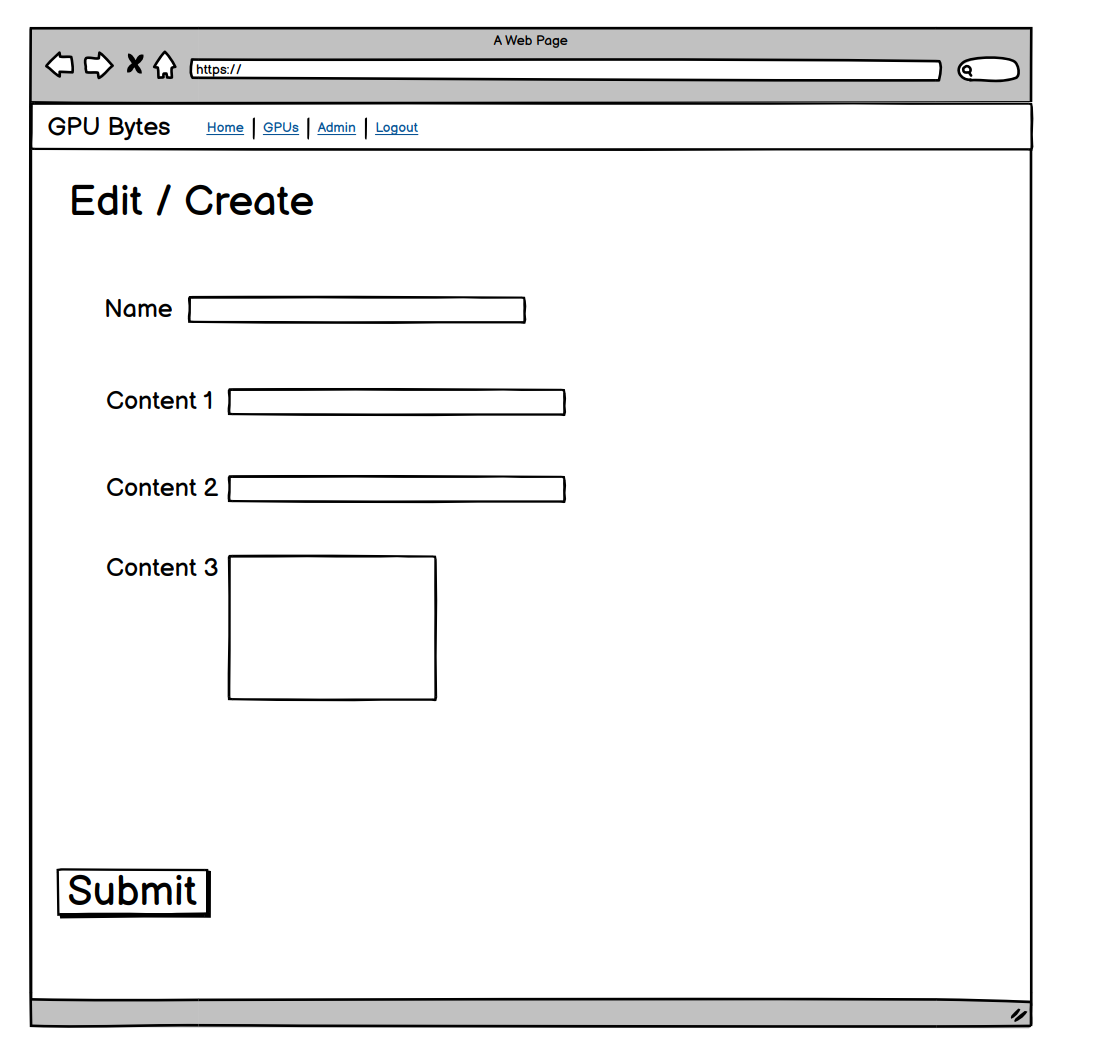
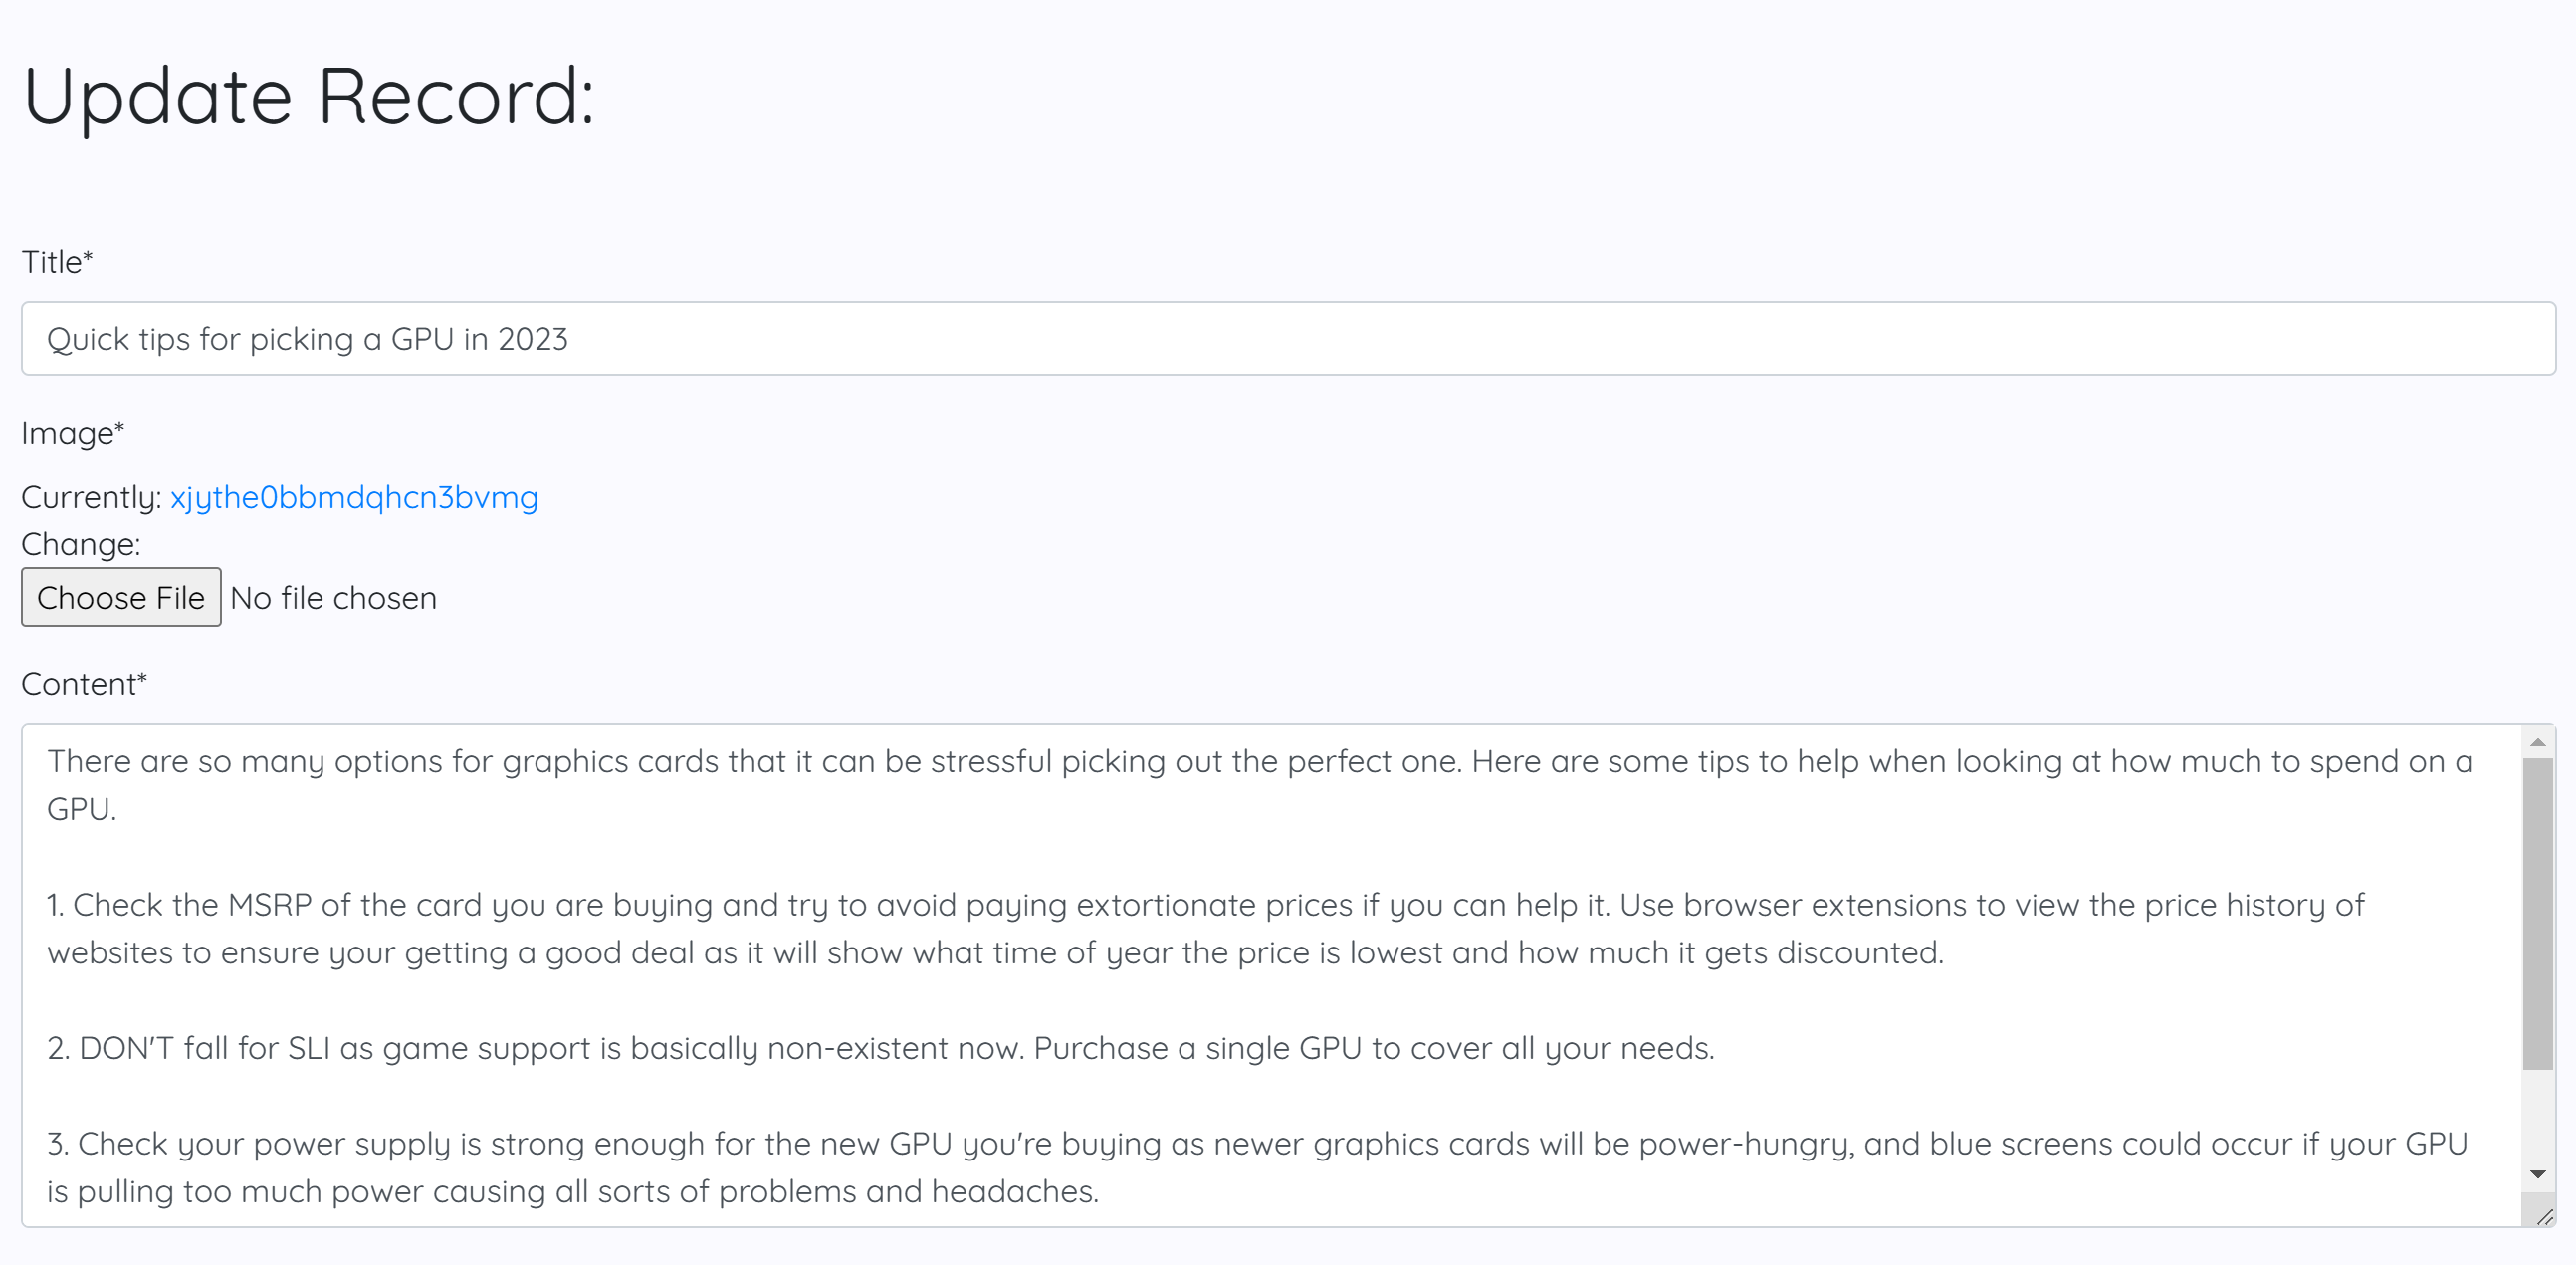
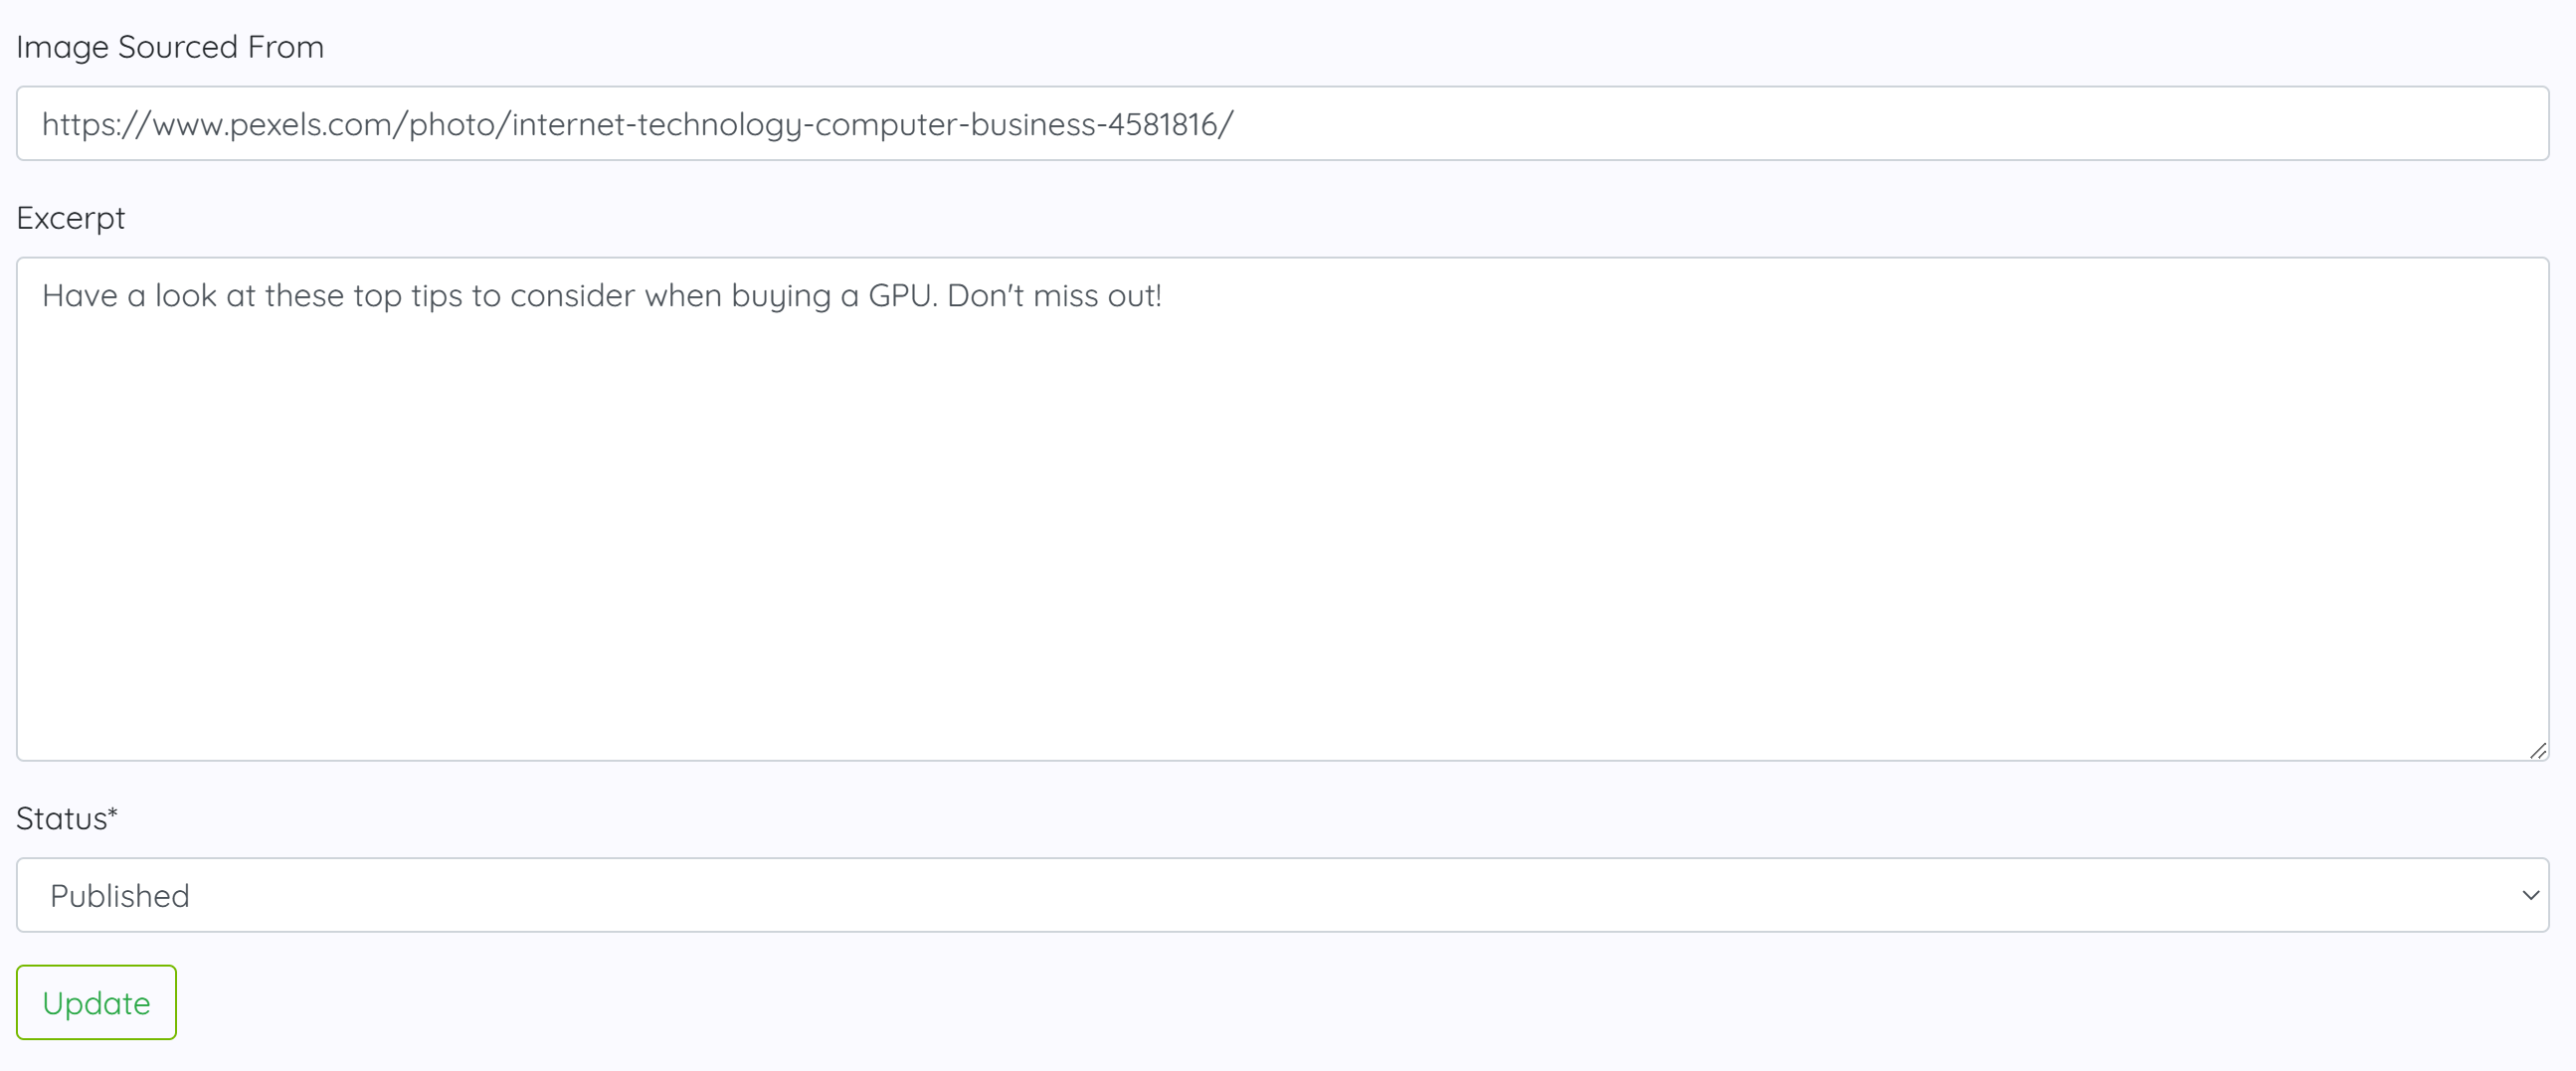
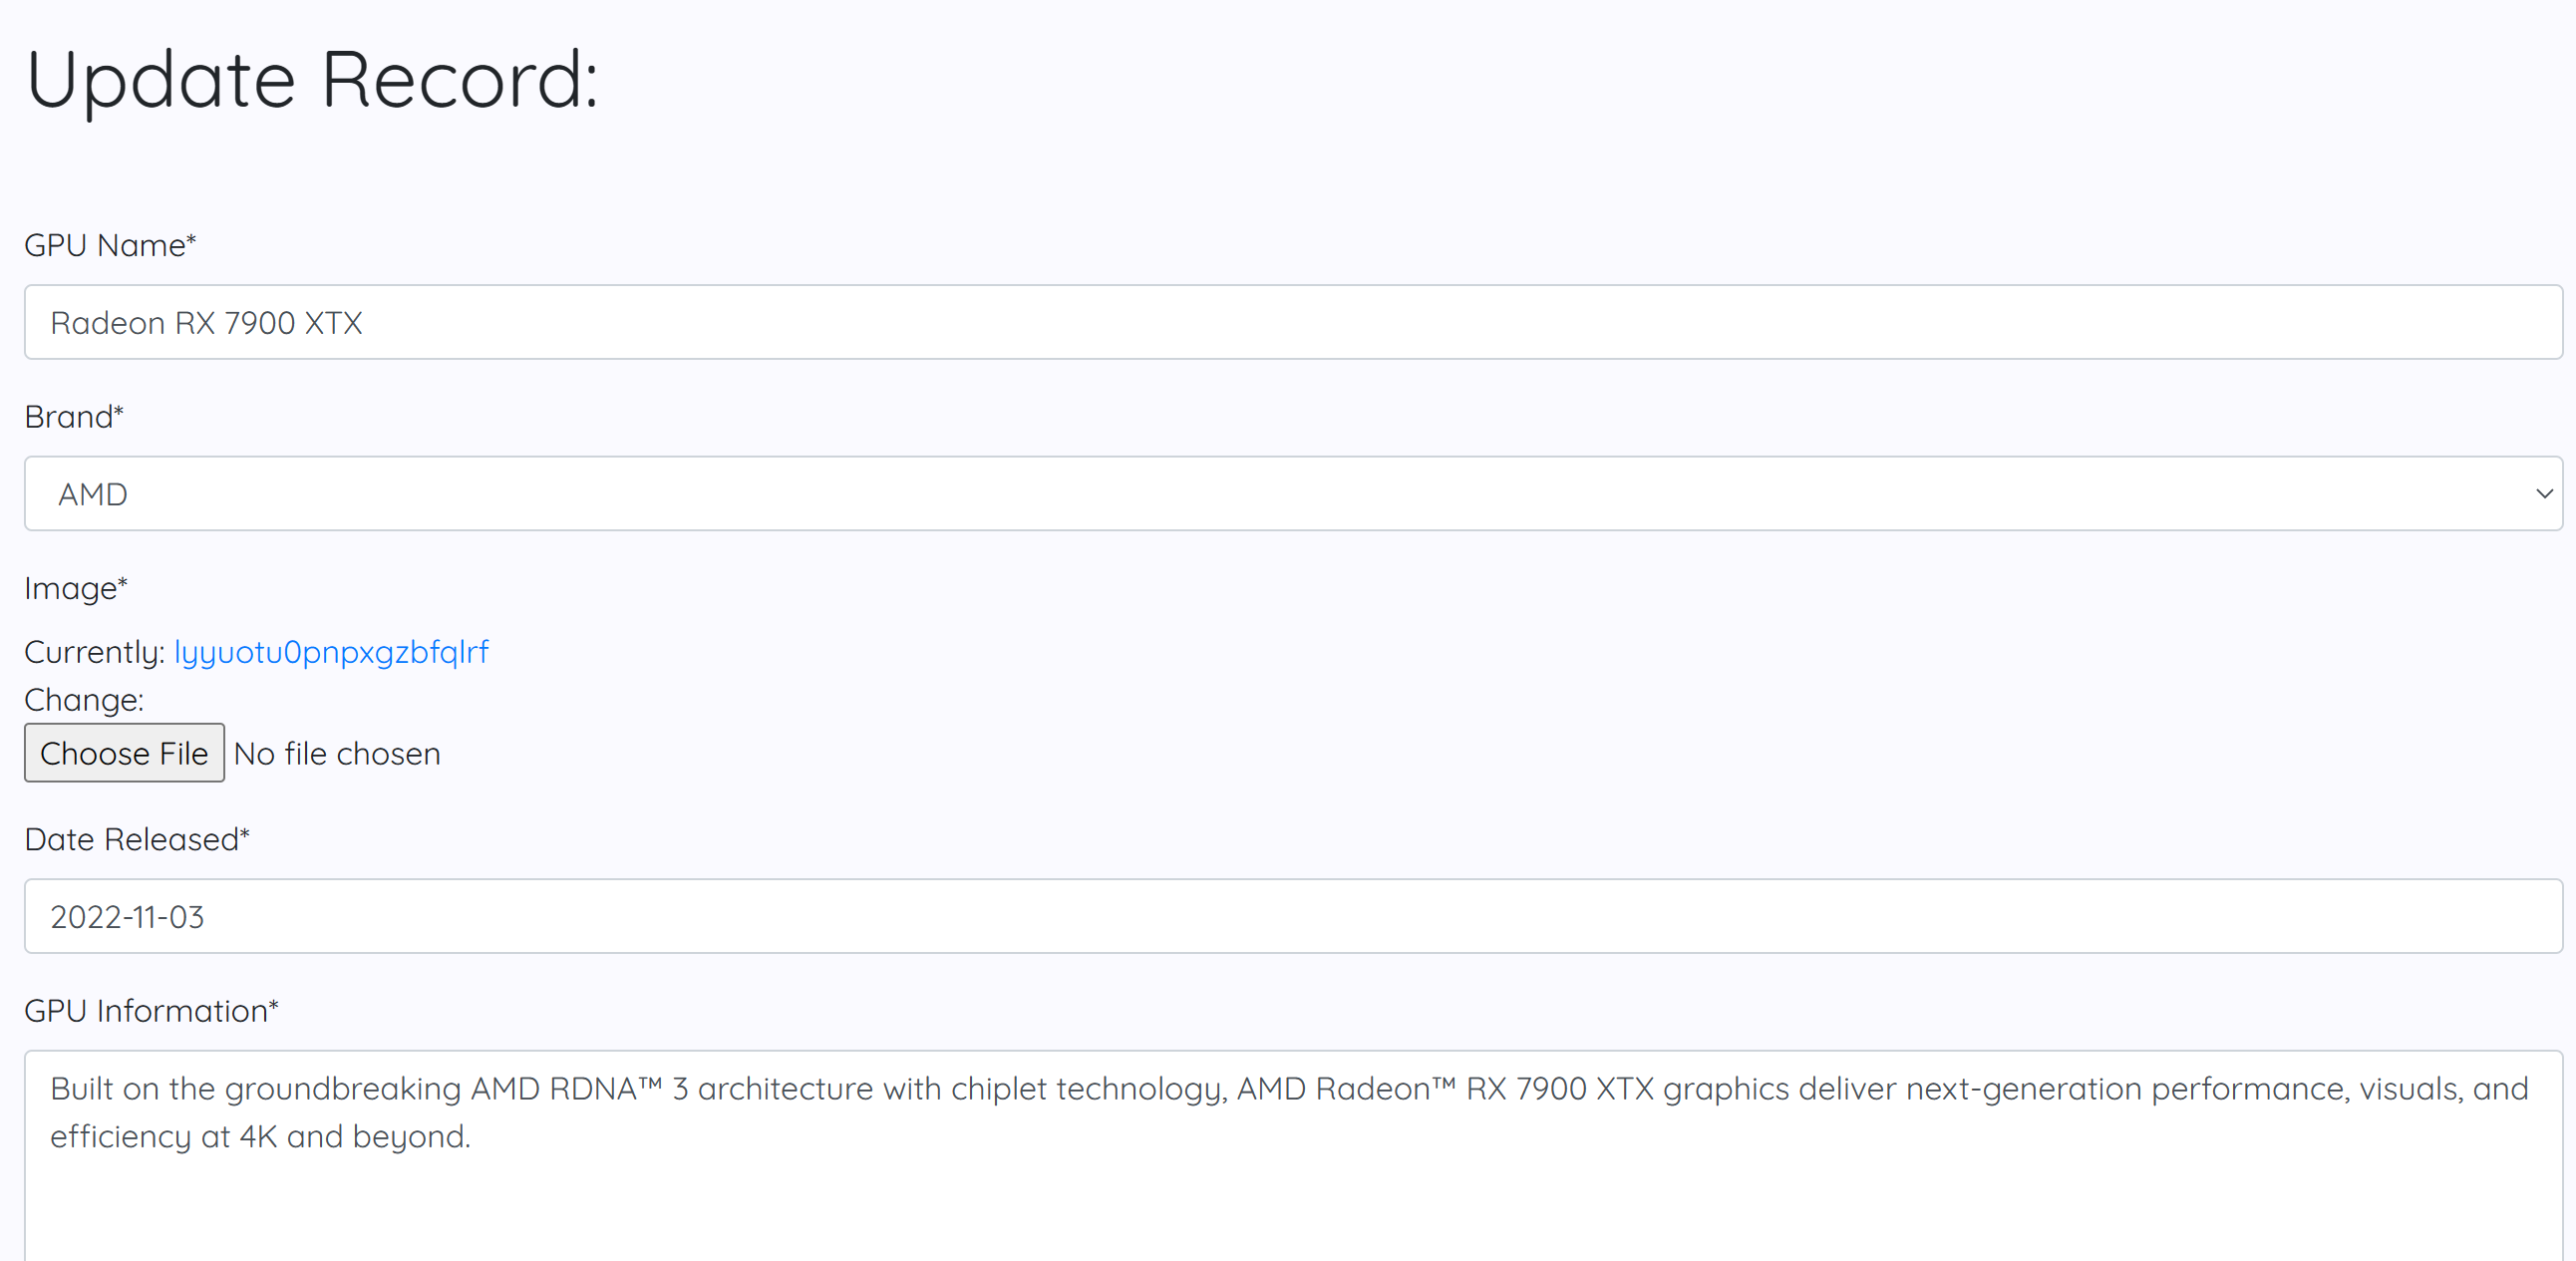
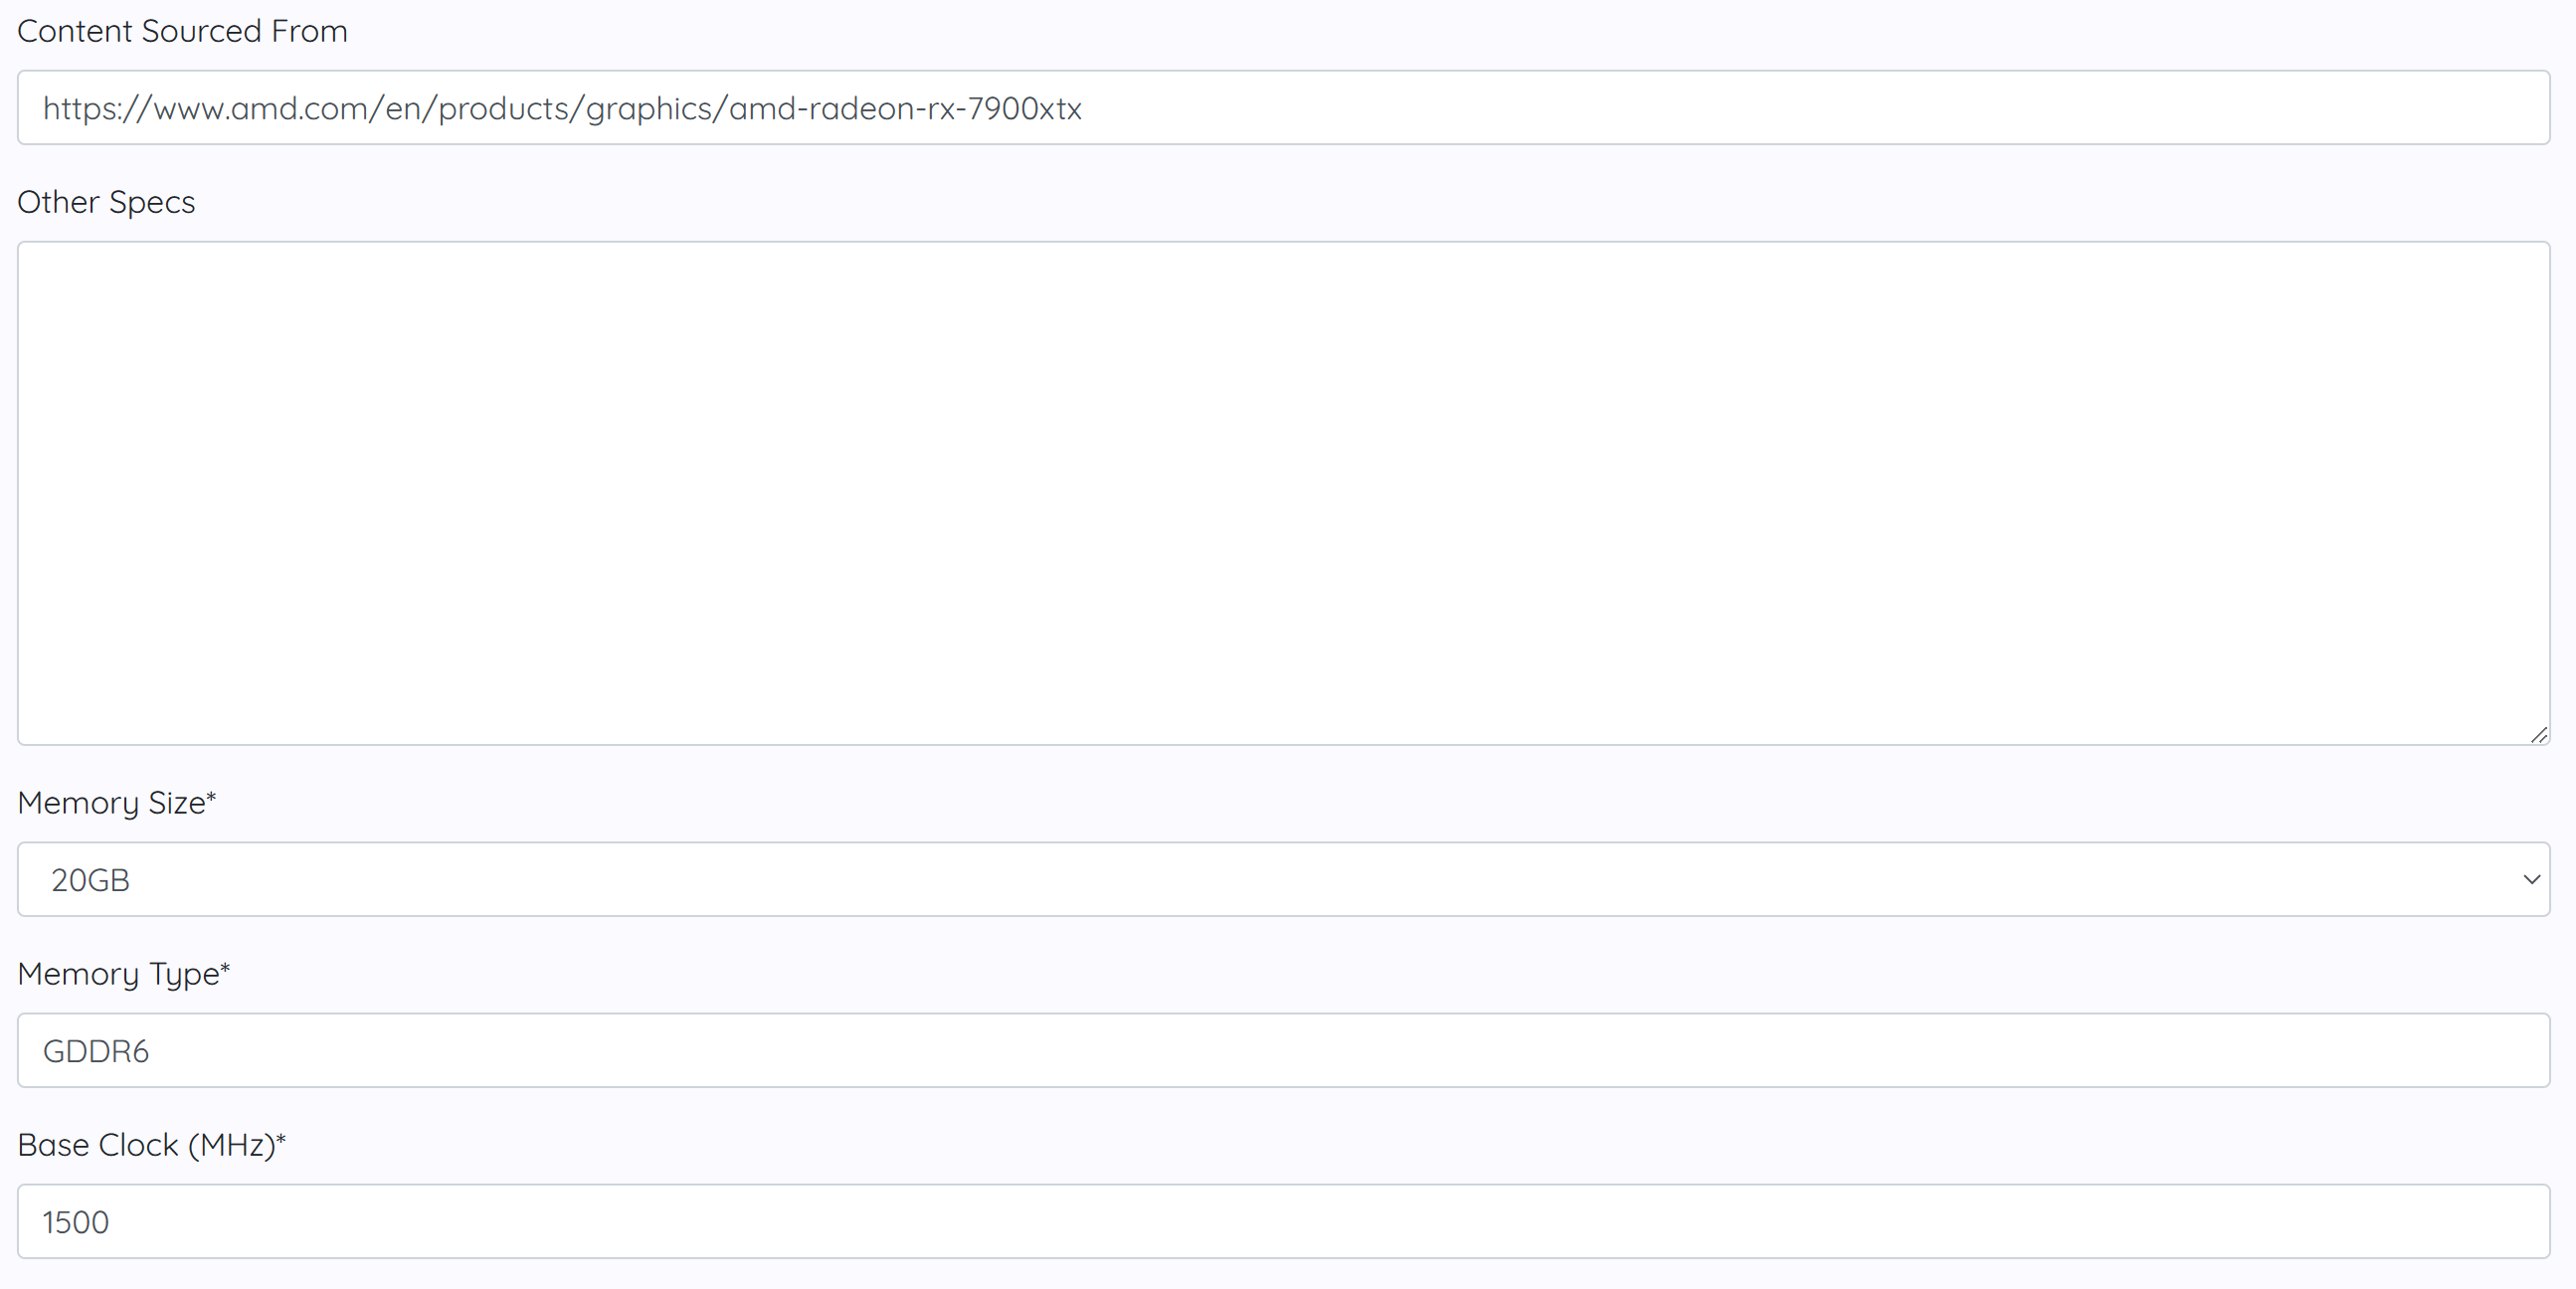
The update record view for editing both post and GPU. This allows an admin to update each field and submit the changes to the database.
Admin User
- Desktop (Post)
- Desktop (GPU)

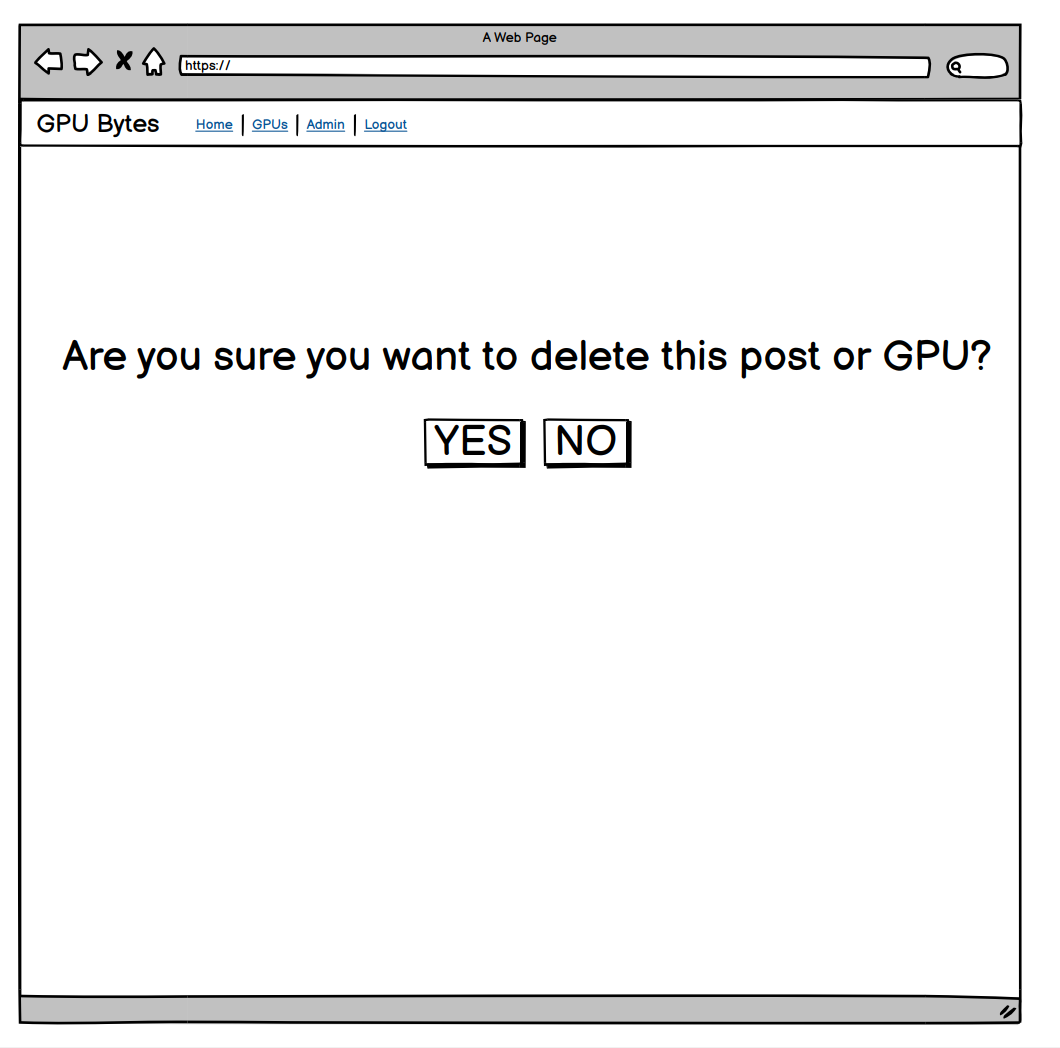
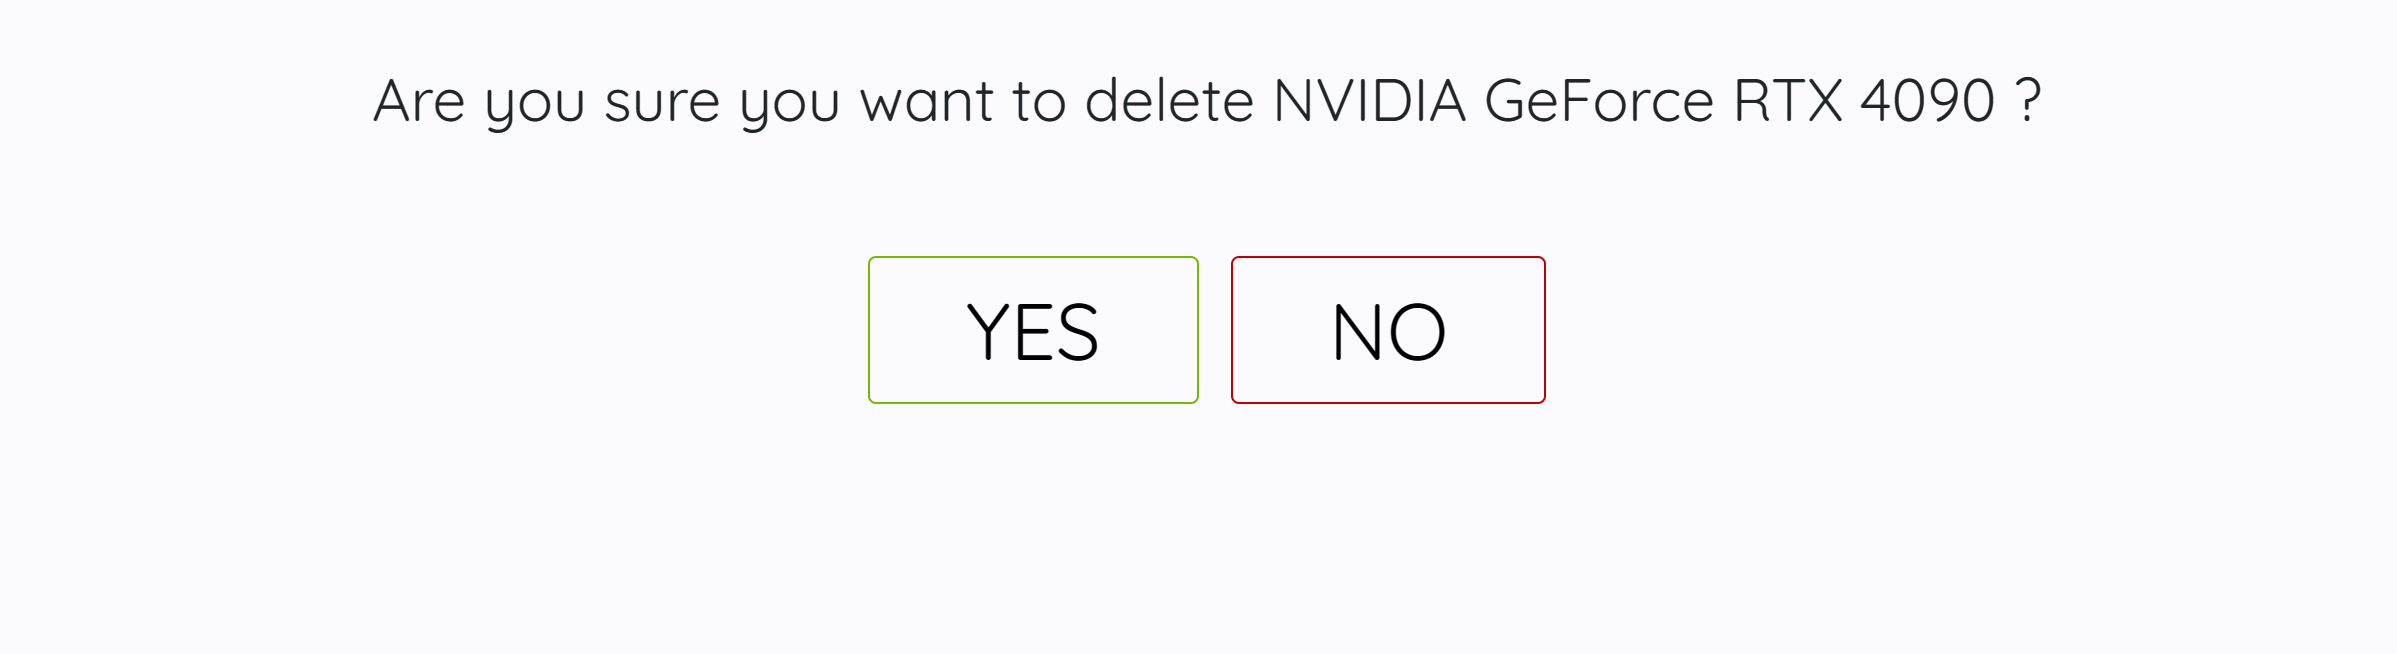
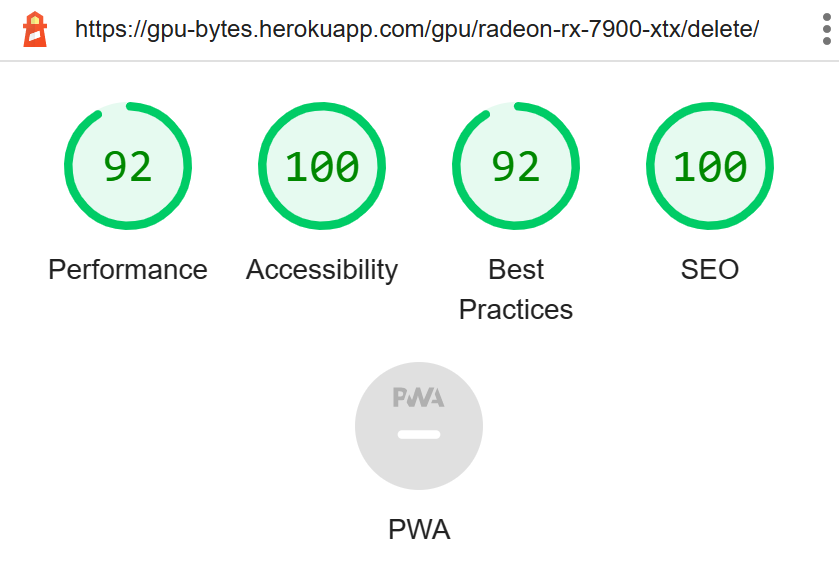
The delete gpu view is a confirmation page to ensure the admin is positive they want to delete the gpu from the database.
Admin User
- Desktop
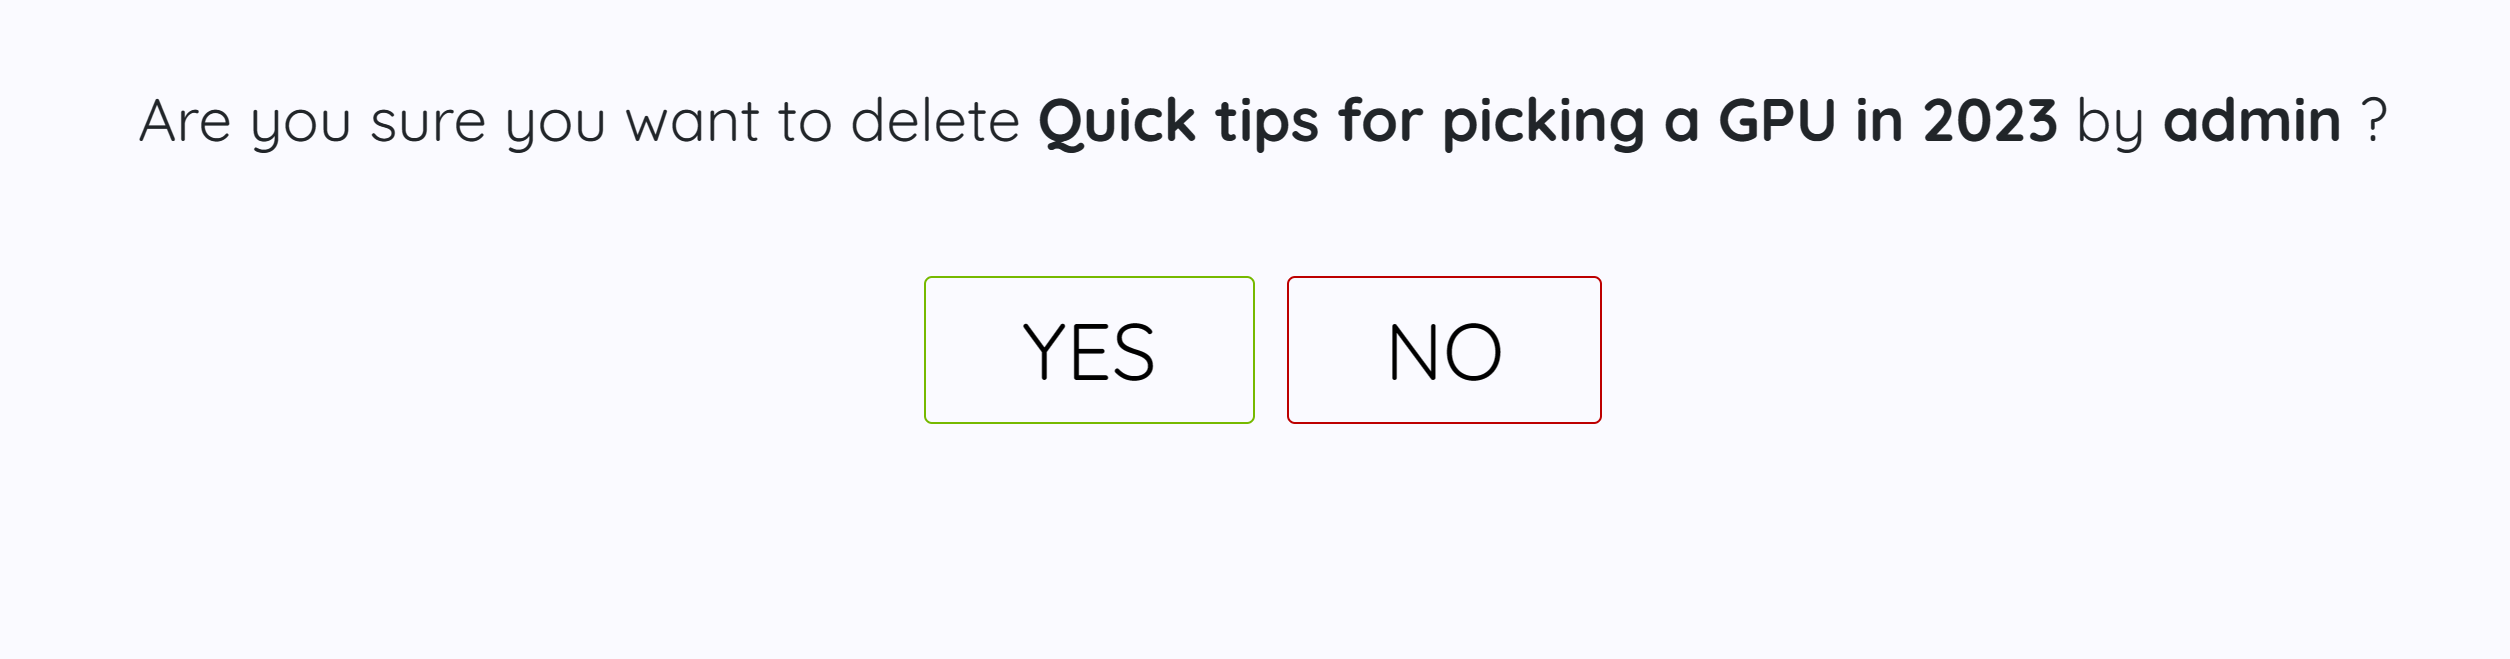
The delete post view is a confirmation page to ensure the admin is positive they want to delete the post from the database.
Admin User
- Desktop
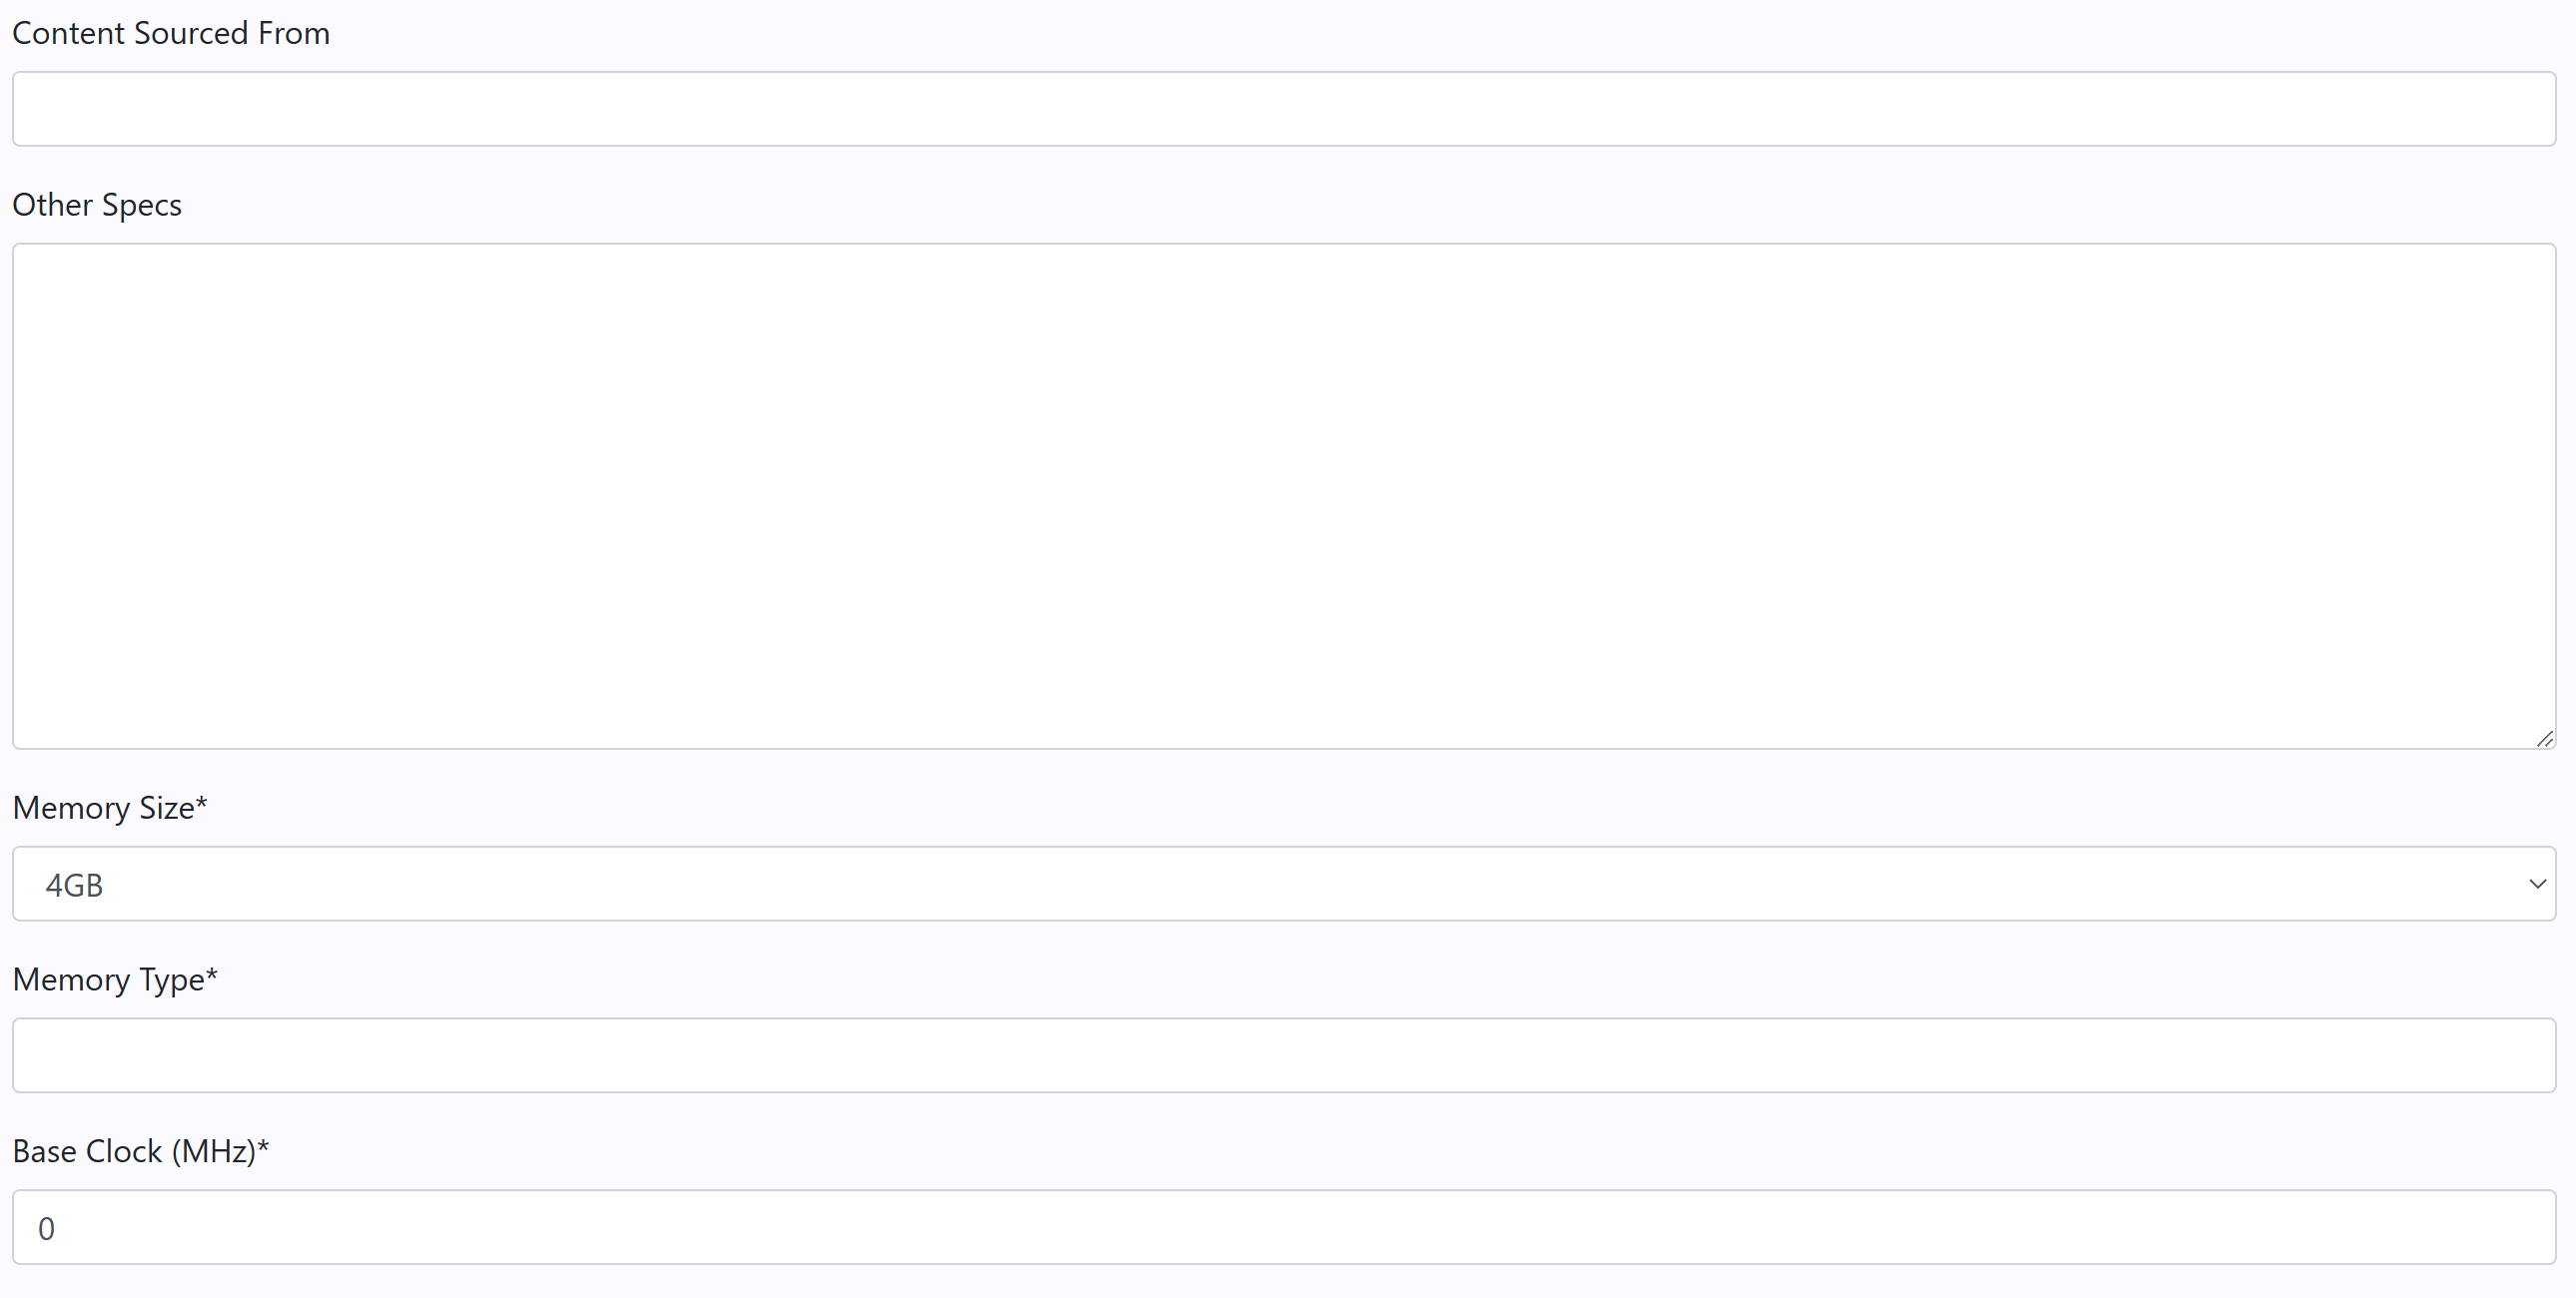
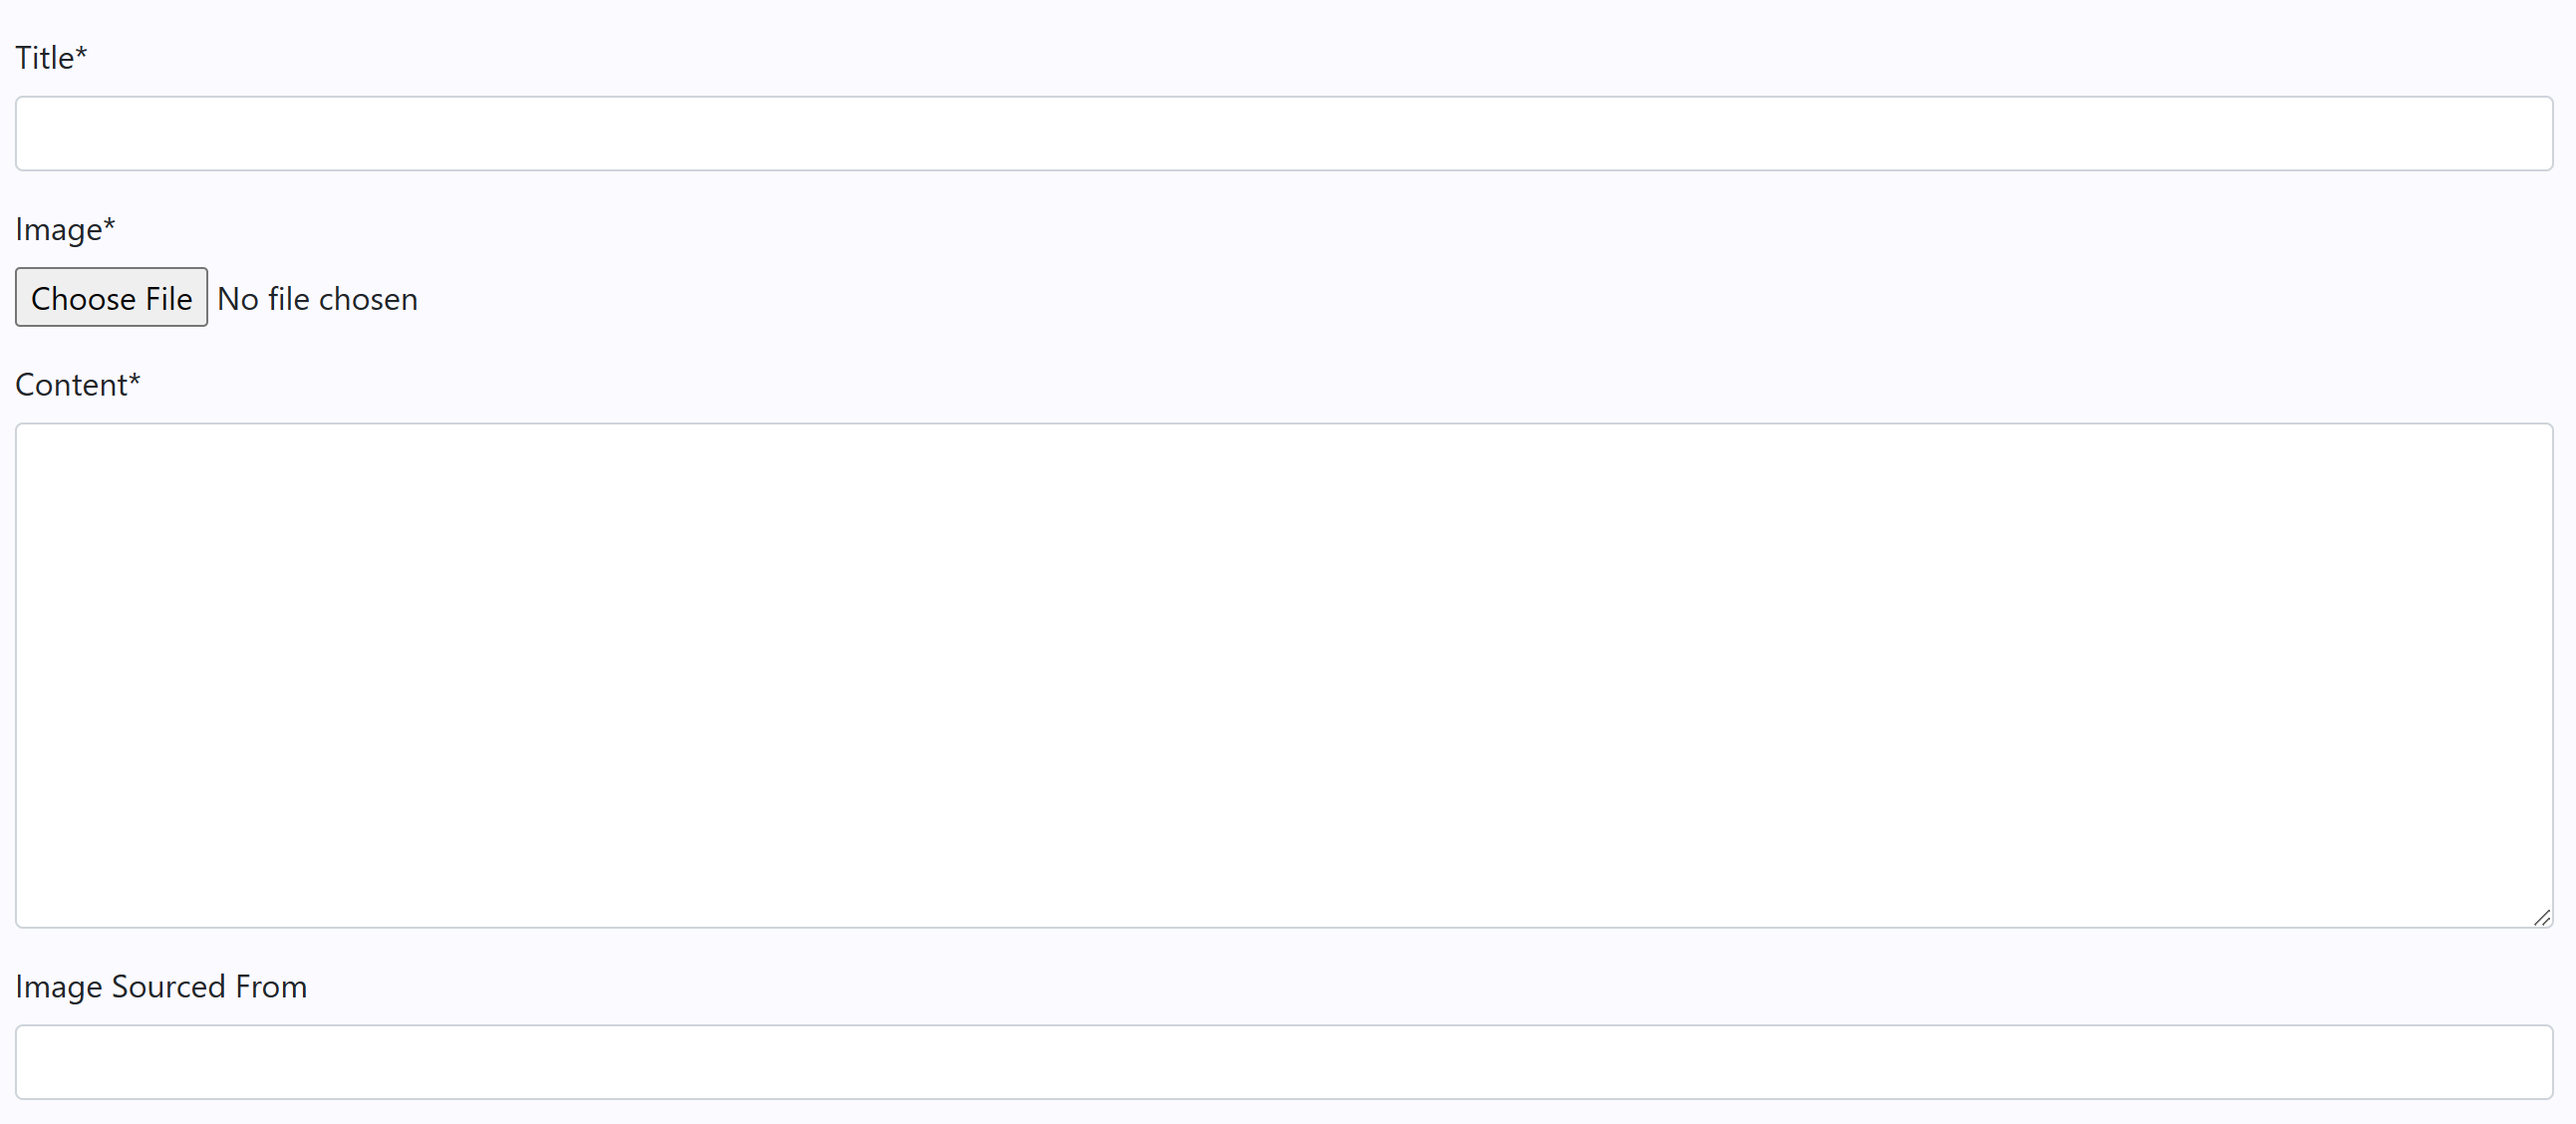
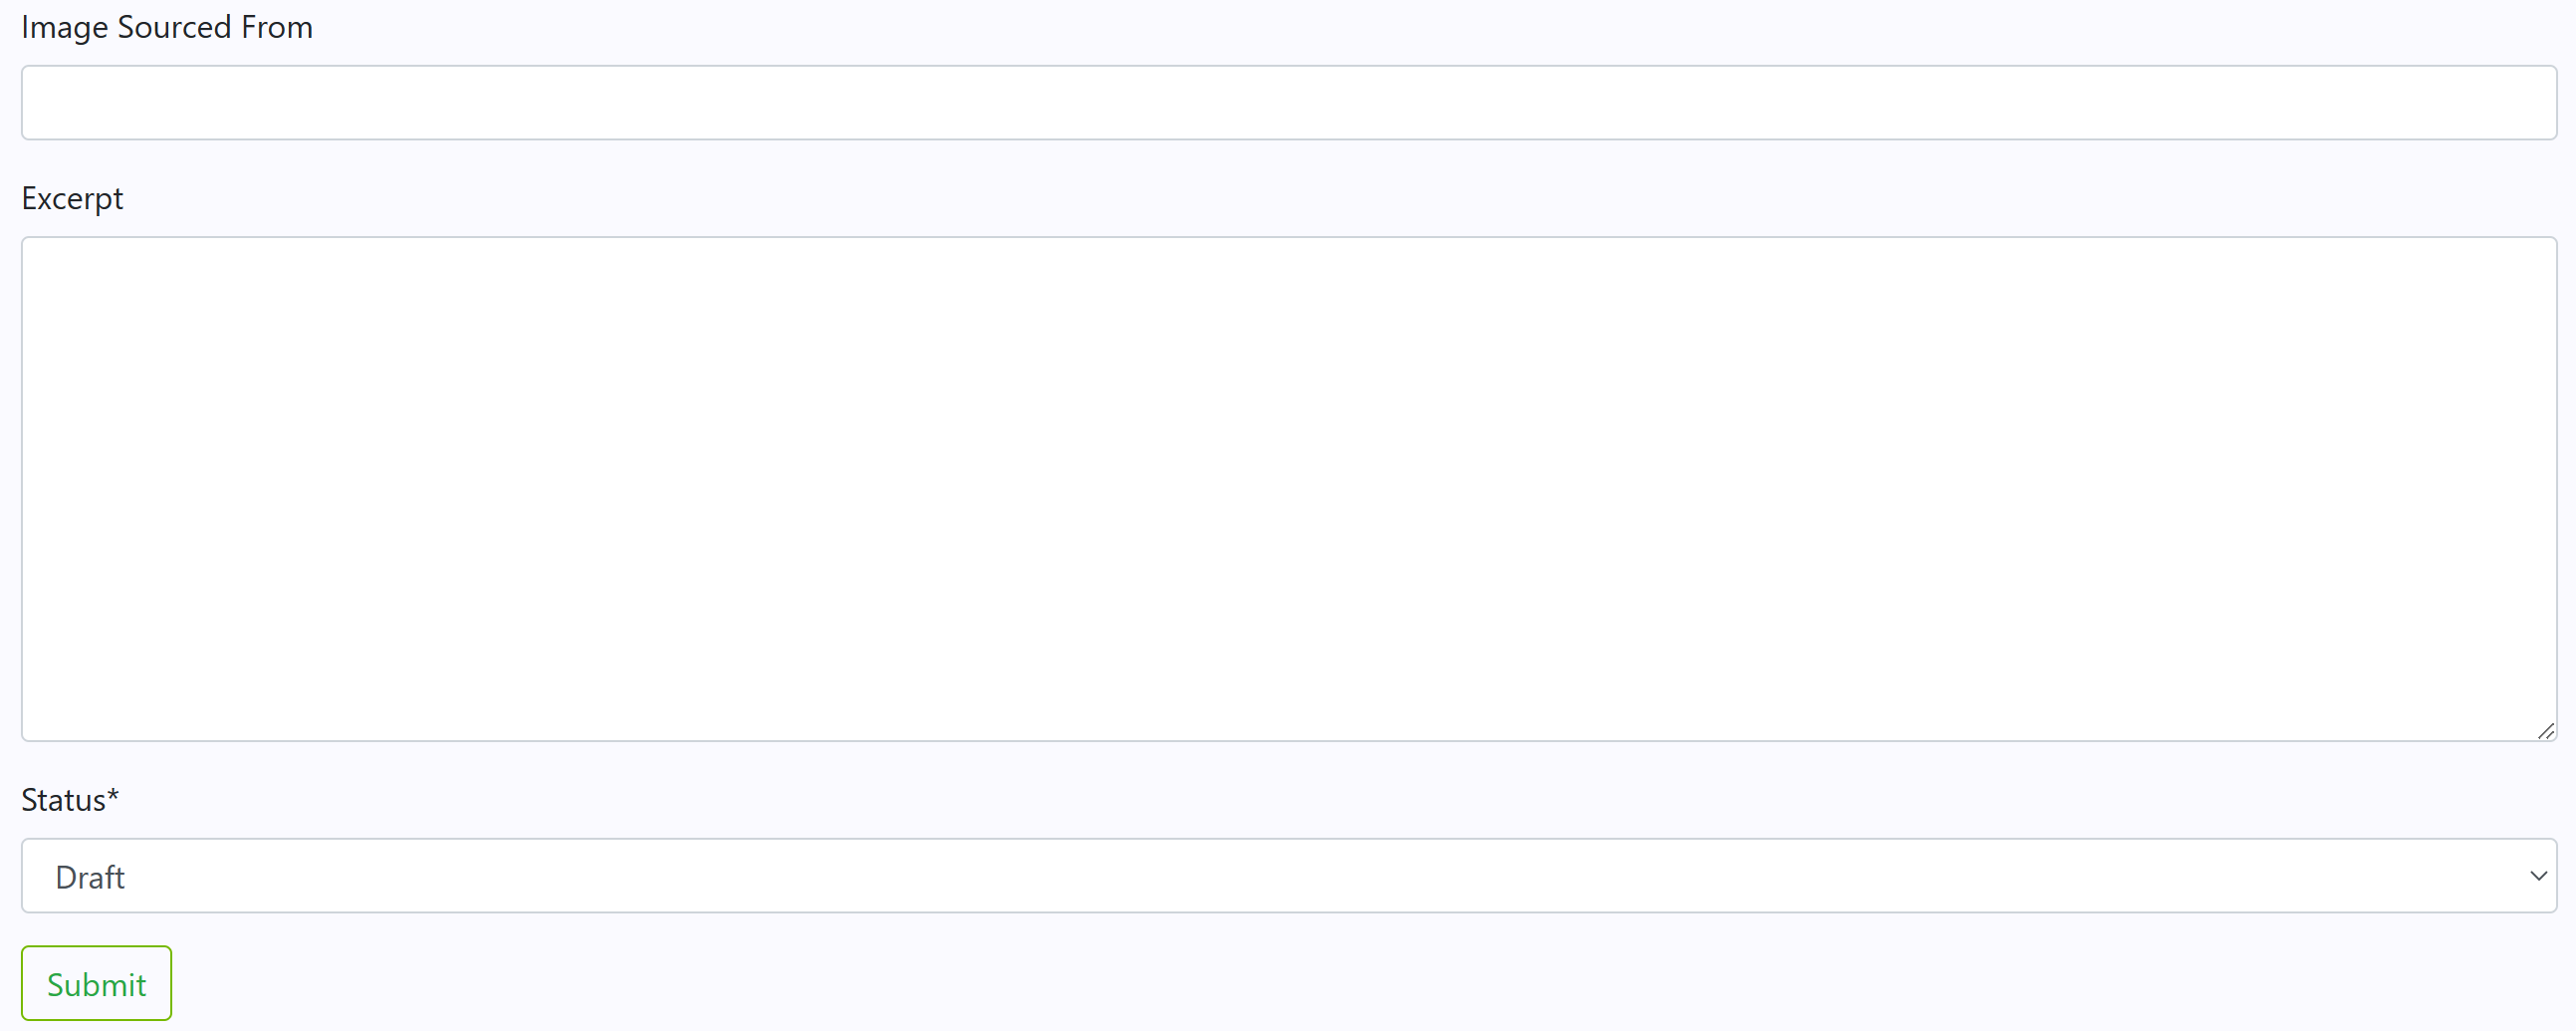
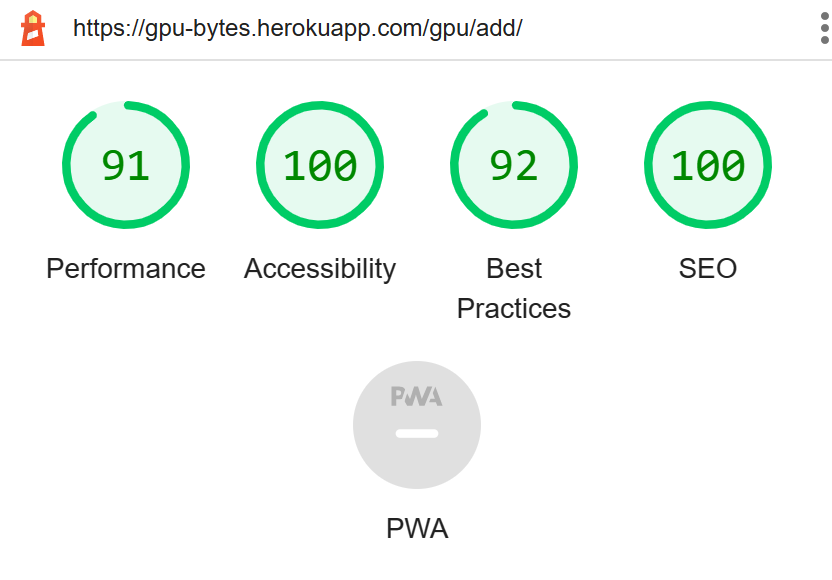
Create gpu view is very similar to the update view but the fields are not pre-populated and are waiting to be filled in with data to create a new record in the database.
Admin User
- Desktop


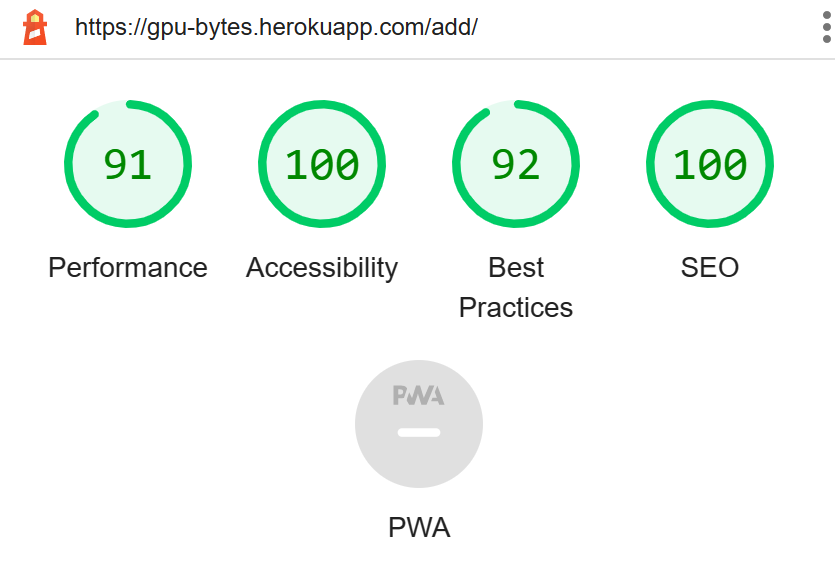
Create post view uses the same form as update record except the fields are blank waiting for new data to be entered into the database.
Admin User
- Desktop
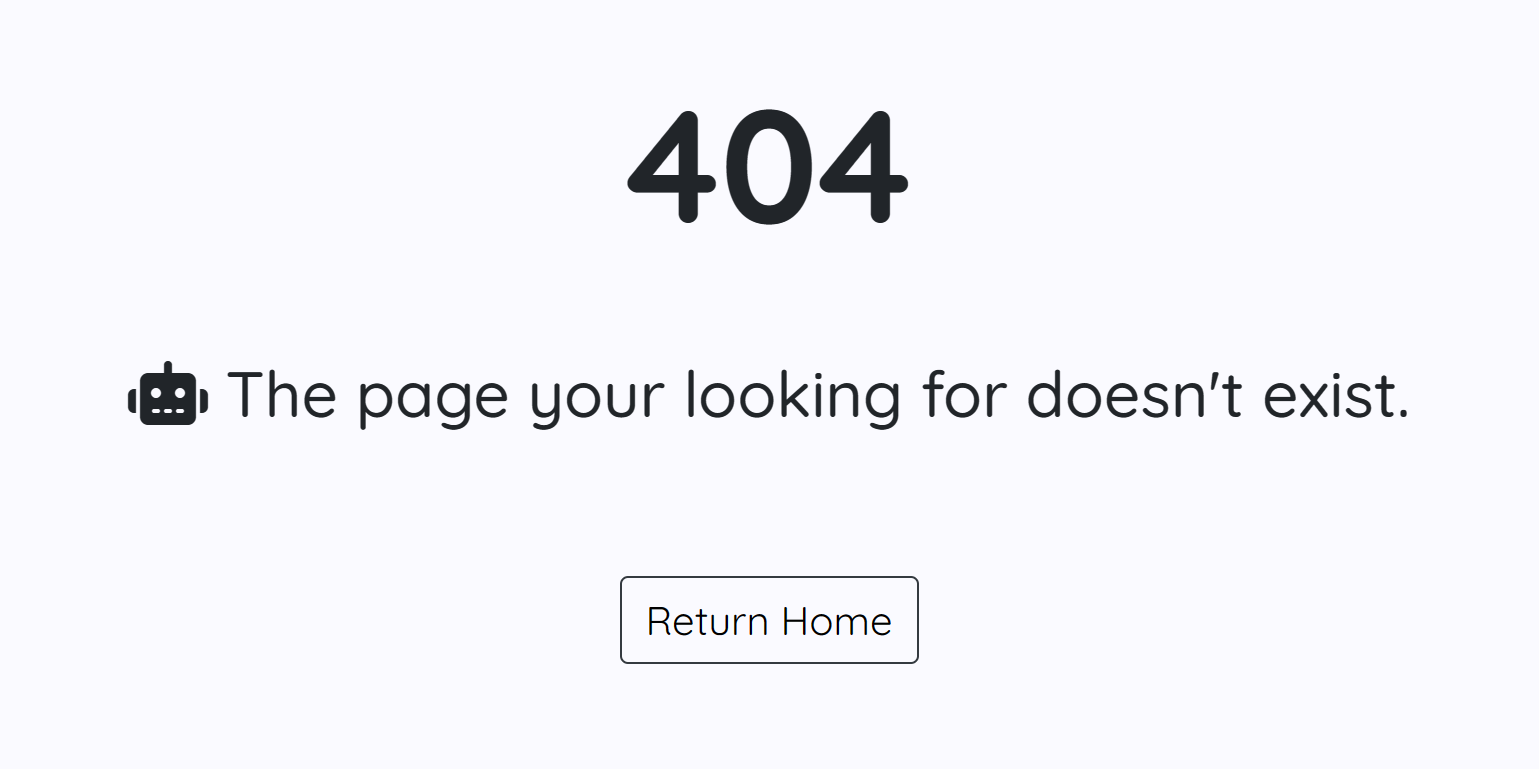
My custom 404 page which shows when an incorrect URL is entered. This has a button to return the user to the home page.
All Users
- Desktop
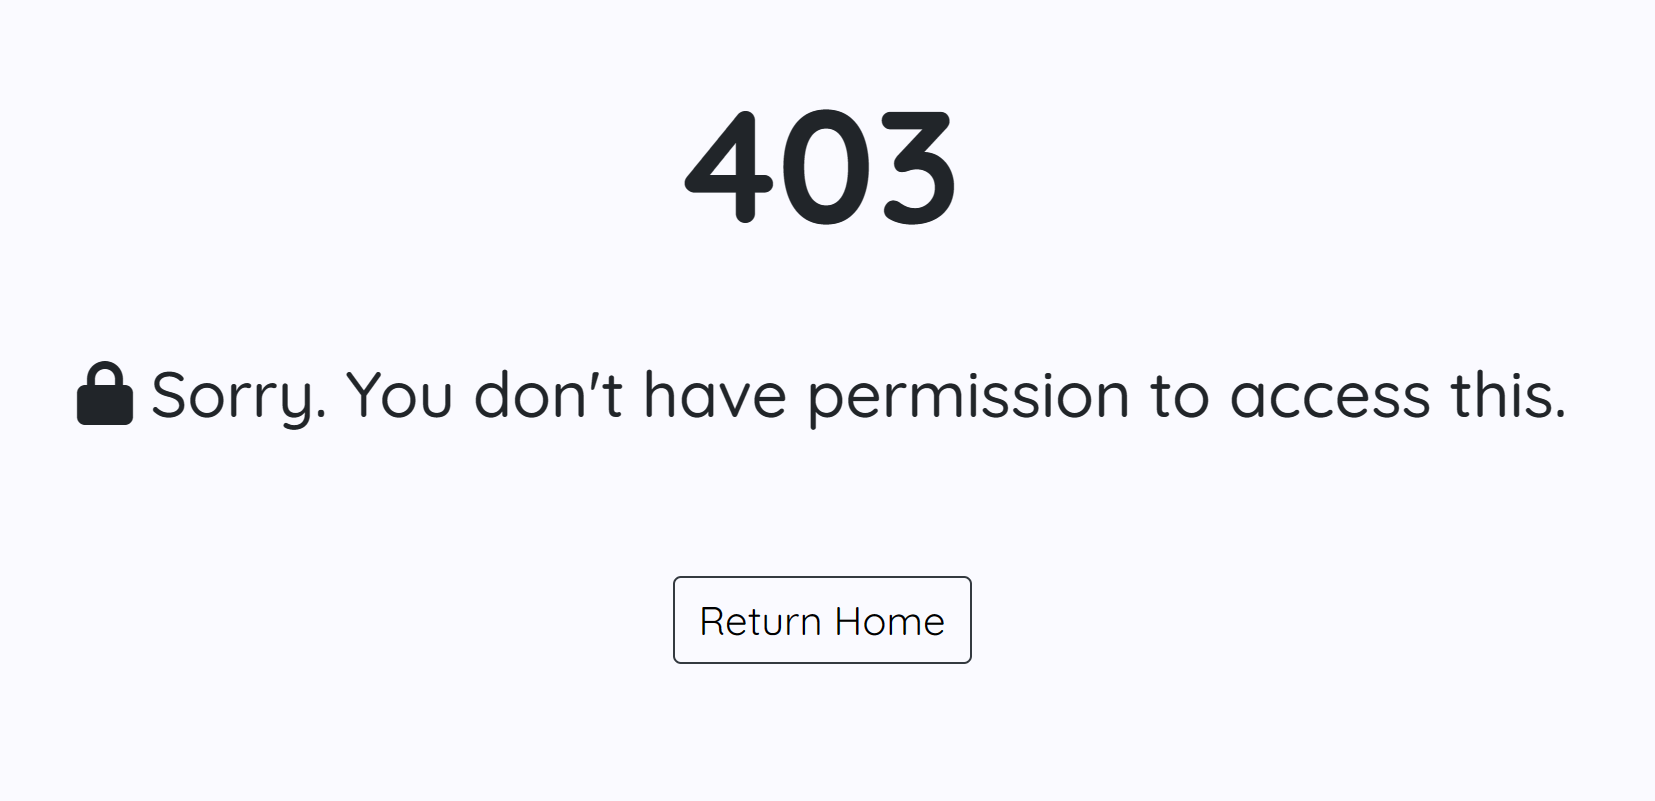
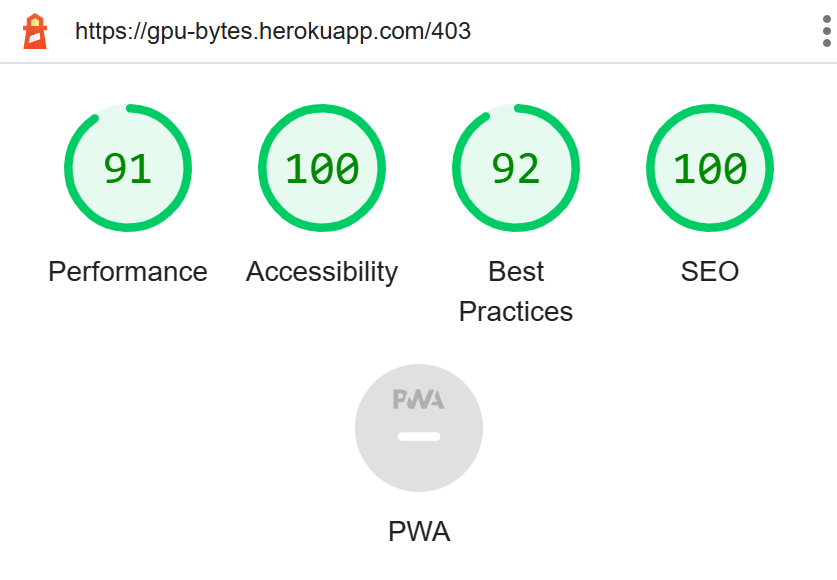
My custom 403 page which shows when a user without permission tries to access something only an admin can. This has a button to return the user to the home page.
All Users
- Desktop
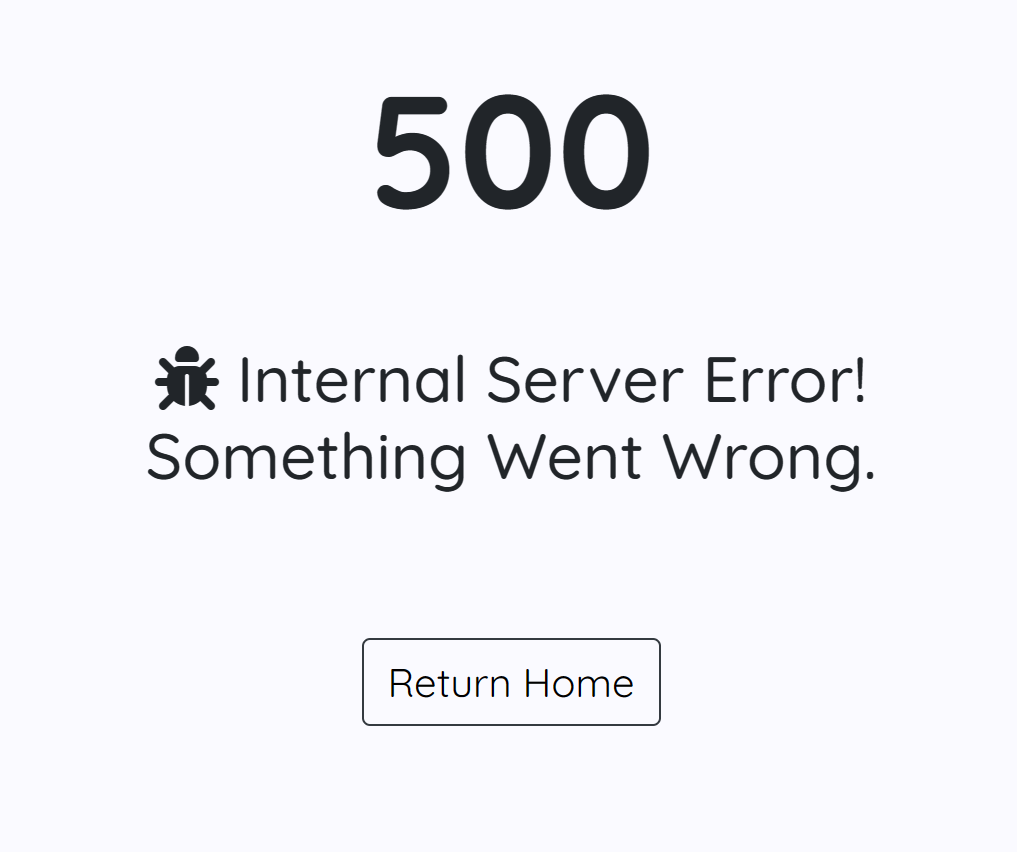
My custom 500 page which shows when a server error has occured. This has a button to return the user to the home page.
All Users
- Desktop
I would like to add full CRUD functionality to the comments model to allow users to delete and edit their comments on each post. I would also like to allow the admin user to be able to toggle comments awaiting approval and approve them directly from the page. Another feature I would like to add is a profile page users can customize various parts of their account.
All manual testing has been done in a Google Sheet found here:
https://docs.google.com/spreadsheets/d/19L0qwkOOp45HYHdCvJuMC4G8VYrlFVN3yKtp6tiavgI/edit?usp=sharing
| Device | Browser | OS | Viewpoint |
|---|---|---|---|
| Real laptop: Dynabook Satellite Pro | Microsoft Edge | Windows 11 | 1536 x 864 |
| Real phone: One Plus 7 Pro | Google Chrome | Android v11 Oxygen OS | 385 x 833 |
| Real laptop: HP 250 G7 | Google Chrome | Windows 10 | 1306 x 864 |
| Emulation: iPhone SE | Microsoft Edge | Windows 11 | 375 x 667 |
| Emulation: iPad Air | Microsoft Edge | Windows 11 | 1180 x 820 |
| Real desktop: Custom build | Firefox | Windows 10 | 2560 x 1440 |
| Real laptop: Microsoft Surface | Google Chrome | Windows 11 | 1280 x 720 |
| Emulation: iPad Mini | Microsoft Edge | Windows 11 | 768 x 1024 |
| Real tablet: iPad (9th Gen) | Safari | IOS 15.5 | 1024 x 1366 |
- Login
- Register
- Logout
- Post List
- GPU List
- Post Detail
- GPU Detail
- Update Form

- Delete GPU
- Delete Post

- Add GPU
- Add Post
- 403 Page
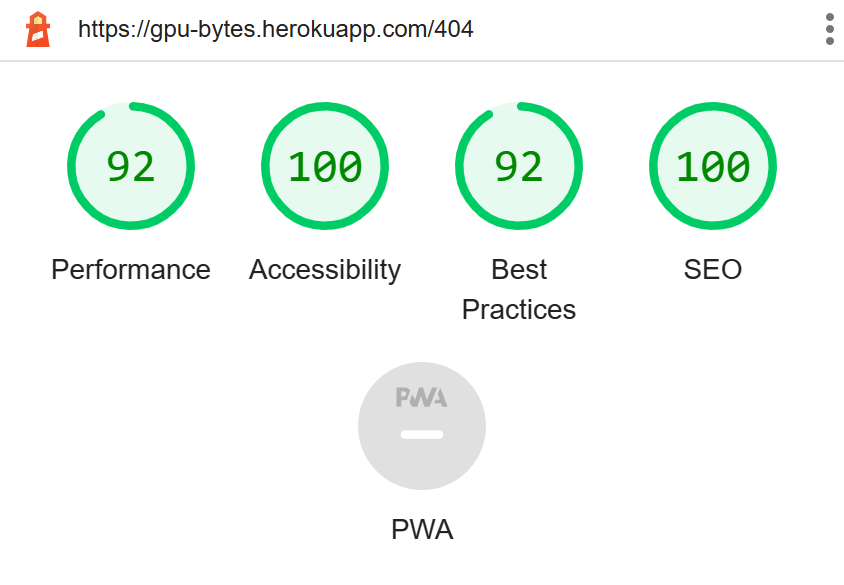
- 404 Page
- 500 Page
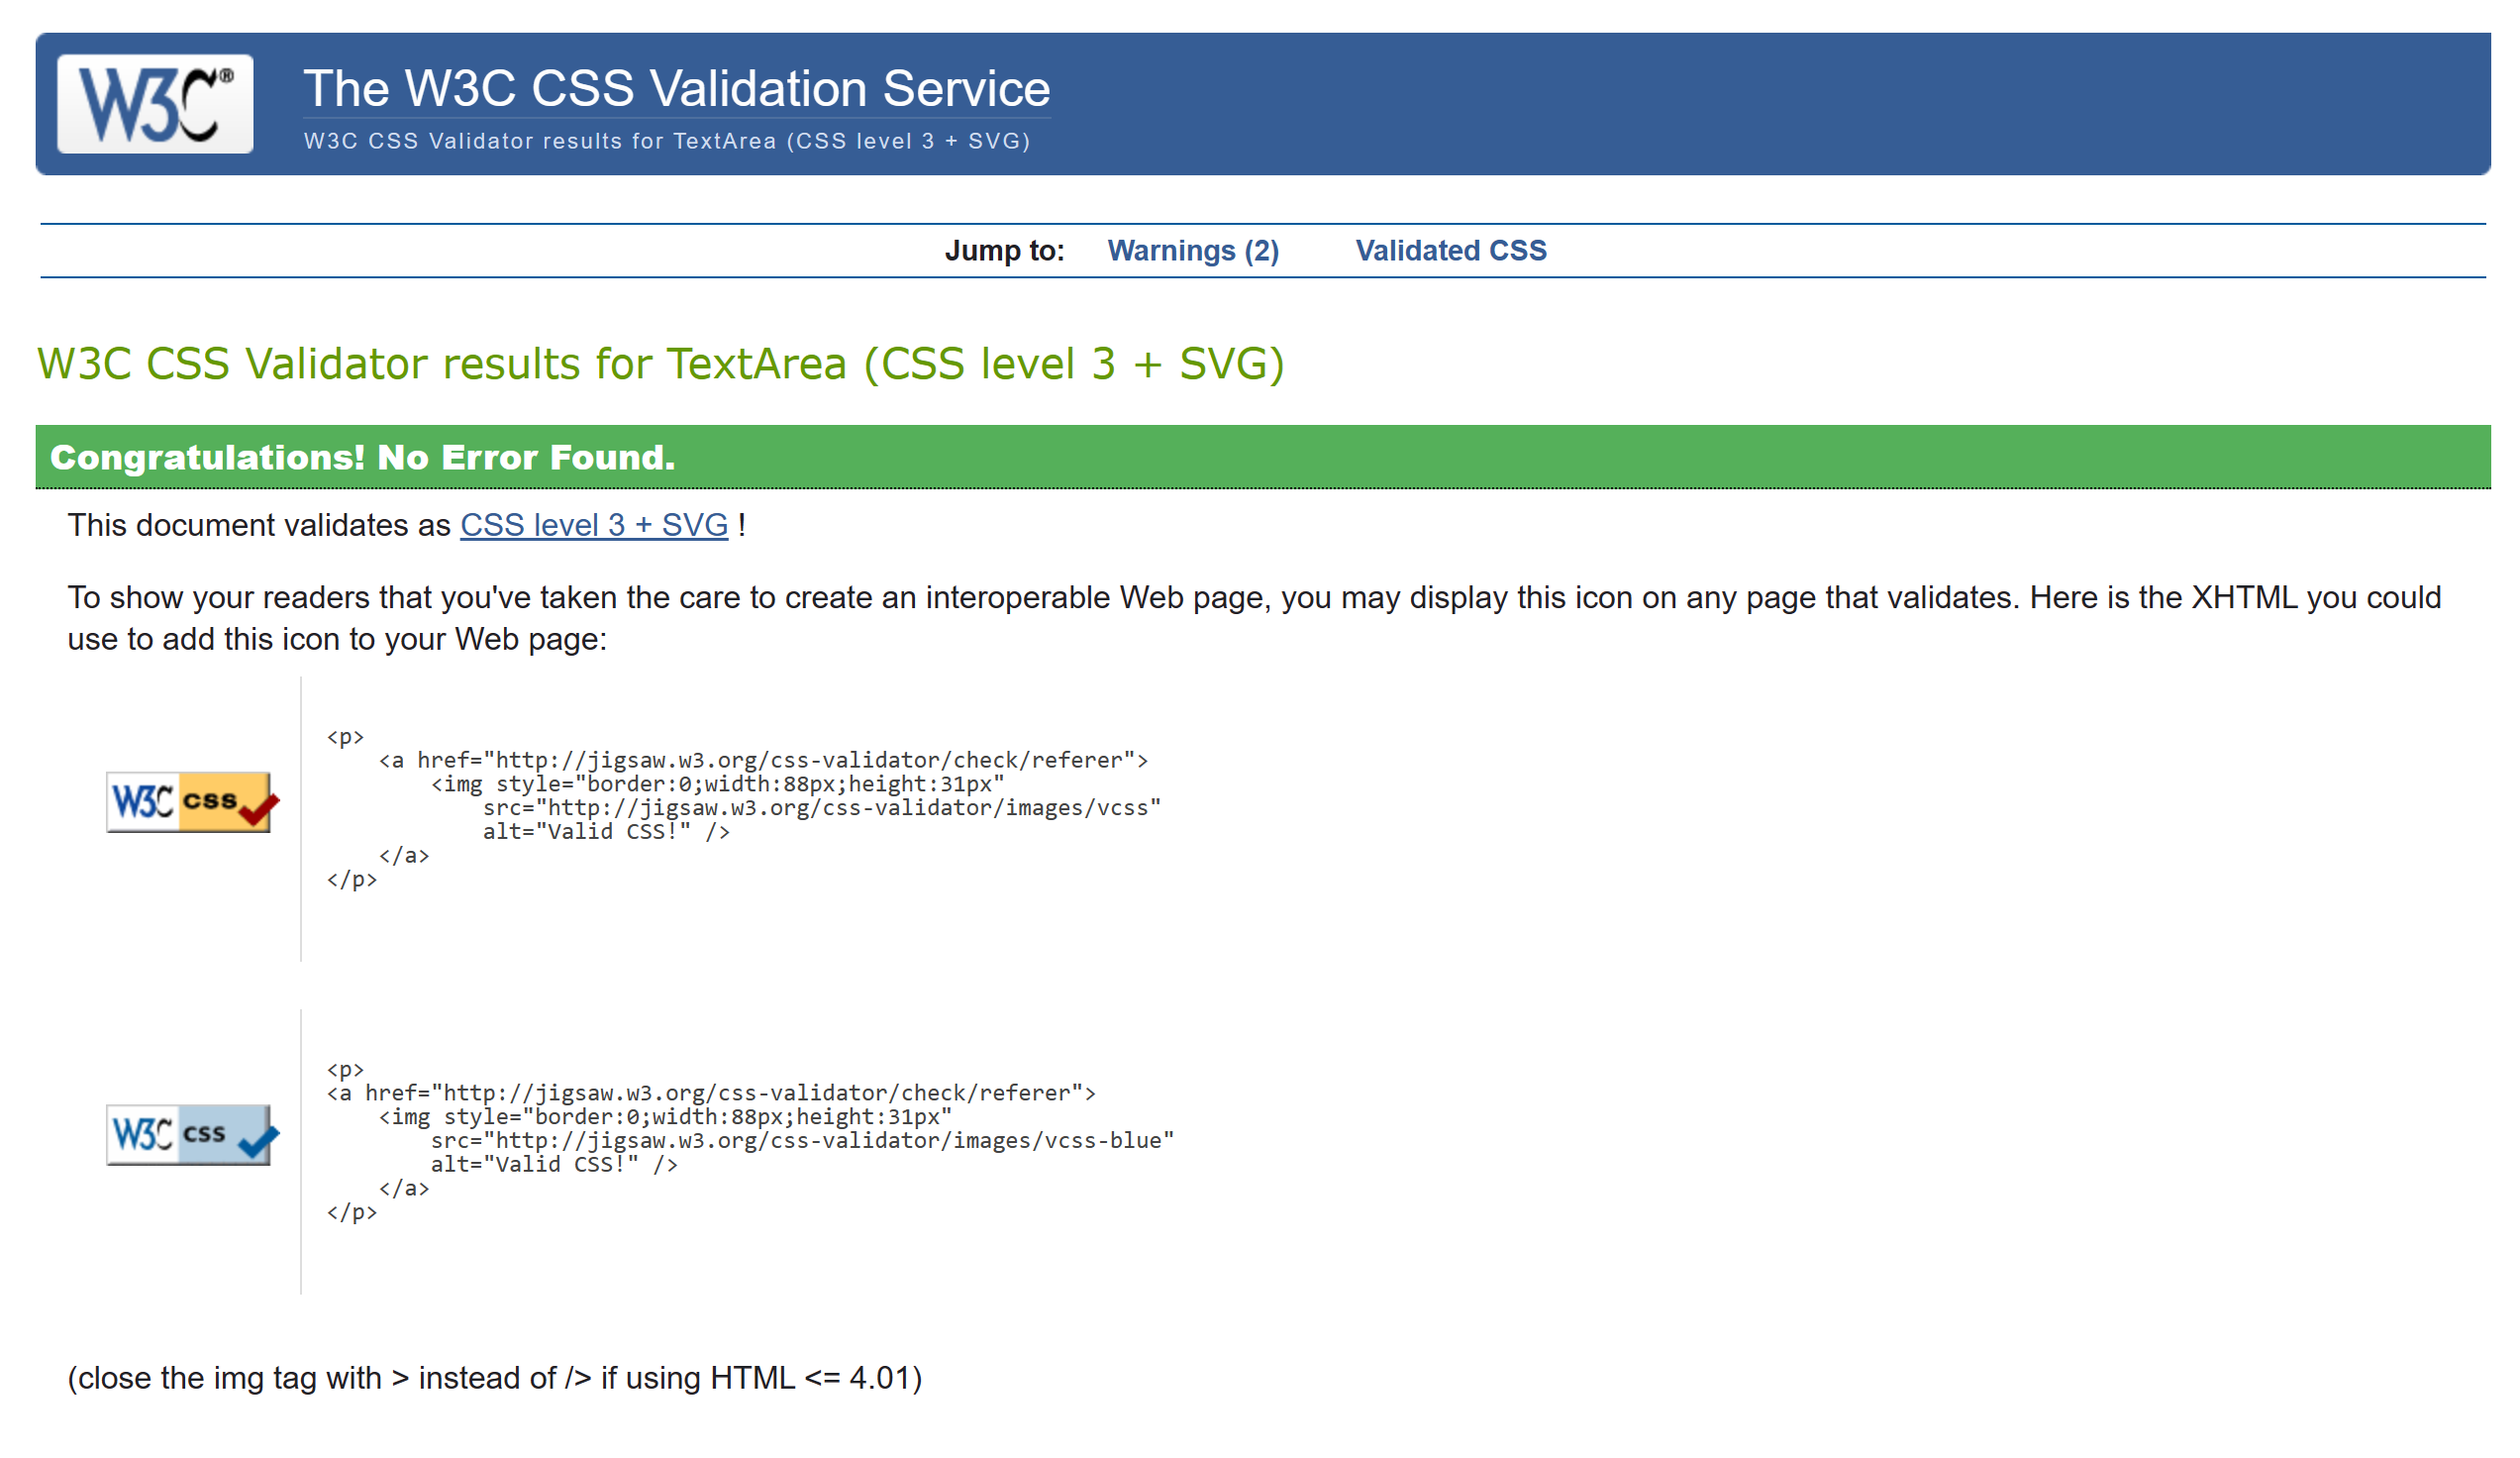
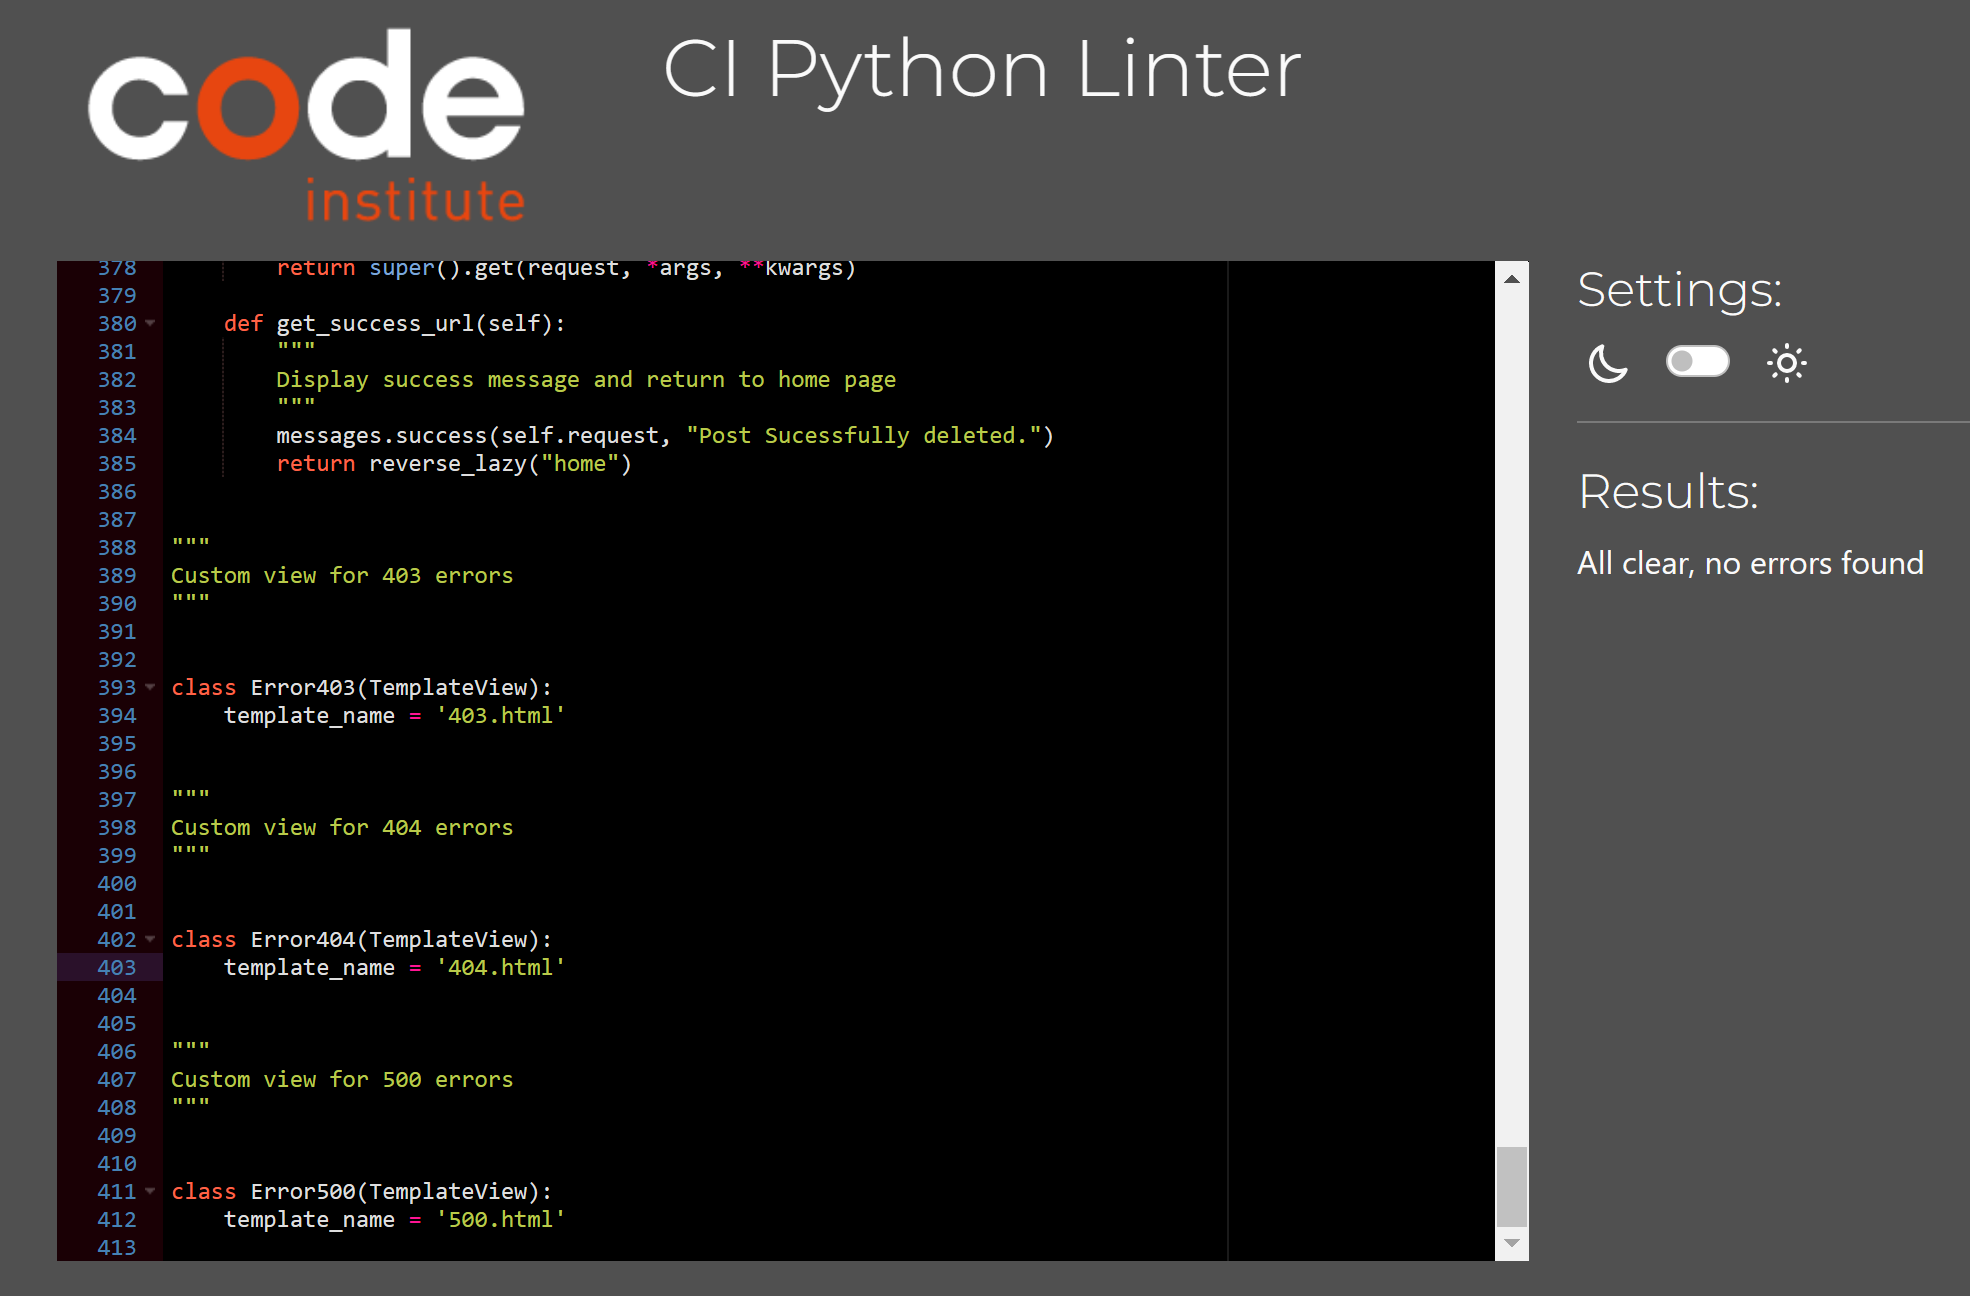
- Style.css
Located in the Static/CSS folder and validated by https://jigsaw.w3.org/css-validator/#validate_by_input
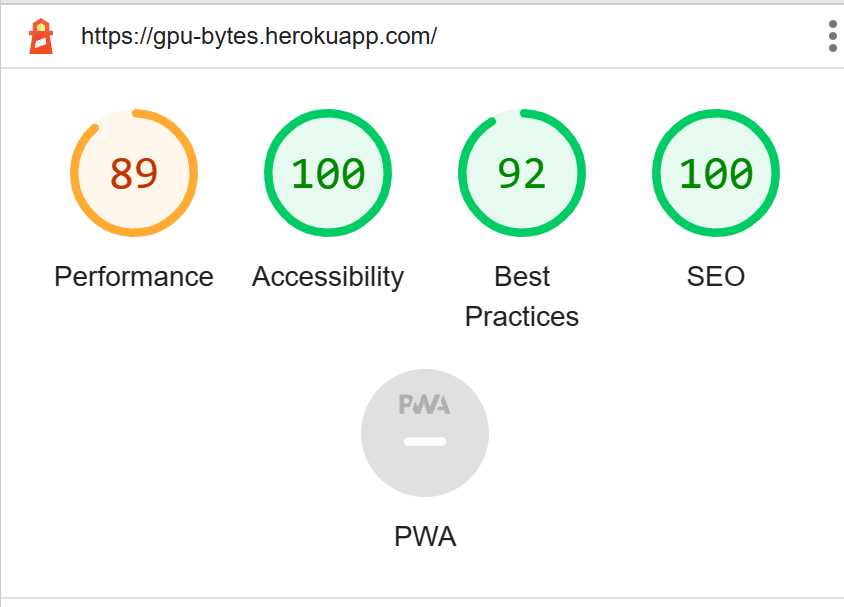
- Login
- Register
- Logout
- Post List

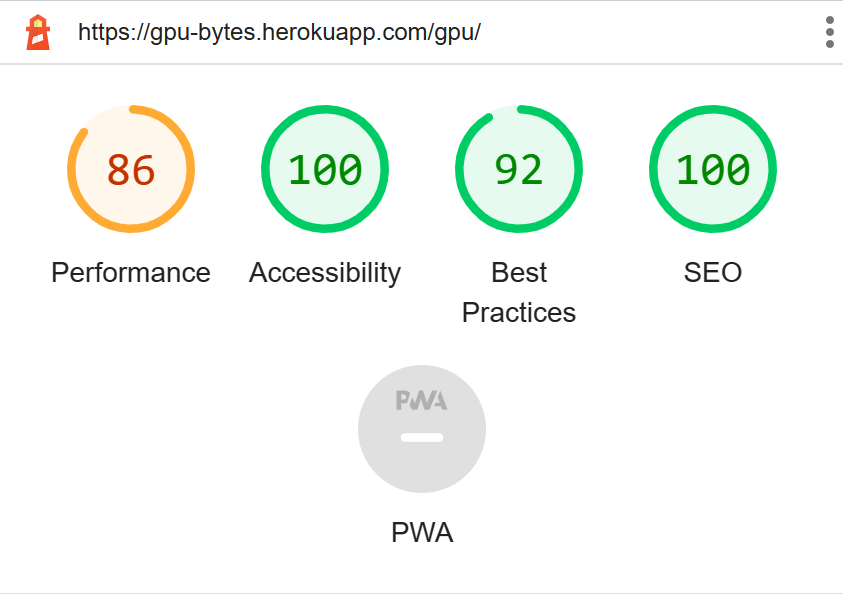
- GPU List
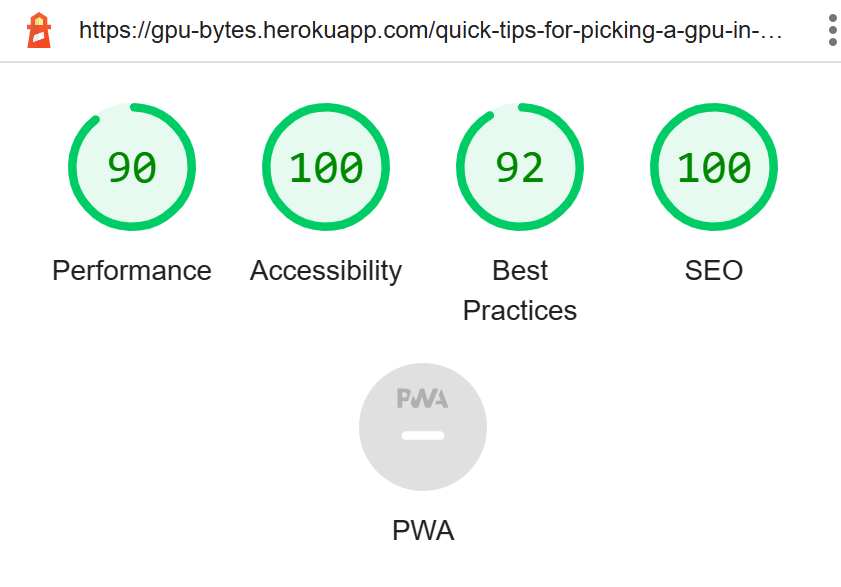
- Post Detail

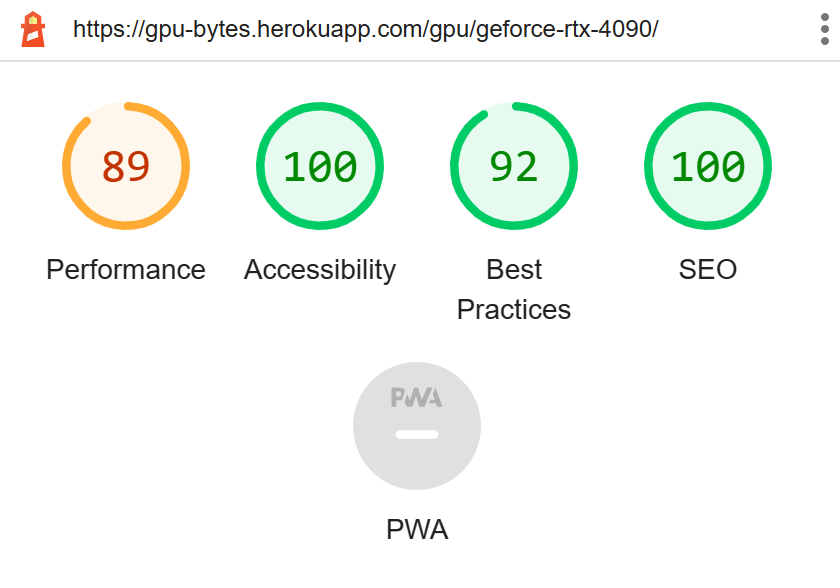
- GPU Detail
- Update Form
- Edit GPU
- Edit Post

- Delete GPU
- Delete Post
- Add GPU
- Add Post
- 403 Page
- 404 Page
- 500 Page
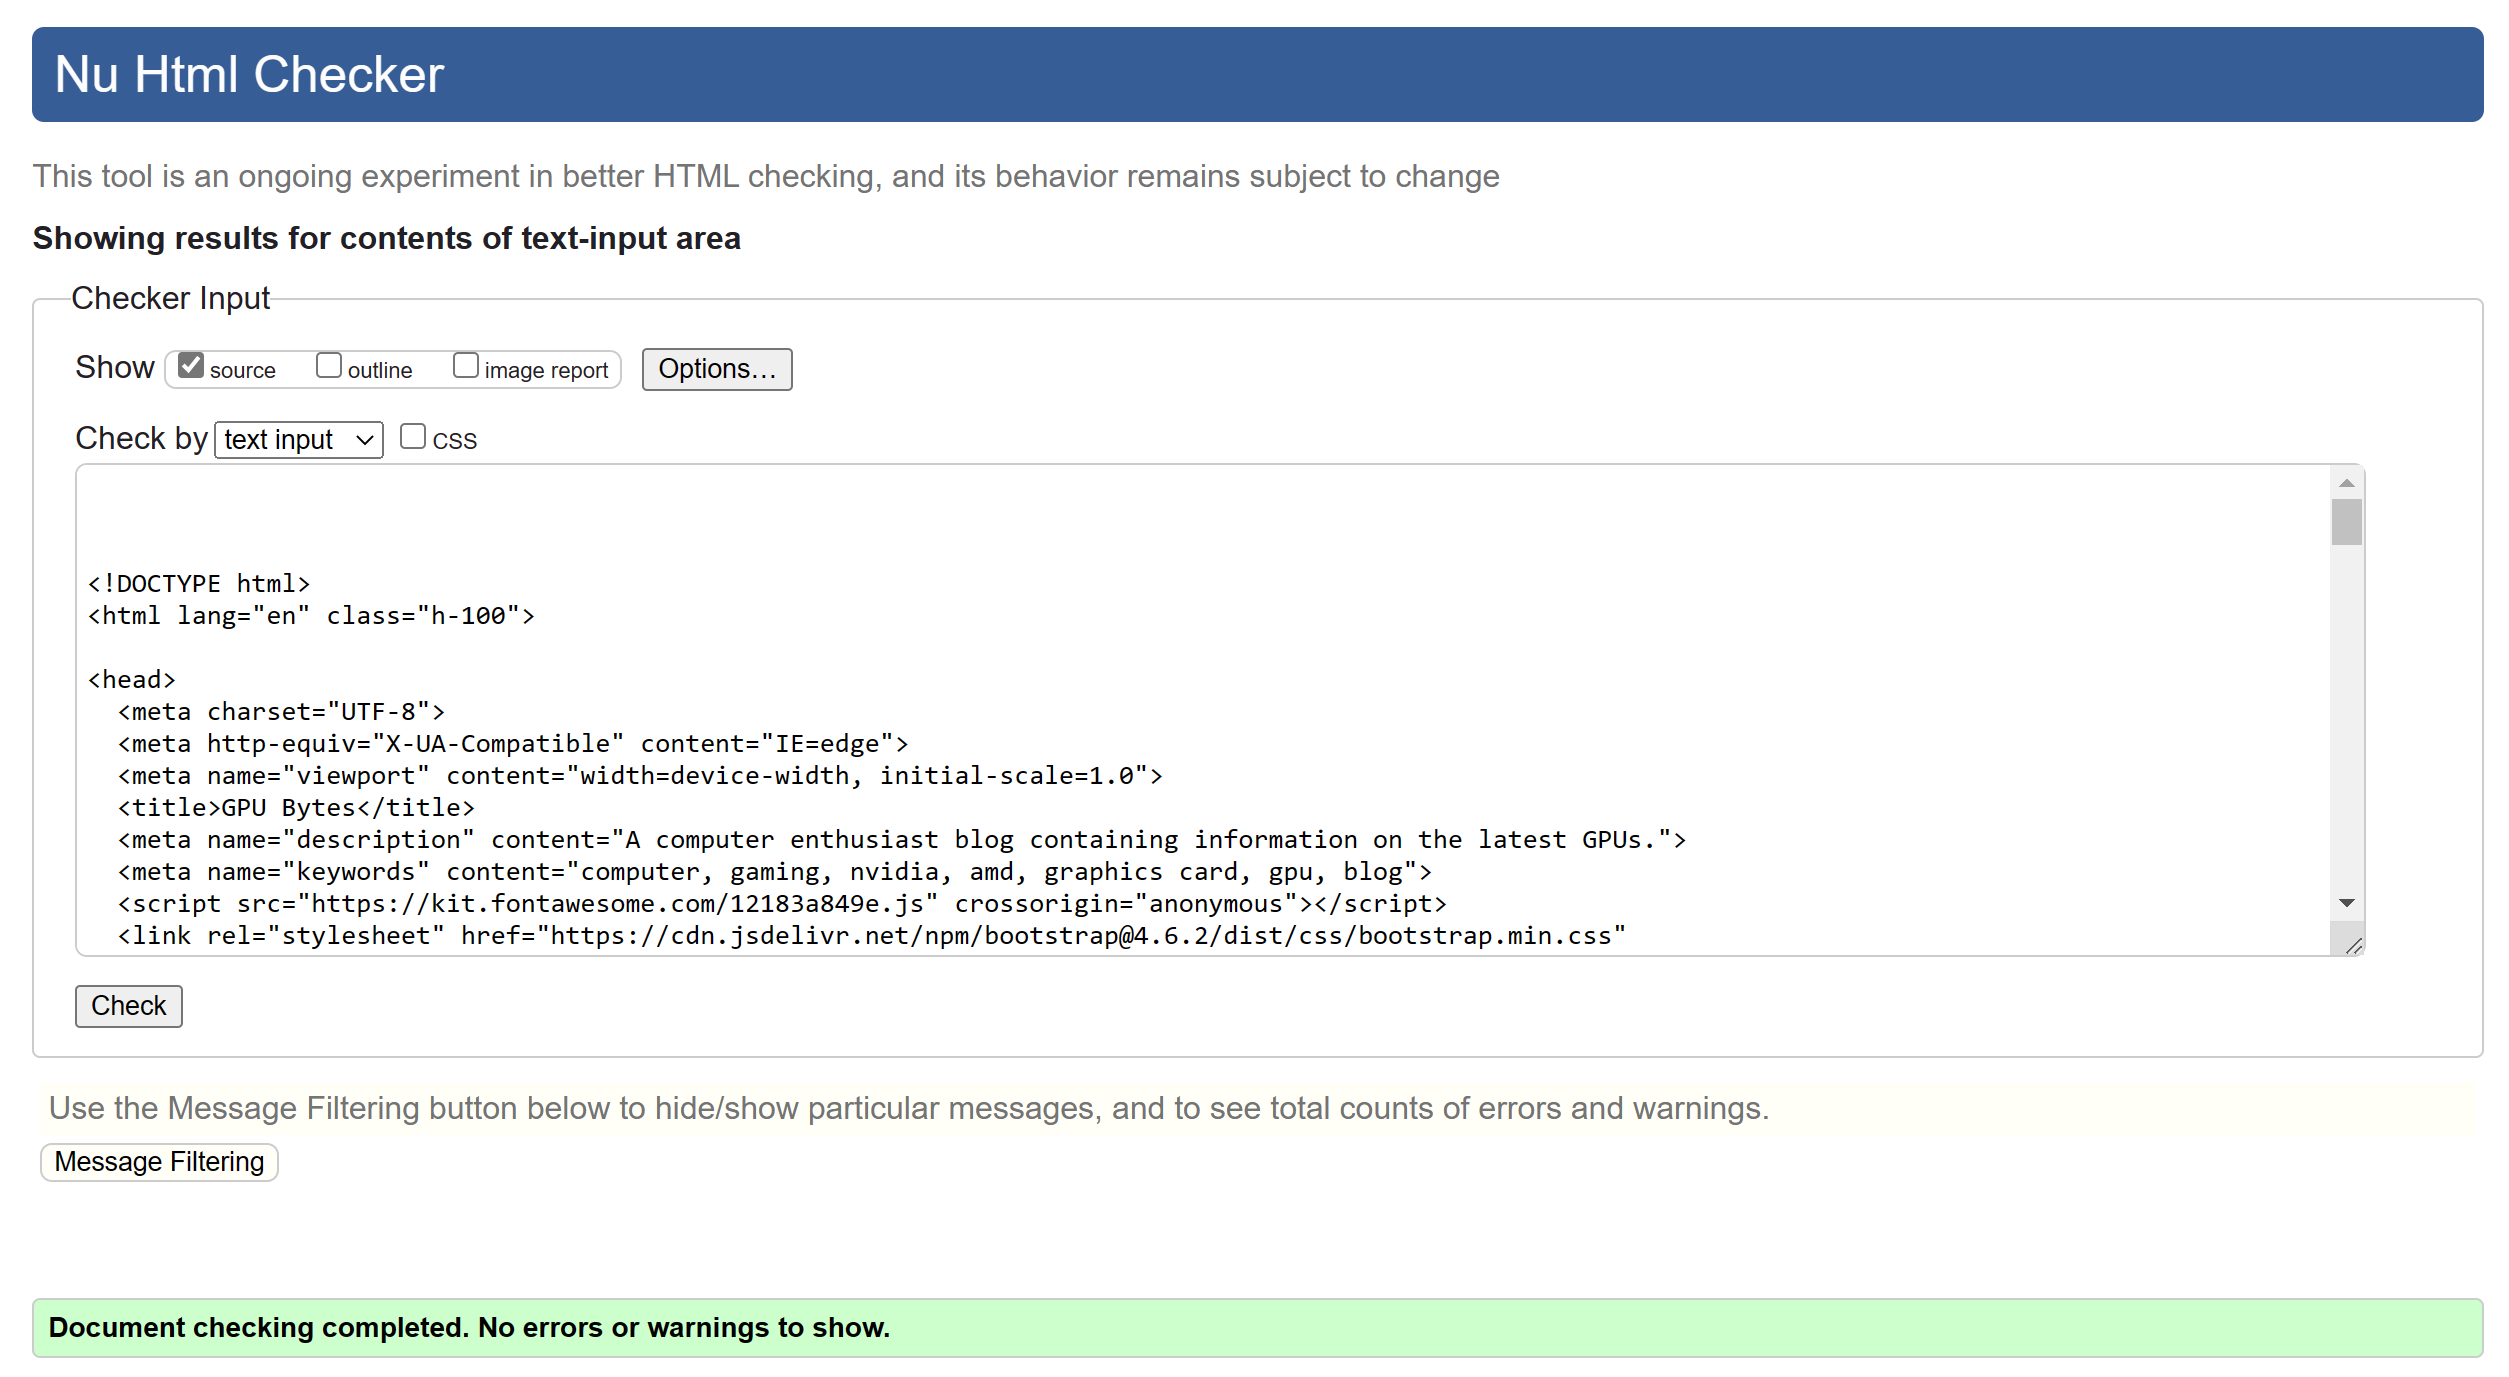
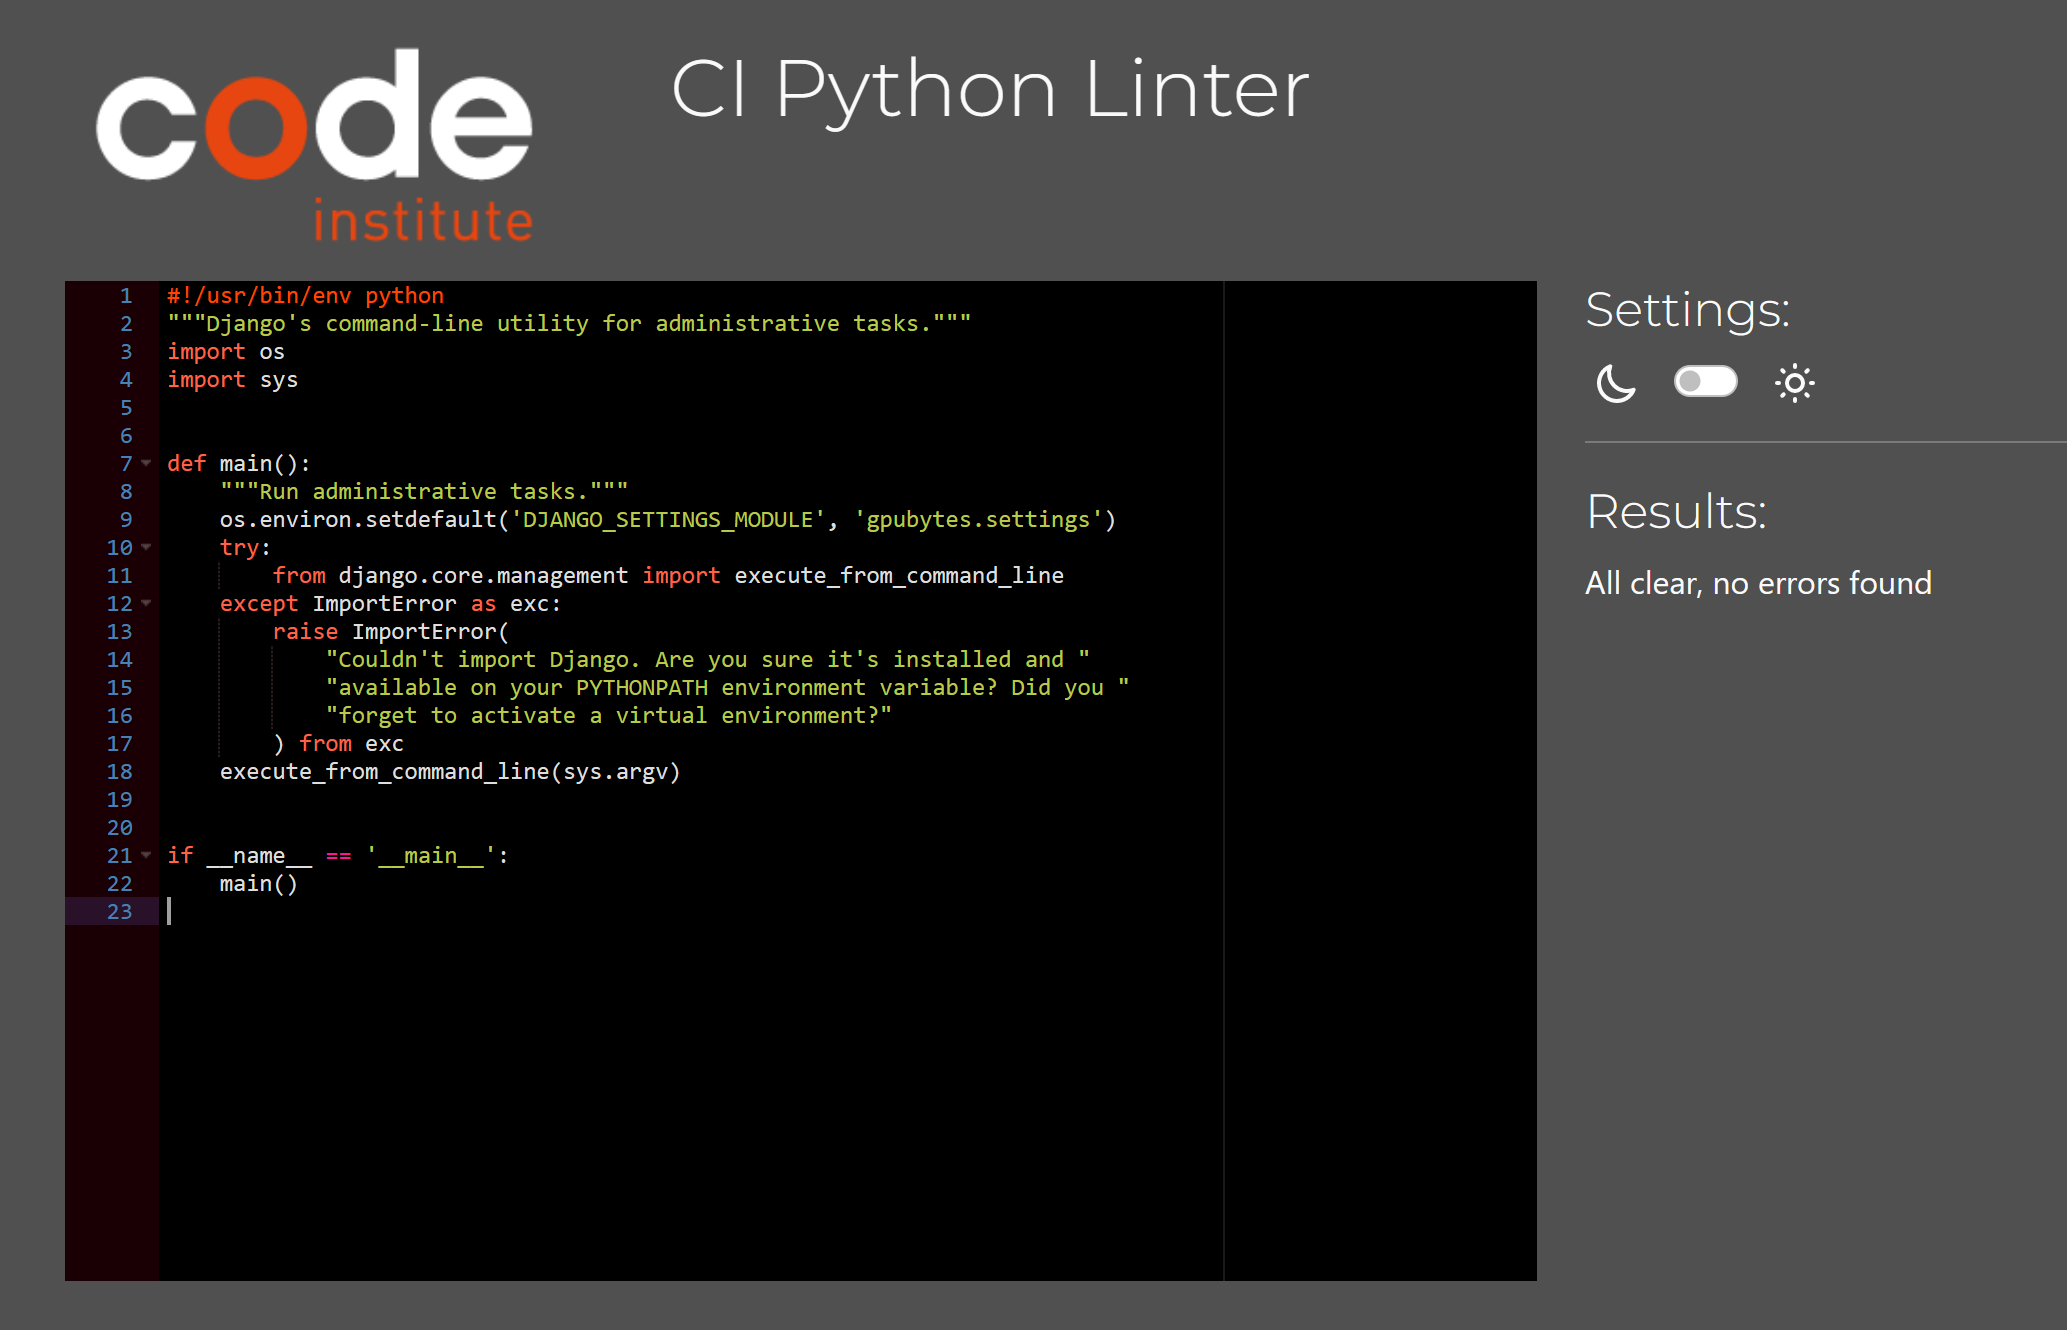
- Manage.py
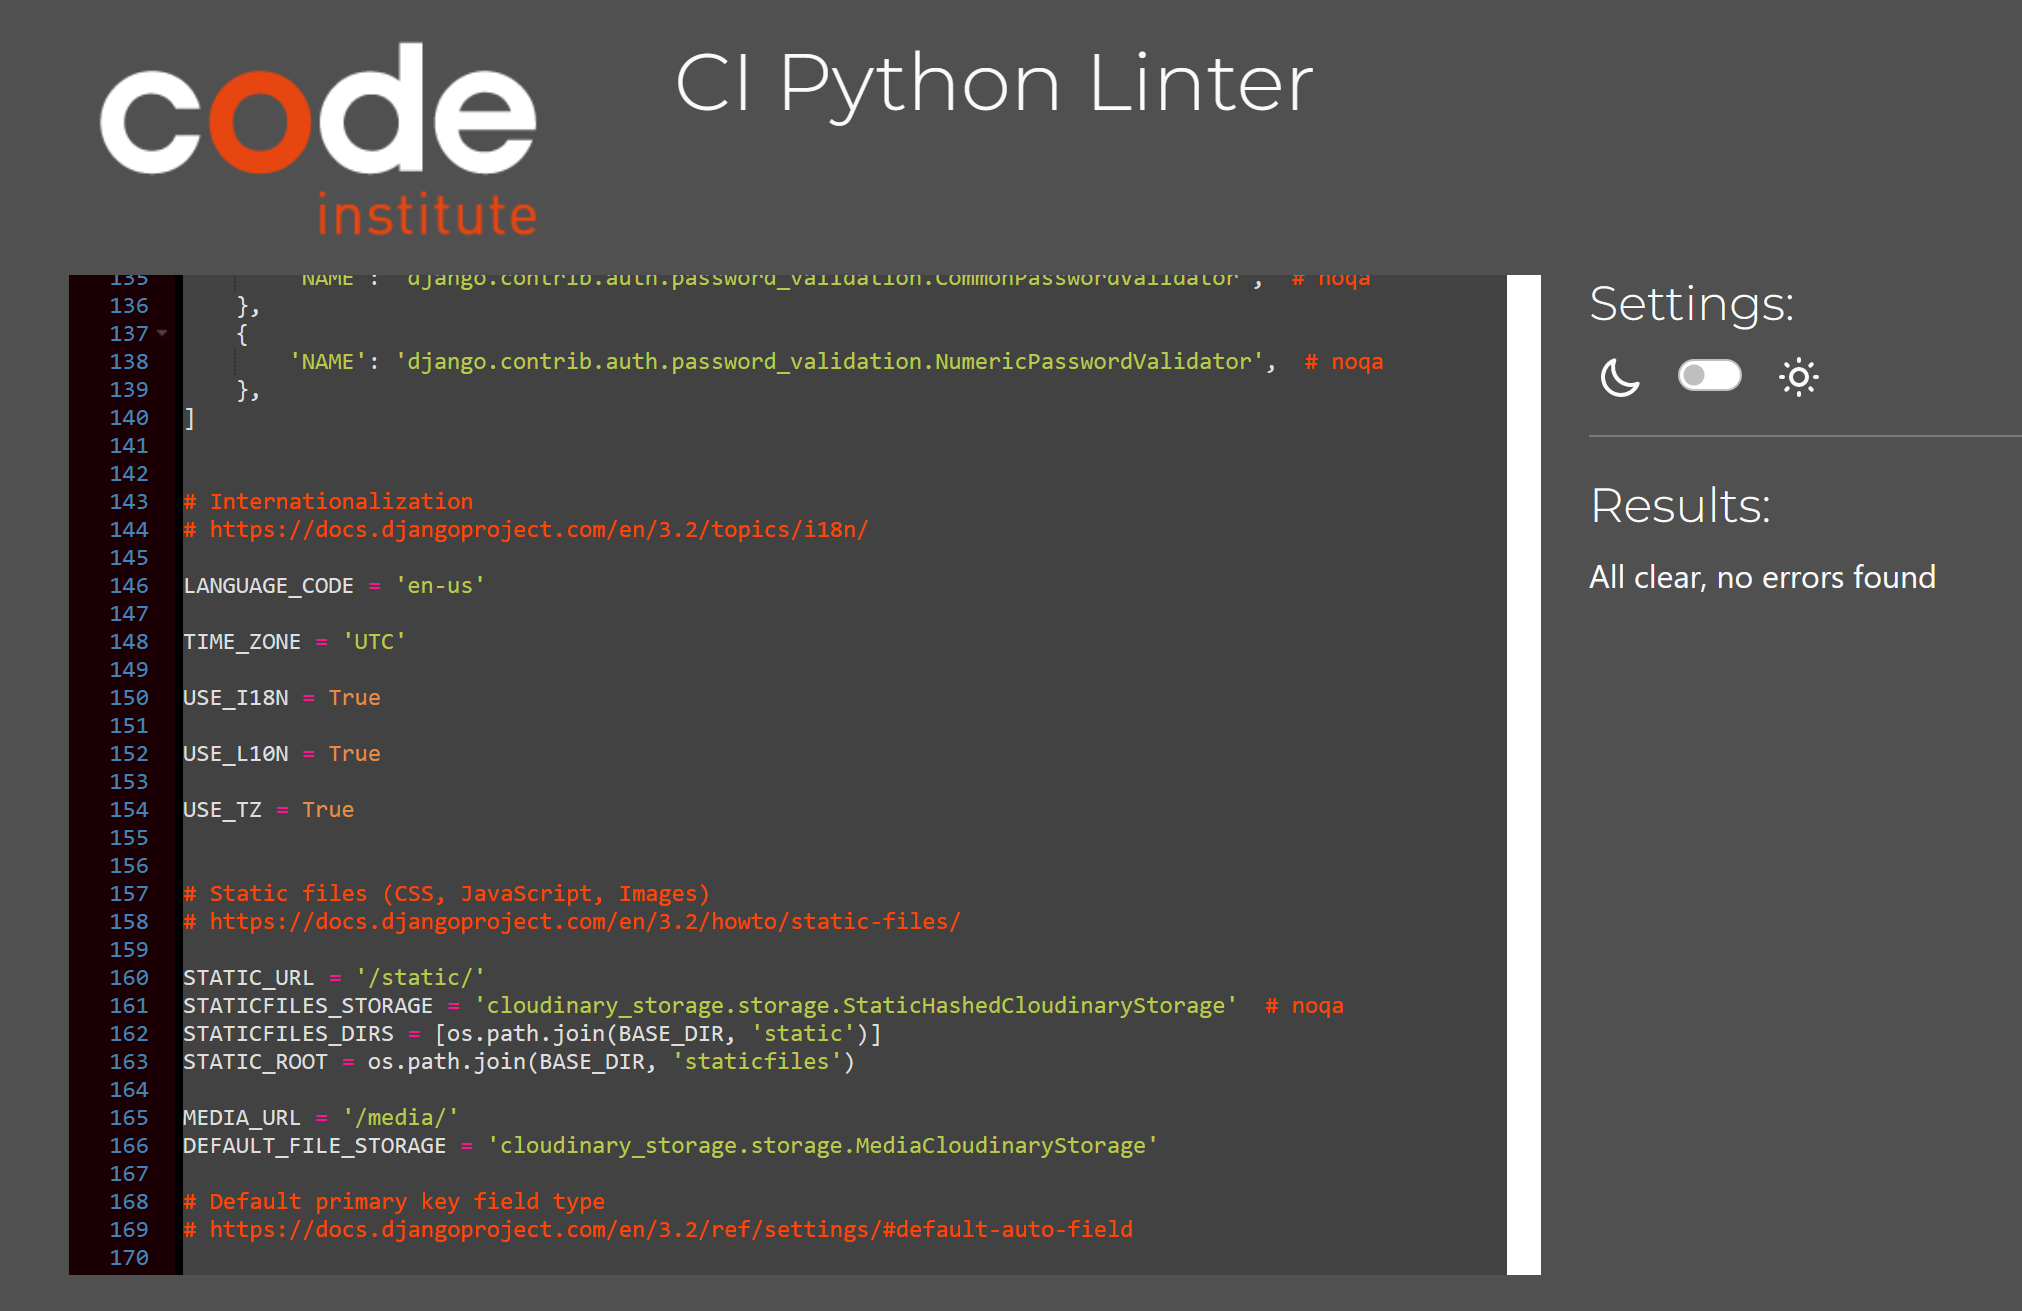
- Settings.py
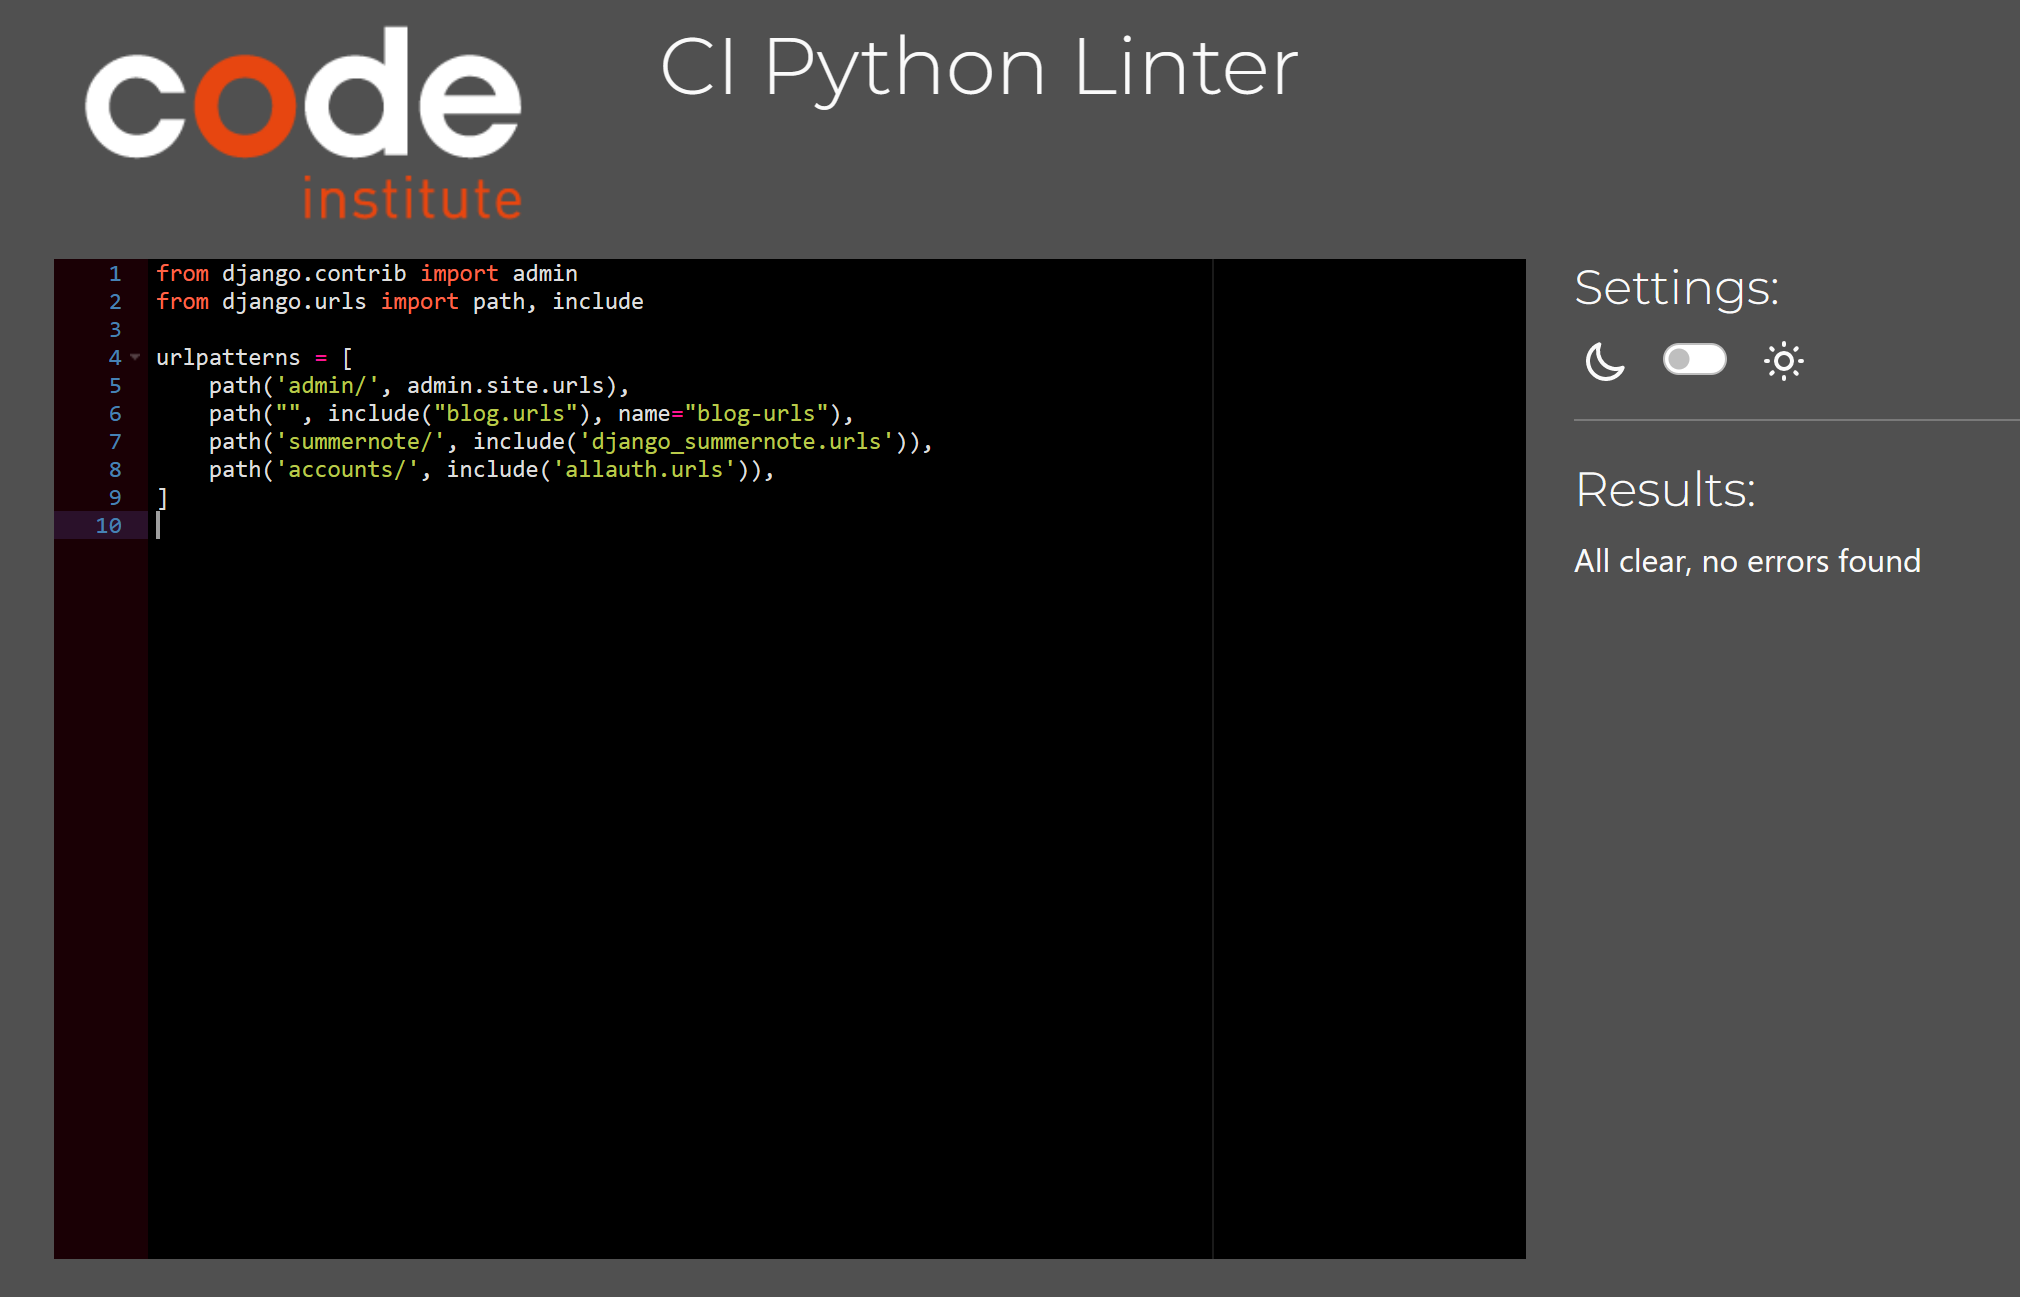
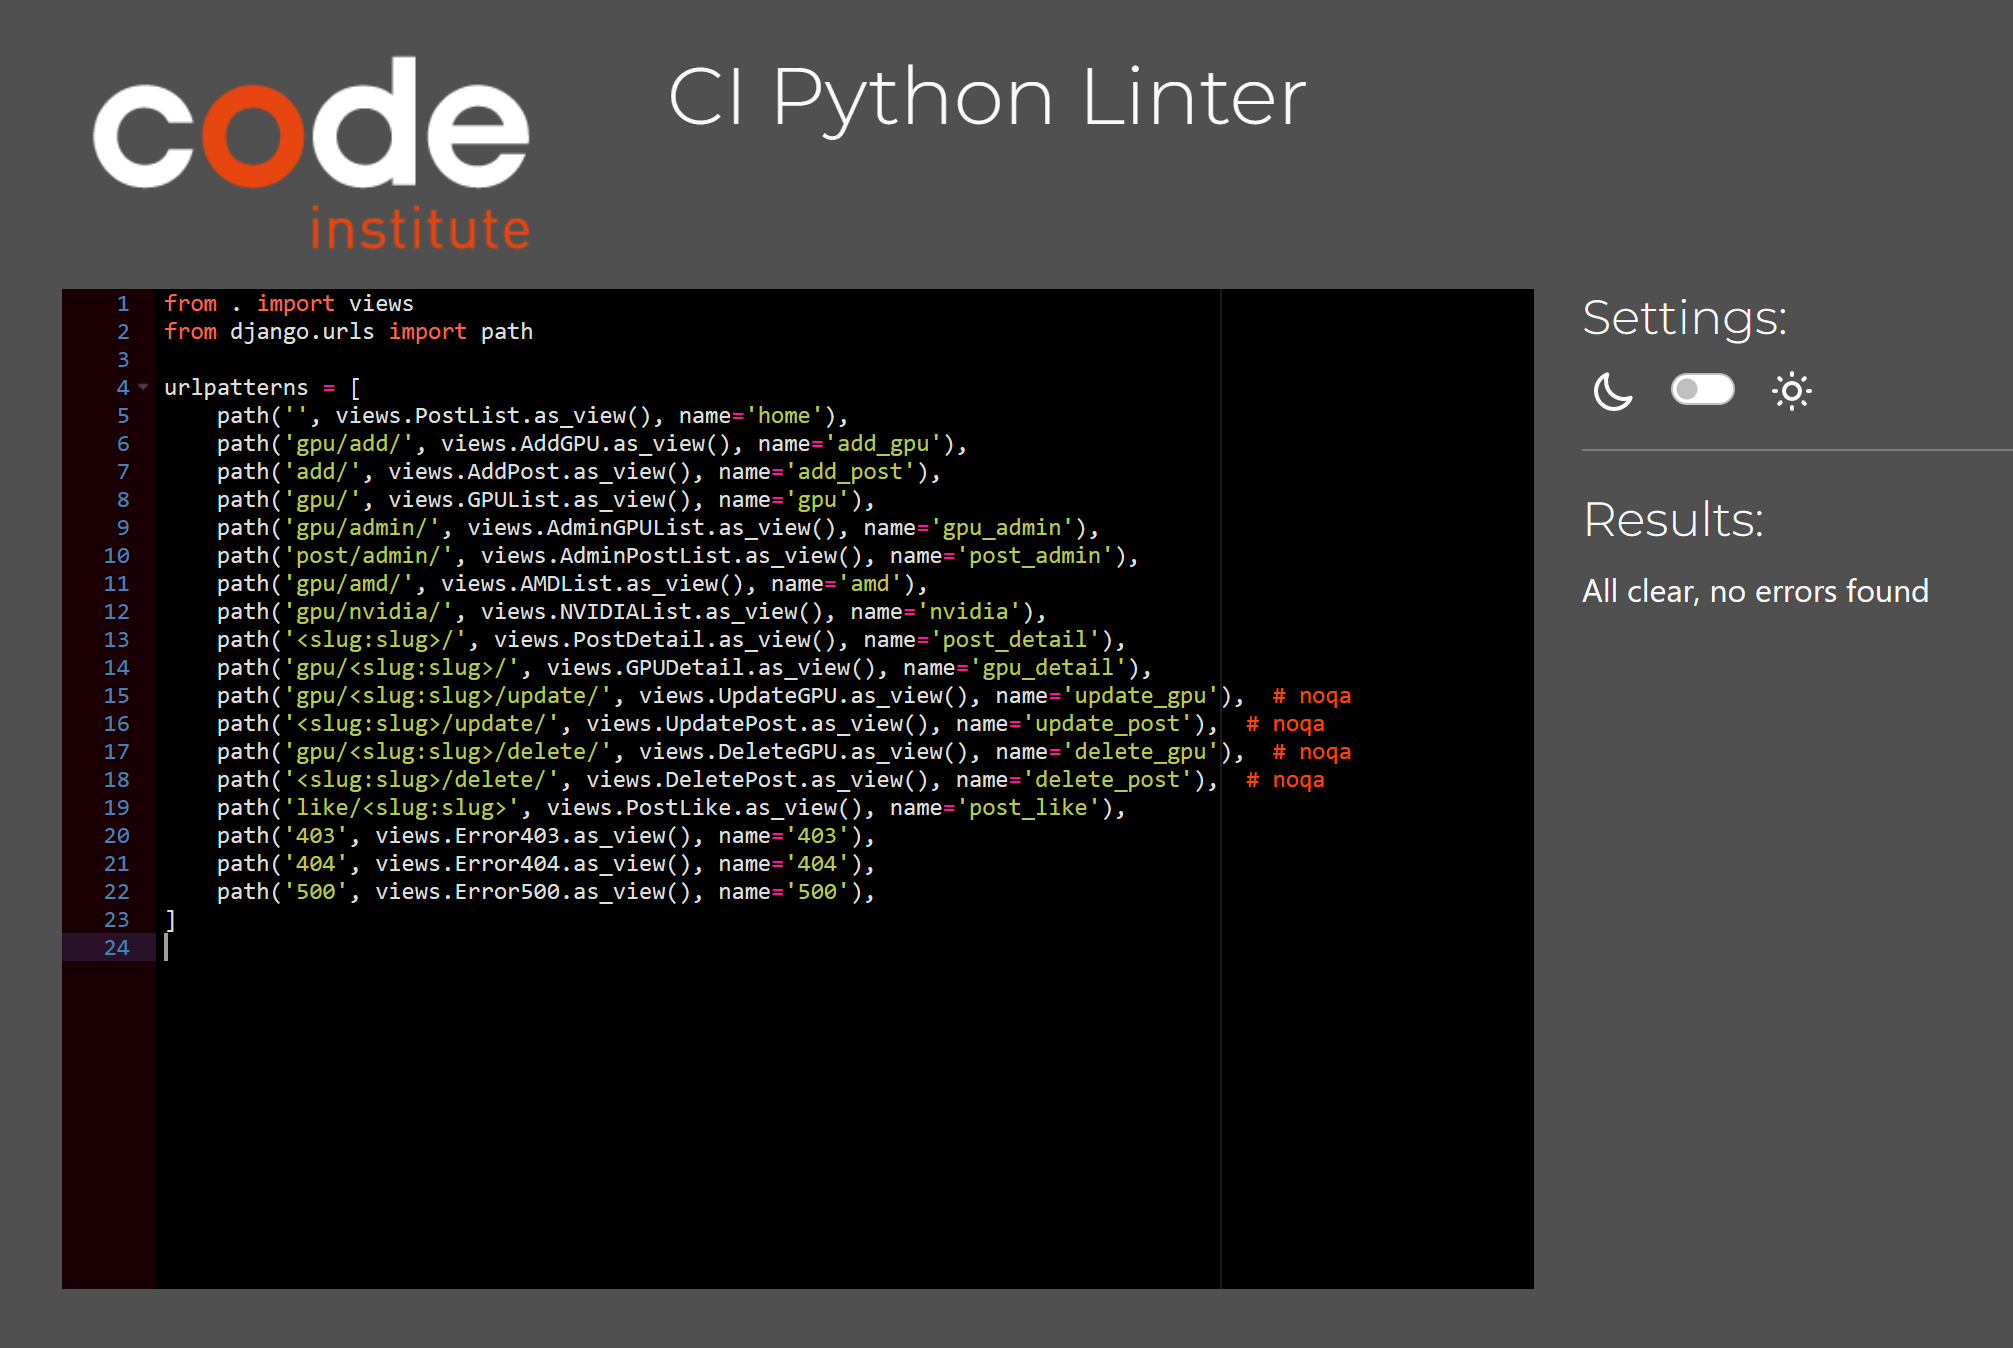
- Gpubytes Urls.py
- Blog Urls.py
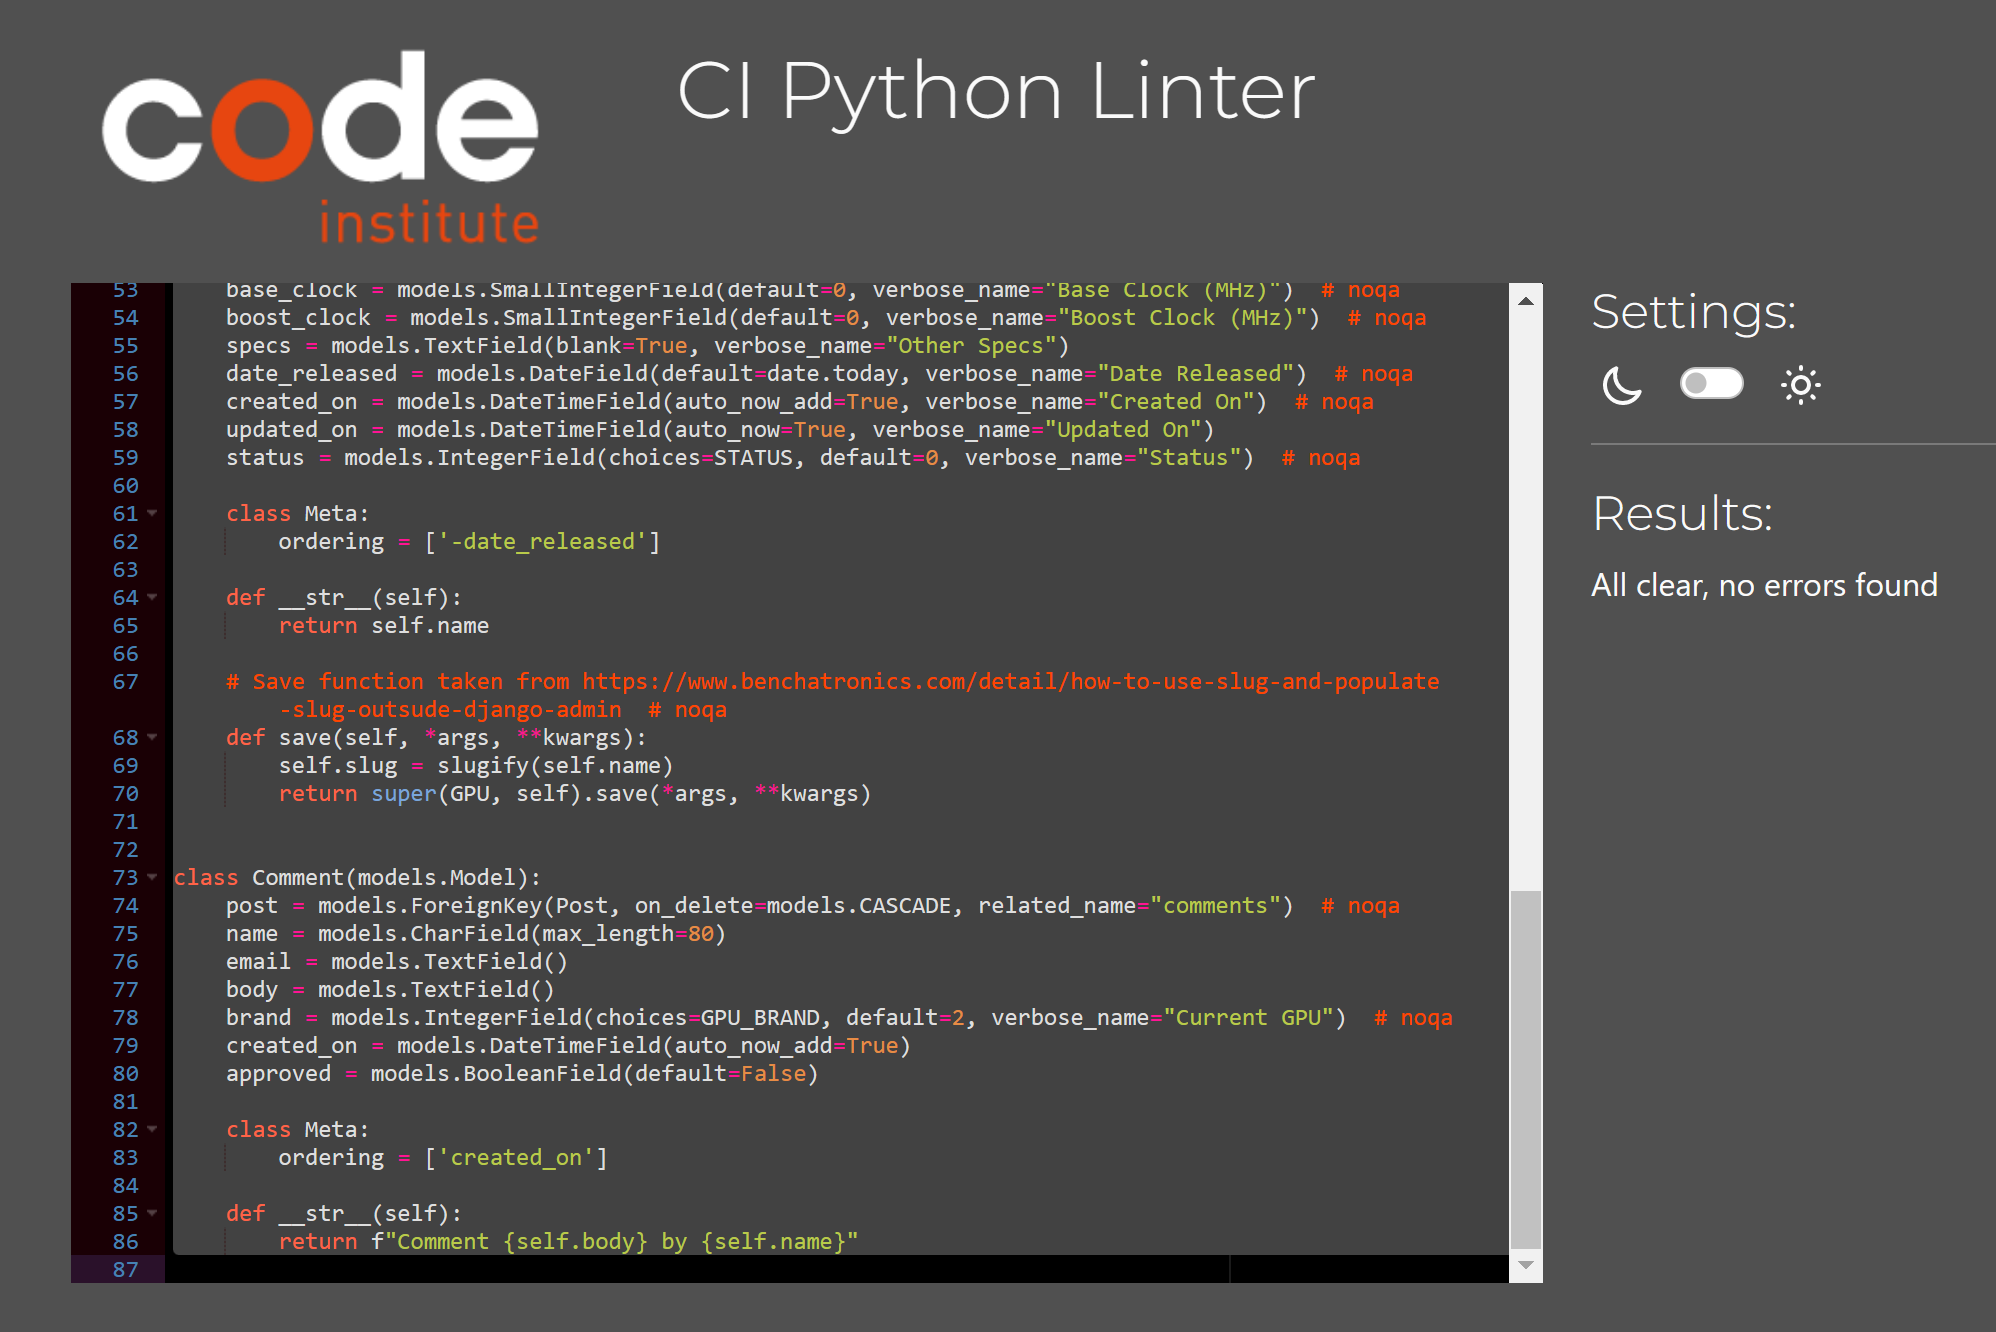
- Models.py
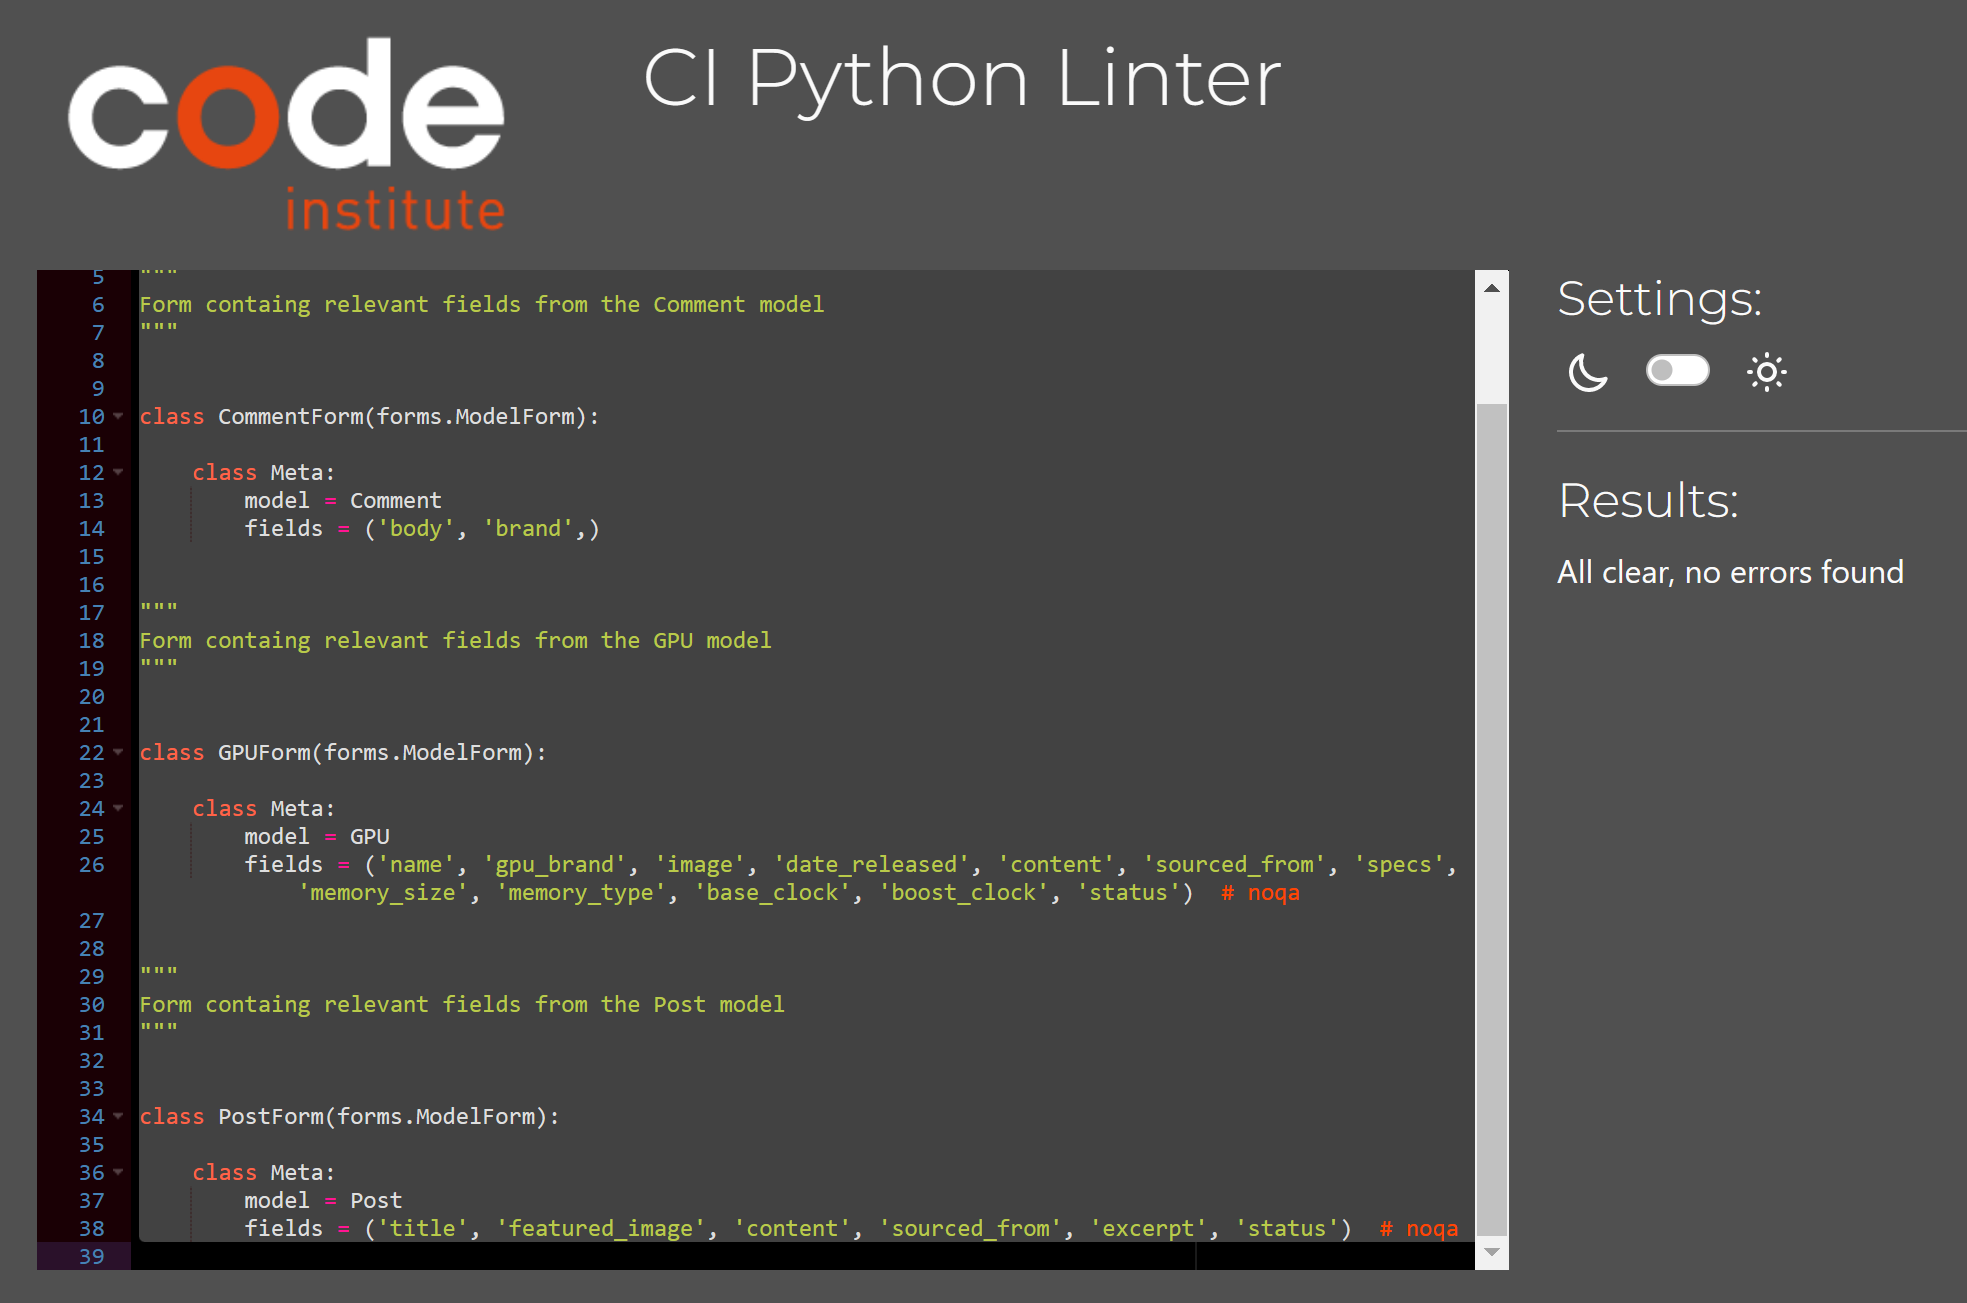
- Forms.py
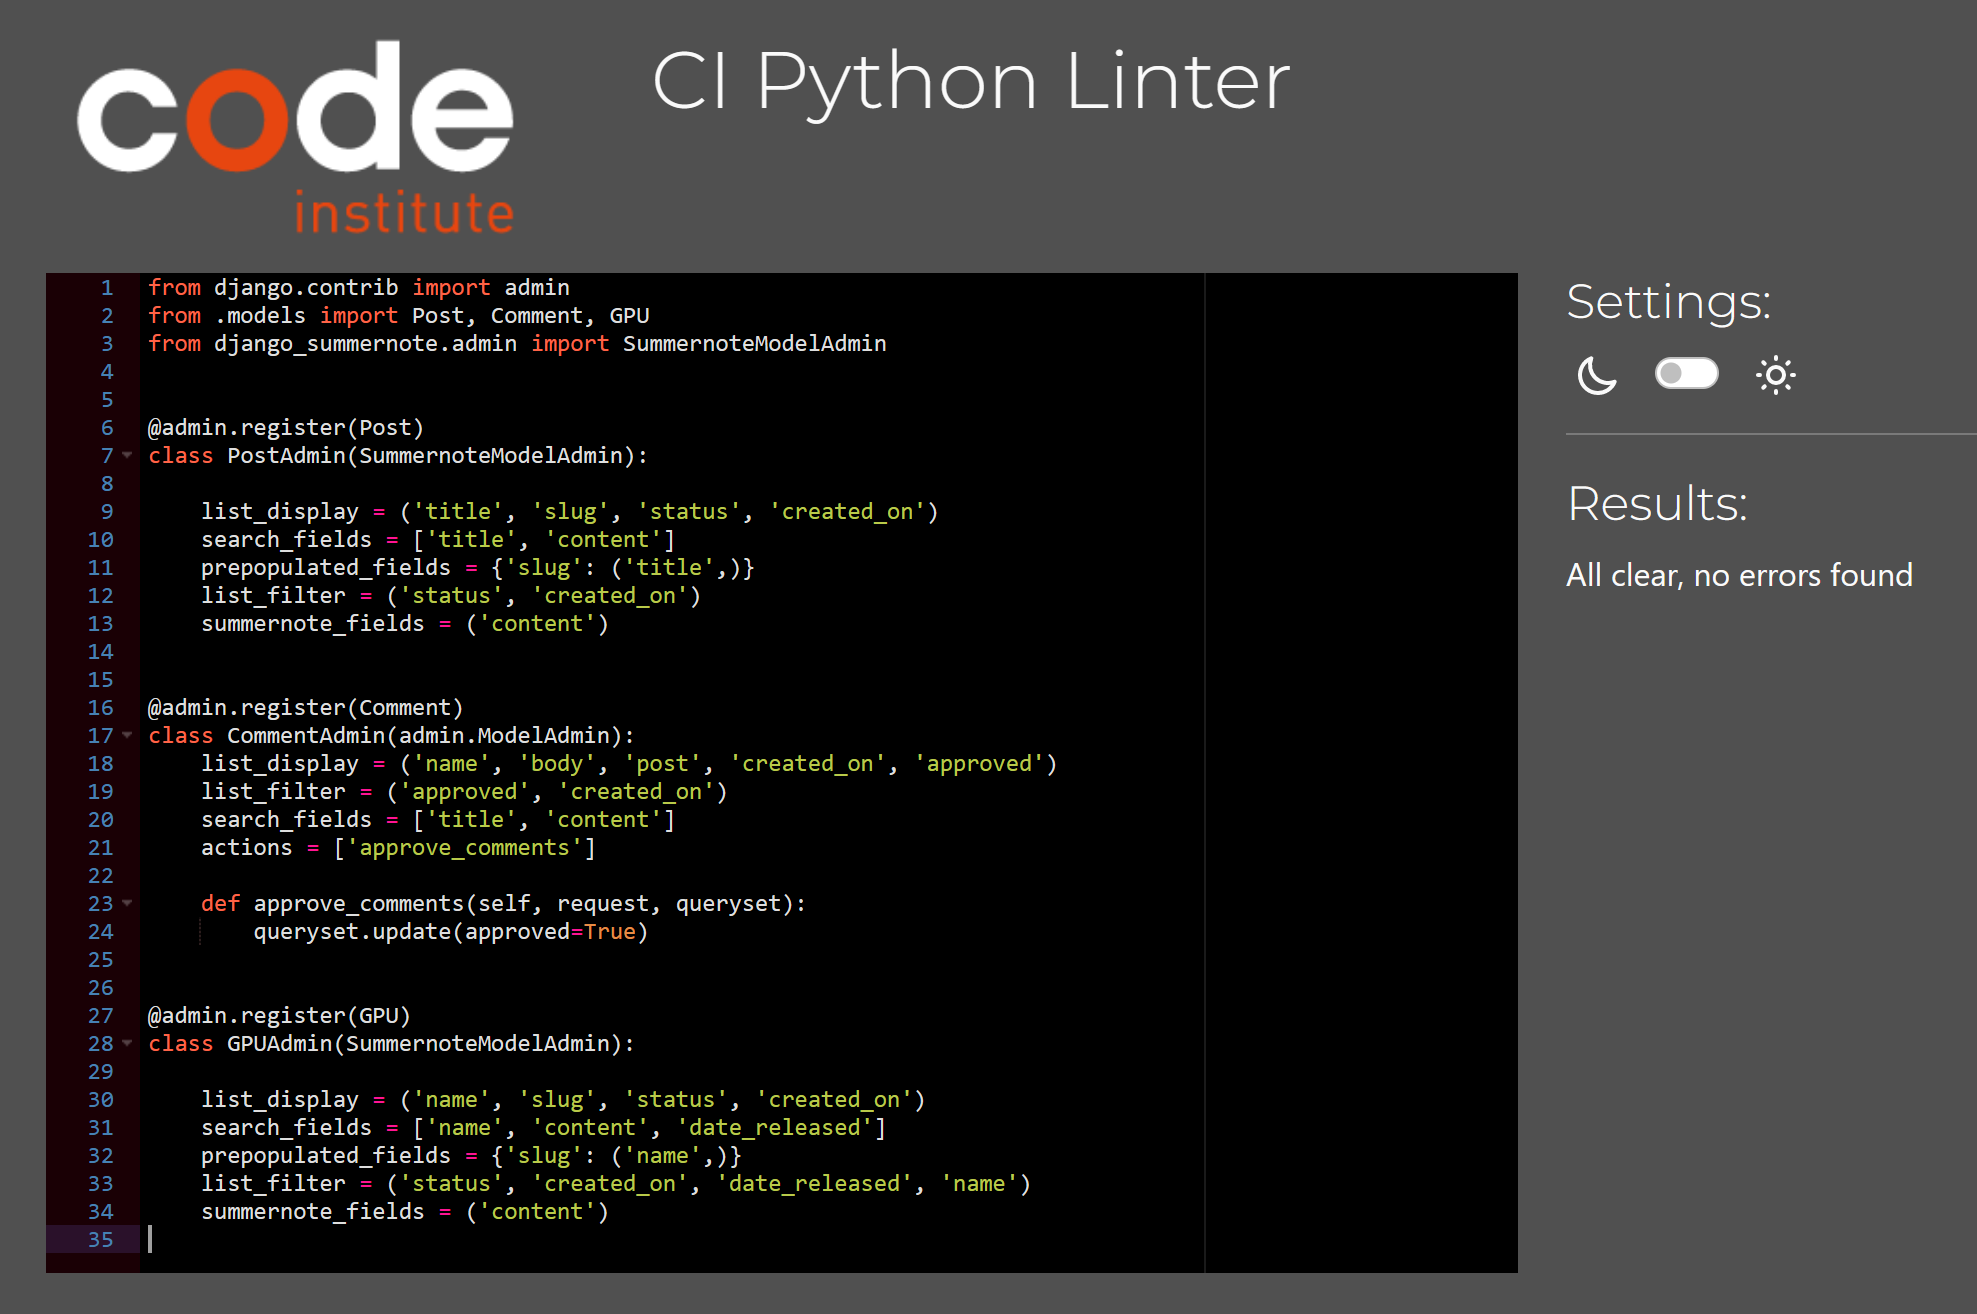
- Admin.py
- Views.py
Issues are tracked on GitHUb at the following link: https://github.com/AlexanderJWard/gpu-bytes/issues
The following issue is a small visual bug where all posts are not equal height, ideally all posts should be the same height being responsive based on the post with the greatest height.
This issue can be found here: #27
- Add the following browser extension to Google Chrome or Microsoft Edge from here: https://chrome.google.com/webstore/detail/gitpod-always-ready-to-co/dodmmooeoklaejobgleioelladacbeki
-
Navigate to the GitHub repository located here: https://github.com/AlexanderJWard/gpu-bytes
-
Press the green Gitpod button at the top of the repository.
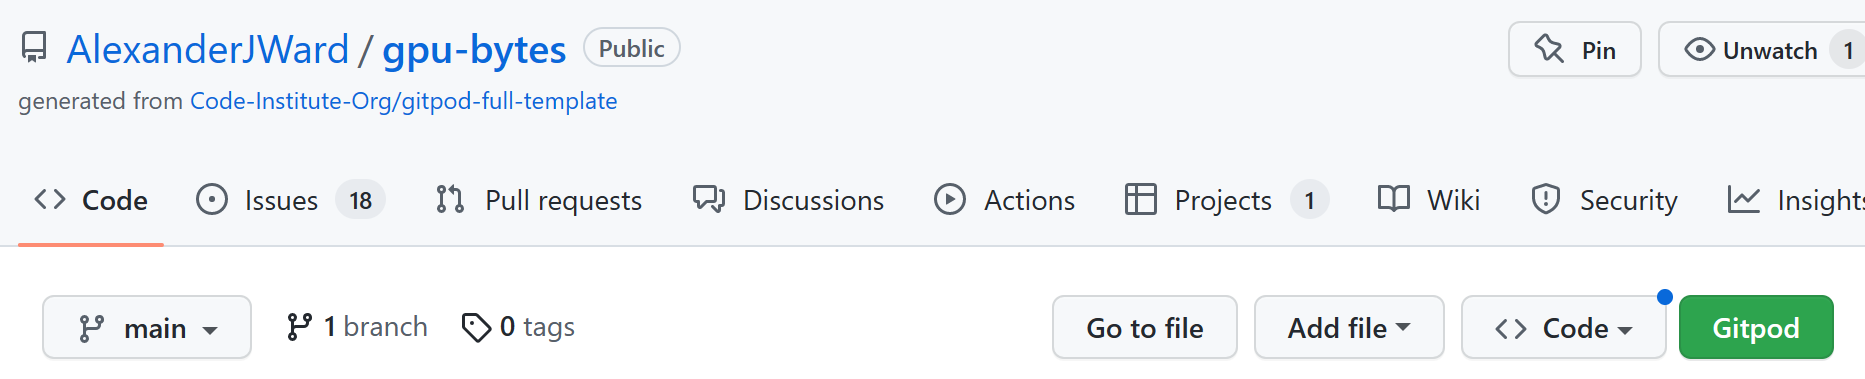
-
If the pip version is out of date run this command: pip3 install --upgrade pip
-
Create a new file called env.py in the root directory.
-
Put the following text in the env.py replacing "YOUR VALUE" with relevant values.
import os
os.environ["SECRET_KEY"] = "YOUR_VALUE" os.environ["CLOUDINARY_URL"] = "YOUR_VALUE" DEV=True
-
Type pip3 install -r requirements.txt to install required python packages
-
Migrate the database with the following command: python3 manage.py migrate
-
Create a Django superadmin user by running the following command: python manage.py createsuperuser
-
Run the server by typing in the following command: python3 manage.py runserver
-
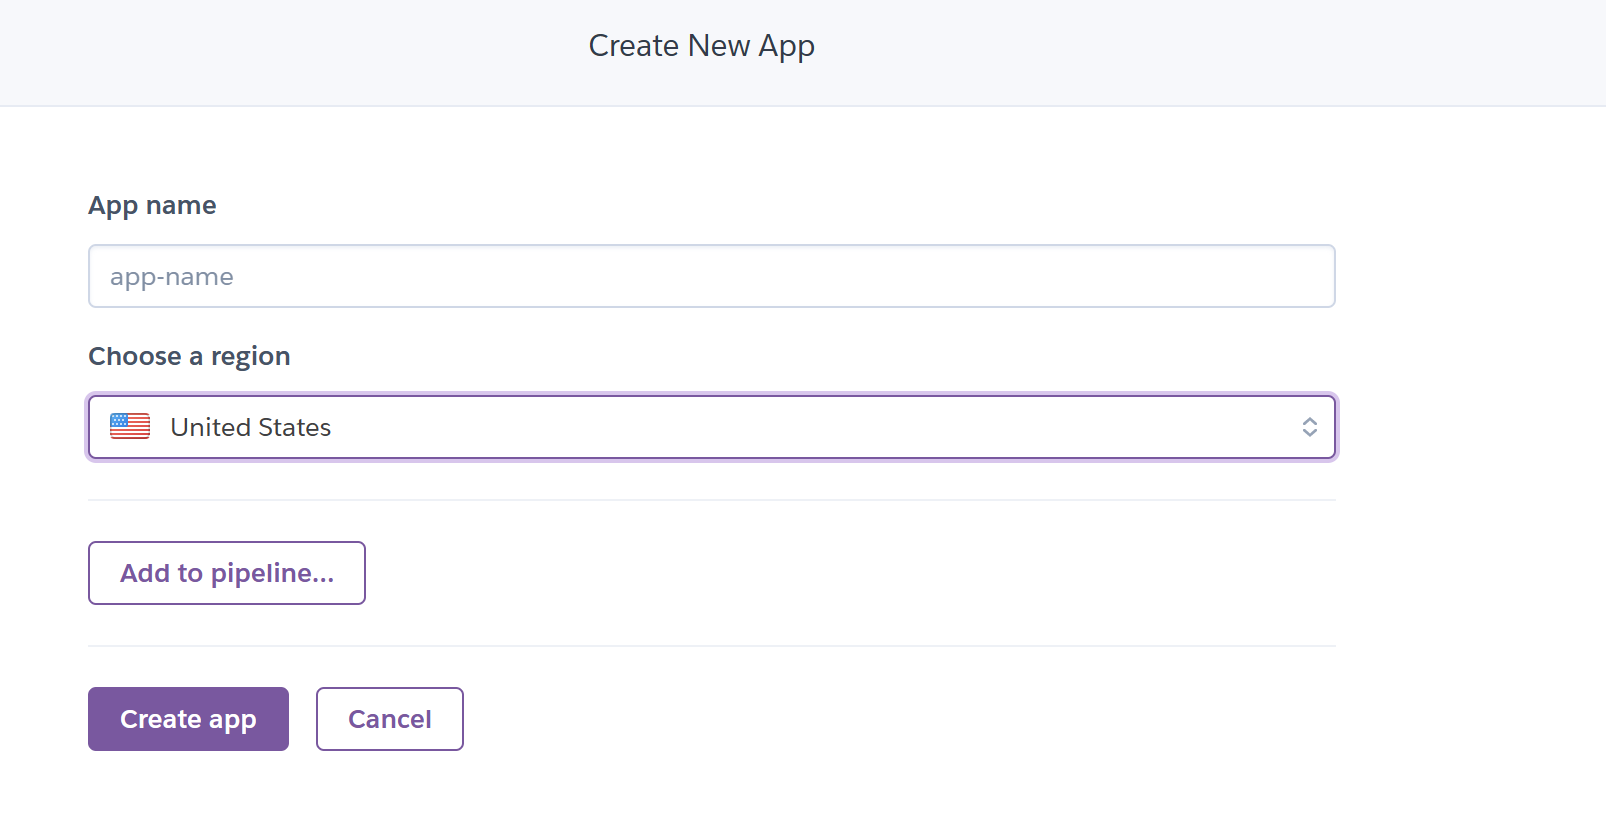
Deploy the site to Heroku. Create an account on Heroku and login.
-
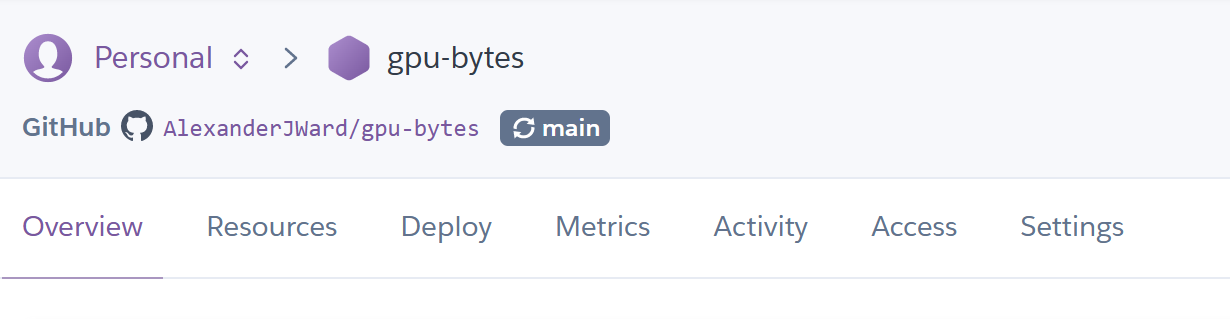
Create a new app, give it a name and choose a region.
-
Enter payment information and choose a plan.
-
Navigate to the settings tab
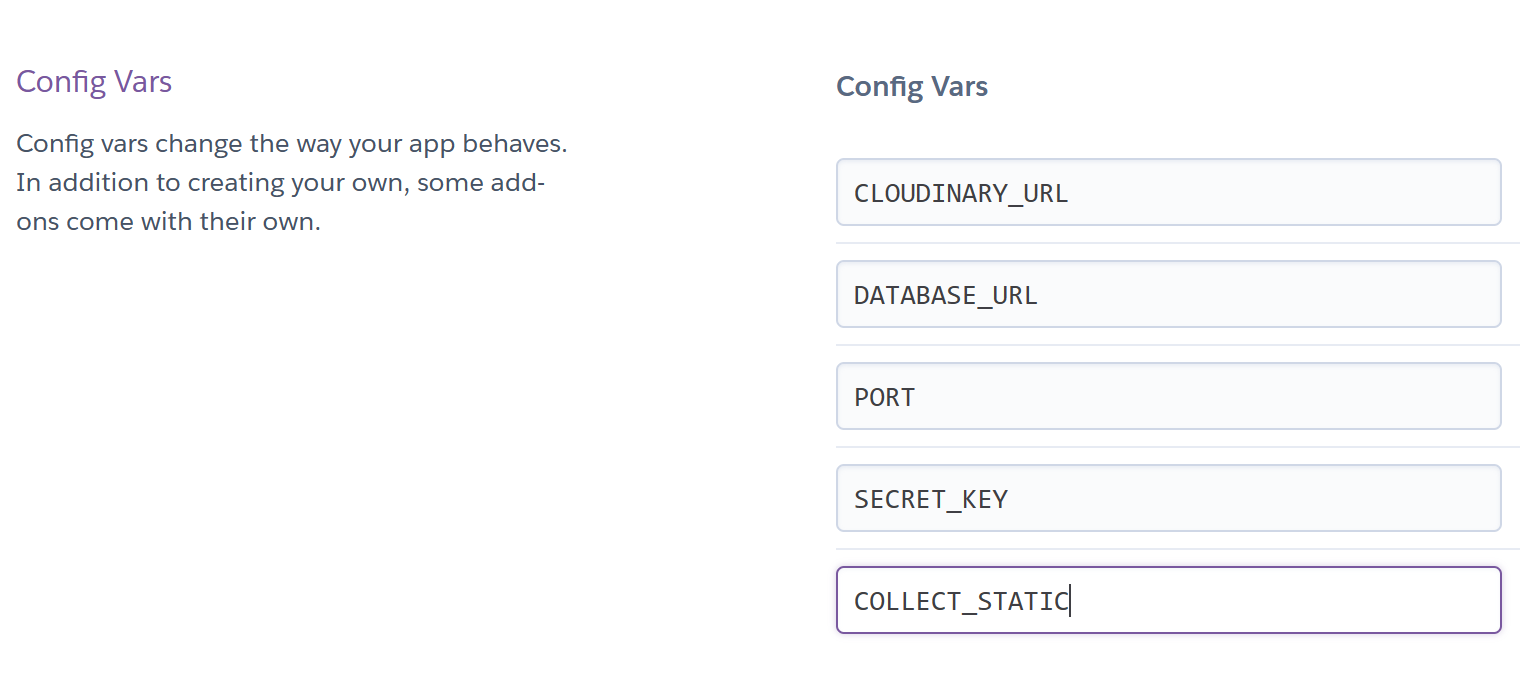
- Reveal config vars and enter the following fields, fill in the values as required.
SECRET_KEY CLOUDINARY_URL COLLECT_STATIC
- Navigate to the Deploy tab.
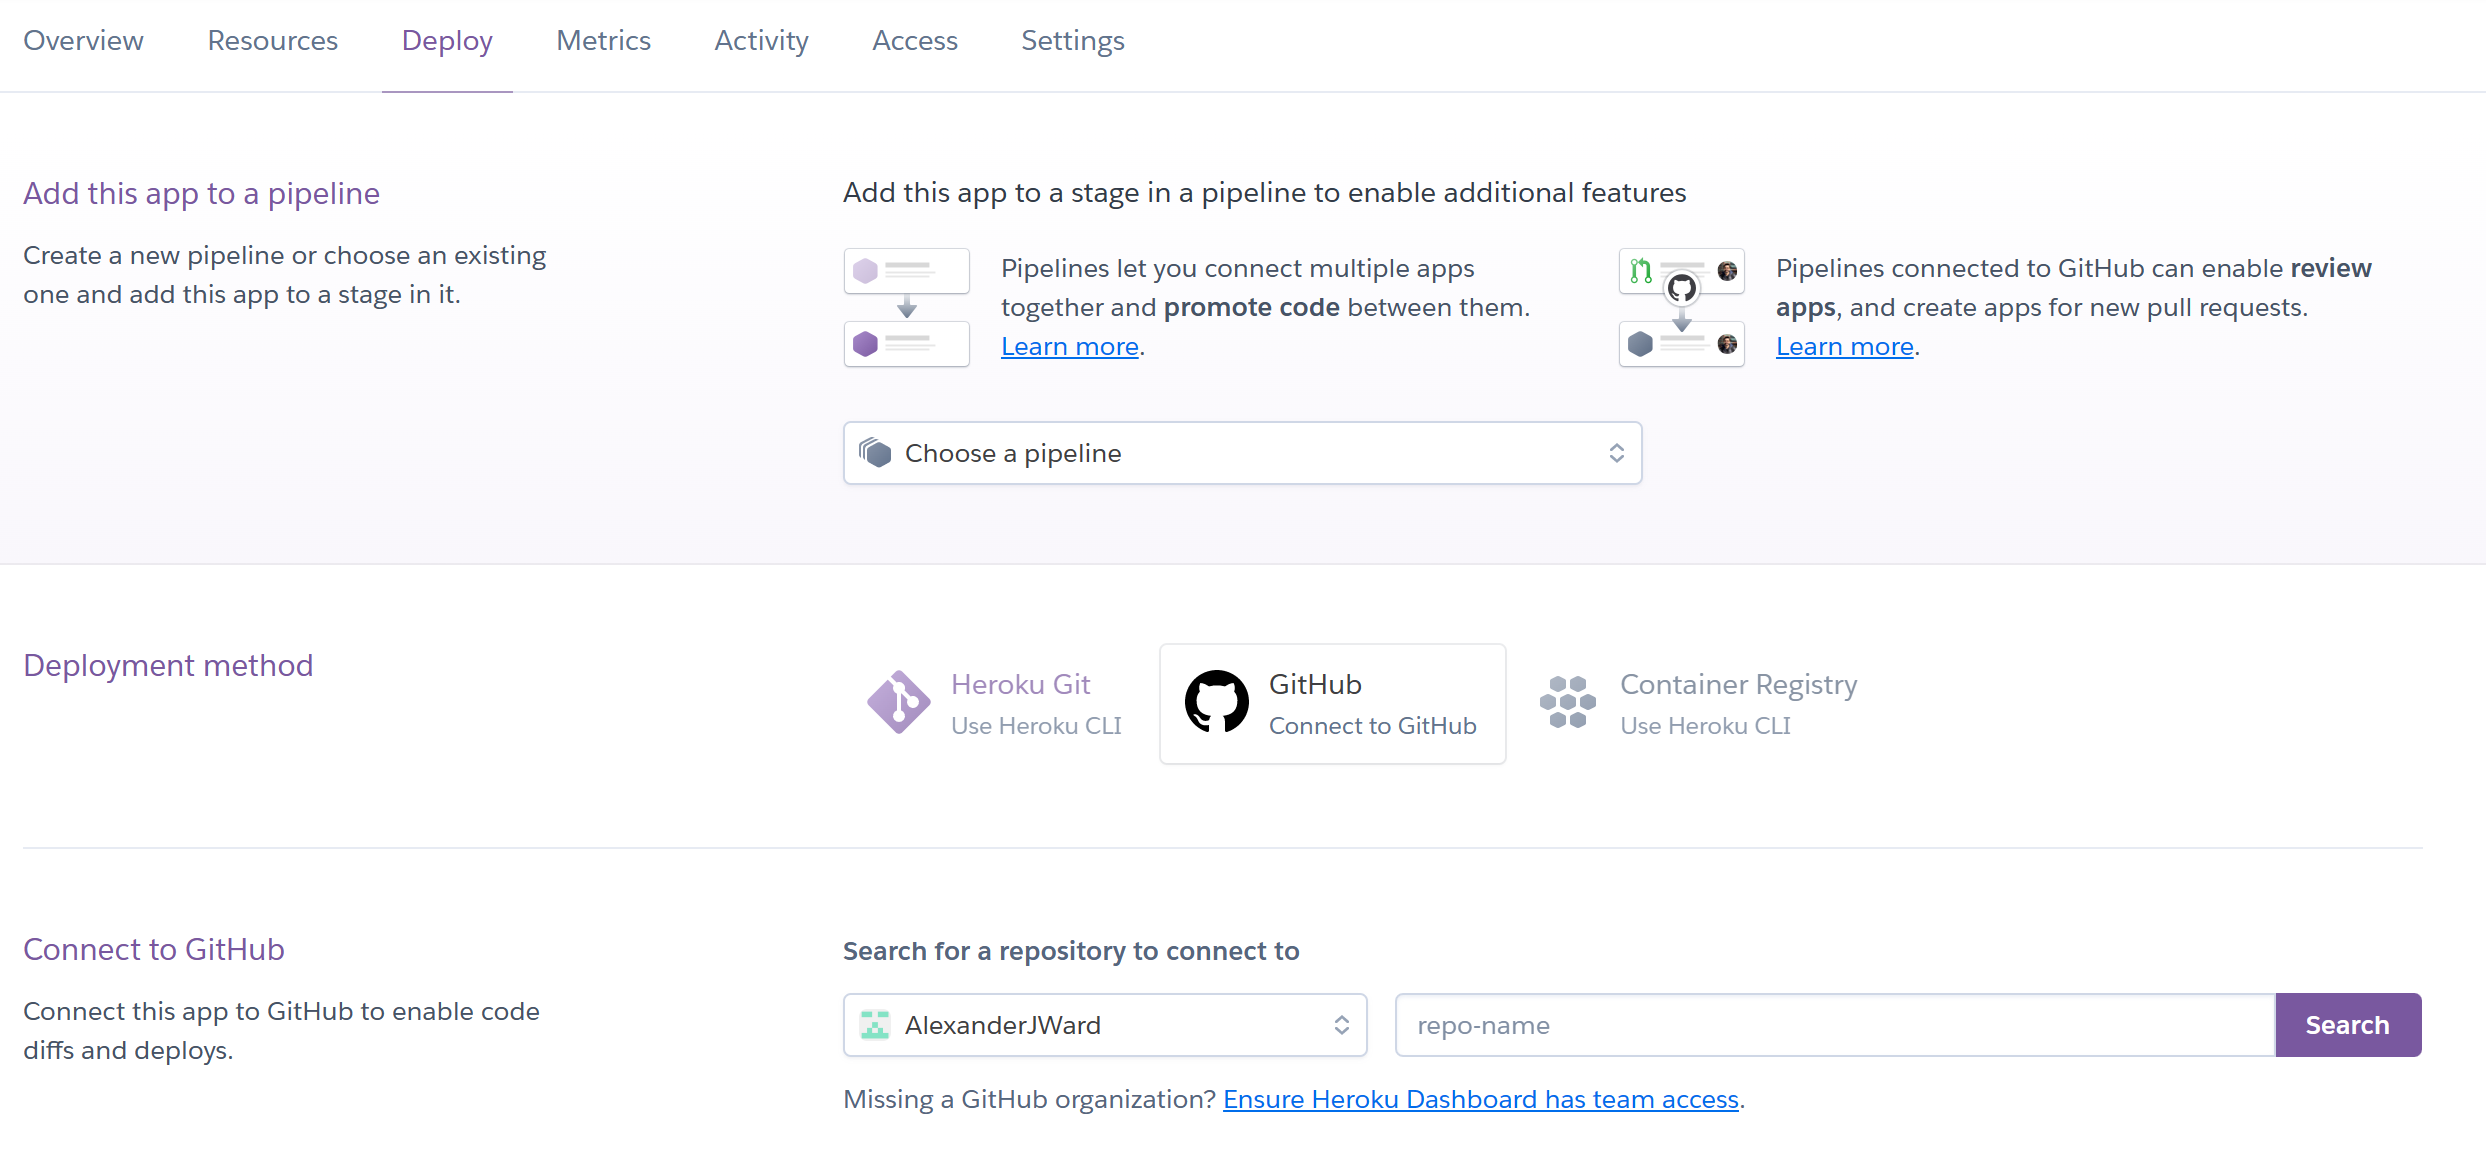
- Choose GitHub, login with credentials and choose the repository.
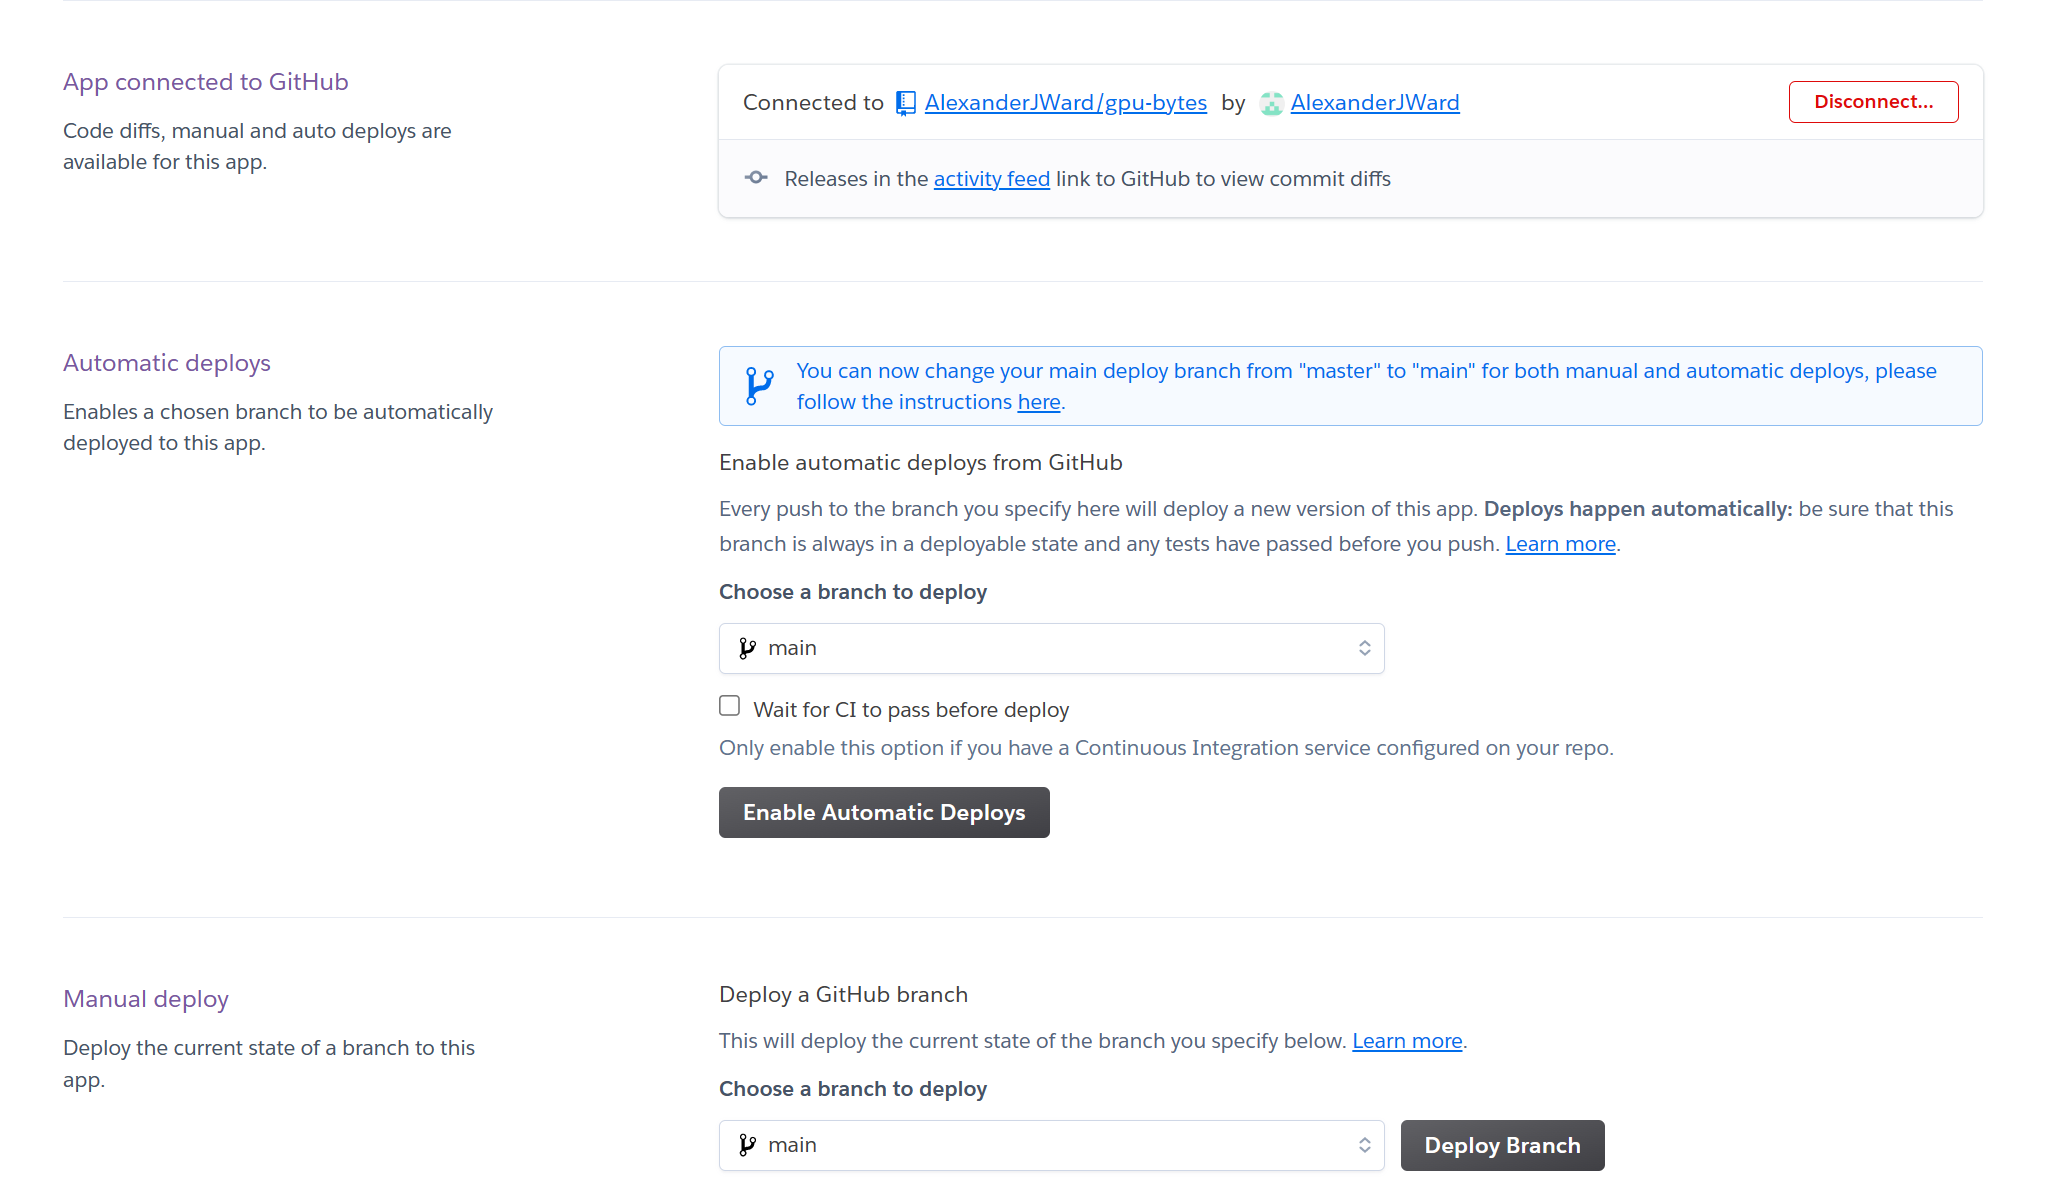
- Choose the branch 'main' and click Deploy. Click Enable Automatic Deploys if desired to auto deploy every time the repository is updated.
-
Footer, Post and Comment model based off Code Institute 'I think therefore I blog' example project.
-
GPU content taken from the product page of each card. Links are shown on each GPU detail page under "Sourced From" model field.
-
Placeholder image taken from Pexels. Photo by Sergei Starostin: https://www.pexels.com/photo/graphics-card-in-close-up-photography-6704945/
-
Fan Vectors by Iyi Kon on Vecteezy.com. https://www.vecteezy.com/vector-art/351514-charging-fan-vector-icon
-
Account Photo by Dave Morgan: https://www.pexels.com/photo/computer-exhaust-fan-2643596/
-
https://www.pexels.com/photo/internet-technology-computer-business-4581816/
-
https://www.pexels.com/photo/a-person-holding-a-smartphone-9242887/
-
https://www.pexels.com/photo/red-and-black-abstract-painting-1820563/
-
https://www.amd.com/en/products/graphics/amd-radeon-rx-7900xtx
-
https://www.nvidia.com/en-gb/geforce/graphics-cards/40-series/rtx-4090/
-
https://www.nvidia.com/en-gb/geforce/graphics-cards/40-series/rtx-4080/
-
Code Institute 'I think therefore I blog' example project
-
Mentor helped me with the class based views (CreateView, UpdateView, DeleteView)