个人自用的魔改版 hoshino
源仓库链接:
Ice-Cirno/HoshinoBot: A qqbot for Princess Connect Re:Dive (and other usage :) (github.com)
初衷是减轻会战用bot的负担而想在另一台服务器上搭个bot将一些压力大的服务以及后续更新的非 pcr 相关的服务分担过来
由于想留下更新记录以及 wiki 又不想本地服务器都做改动所以 fork 了一个自用的仓库
由于剔除了 PCR 相关功能加上由于太懒不拉更新导致后面完全无法和源仓库对齐, 所以有了这个仓库
Wiki 页面 为各功能模块的说明
仓库功能模块大多来源于社区插件整合, 来源有在 Wiki 页面 中说明
更多插件请参阅:
pcrbot/HoshinoBot-plugins-index: HoshinoBot 插件索引 (github.com)
3.8 只是个人喜好, 平时使用的某些库尚未支持 3.9 及以上
ubuntu2004 拉取 python3-pip 默认也是 3.8
# 更新源
apt-get update
# 安装 python3
apt install python3-pip
windows 下可以使用 anaconda 管理 python 环境
需要注意的是, 使用 Anaconda Navigator 或者 conda 环境操作时需要关掉梯子, 否则可能会报 host 错误
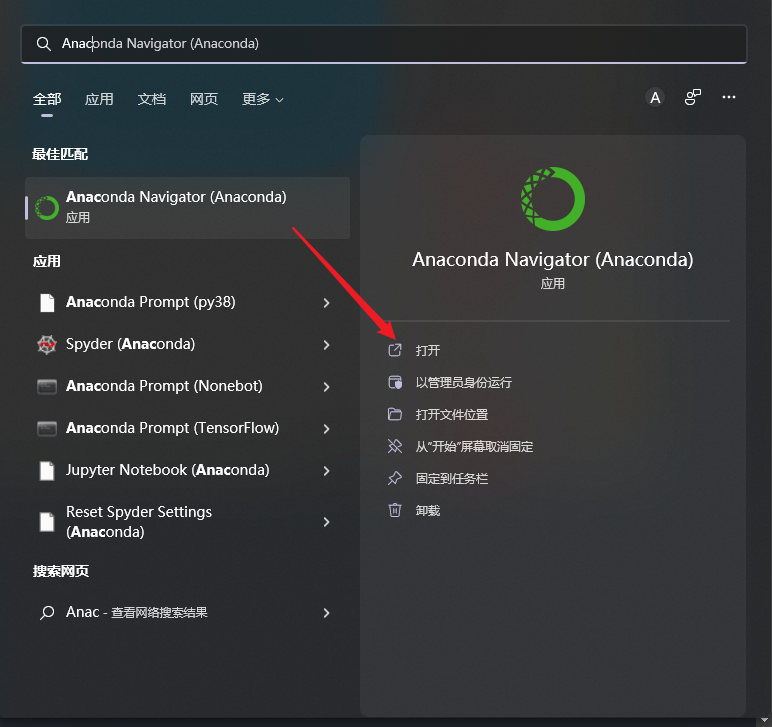
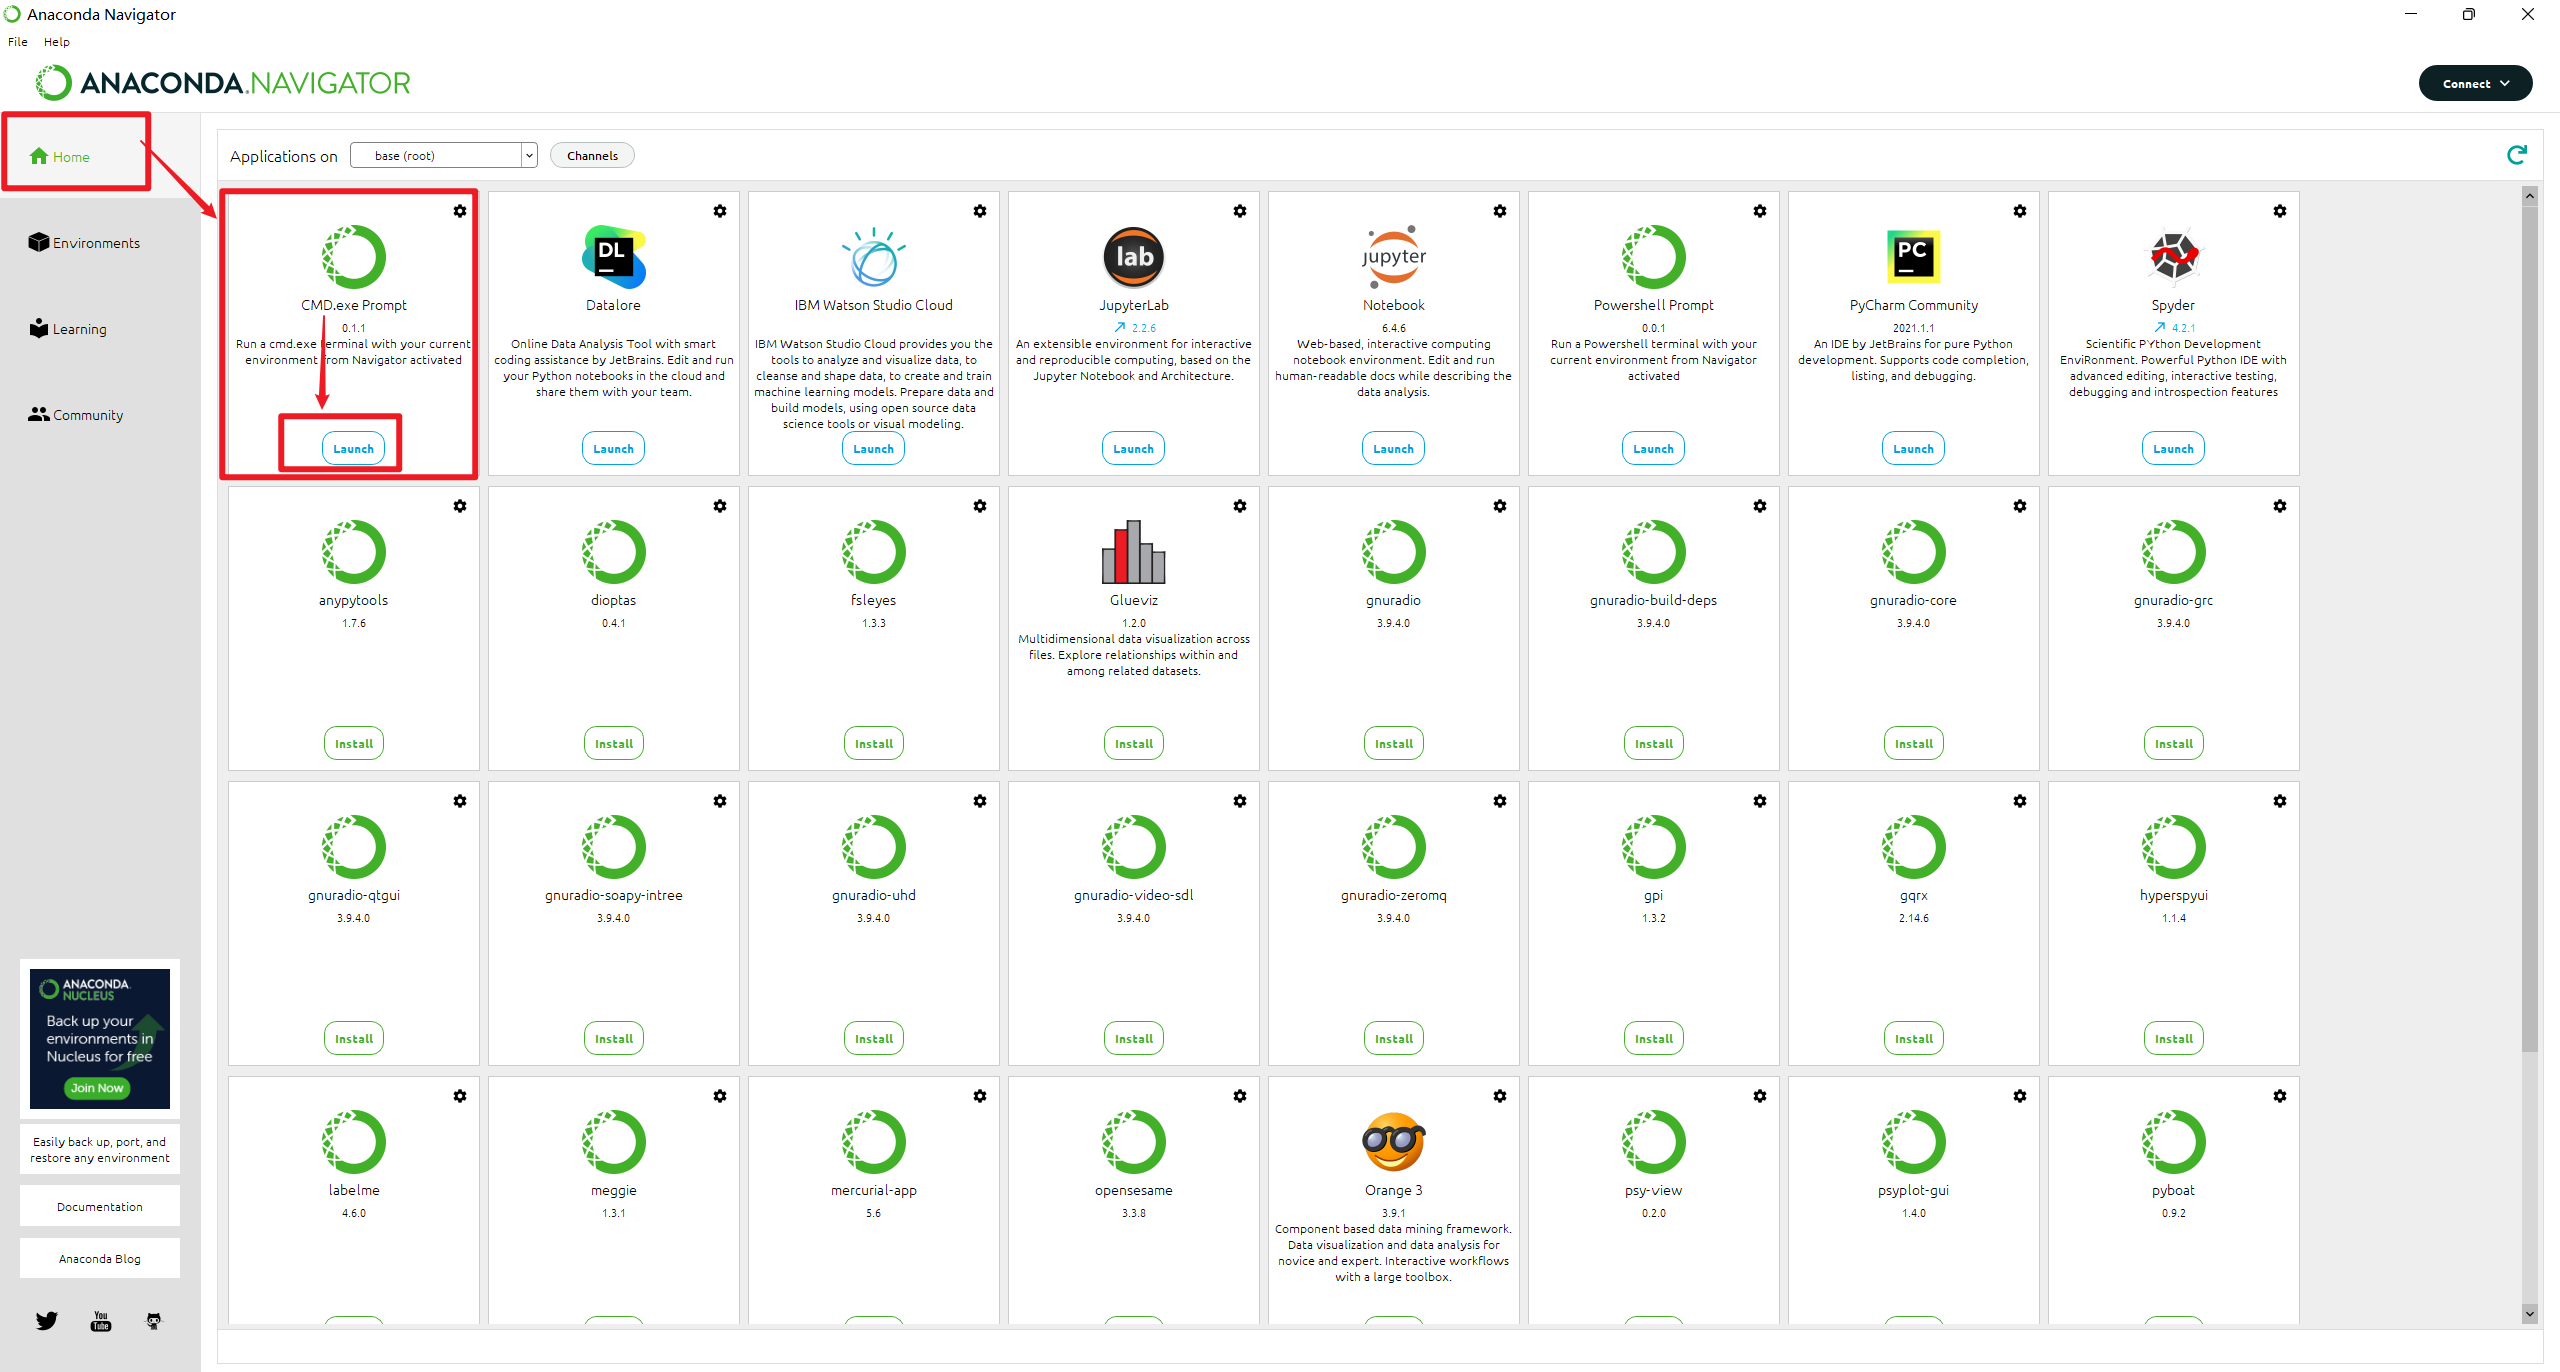
安装完成后打开 Anaconda Navigator:
-
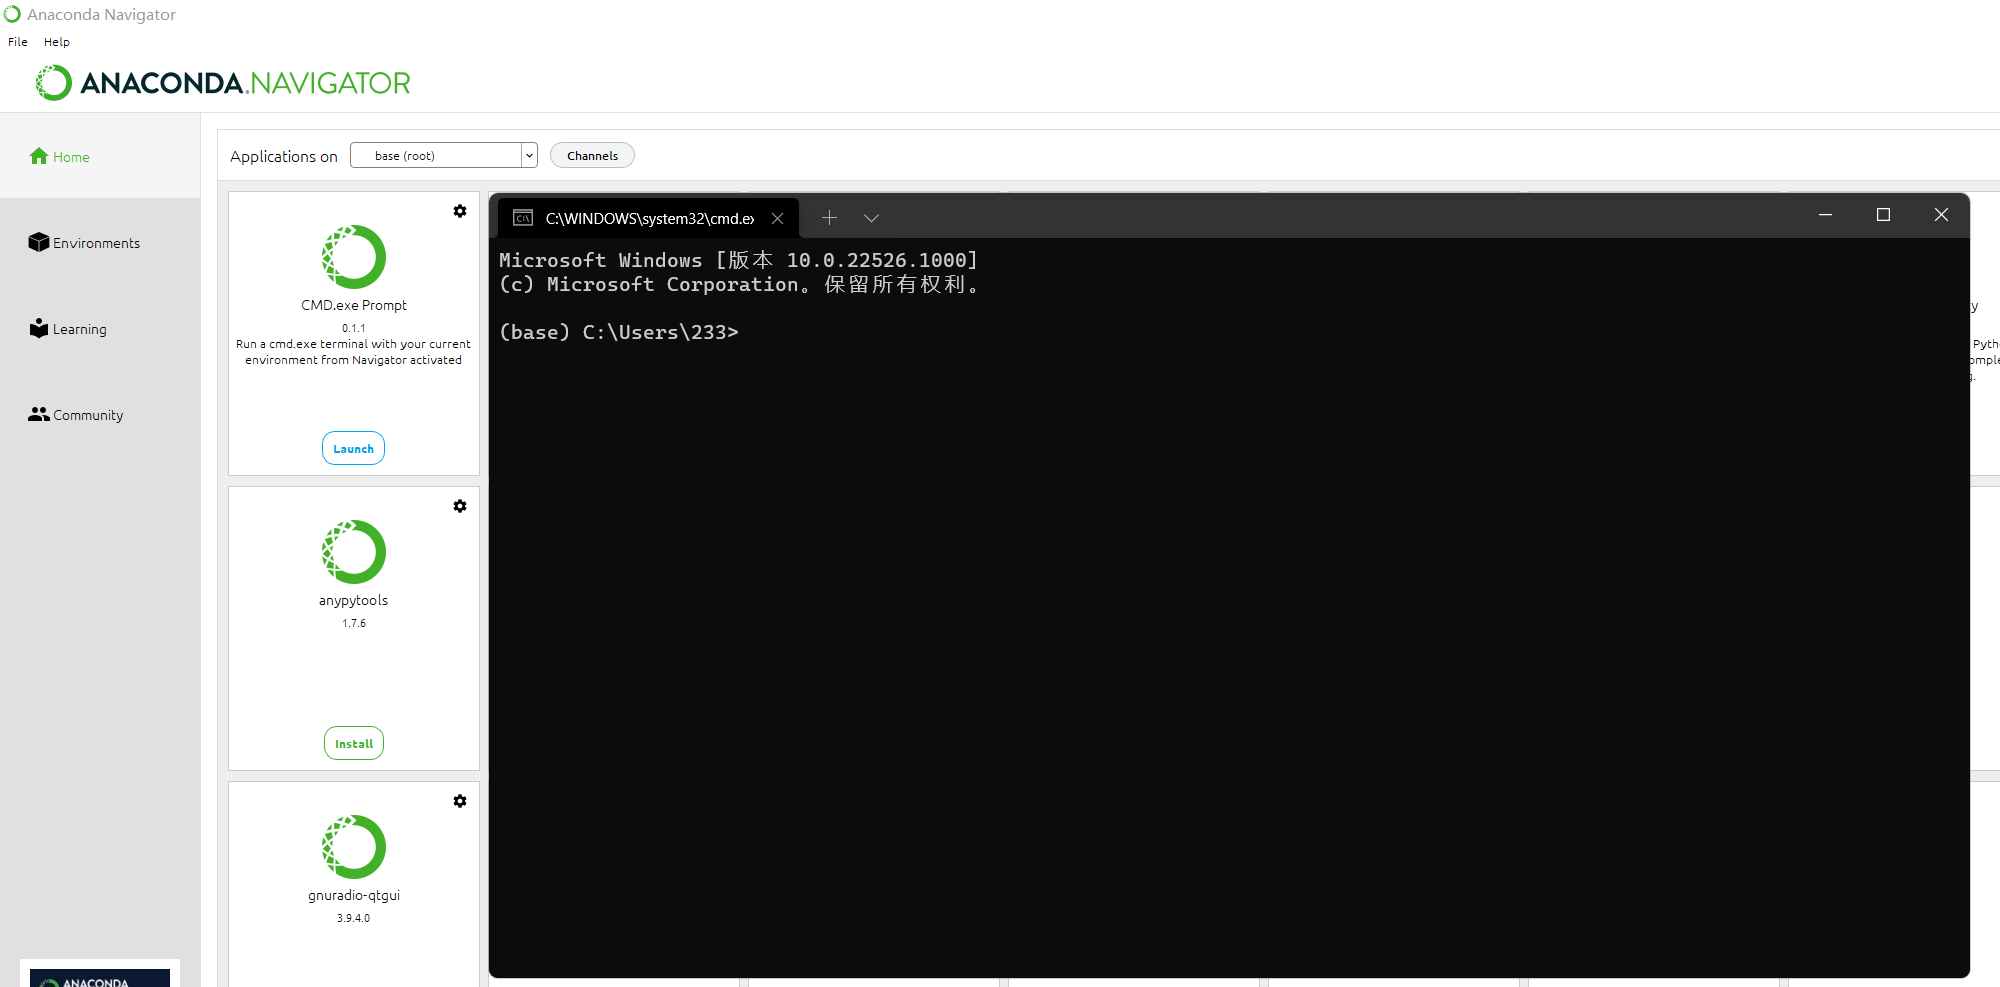
执行以下命令来配置清华源:
conda config --add channels https://mirrors.tuna.tsinghua.edu.cn/anaconda/pkgs/free/
conda config --add channels https://mirrors.tuna.tsinghua.edu.cn/anaconda/cloud/conda-forge
conda config --add channels https://mirrors.tuna.tsinghua.edu.cn/anaconda/cloud/msys2/
配置清华源是为了后续使用
pip命令安装 python 库时快些, 不配置换源而直接使用默认源的话在墙内容易超时报错
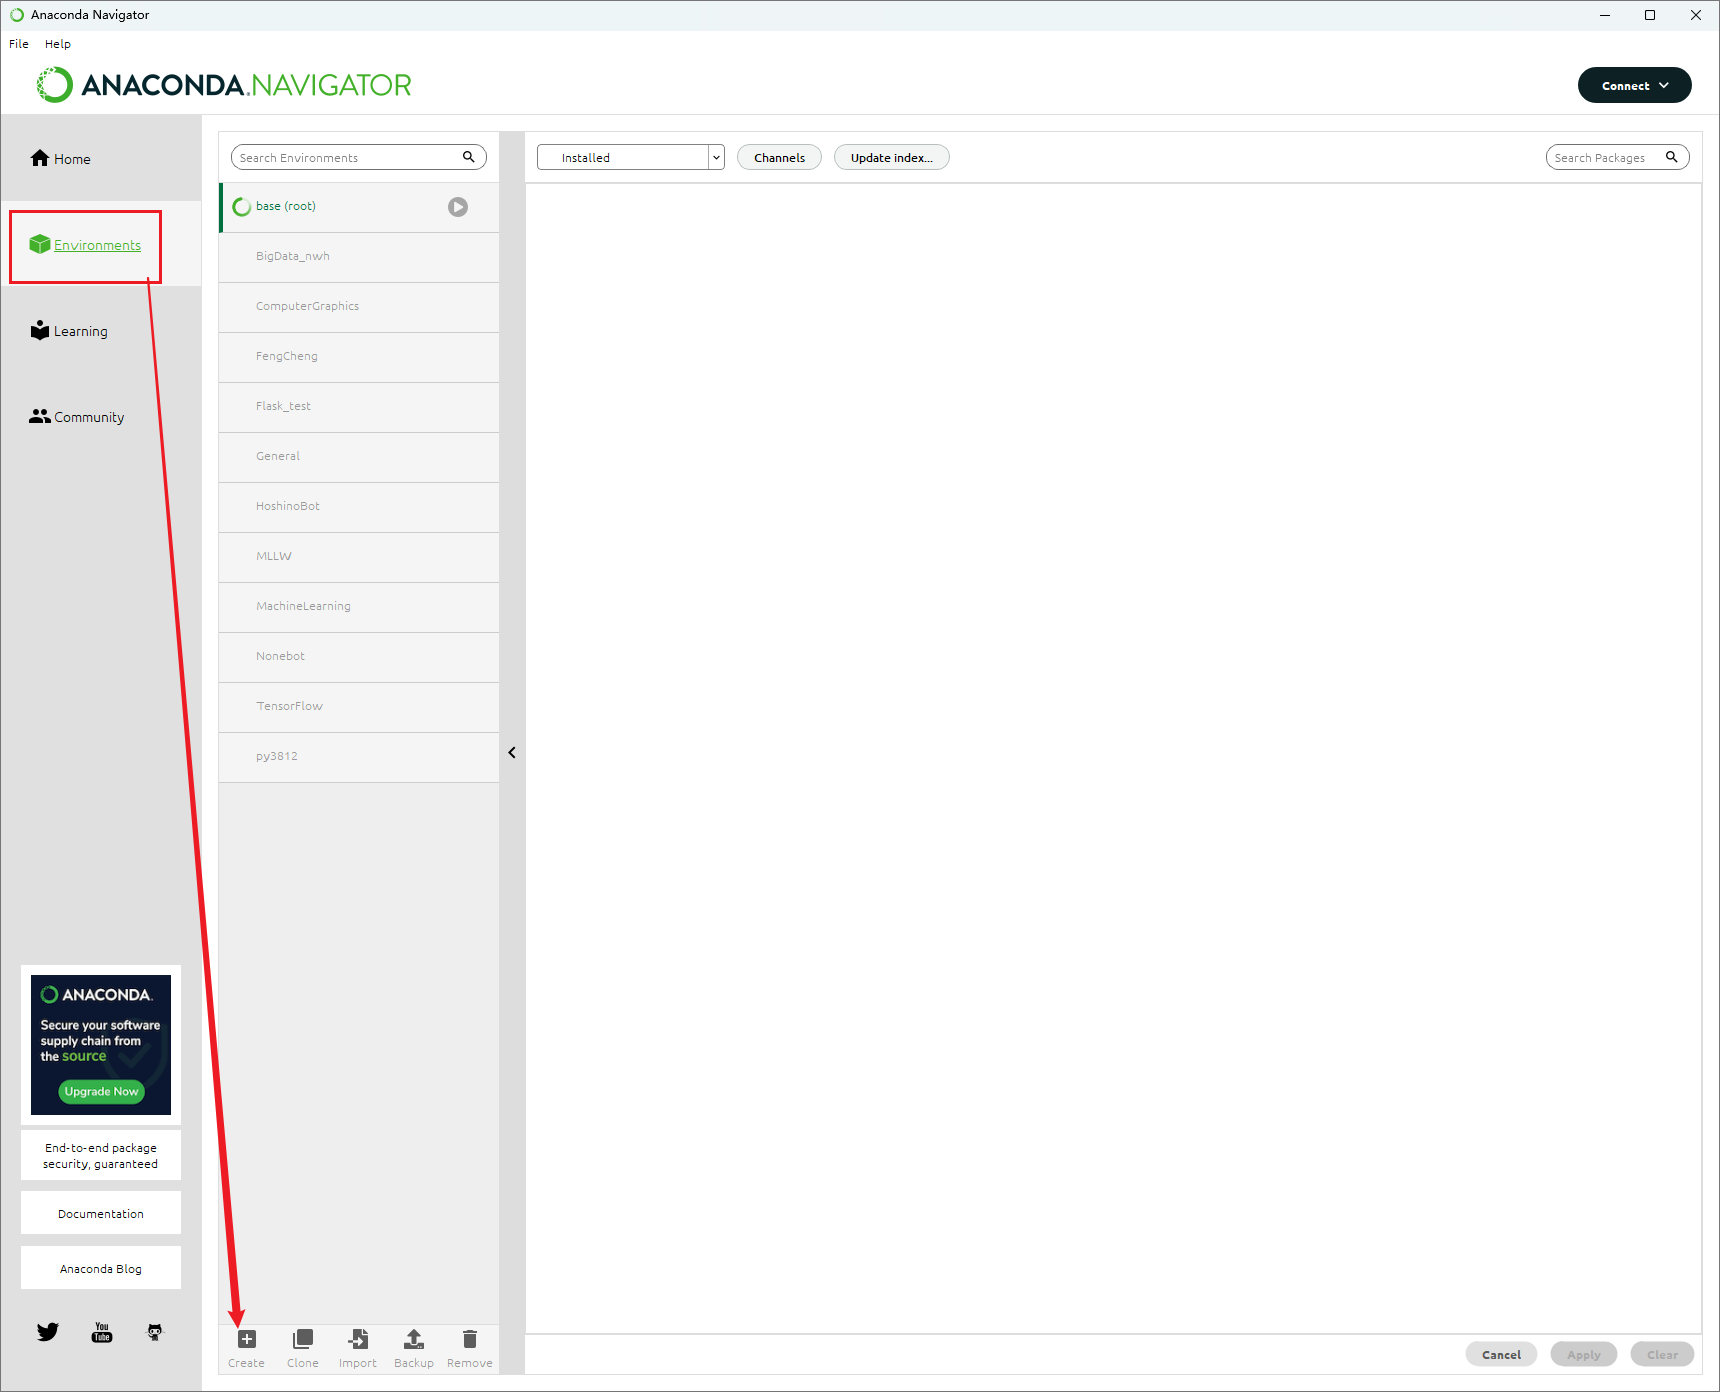
打开 Anaconda Navigator -> Environments 在环境列表底部按钮中找到 Create 并点击
为新环境命一个名(英文命名, 尽量简短些, 之后激活要用)
这里选择了 Python 3.8.13, 不上 3.9 或者 3.10 主要是因为有一些三方库更新没跟上, 不一定支持 python3.9 及以上
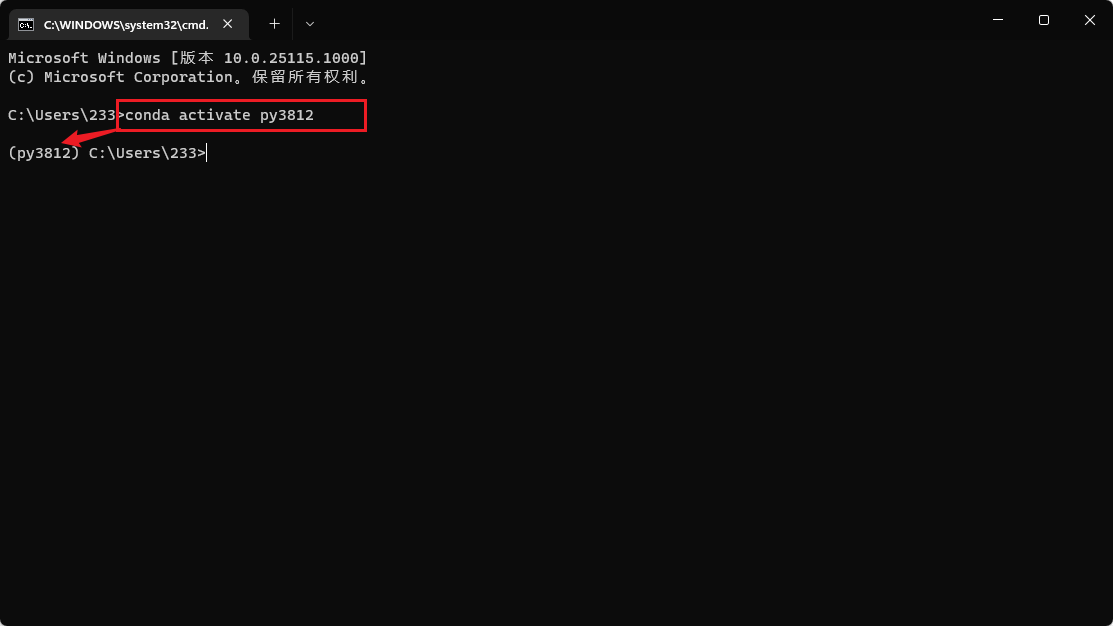
在命令行中使用 conda 环境可以使用如下指令激活:
conda activate 环境名用于编辑与运行 python 程序, 选择 VSCode 主要是其比较轻量, 启动比较快, 用起来比较顺手, 且插件市场庞大, 对于许多语言都有插件支持, 按需下载
比起安装 python 解释器自带的 IDLE 友好许多, 又不会像 Pycharm 一样庞大/启动慢/占资源, 作为平时写点小脚本, 小玩意儿来说完全够用
-
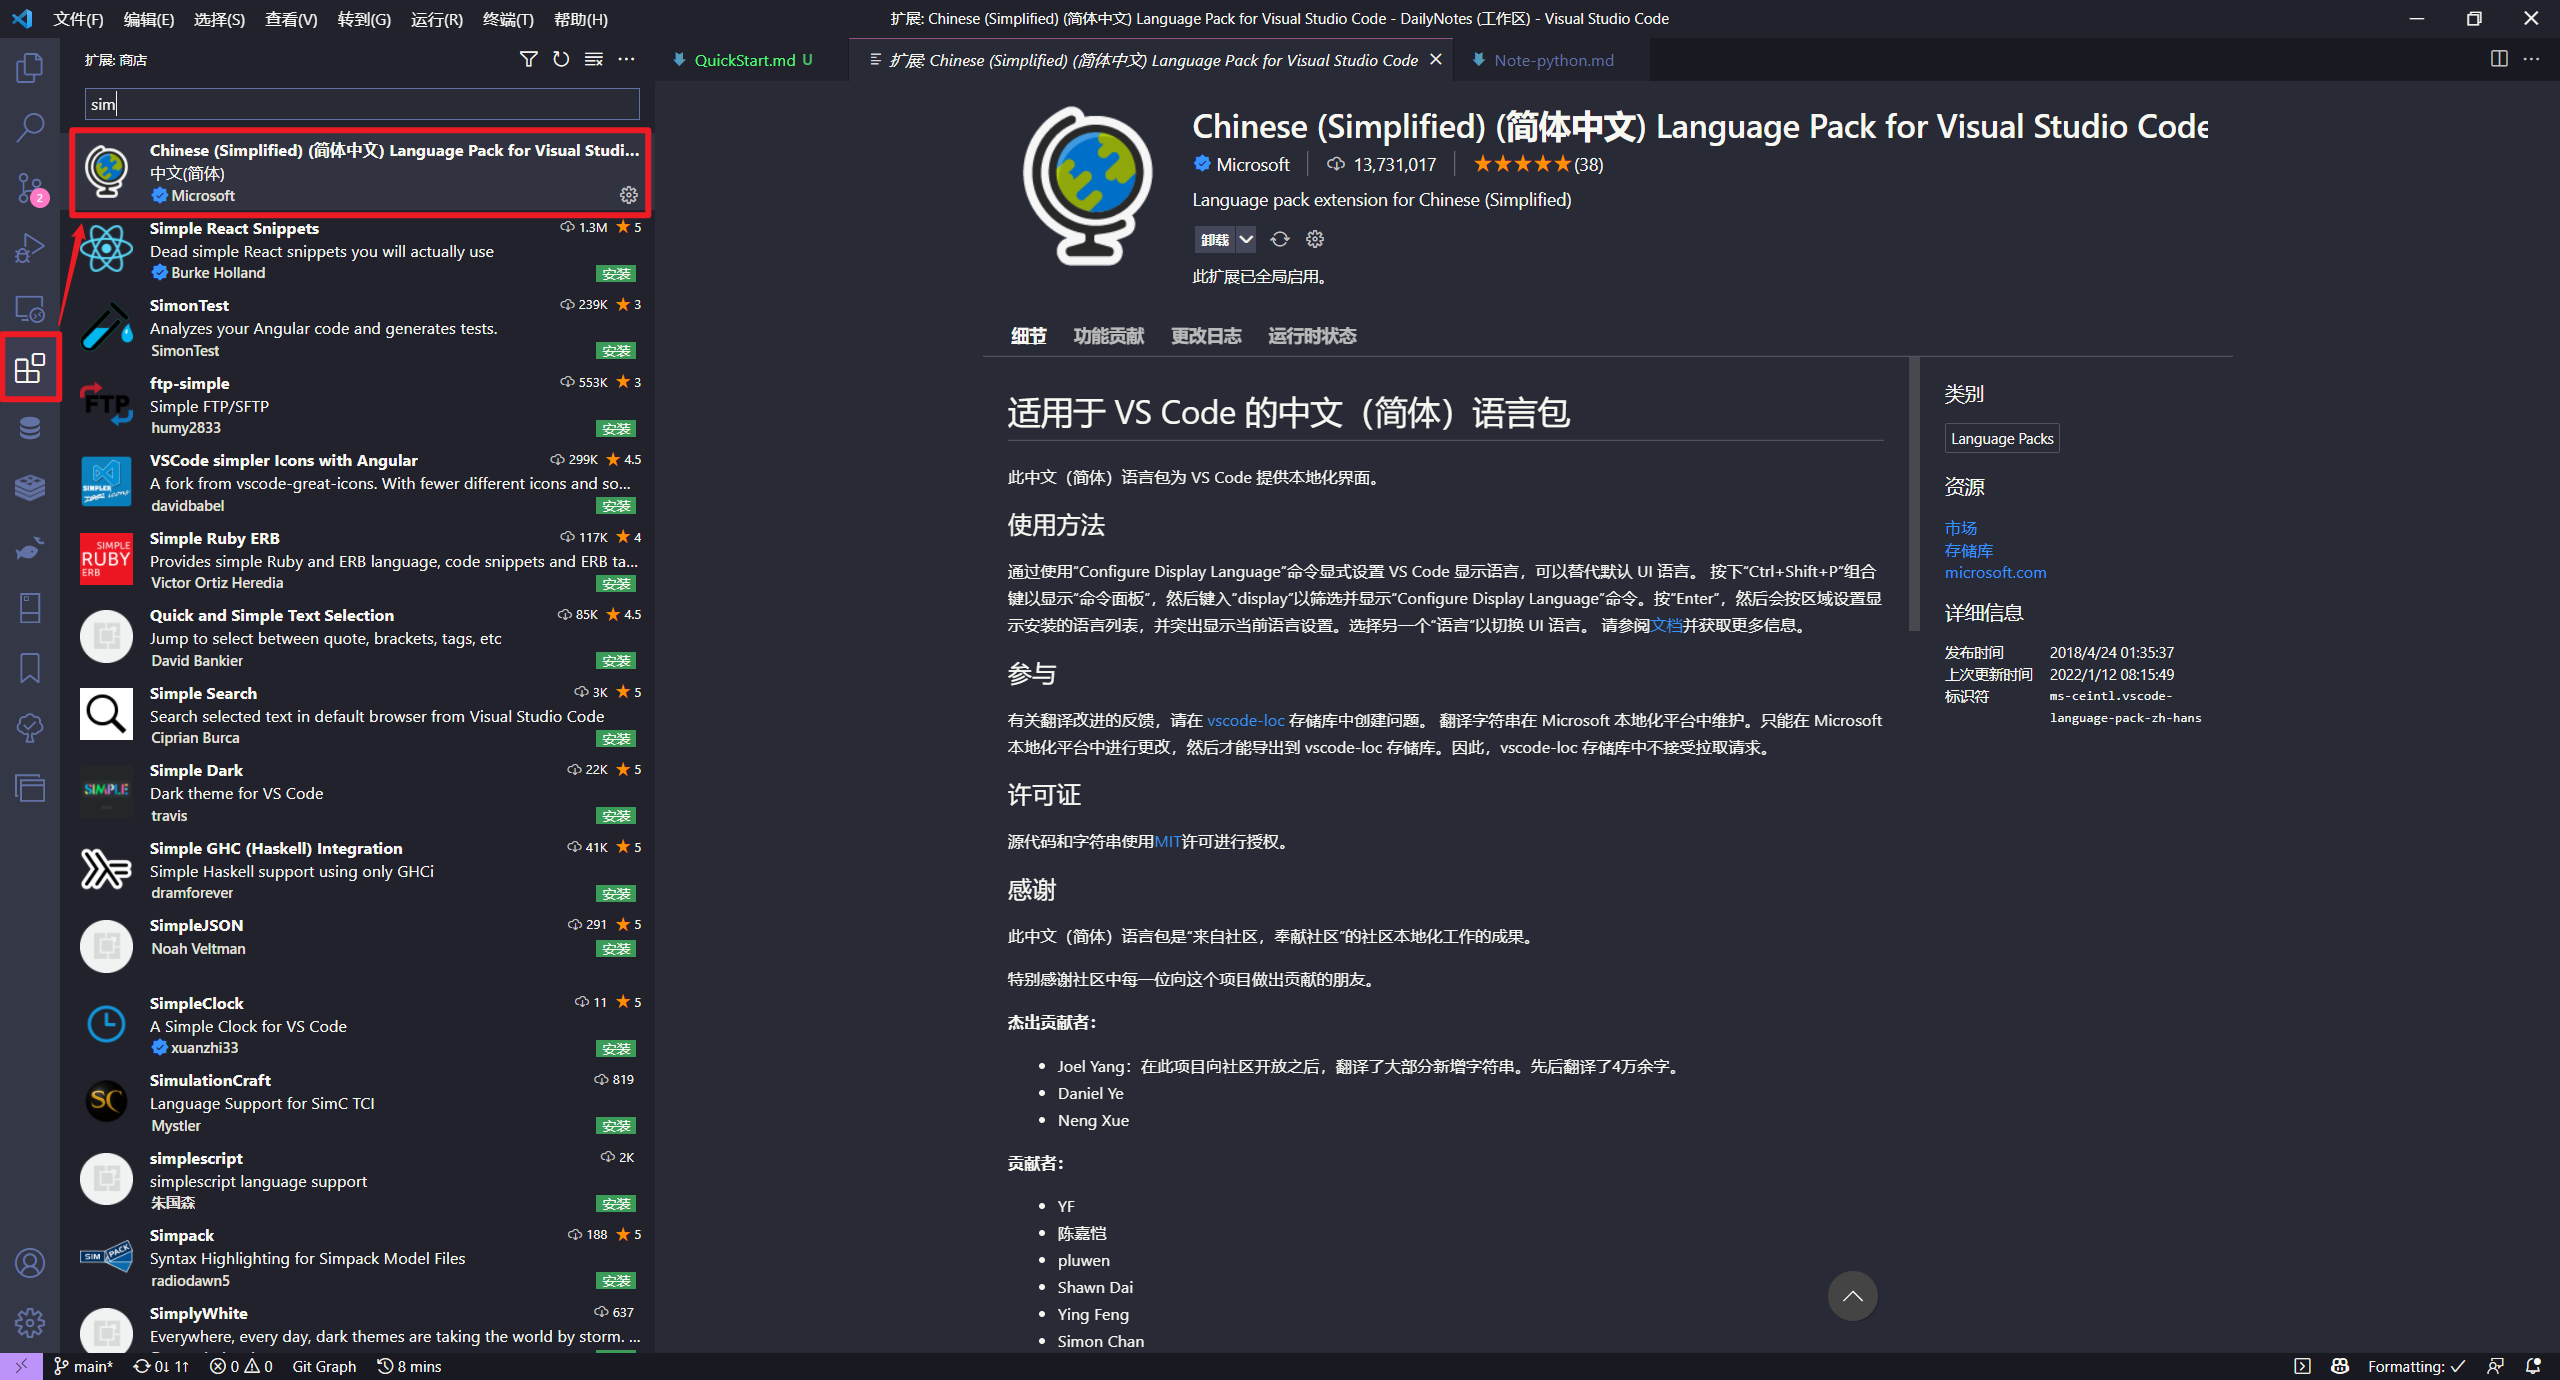
汉化插件
-
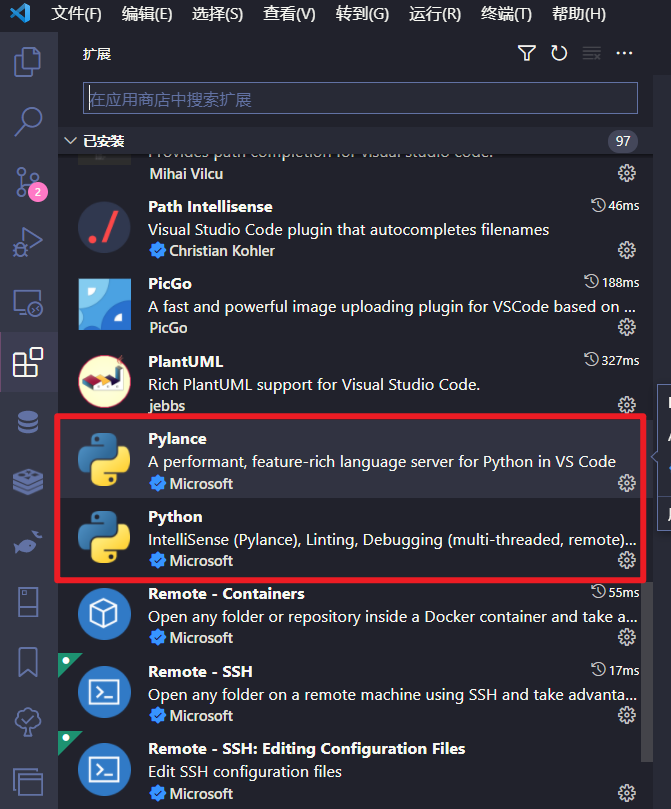
Python 相关基础插件
-
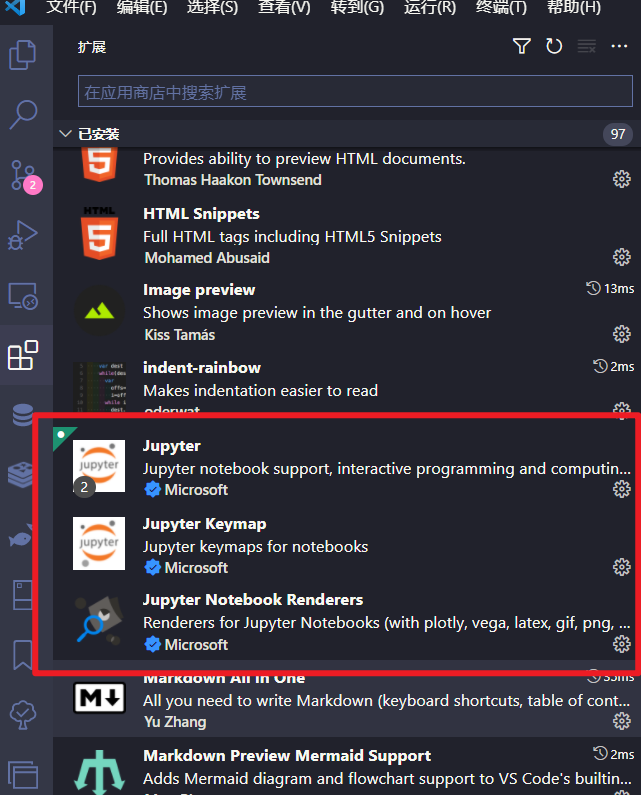
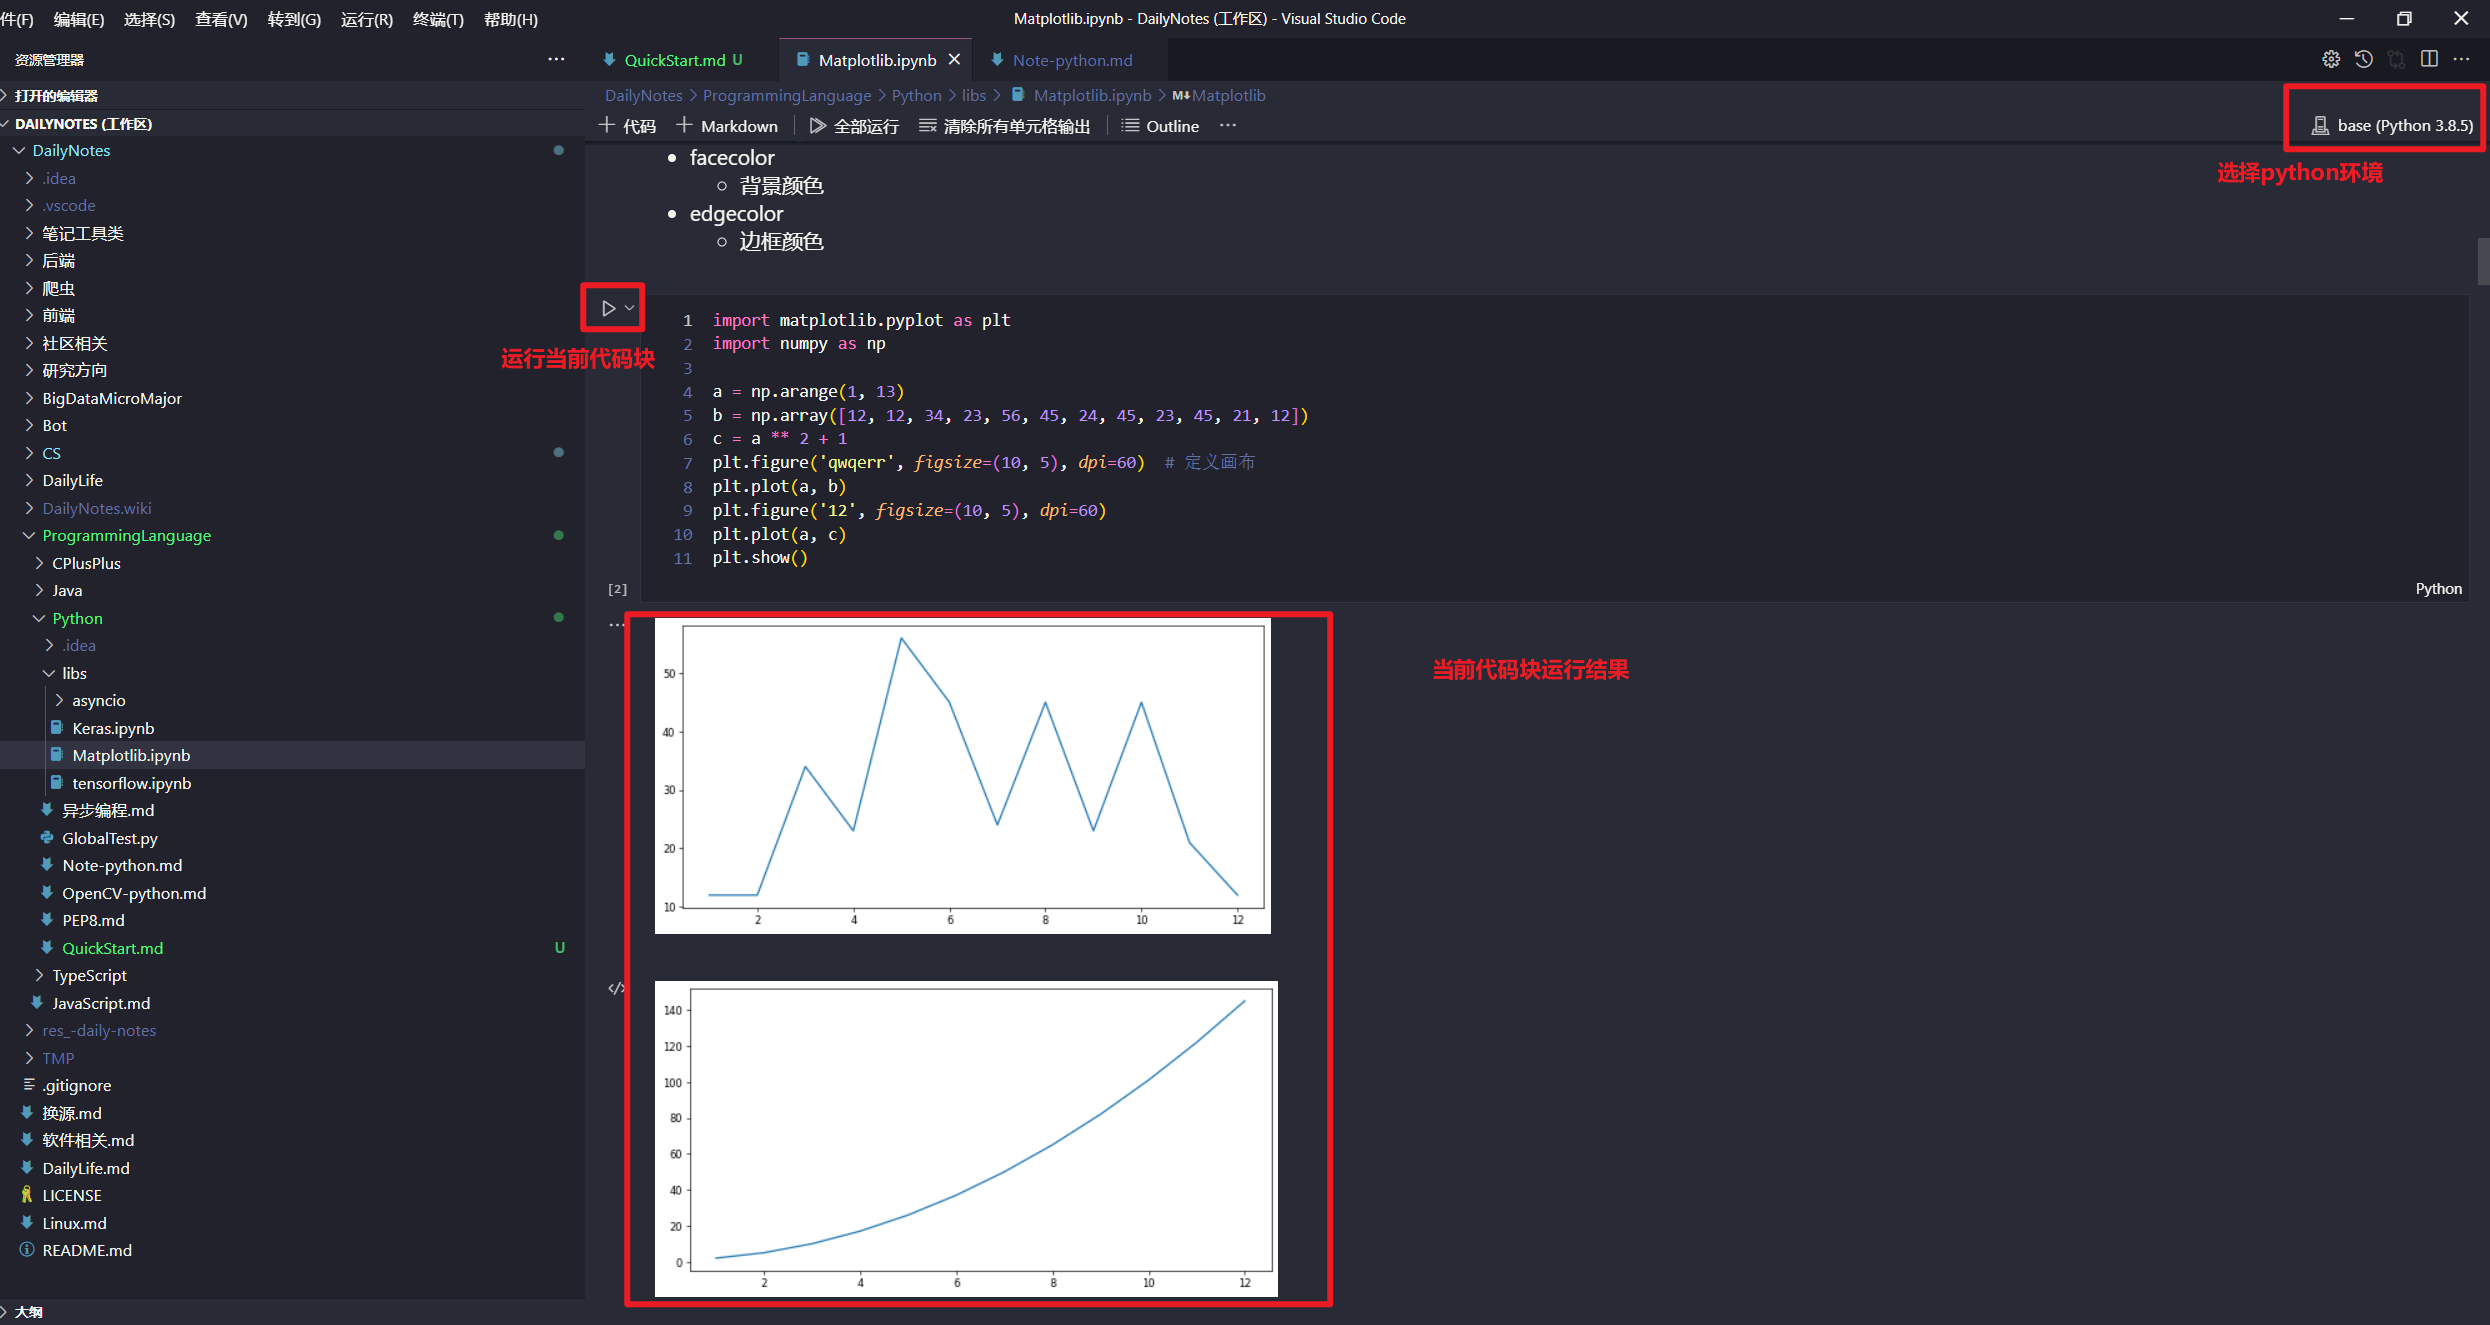
jupyter 插件
使用 Jupyter 的好处在于可以边写笔记边写代码, 如下图所示, 在笔记中可以插入代码块并运行及显示
-
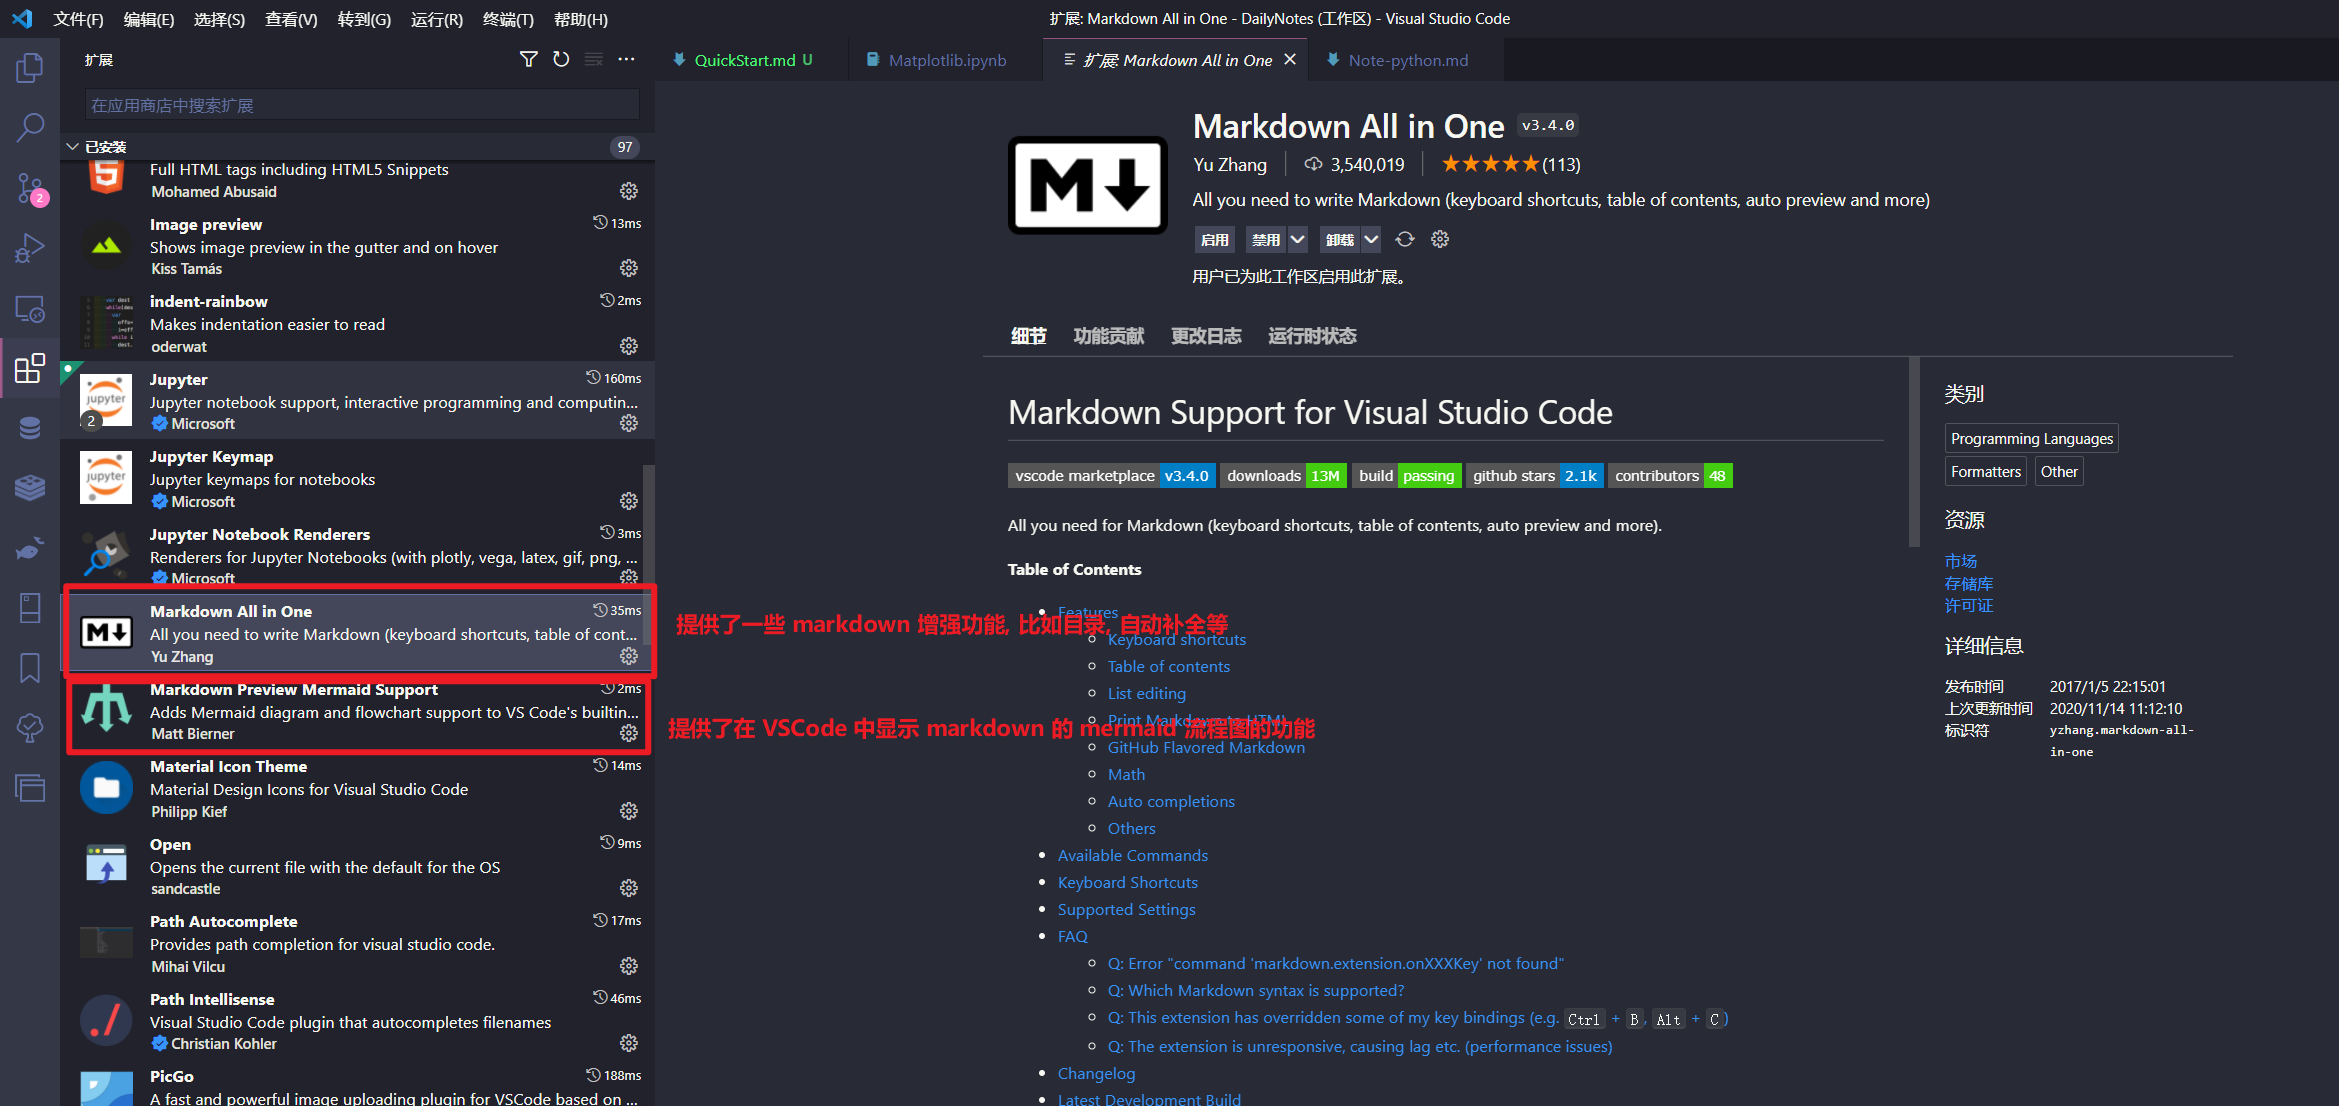
Markdown 插件
-
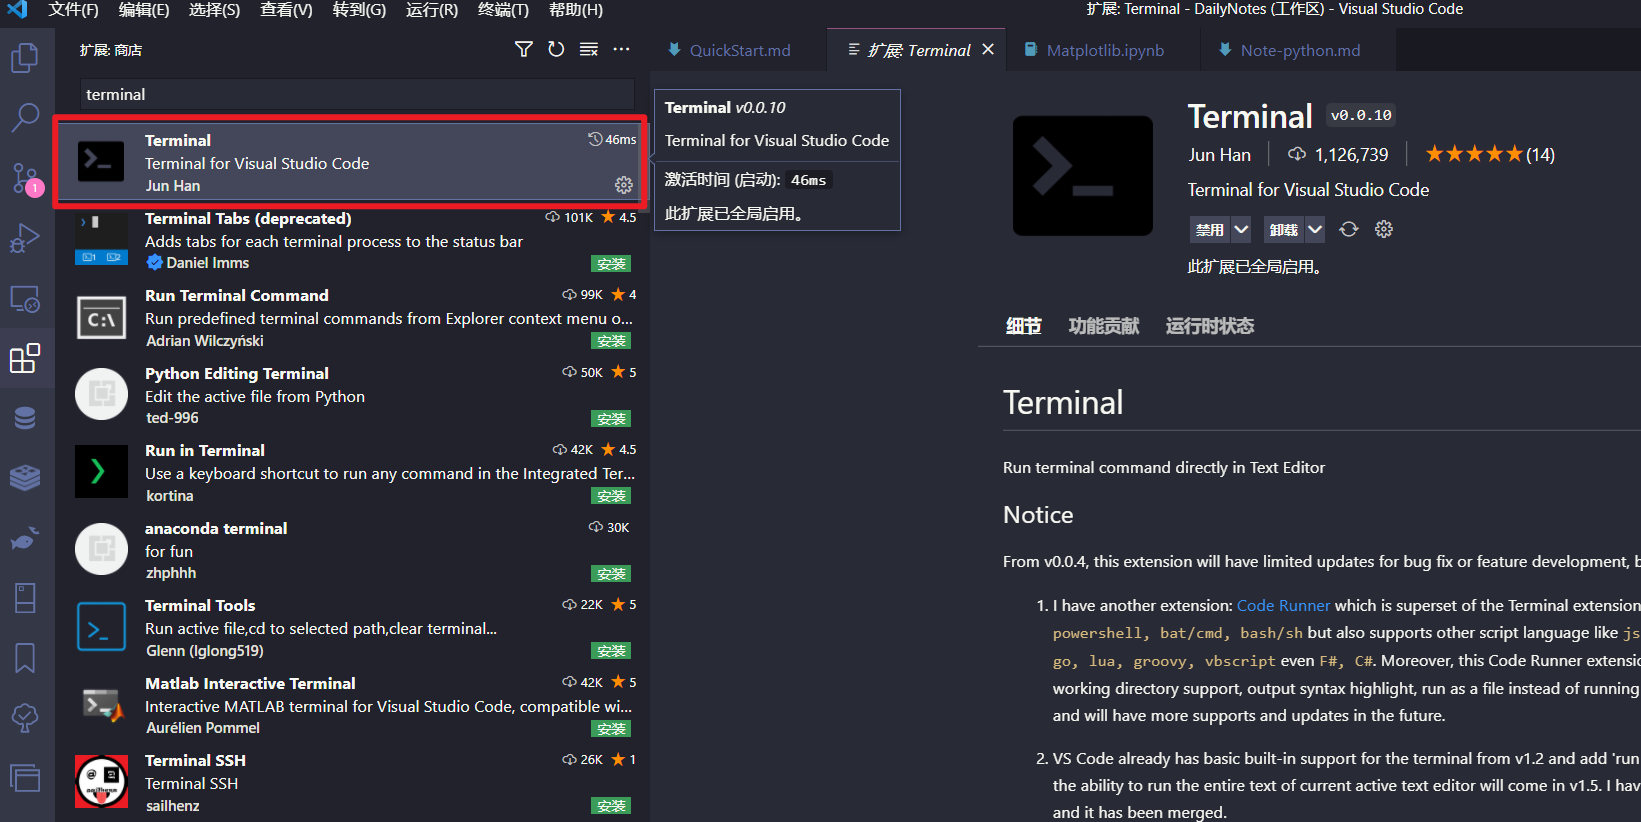
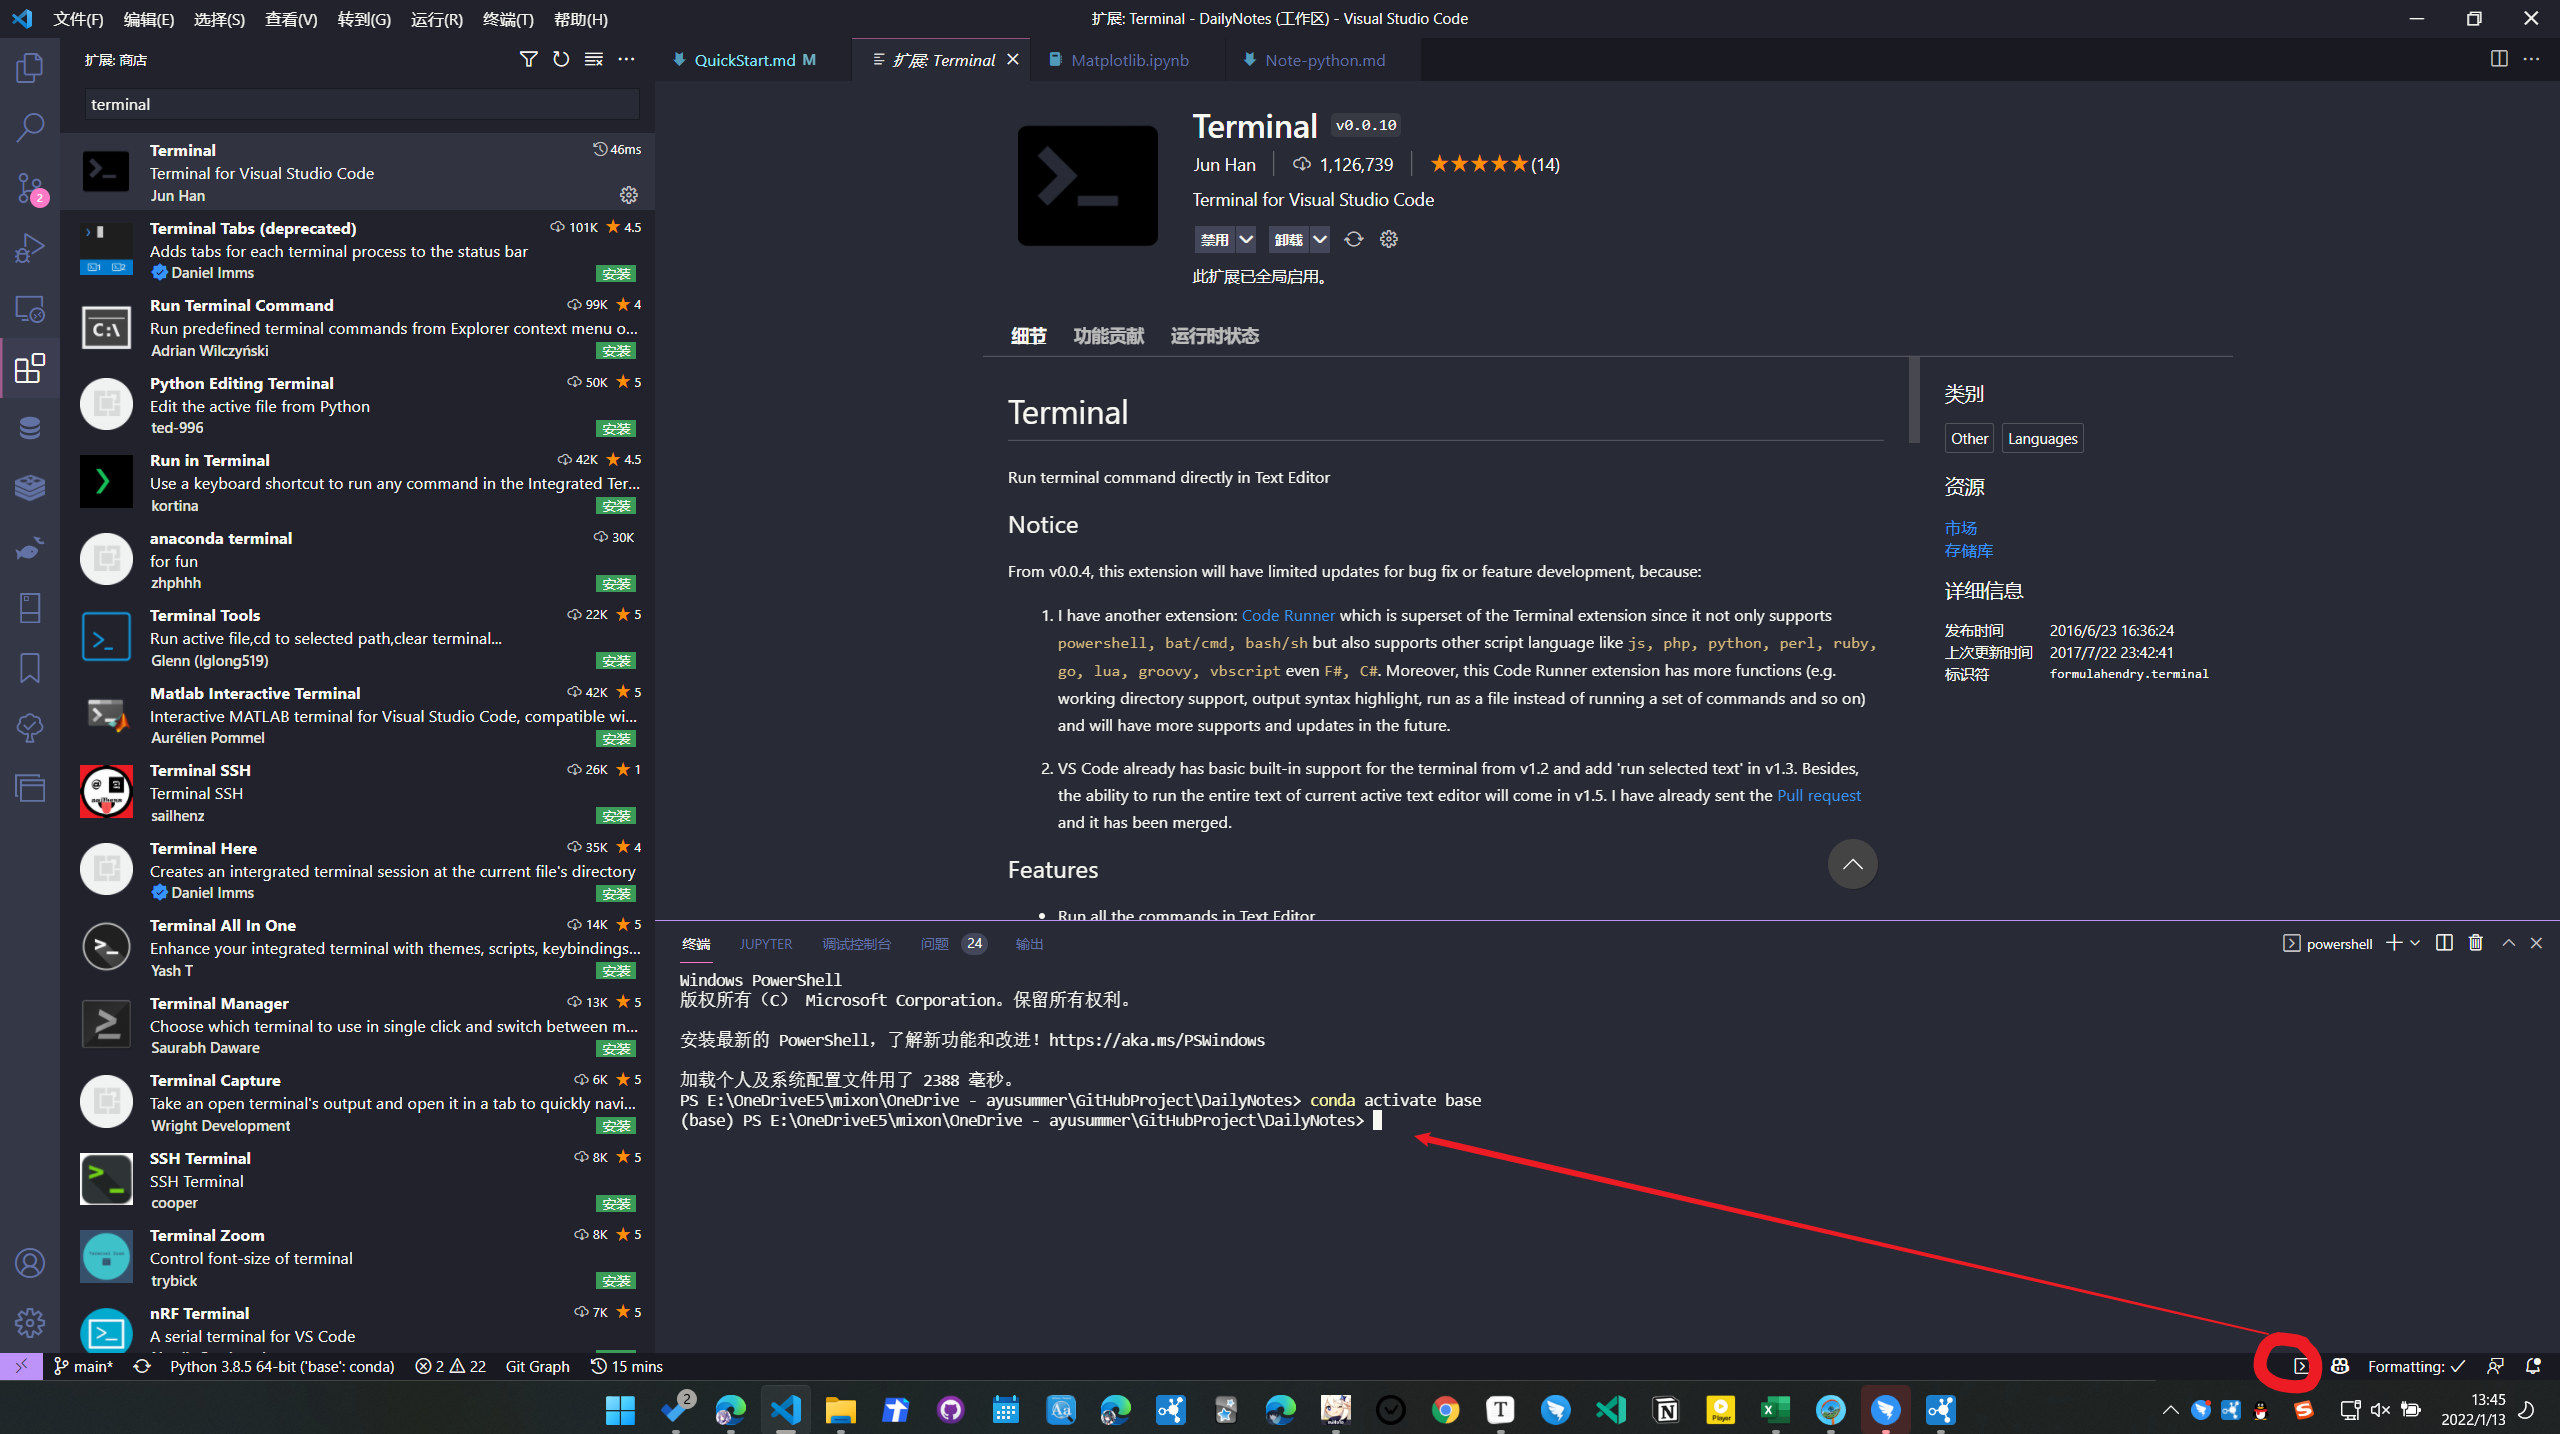
命令行插件 Terminal
用于在 VSCode 中打开 powershell 执行命令
在 VSCode 中打开 Terminal 执行以下命令
git clone https://github.com/Ayusummer/Hoshino-sync.git --depth 1使用 --depth 主要是因为由于之前错误上传资源文件, 导致仓库 .git 文件比较大, 如果拉取所有 git 记录的话会比较慢
Poetry 提供了一个自定义的安装程序, 通过解构 Poetry 的依赖关系, 将 Poetry 与系统的其他部分隔离开, 这是一种推荐的安装方式;
curl -sSL https://install.python-poetry.org | python3 -打开 /root/.bashrc 并在最后一行添加
export PATH="/root/.local/bin:$PATH"加载环境变量
source /root/.bashrc查看 poetry 版本
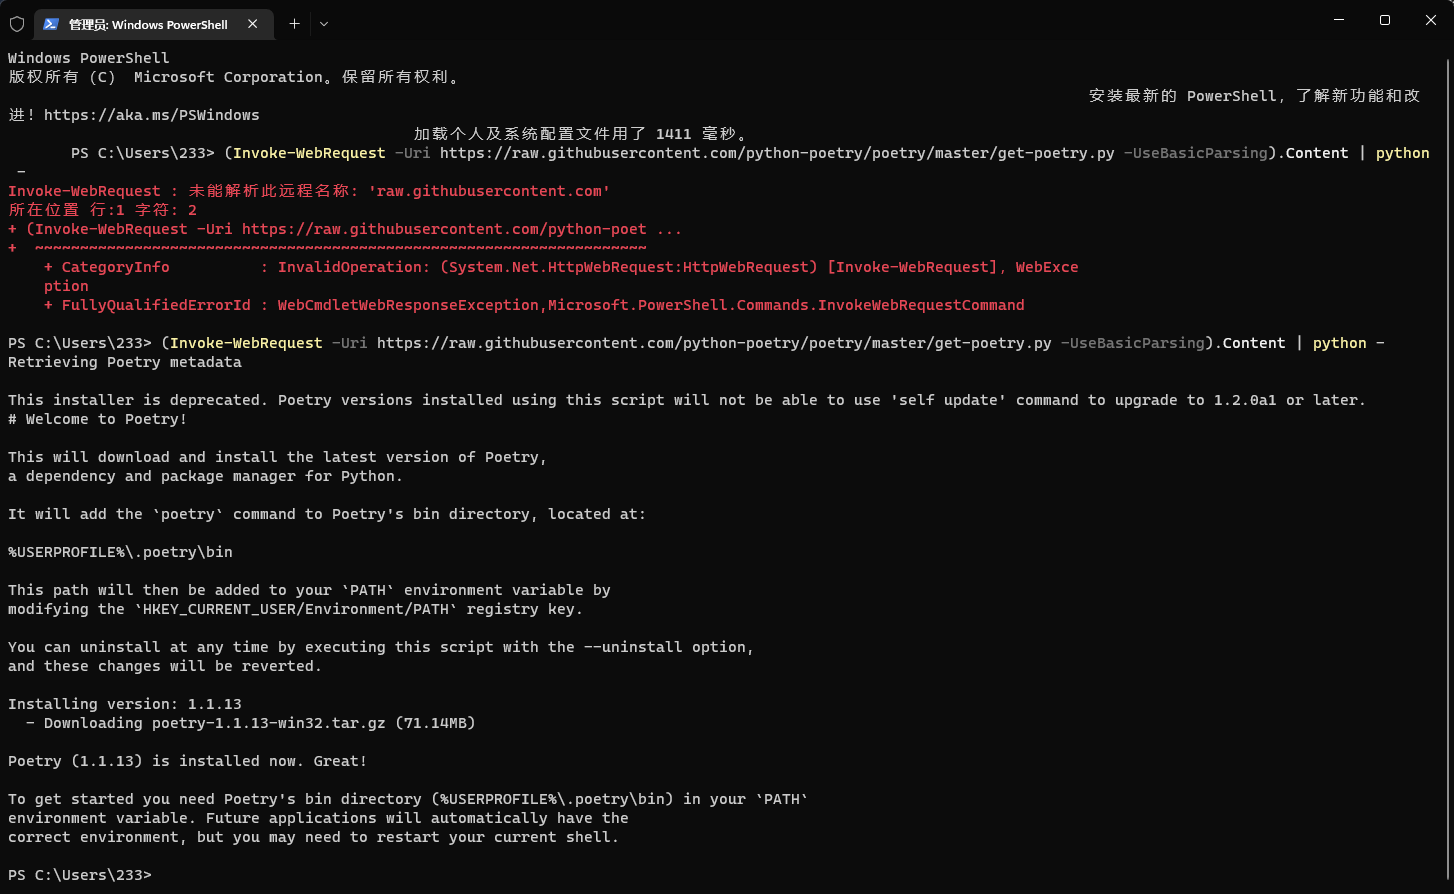
poetry --version(Invoke-WebRequest -Uri https://raw.githubusercontent.com/python-poetry/poetry/master/get-poetry.py -UseBasicParsing).Content | python -poetry 会自动添加环境变量, 安装完后重启 powershell, 检查下 poetry 版本:
poetry --version配置 poetry 使得虚拟环境在项目根目录下生成(.venv)
poetry config virtualenvs.in-project true配置虚拟环境并安装依赖
# 切换到项目根目录
cd HoshinoBot

# 安装依赖
poetry install
将 hoshino/config_example 目录中的 config_example 重命名为 config (或者拷贝出一个 config_example 再重命名)
根据 config 目录下的文件中的提示进行项目配置
# 激活虚拟环境
poetry shell

# 运行 run.py
python run.pyInvalid hashes errors on fresh install · Issue #4883 · python-poetry/poetry (github.com)
curl -sSL https://install.python-poetry.org | python3 - --uninstall
# if the above command tells you poetry isn't installed, try this instead (poetry's previous installer has recently been deprecated):
# curl -sSL https://raw.githubusercontent.com/python-poetry/poetry/master/get-poetry.py | python - --uninstall
rm -r ~/.cache/pypoetry
# if your poetry cache is somewhere else, this tells you where: poetry config --list
curl -sSL https://install.python-poetry.org | python3 -
像这样重新装下 poetry 然后重新运行 poetry install 就好了
