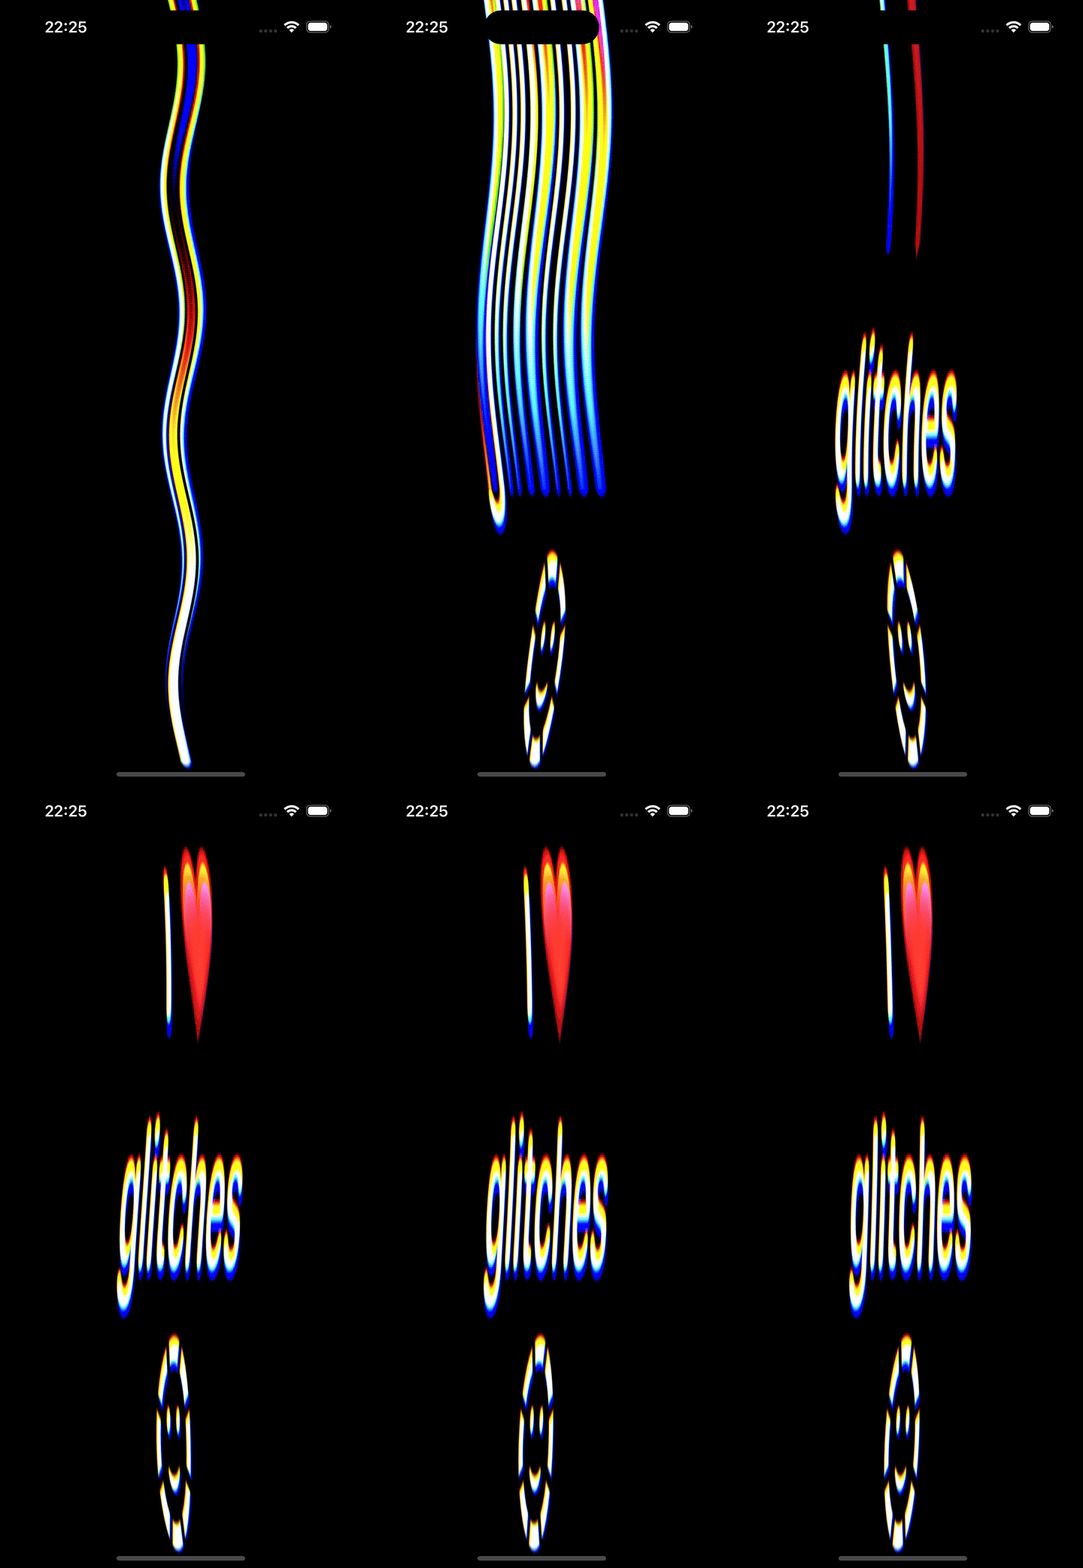
Everybody knows how a scanner works, right? Right... 😳?
It's a bit complicated, but in the essence the process is:
- You put content on the scan area
- Scan sensor scans the area line by line
- Each scanned line gets stored in the image output
That's it. Simple 🤓
Fun things can happen when you move the content while the scan is in progress. The scanEffect extension allows you to create such effects.
Here's one possible implementation:
Normally, image processing is handled by the GPU. The shader function gets tasked with the processing of scanArea.height * scanArea.width pixels. It's more than normal to implement the entire effect inside the shader, however if you want to inject some interactivity or in any way influence the output of the shader from the outside, you have to be able to do some work on the CPU as well. scanEffect does this by exposing the ScanEffectContentDisplacementCalculator that allows you to calculate a displacement of content for each line of scan area per frame. So the process is:
- You add
sceneEffectmodifier to yourView - For each line of the scan area the effect calculates content displacement based on supplied
ScanEffectContentDisplacementCalculator - The content gets displaced in the scan area and gets used to provide a line of content in the output image.
As a consequence a scanArea.height number of calls to displacedContentPosition.calculate happens on the CPU to render a frame. Much? Not so much? Depends. It can become quite heavy if you want to render an animation, so be careful!
Use as a Swift Package.
I made it mostly for myself as an exercise in my recent SwiftUI + Metal research.
Feel free to use it (well, it's not necessarily production-ready - it depends on a use case), feel free to contribute (fix issues, share ideas), feel free to hit me up @czajnikowski 👋
