Today we will make an automatic air humidifier with Arduino!
► Components
The following parts were used in this project:
Arduino UNO, https://amzn.to/3ihYFBl
1.3 inch 128 x 64 I2C OLED Display Module, https://amzn.to/3gTMZnW
DHT11 Temperature & Humidity sensor, https://amzn.to/2FhCAVh
MB-102 3.3V/5V Power module, https://amzn.to/30cZzIL
5V relay module, https://amzn.to/30dlK1n
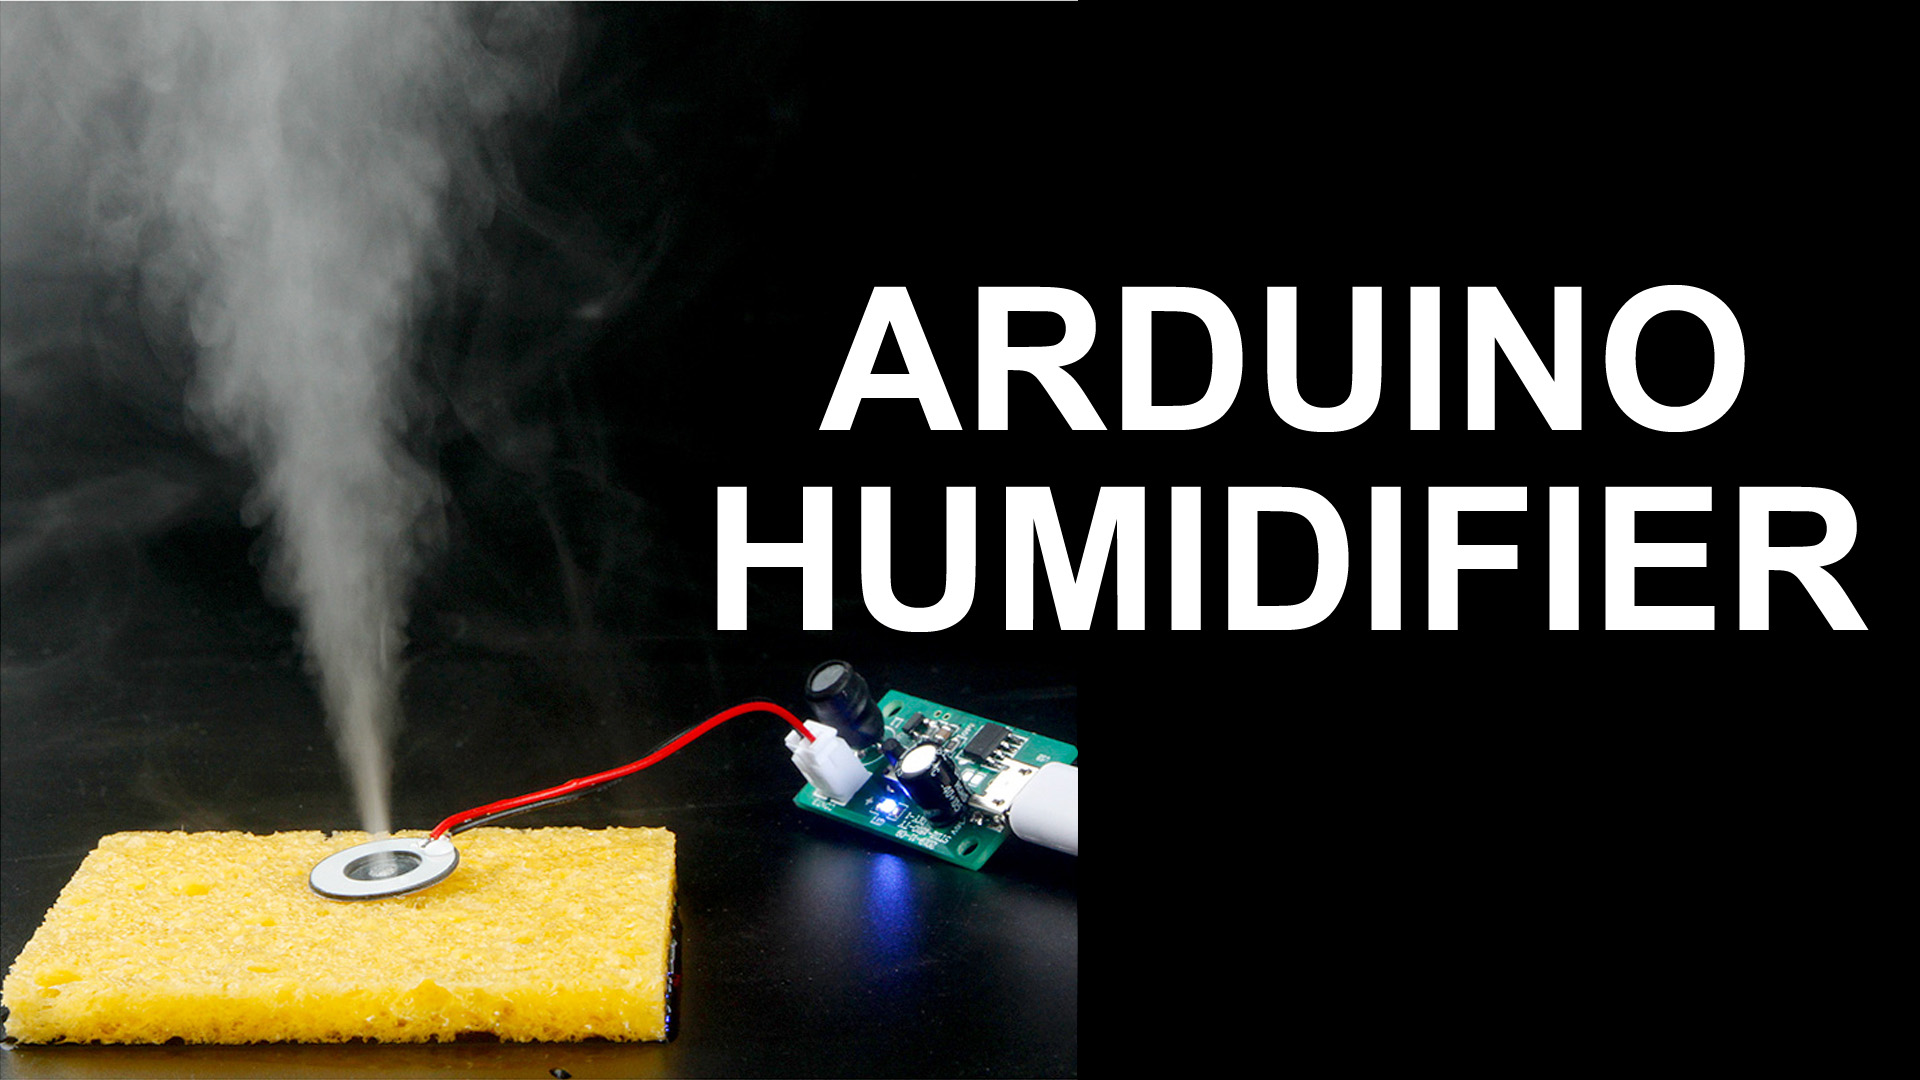
DV 5V, 300mA, 2W, 108KHz Atomization humidifier
DC 12V charger (6.5V-12V)
Breadboard, https://amzn.to/33yEavN
Jumper wires, https://amzn.to/3jCHhZd
#Arduino #Arduinoproject #Covid-19

Note
The atomizing humidifier module has two working modes, the first is that it can work independently after power on. The second is that after power on, you must press the switch to work. In order to allow the atomizing humidifier module to work independently, this project chose the first working method of the atomizing humidifier.
At the beginning, I wanted to connect pin 2 of the arduino uno directly to the atomizing humidifier, and control the high level of pin 2 to make the atomizing humidifier work, and the low level to make it not work. However, the current of the digital signal port of the arduino uno is too small to support the normal operation of the atomizing humidifier, and there is too little fog when working. So a 5V relay and MB102 power module are used to make the atomizing humidifier work normally.

install the Library file: Open "Tools"-"Library Manager" in the Arduino development software, then search for “ DHT sensor ”, and then install it.


