
- 🔐 Complete Server-Side authentication system with email/password
- 🚀 Server-side rendering with Next.js 14
- 🎨 Modern UI with Tailwind CSS
- 📱 Fully responsive design
- 🔒 Protected dashboard routes
- 🌐 Password reset with email verification
- 💪 Type-safe code with TypeScript
- ⚡ Powered by Supabase
- Node.js 16.14.0 or higher
-
Create a new project with one command:
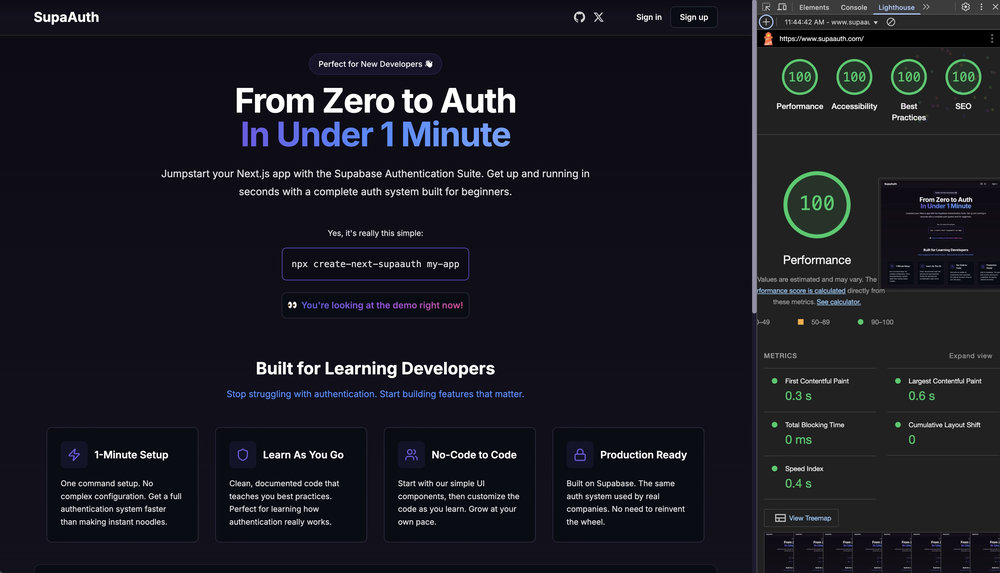
npx create-next-supaauth my-app
-
Navigate to your project:
cd my-app -
Update your environment variables in
.env.localwith your Supabase credentials:NEXT_PUBLIC_SUPABASE_URL=your-supabase-url NEXT_PUBLIC_SUPABASE_ANON_KEY=your-anon-key
-
Start the development server:
npm run dev
Visit http://localhost:3000 to see your app in action! 🎉
You can deploy this project directly to Vercel with the following steps:
-
Create a Supabase project at https://supabase.com if you haven't already.
-
Get your Supabase URL and anon key from your Supabase project dashboard.
-
Click the "Deploy to Vercel" button at the top of this README or use the button below.
-
In the Vercel deployment form, enter your Supabase credentials:
NEXT_PUBLIC_SUPABASE_URL: Your Supabase project URLNEXT_PUBLIC_SUPABASE_ANON_KEY: Your Supabase project anon/public key
-
Click "Deploy" and wait for the deployment to complete.
You can also deploy this project directly to Netlify with these simple steps:
-
Create a Supabase project at https://supabase.com if you haven't already.
-
Get your Supabase URL and anon key from your Supabase project dashboard.
-
Click the "Deploy to Netlify" button at the top of this README or use the button below.
-
In the Netlify deployment form, enter your Supabase credentials:
NEXT_PUBLIC_SUPABASE_URL: Your Supabase project URLNEXT_PUBLIC_SUPABASE_ANON_KEY: Your Supabase project anon/public key
-
Click "Save & Deploy" and wait for the deployment to complete.
Ready to deploy? Click the button below:

Your application will be deployed and accessible through a Vercel or Netlify URL. You can then configure custom domains and other settings in your respective dashboard.
This project requires the following environment variables to function properly:
| Variable | Description | Where to Find |
|---|---|---|
NEXT_PUBLIC_SUPABASE_URL |
The URL of your Supabase project | Supabase Dashboard → Project Settings → API → Project URL |
NEXT_PUBLIC_SUPABASE_ANON_KEY |
The anonymous key for your Supabase project | Supabase Dashboard → Project Settings → API → Project API Keys → anon/public |
These variables are necessary for the authentication system to communicate with your Supabase backend.
SupaAuth is designed to be beginner-friendly while maintaining professional standards. Here's what you'll learn:
- 📝 Form handling and state management
- 🔑 Authentication flow implementation
- 🛡️ Route protection strategies
- 🌍 Server-side vs. client-side rendering
- 🎨 Modern UI development with Tailwind CSS
src/
├── app/                    # Pages and layouts
│   ├── auth/              # Authentication pages (signin, signup, reset-password)
│   ├── dashboard/         # Protected dashboard
│   └── layout.tsx         # Root layout
├── components/            # Reusable UI components
├── contexts/              # React Context providers
├── lib/                   # Utility functions
├── styles/               # Global styles
└── types/                # TypeScript definitions
- ⚡ Pre-configured Supabase authentication with SSR
- 🔄 Optimized data fetching strategies
- 🎯 Type-safe API calls
-
UI Customization
- Modify Tailwind styles in
src/styles/globals.css - Update components in
src/components/layout/
- Modify Tailwind styles in
-
Route Protection
- Extend protected routes in
src/middleware.ts
- Extend protected routes in
-
Feature Extension
- Build upon the dashboard in
src/app/dashboard/page.tsx
- Build upon the dashboard in
We welcome contributions! Here's how you can help:
- Fork the repository
- Create your feature branch (
git checkout -b feature/AmazingFeature) - Commit your changes (
git commit -m 'Add some AmazingFeature') - Push to the branch (
git push origin feature/AmazingFeature) - Open a Pull Request
This project is licensed under the MIT License - see the LICENSE file for details.