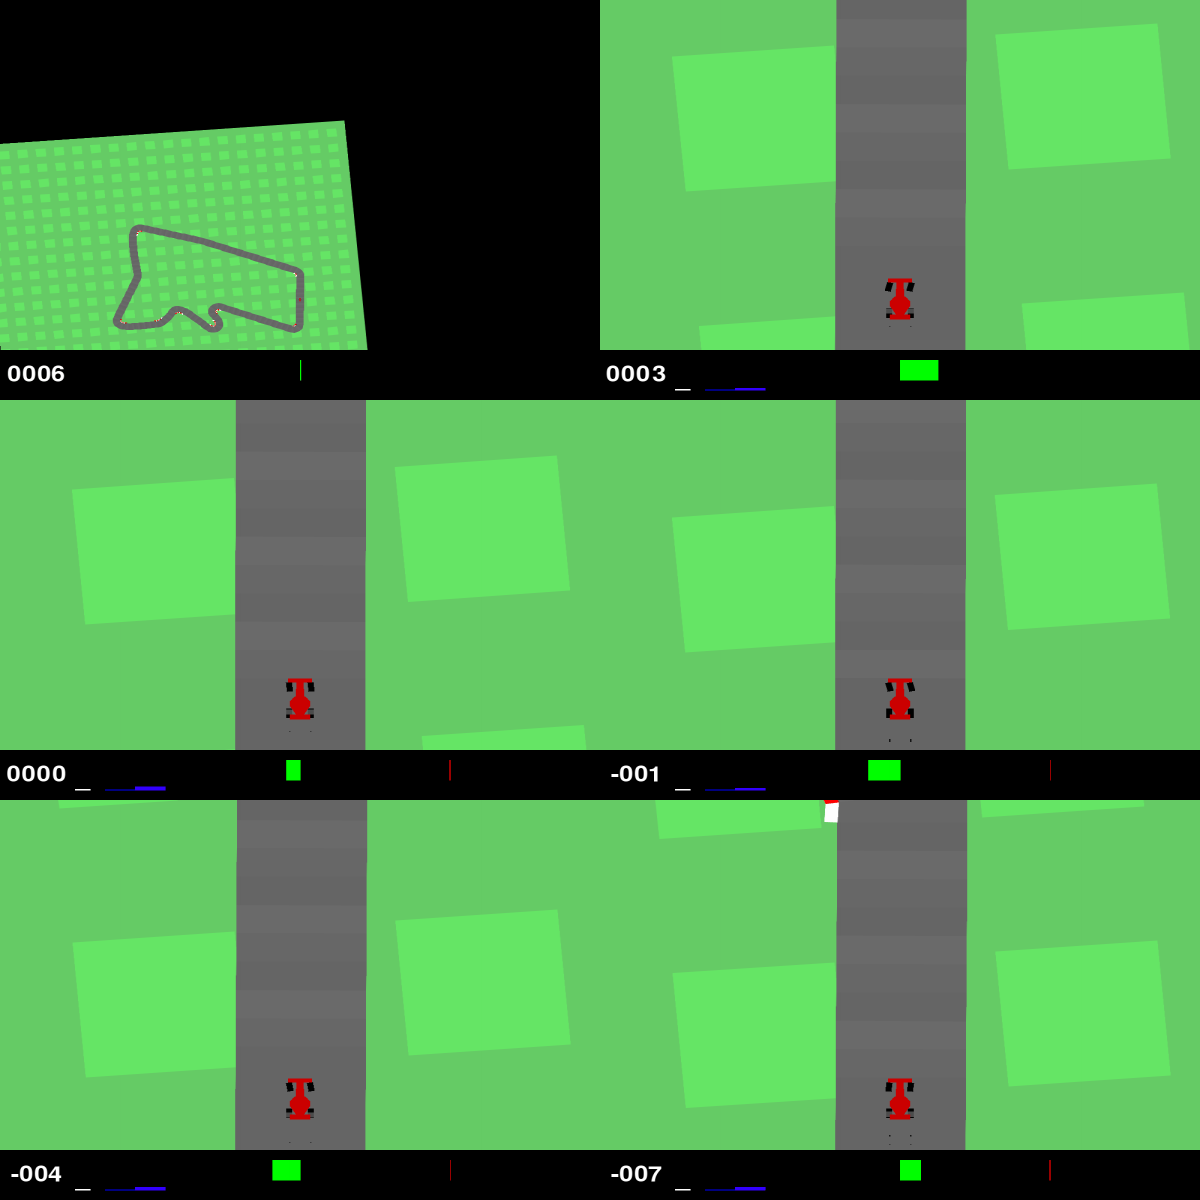
- Kotov Dmitriy, 1st year ITMO master in Robotics and AI, R4135c. Github, Telegram
- Artem Zubko, 1st year ITMO master in Robotics and AI, R4135c. Github, Telegram
Our task for whis project is to provide RL-based solution to given envinronment (RacingCar-v2).
We have a racing car that drive along random generated track, our task is to maximaze reward on random genarated path and finish the track.
More information about env given by the link above.
-
/models: Folder containing trained models with differnet hyper-parameters. -
/runs: Folder created to visualize training process with Tensorboard -
/params: Folder holding hyper-parameters of the models. -
/src: Main folder with python code for training and visualizing. -
/videos: Result of model training, saved as video of agent's work process.
To install and use this project, clone the repository into desired folder:
cd /<your-folder>
git clone https://github.com/NOTMOVETON/RobotProgramming_2.git
Аfter installation you can use the project via a docker container or by creating python virtual environment.
- Install docker-engine: Docker Engine.
- Install docker-compose-plugin: Docker Compose.
- If you want to use graphics card (NVIDIA ONLY) usage install nvidia-container-toolkit: Nvidia Container Toolkit
- Add docker user to your group:
sudo groupadd docker
sudo usermod -aG docker $USER
newgrp docker- Create a few terminals (VSCode is welcome to work with docker).
- Go to project directory:
cd /<your-folder>/RobotProgramming_2- Build docker image:
docker build -t racing_car_rl .- Visuals. After complete building give the rights to connect the root user to the host display:
xhost +local:docker- Launch container. RECOMMENDED: if you want to use nvidia graphics card:
docker compose -f docker-compose.nvidia.yml upor using only CPU:
docker compose -f docker-compose.yml upAfter that you should see similar result:
[+] Running 1/1
✔ Container py_rl
Recreated     0.9s
Attaching to py_rl- Get into container via terminal in a new terminal session(in same working directory). (opens container's new bash session)
docker exec -it py_rl /bin/bashAfter this step docker container is ready to work and you can go to usage section.
In docker container project lays in /RacingCarRL directory, so all of actions should be executed in this folder.
Other way to use the project is by creating virtual environment with requiered modules. Detailed guide on the deployment and functions of the virtual environment can be found at the link
Follow below steps to create venv and install necessary python packages:
- Create venv:
python -m venv /<path-to-your-venv>- Log in to the virtual environment:
source /<path-to-your-venv>/bin/activate- Install necessary modules:
pip install -r /<your-folder>/RobotProgramming_2/requirements.txtVenv now ready to work and you can go to usage section.
- Setup params files in
/paramsdirectory.
model.yamlcontain general hyperparameters for algorithm (learning rate etc.) (list of parameters not full, because different algorithms takes different arguments and hyperparameters)train.yamlcontain parameters formodel.learn()method and folder for saving trained models. More information could be found hereeval.yamlcontain parameters for evaluating model, such as folders for videos etc.
- Start training/evaluating models with command below:
python car_goes_brr.py -a=<action>, where argument action can take following values: train, evaluate_human and evaluate_record.
While executing given action programm takes parameters from params file.
-
(OPTIONAL) Launch
Tensorboardby going tohttp://localhost:6006or simply use VSCode extension(RECOMMENDED). During the training process, you can observe graphs of the average length of an episode and the average reward per episode via tensorboard. -
(OPTIONAL) Use different algorithms. Via
model.yamlyou can choose algorithm for solving current task.
To verify different approaches we conducted experiments with 3 different algorithms: PPO, SAC, A2C, and different hyperparameters for each. All of used algorithms are very different and detailed analysis on each one of them would consume too much time. For this reason, theoretical information and analysis of algorithms can be found at the link. (if necessary, they can be described in more detail at the face-to-face defense).
In general, PPO showed himself the best of all among A2C, PPO, DQN. Average reward after 1000 episodes of training(1000 timesteps each, 1_000_000 total) for PPO is 751, A2C- 434, DQN - 117. The reward is -0.1 every frame and +1000/N for every track tile visited, where N is the total number of tiles visited in the track. For example, if you have finished in 732 frames, your reward is 1000 - 0.1*732 = 926.8 points, so the maximum reward is tend to 1000.
More detailed results will be shown in face2face defense of the project.
