Mochi is a cute little display like device that has animated faces and emotions. It's originally manufactured and designed by Dasai™.
Though Mochi is very cute but it's very lack of any funtions. It only show animations and make noises, although in version 3, it could make movements according to your car, but to myself, it still lacks the functions that are suppose to have being a "car pet". And that's why I wanted to make some improvments to it and making it a BETTER MOCHI.
Dasai™ MochiAddition to the basic features mochi already has, I personally thinks that below features could add some touch to the cute little buddy.
- speed guage
- welcoming tones
- clock
Also, the screen are both too small for the animimations and the features above. So, by changing it into a 1.28 inch round display, things starting to look interesting. First, it finally looks like a guage, or a clock.
To implement the above mentioned features, you could just use a vanilla ESP32/ESP32-S3 and a round tft display powered by GC9A01 with an GPS module. Or, you could use a M5Dial for more features like a rotary encoder for changing modes, and a built in buzzer for melodies.
As for myself, all the software is tested and implement using the first way on a bread board and later been implemented onto the M5Dial and tested. The below installation steps are specified for implementation on the M5Dial or similar devices with same GPIO outpins.
Mochi on M5DialTo make your own Mochi on a M5Dial, you first need the following parts.
- A M5Dial
- Neo6M GPS reciever
- Any ESP32 (This includes S2, S3, C3, etc.)
- CH340 UART to USB connector
For an easy burn in for the software, we'll use arduino as the platform.
Place the files excluding the datasender folder into a sketch folder and choose M5Dial as your board, then hit compile&upload.
Connect your Neo6M to your computer using the CH340 dongle and change the baude rate to 115200 and rate to 5Hz using U-center.
More infos of changing the settings could be found Here.
Connect the GPS to the secondary ESP32 using UART. Here we use the second UART port for communication, but since specs may be different, feel free to modify the code to meet your own needs.
Place the files in the datasender folder into another sketch folder and select the corresponding board then hit upload.
At defualt, after installation, the dial should got animations running on the screen. You could use the rotary encoder to change to the guage page by spinnig the outer rim.
Below is a picture showcasing the guage page.
Also, the touch screen is for adjusting the brightness of the screen, swipe left to dim it and the opposite to lighten it!
Congrats!!! Now the mochi guage has 3 pages, the mochi page; the speed guage page; and the clock page!! No more distractions, mochi could help for telling the time now!!
Speed guage pageThe time will be automatically set when connected to a resonable GPS signal.
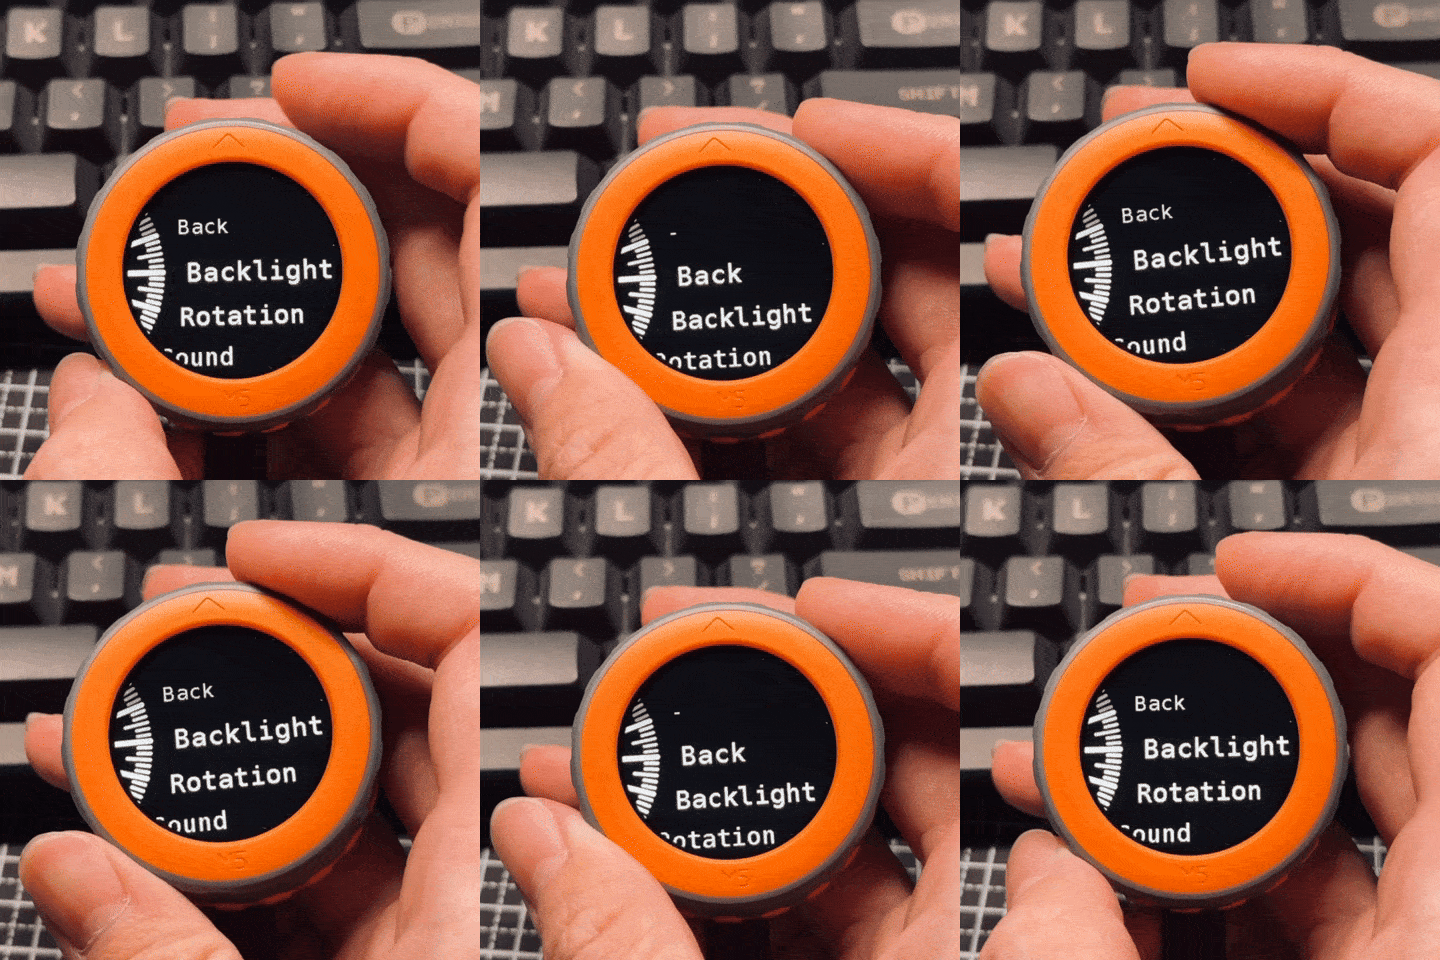
Now the mochi got settings, horay! To get to the set page, simply press the button located at the bottom of the round, or in other words, press the "M5" on the orange ring.
In the set page, you could turn the rotary encoder to navigate to the settings you want to change, when navigated to the one, simply press the button again will move you into the setting itself and one more press will bring you out.
To navigate back to the home page, turn to the part that is labeled Back and press the button.
BTW, the settings could also be adjust with the touch screen, left for adding 1 and right for subtracting 1. The rotary's delta depends, for example, when in the backlight setting, turning left adds 5 to the value.
- Backlight -> Backlight value (0-255)
- Rotation -> Rotation of the screen (0-7)
- Sound -> Whether the beep is muted (True/False)
Now added ntp support for setting the time s.t. when there are no GPS signals, you could still set the internal RTC time.
To set the time using NTP, simple navigate to the settings->Set Time.
To make sure you could connect to the ntp server, you need to set your AP's SSID and PSW using the provided file conf.secret.h.
In the file, simply place your AP's SSID and PSW into the string, for example:
char ssid[] = "YOUR_SSID";
char pass[] = "YOUR_PW";
I would recommend you to set it to your mobile phone's hotspot etc s.t. you could set the time wherever you go.
Smol tweak for the speed guage, the guage now would set its speed to 0 when NAK from the GPS with a timeout of 0 seconds. Also, the GPS located at the bottom of the guage would turn into red when NAK and navy when ACKed.


