A comprehensive solution for wirelessly controlling an RC car through WiFi using an ESP32 microcontroller. Control your RC car in real-time from any device with a web browser!
- Web-based Control Interface: Modern, responsive UI accessible from any device
- Real-time Control: Low-latency WebSocket communication for immediate responsiveness
- Multiple Control Methods:
- On-screen touch controls
- Keyboard input (WASD/Arrow keys)
- Floating control panel for mobile devices
- Status Indicators: Real-time connection status and feedback
- No App Required: Works in any modern web browser
- ESP32 Development Board
- L298N Motor Driver Module
- 4x DC Motors
- RC Car Chassis
- 7.4V-12V Battery Pack
- Jumper Wires
| ESP32 | L298N Motor Driver |
|---|---|
| GPIO13 | ENA (Enable Motor A) |
| GPIO15 | IN1 (Input 1 Motor A) |
| GPIO14 | IN2 (Input 2 Motor A) |
| GPIO27 | ENB (Enable Motor B) |
| GPIO26 | IN3 (Input 3 Motor B) |
| GPIO25 | IN4 (Input 4 Motor B) |
The system consists of two main server endpoints:
- HTTP Server (Port 80): Serves the web control interface
- WebSocket Server (Port 81): Handles real-time bidirectional communication
-
Clone this repository
https://github.com/Sensor-Driven-Automation/ESP32_WebSocket_RC_Car.git -
Open the project in Arduino IDE
- Open
wifi_car_controller.inoin Arduino IDE
- Open
-
Configure WiFi settings
- Update the SSID and password in the code:
const char *ssid = "YOUR_WIFI_SSID";
const char *password = "YOUR_WIFI_PASSWORD";
-
Upload to ESP32
- Select your ESP32 board from Tools > Board
- Select the correct port from Tools > Port
- Click the Upload button
-
Find ESP32's IP Address
- Open Serial Monitor (9600 baud)
- Look for the IP address in the startup messages
-
Connect and Control
- Open a web browser on any device connected to the same WiFi network
- Navigate to the ESP32's IP address
- Use the web interface to control the RC car
| Command | Description | Button | Keyboard |
|---|---|---|---|
| 0 | Stop | ⏹️ | Space |
| 1 | Forward | ⬆️ | W / Up Arrow |
| 2 | Backward | ⬇️ | S / Down Arrow |
| 4 | Left Turn | ⬅️ | A / Left Arrow |
| 8 | Right Turn | ➡️ | D / Right Arrow |
wifi_car_controller.ino: Main code file with ESP32 implementationWebSocketServer.h: Custom WebSocket server implementationindex.h: Web interface HTML content/docs: Additional documentation/schematics: Circuit diagrams
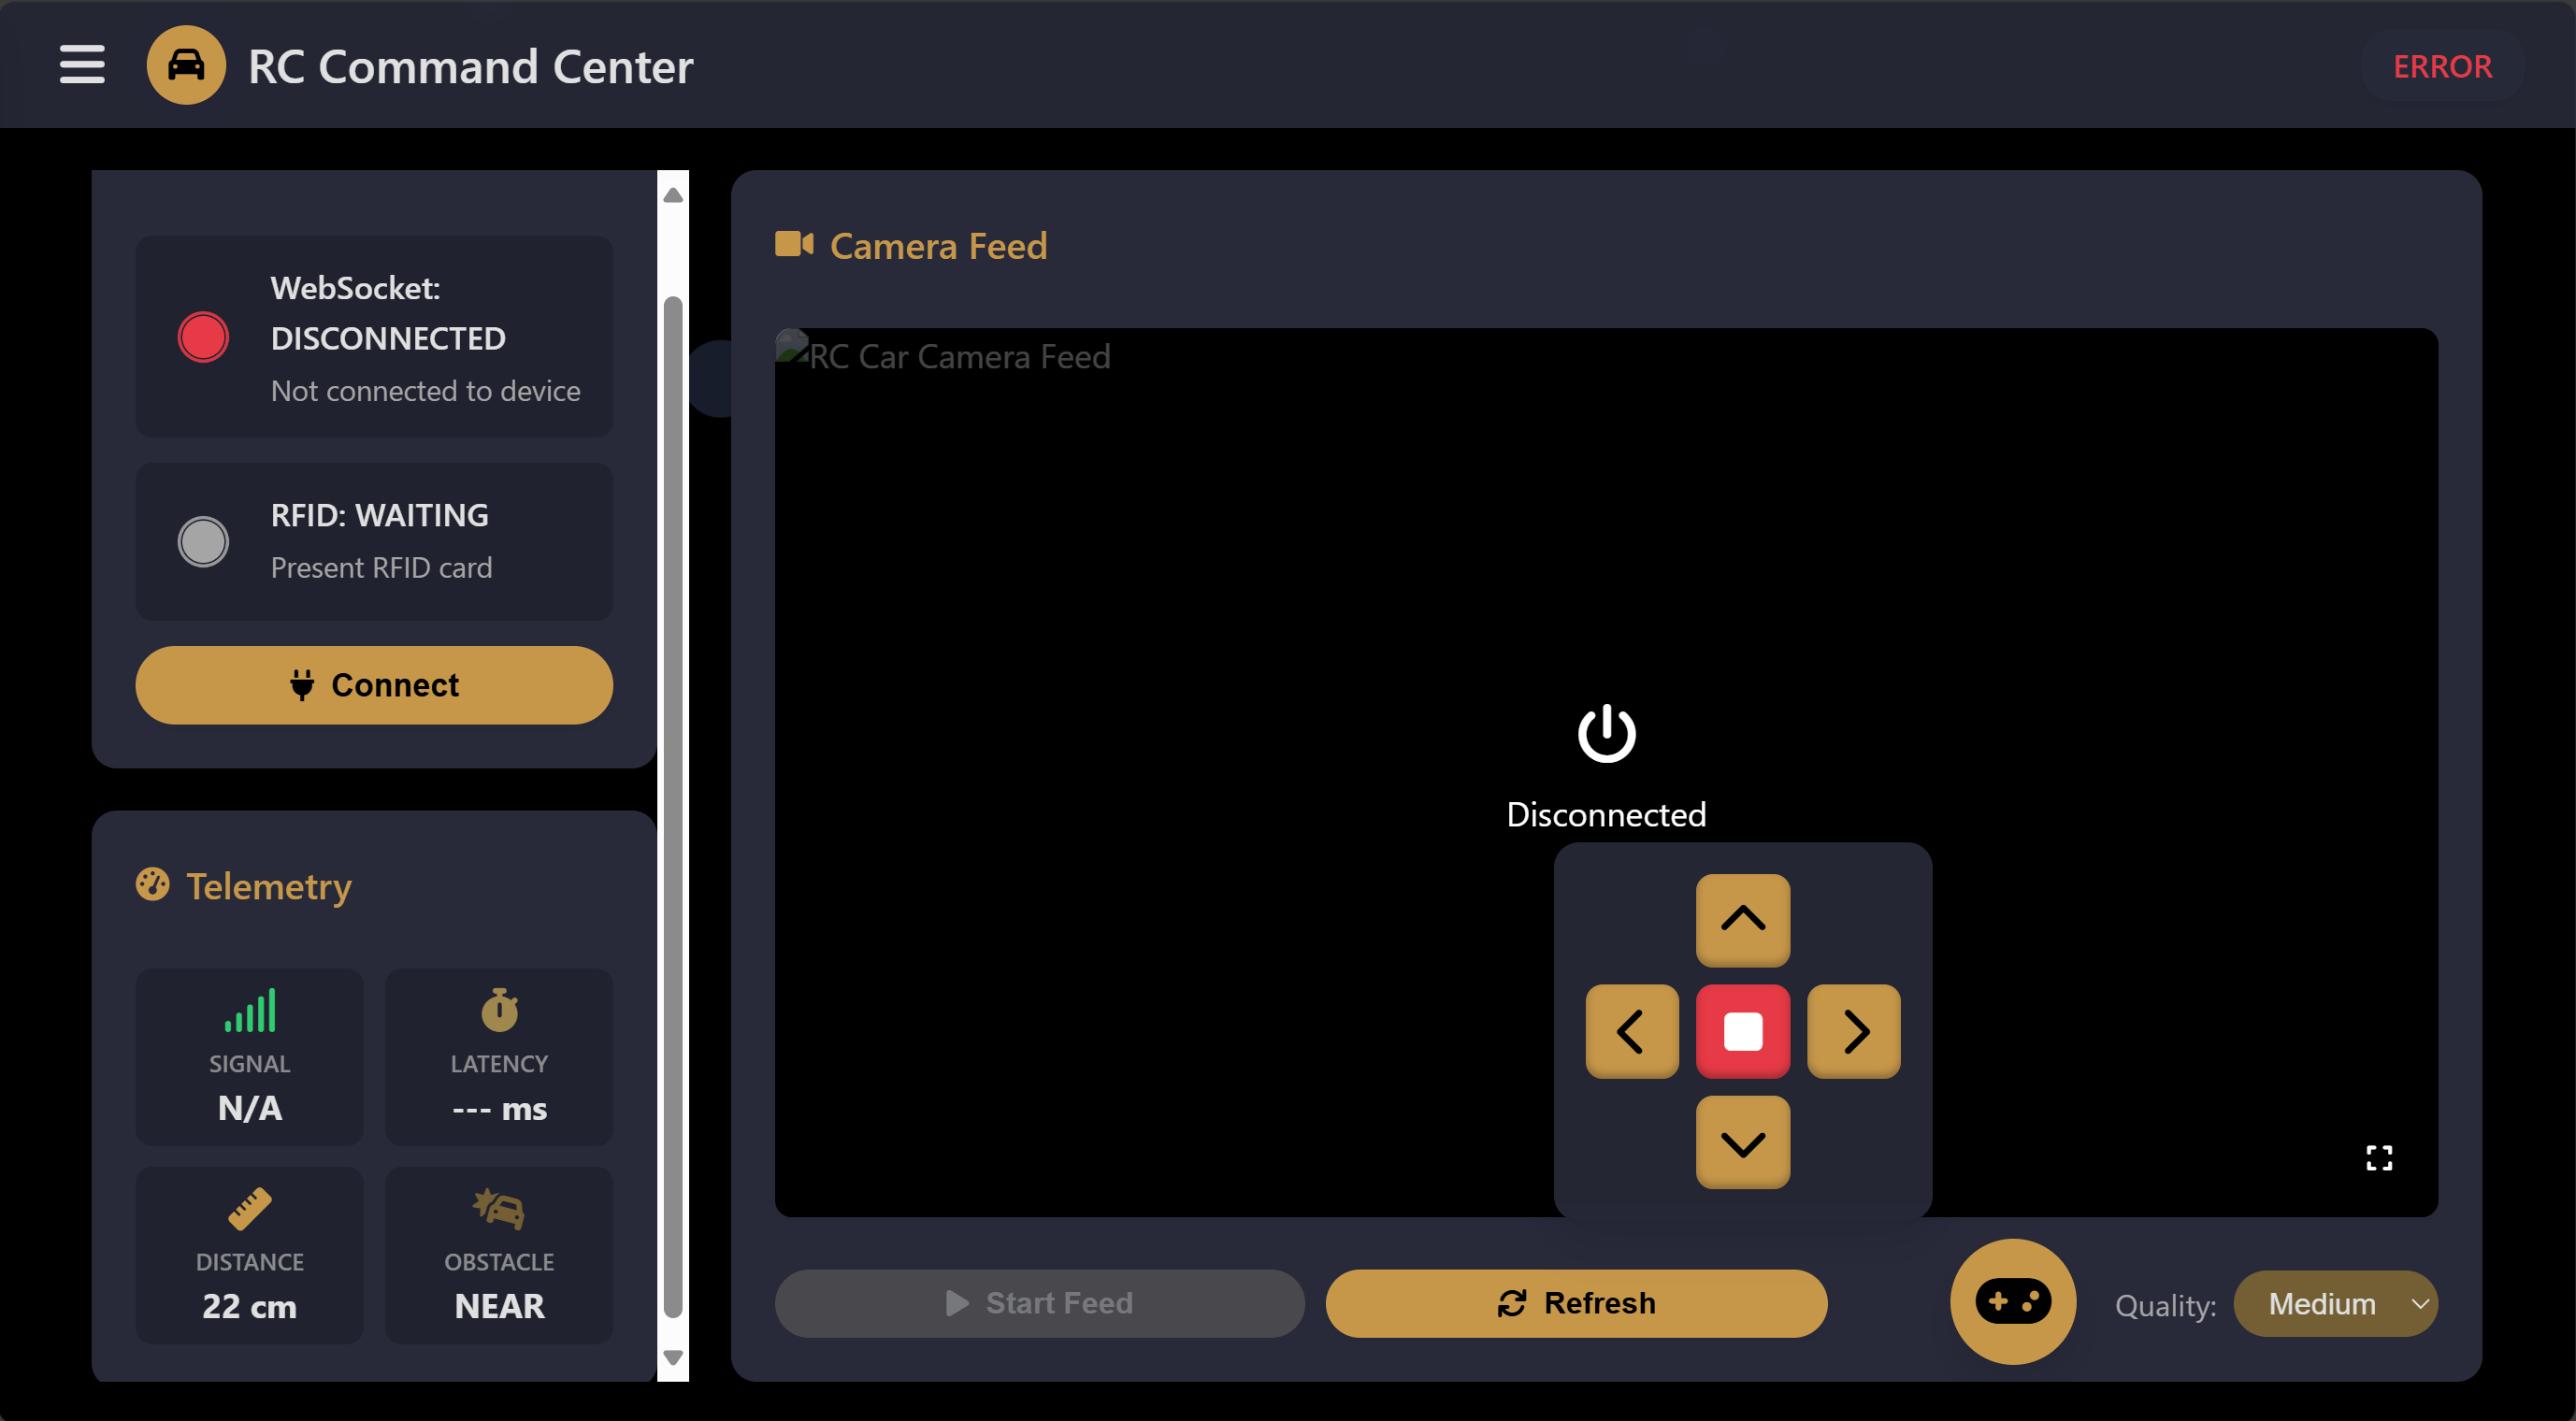
The web interface provides:
- Real-time connection status
- Multiple control methods (touch, keyboard)
- Visually pleasing design with particle effects
- Mobile-friendly responsive layout
- Floating control panel for easier mobile control
You can implement PWM control for variable speed:
// In setup()
ledcSetup(0, 5000, 8);  // Channel 0, 5kHz, 8-bit resolution
ledcSetup(1, 5000, 8);  // Channel 1, 5kHz, 8-bit resolution
ledcAttachPin(ENA, 0);  // Attach ENA to channel 0
ledcAttachPin(ENB, 1);  // Attach ENB to channel 1

// Instead of digitalWrite(ENA, HIGH):
ledcWrite(0, speed); // speed: 0-255- Battery level monitoring
- Headlights control
- Speed adjustment
- Custom movement patterns
Tested and working on:
- Chrome (Desktop & Mobile)
- Firefox (Desktop & Mobile)
- Safari (Desktop & Mobile)
- Edge
Contributions are welcome! Please feel free to submit a Pull Request.
- Fork the repository
- Create your feature branch (
git checkout -b feature/amazing-feature) - Commit your changes (
git commit -m 'Add some amazing feature') - Push to the branch (
git push origin feature/amazing-feature) - Open a Pull Request
This project is licensed under the MIT License - see the LICENSE file for details.
- Ayush Verma and Ayush Mishra - Original authors
- Arduino and ESP32 Communities
- Font Awesome for UI icons
For questions or support, please open an issue on GitHub.
Made with ❤️ by Ayush Verma and Ayush Mishra