-
Notifications
You must be signed in to change notification settings - Fork 2
Flashing a Nao
Note: This guide assumes you have completed Setting up a brand new robot and are just doing a factory reset or normal flash of the robot to get it back into a usable state.
General notes:
- If you are downgrading, you MUST use the factory reset method (the link below). You can use the factory reset method either way, it'll just be slower than the alternative.
- rUNSWift is using the 2.1.3.3 opn.
Go here to flash using the factory reset method:
http://doc.aldebaran.com/2-1/software/naoflasher/naoflasher.html
You will need a USB with the image flashed. To setup a USB, you will need to download the opn and also naoflasher from Softbank's website.
- Insert the USB stick into the back of the robots head.
- Press and hold down the button on the chest of the robot until it lights up blue.
- Leave until it says
Ognak gnuk(~18 minutes for a factory reset).
This is just a guideline - if this exact behaviour doesn't happen, there may not be anything wrong.
Once the flashing has completed, the robot may stand up and talk - make sure the robot is lying flat if you are going to start the flashing and then walk away!
Pressing the chest button once makes the robot say "Hello, I am Nao. My internet address is XXX.XXX.XXX.XXX" and some other stuff. If it doesn't say an IP address, 169.254.15.76 should work.
Plug into the robot with ethernet, and in a browser go to http://nao.local/ with username & password both nao.
Finish the setup - the in-browser prompts are fairly self-explanatory, and if any step fails, you can easily skip it. Be sure to rename the nao to whatever name you intend to give it, eg. r2d2. If you forget this, you can change it with sudo /etc/hostname and rebooting after initial code setup. You may remove the USB at any point from now onwards (it's fine to leave in as you must hold the chest button to trigger the flash).
You should have your codebase set up (if not, go to Getting Started). Now, run the following commands:
-
nao_sync -s <robot>. Enter the password for the robot when asked to, and enter the root password (root) when asked to. nao_sync -ar <robot>
Reboot, or restart the Softbank naoqi program, so libagent is updated with our changes:
ssh nao@<robot.local>$ nao restart$ runswift
You can now run the rUNSWift code via chest button presses or by ssh-ing in as above.
If at competition, please also follow the Competition Information WiFi configuration guide.
Verify that that runswift works, e.g. Striker Test - you're done!
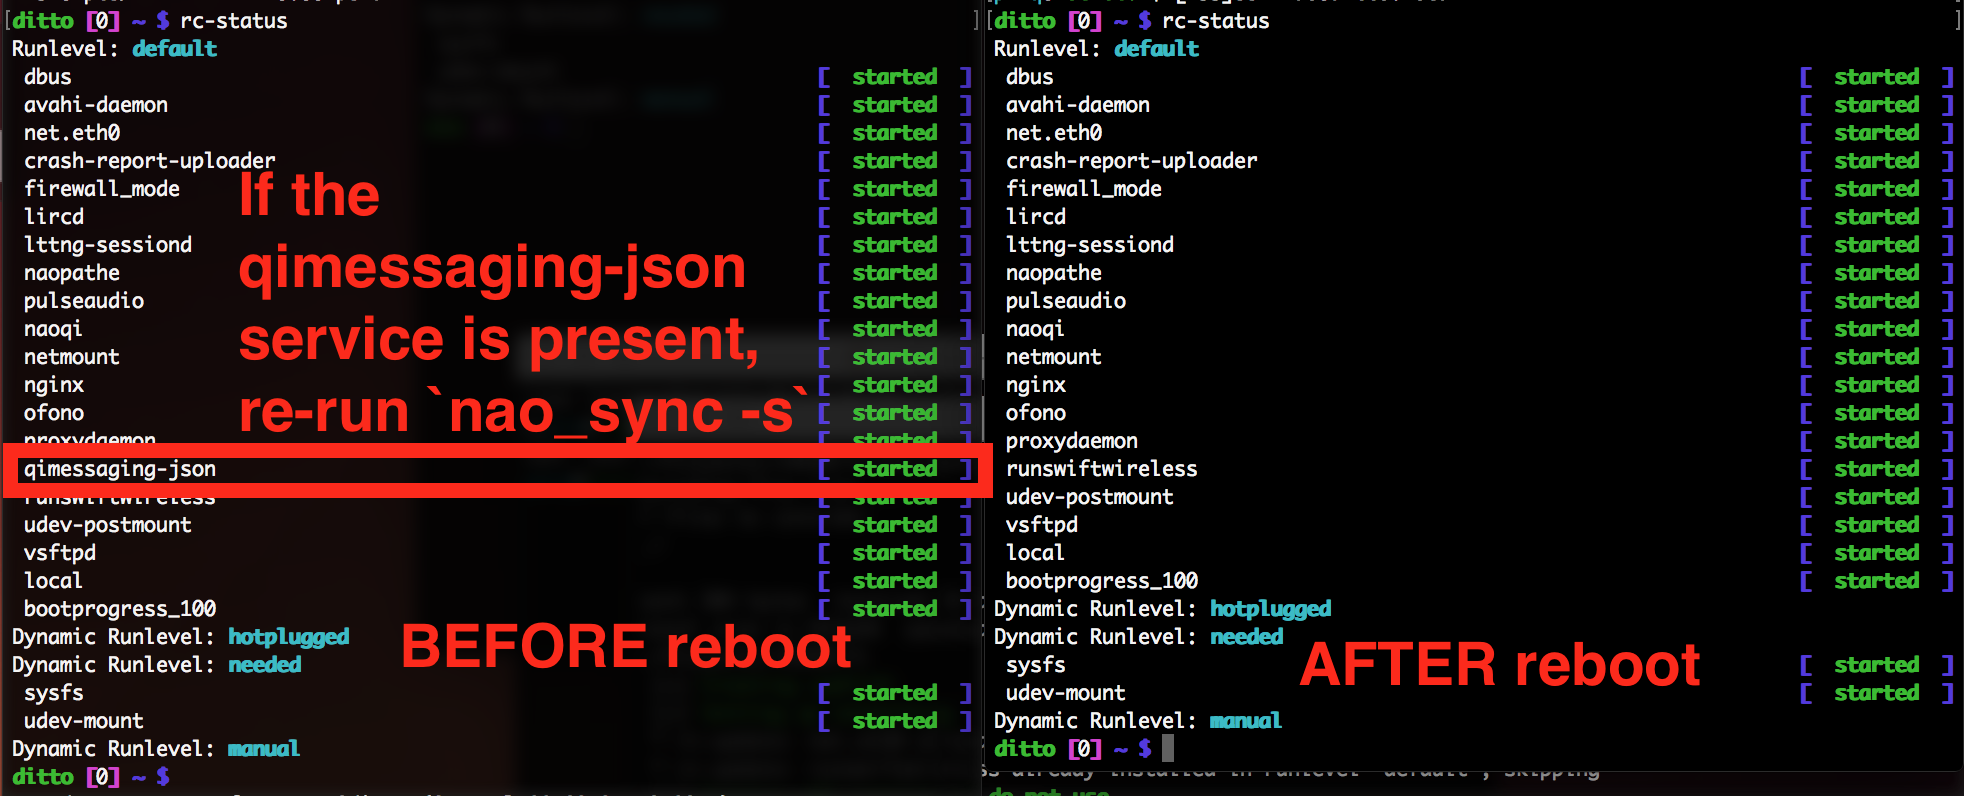
It turns off known bad things, such as the qimessaging-json service which randomly spikes to 90% of the Nao CPU:

Syncing with nao_sync -s will replace connman with an init script that sets the wifi details manually. If you are running into problems with this, run these commands to undo it and restart the robot.
sudo rc-update del runswiftwireless default
sudo rc-update add connman boot
You can then control the wifi through the nao's web interface.
- rsync the opn file to the robot
-
nao-autoflash file.opnon the robot -
sudo shutdown -h nowon the robot - Turn on and update the firmware.
- NAO V4.0: press and hold the robot Chest button for about 5 seconds until it gets blue.
- NAO V3.x: press the robot Chest button.
- Ear LEDs shows the progression
or
- scp opn file to /var/persistent/.image
- reboot the robot.
- wait for echoing beeping sound.
- reboot the robot.