The framework we're using the most for Blockchain implementations is Hyperledger Fabric.
The documentation in their site is not bad, but it's not very thorough, it's important to get concepts clear on the Buiding your First Network and Writing your first application tutorials.

In TNP we use several components to simplify how we develop smart contracts and its deployment and configuration.

IBM Blockchain is our server, it deploys easily a Hyperledger Fabric server we can use to deploy our smart contracts. You can see how to configure IBM Blockchain on their excellent video tutorials.
We use Typescript as the language for the smart contracts and the proxy.
Fabric client SDKs are under heavy development and currently the Node SDK is the most mature. We might use the Python SDK in the future but It doesn't work well right now.
Since we have many backend code written in Python and we need to connect and execute smart contract functions from there, we decided to create a proxy in Node with Typescript for Fabric so we have a Rest API to access from any other backend, so we don't need to take into account in which language we write our backend, but just create an API HTTP client to execute functions on an specific smart contract.
We'll need to create a request to the Fabric proxy every time we want to send data to the smart contract.
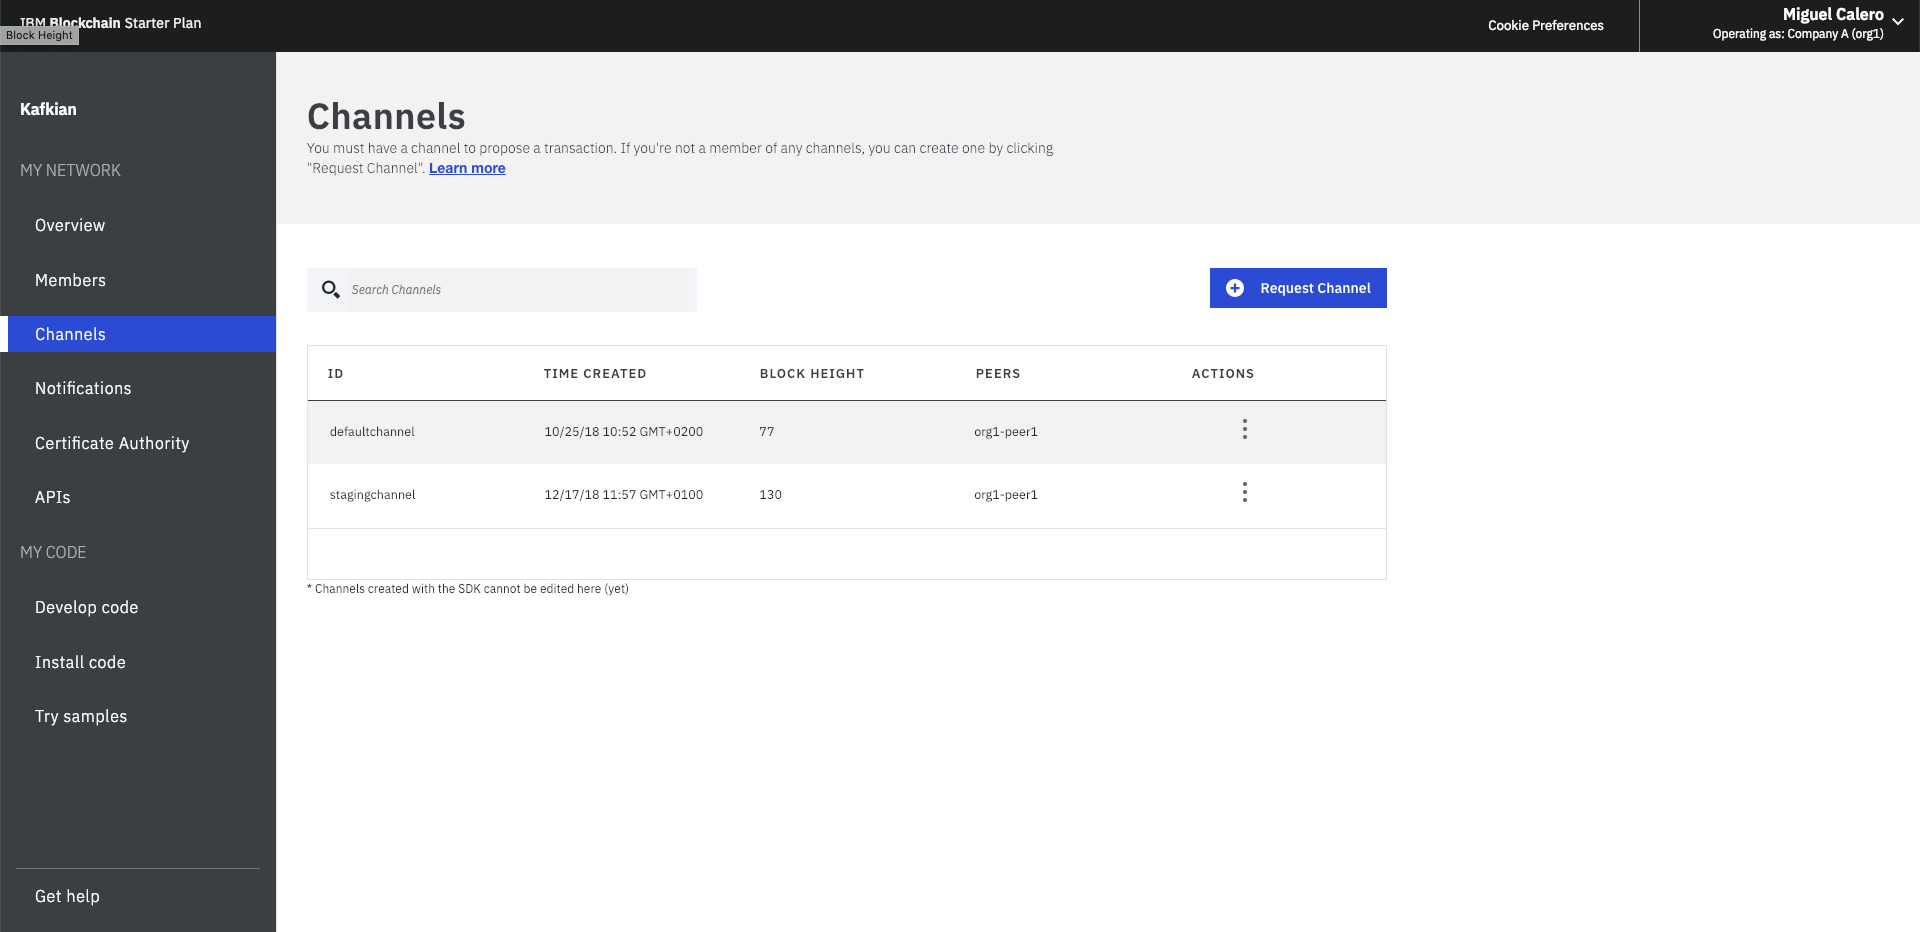
There are three steps to implement a solution with Hyperledger Fabric.
Only organizations in the channel will be able to use the smart contract deployed there. Assets data saved in this channel isn't available in other channels.
To give our project Blockchain powers we'll need to implement one (or maybe more) smart contracts.
You have an example in the Odos repository.
You should follow the same structure so you can also implement the tests and run everything using Docker. The idea would be to do something like:
Create the chaincode dir in your project. Inside this folder, we'll create the Dockerfile and a dir called ngo. ngo dir will have smart contract code (ngo.ts) and its tests (ngo.spec.ts) among other libraries of our own to simplify the code.
mkdir chaincode
cd chaincode
touch ngo.ts
touch ngo.spec.ts
Copy the Dockerfile content from Odos repository example in your Dockerfile
Now, build the docker image:
docker build -t project-chaincode .To run the tests:
docker run --rm -v "$PWD":/usr/src/app -w /usr/src/app/project project-chaincodeEvery project connecting to the Fabric proxy will need a service implementing the GET to read and POST to write to the Fabric proxy with its specific smart contract and methods. An example can be seen in the Odos project
The GET would be:
GET {host}/api/v1/{chaincode_name}/{chaincode_method}?token={token}
Content-type: application/json
The POST looks like this:
POST {host}/api/v1/{chaincode_name}/{chaincode_method}?token={token}
Content-type: application/json

body
The response in both cases would be:
Content-type: application/json

{
  "status": "ok",
  "data": [{"my": "data"}]
}
In case of error:
Content-type: application/json

{
  "status": "error",
  "message": "message"
}
Please check the .github folder to see how we develop using Github Actions on
this project.
To complete the Github Actions configuration you need the following variables:
$CODACY_PROJECT_TOKEN$HEROKU_API_TOKEN$HEROKU_APP_STAGING$HEROKU_APP_PRODUCTION$SLACK_WEBHOOK_URL

This part of the configuration is a bit cumbersome, so take a coffe and read carefully, we'll dive into it step by step 😎
If you haven't do it yet, clone the fabric proxy repository in your local machine and cd in it, we'll just work on it now.
The config to generate the certificates has to be downloaded from IBM Blockchain, and added to the root
of the repository as creds.json.
Add this json to the proxy configuration in Heroku using the FABRIC_CREDS envvar.
Now we'll work in the config to perform queries to the chaincode/smart contract.
- Start with
yarn installto install all dependencies. - Build typescript with
yarn build. - Execute
enrollUserwith the following command.
CONNECTION_JSON_PATH=../connection.json \
ADMIN_USERNAME=admin \
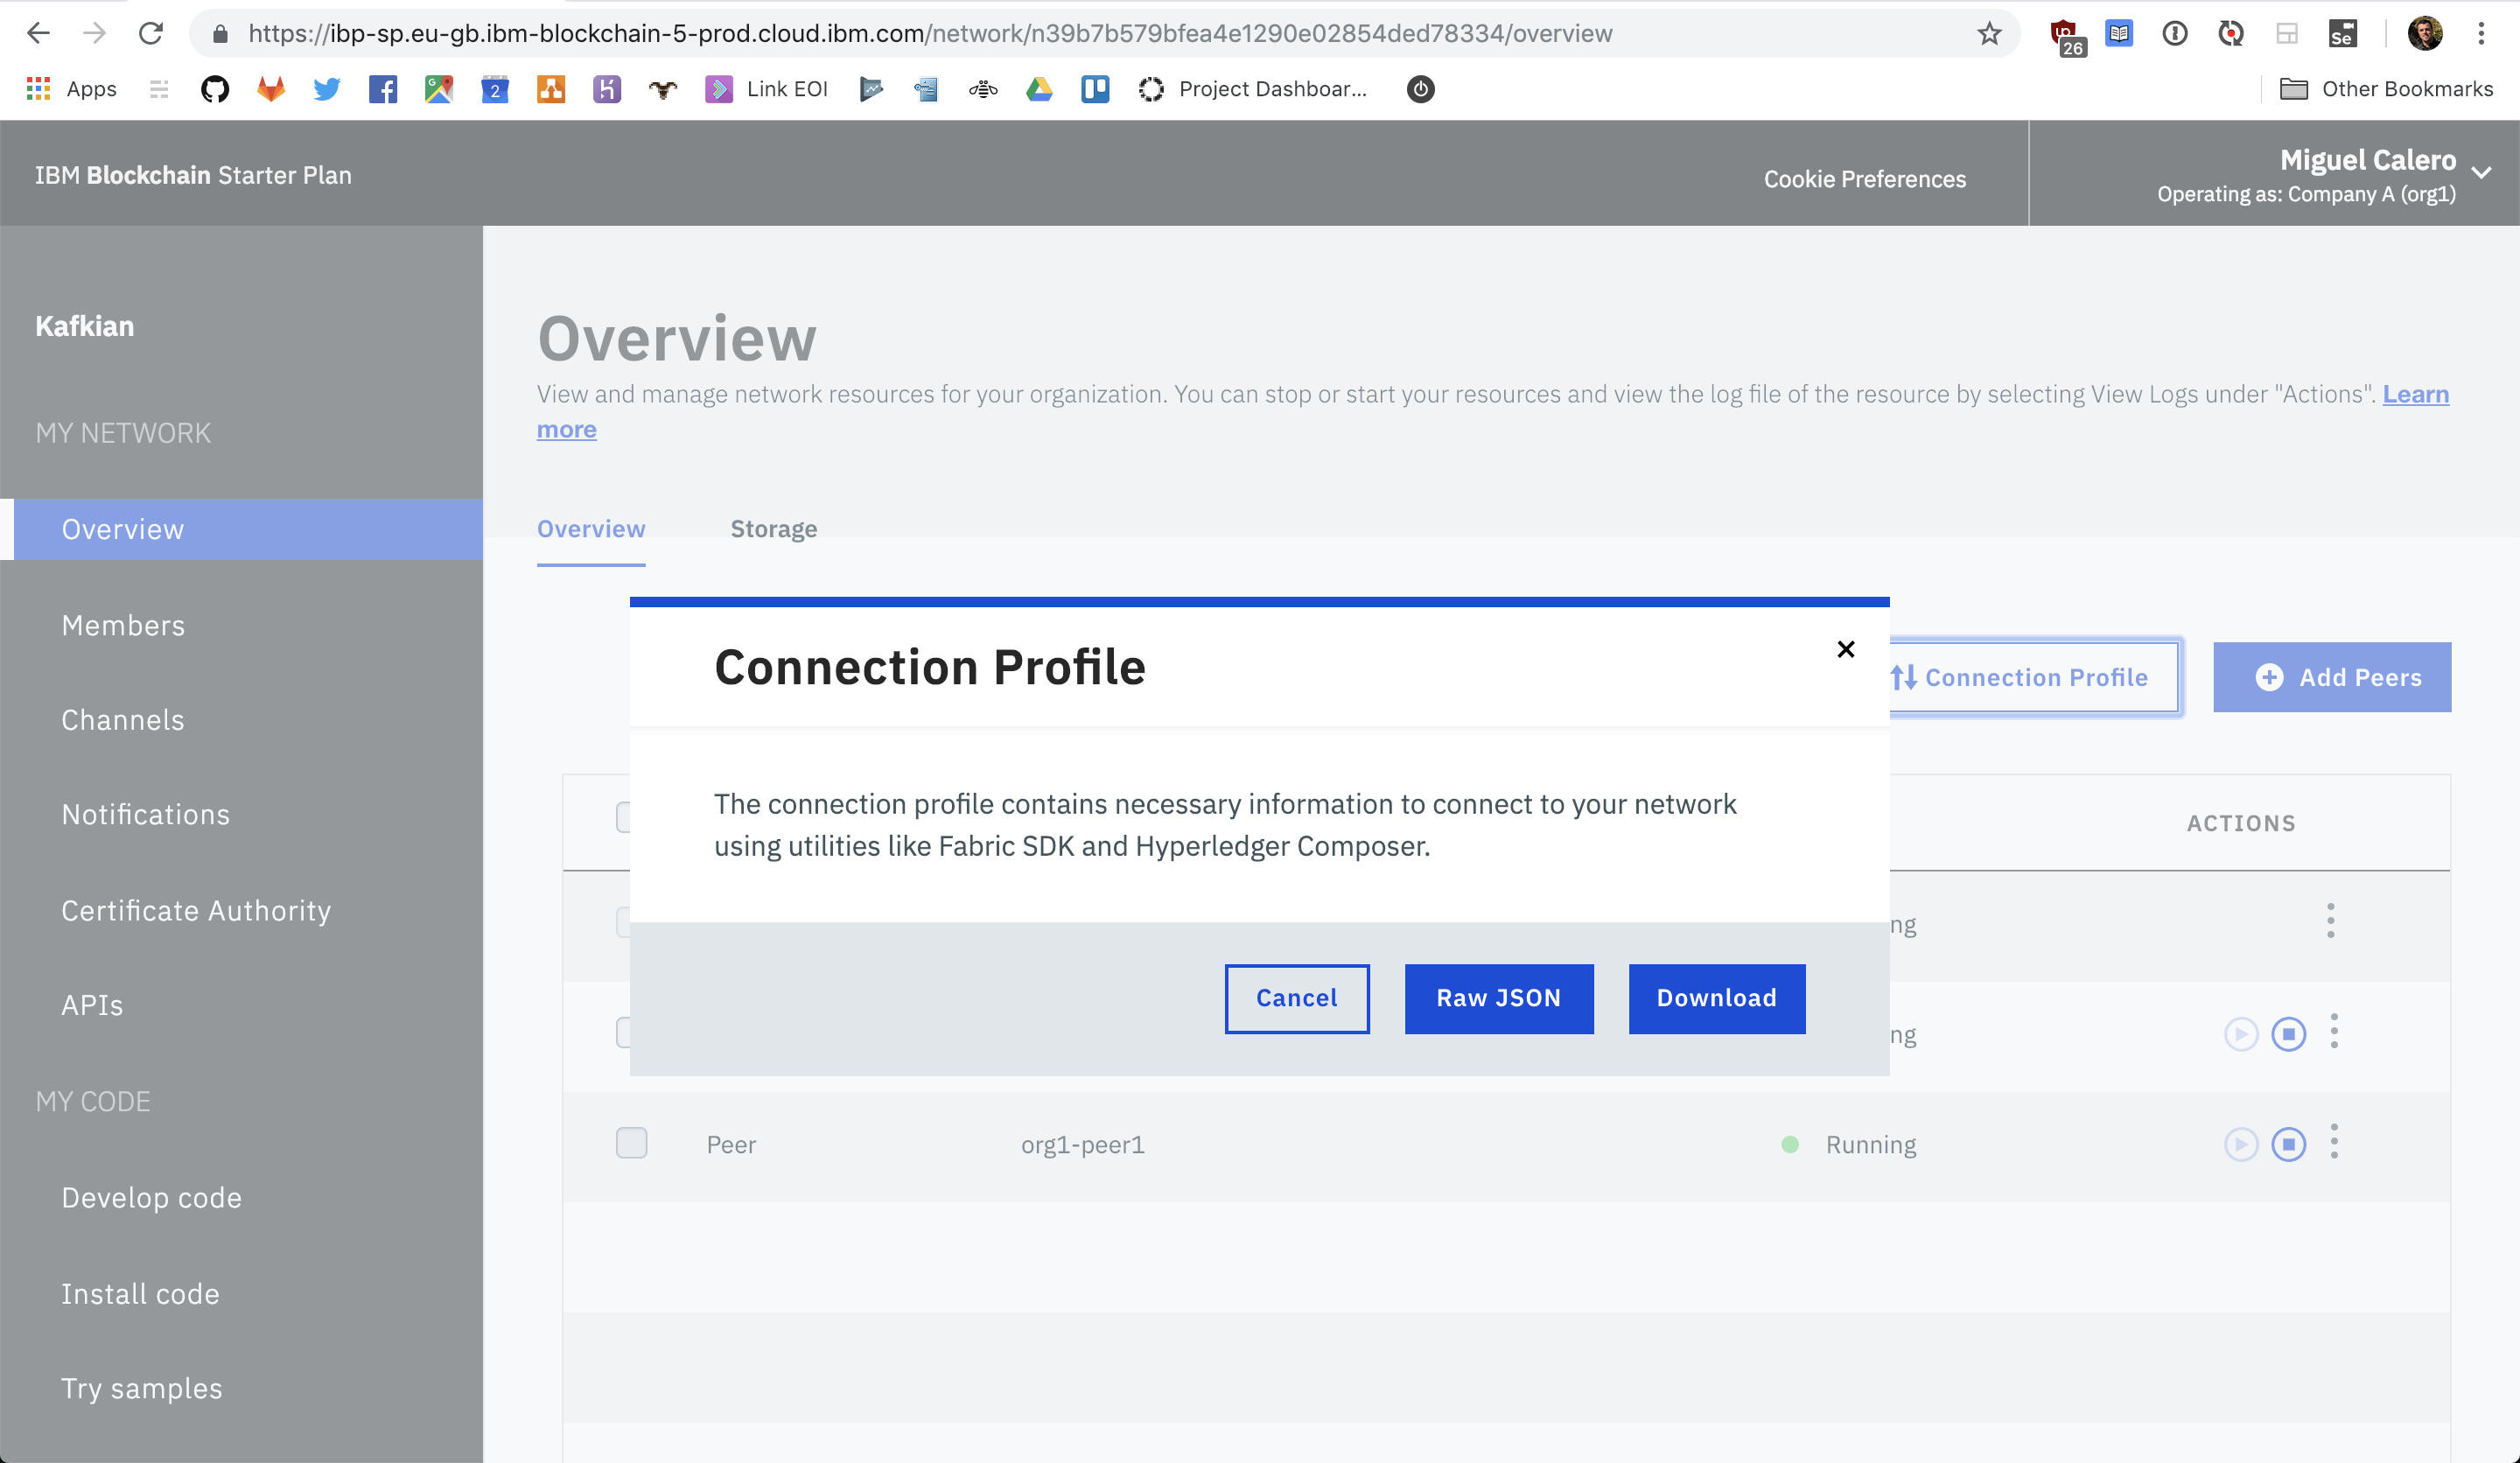
USER_USERNAME=user1 node enrollUser.jsCONNECTION_PATH is a file we can get when we instantiate for the first time a smart contract on IBM Blockchain platform, so if this happened you can check if it's on 1password under the project vault.
ADMIN_USERNAME is the admin wallet in charge of this channel, this we also need to get from IBM Blockchain.
USER_USERNAME is the user we want to enroll for this app locally, his/her credentials will be stored in the wallet local folder.
- If
enrollUseris executed without problems, lets create the json that will contain all users info and its certificates. Create a new json, for examplecerts.jsonThis will consist in a composition of the generated users and certificates for the client. Go towalletdirectory and merge merge all those files into a json. The json will consist in:
[
  {
    "name": "admin",
    "mspid": "Org1MSP",
    "roles": null,
    "affiliation": "",
    "enrollmentSecret": "",
    "enrollment": {
      "signingIdentity": "0cf19acace3478ba452ad21c3046e238a830b0690ac",
      "identity": {
        "certificate": "..."
      }
    },
    "keys": {
      "private": "Private key <signingIdentity-priv> file content",
      "public": "Public key <signingIdentity-pub> file content"
    }
  },
  {
    "name": "user1",
    "mspid": "Org1MSP",
    "roles": null,
    "affiliation": "",
    "enrollmentSecret": "",
    "enrollment": {
      "signingIdentity": "9b7fc81cd01bcb15d4ab61368c82f14fa0107ae71",
      "identity": {
        "certificate": "..."
      }
    },
    "keys": {
      "private": "Private key <signingIdentity-priv> file content",
      "public": "Public key <signingIdentity-pub> file content"
    }
  },
  {
    "name": "user2",
    "mspid": "org1",
    "roles": null,
    "affiliation": "",
    "enrollmentSecret": "",
    "enrollment": {
      "signingIdentity": "2e33bc2c84fb78ce987488d7773b22b79ae55e2453",
      "identity": {
        "certificate": ""
      }
    },
    "keys": {
      "private": "Private key <signingIdentity-priv> file content",
      "public": "Public key <signingIdentity-pub> file content"
    }
  }
]- We can test the configuration locally using
invokeandquery
CONNECTION_JSON_PATH=../connection.json WALLET_PATH=wallet USER_USERNAME=user1 node invoke.js
CONNECTION_JSON_PATH=../connection.json WALLET_PATH=wallet USER_USERNAME=user1 node query.js
To run the server locally we need:
APP_TOKEN=token CONNECTION_JSON_PATH=../connection.json WALLET_PATH=wallet USER_USERNAME=user1 USER_USERNAME=user1 node server.jsOnce the json is created, add it to Heroku project as FABRIC_CERTS envvar.
Let's Blockchain! Hiii Yaaa!