This code along is a small introduction on p5.play. p5.play is a p5.js library for the creation of games and playthings.
Lets create a simple parking lot with p5.js and p5.play.
This code along will help you to:
- Learn what is a sprite image and how to load them into your game.
- Learn how to detect collision between different sprite image.
- Implementing p5 sound and p5 dom addon library into the small game.
To start coding along with the lab. Head over to this repository to get a boiler plate which comes with all the addon libraries for p5.js.
Let's start with structuring our folder.
|-assets
|-js
|-p5
index.html
README.md
The p5 folder contains all javascripts for the p5 library as well as the addon libraries like p5.play and p5.sound.
The js folder is the folder where we will be working on.
We start by creating a main.js file inside the js folder. In this file, the main function from p5 library will be called.
// main.js

function setup() {
  createCanvas(WIDTH, HEIGHT);
}

function draw() {
background(0)
}
Now we will create a new file const.js inside our js folder that will store all our constant variable in the project.
// const.js

const WIDTH = 800
const HEIGHT = 800
Don't forget to link all your javascript file in your index.html.
Inside the js folder, create a Game.js where we will declare our Game class.
This Game class will be the main class that will create object instance from all the other classes we need later on.
For the moment let's just keep it simple.
class Game {
  constructor() {
  }

  setup() {
  }

  draw() {
  }
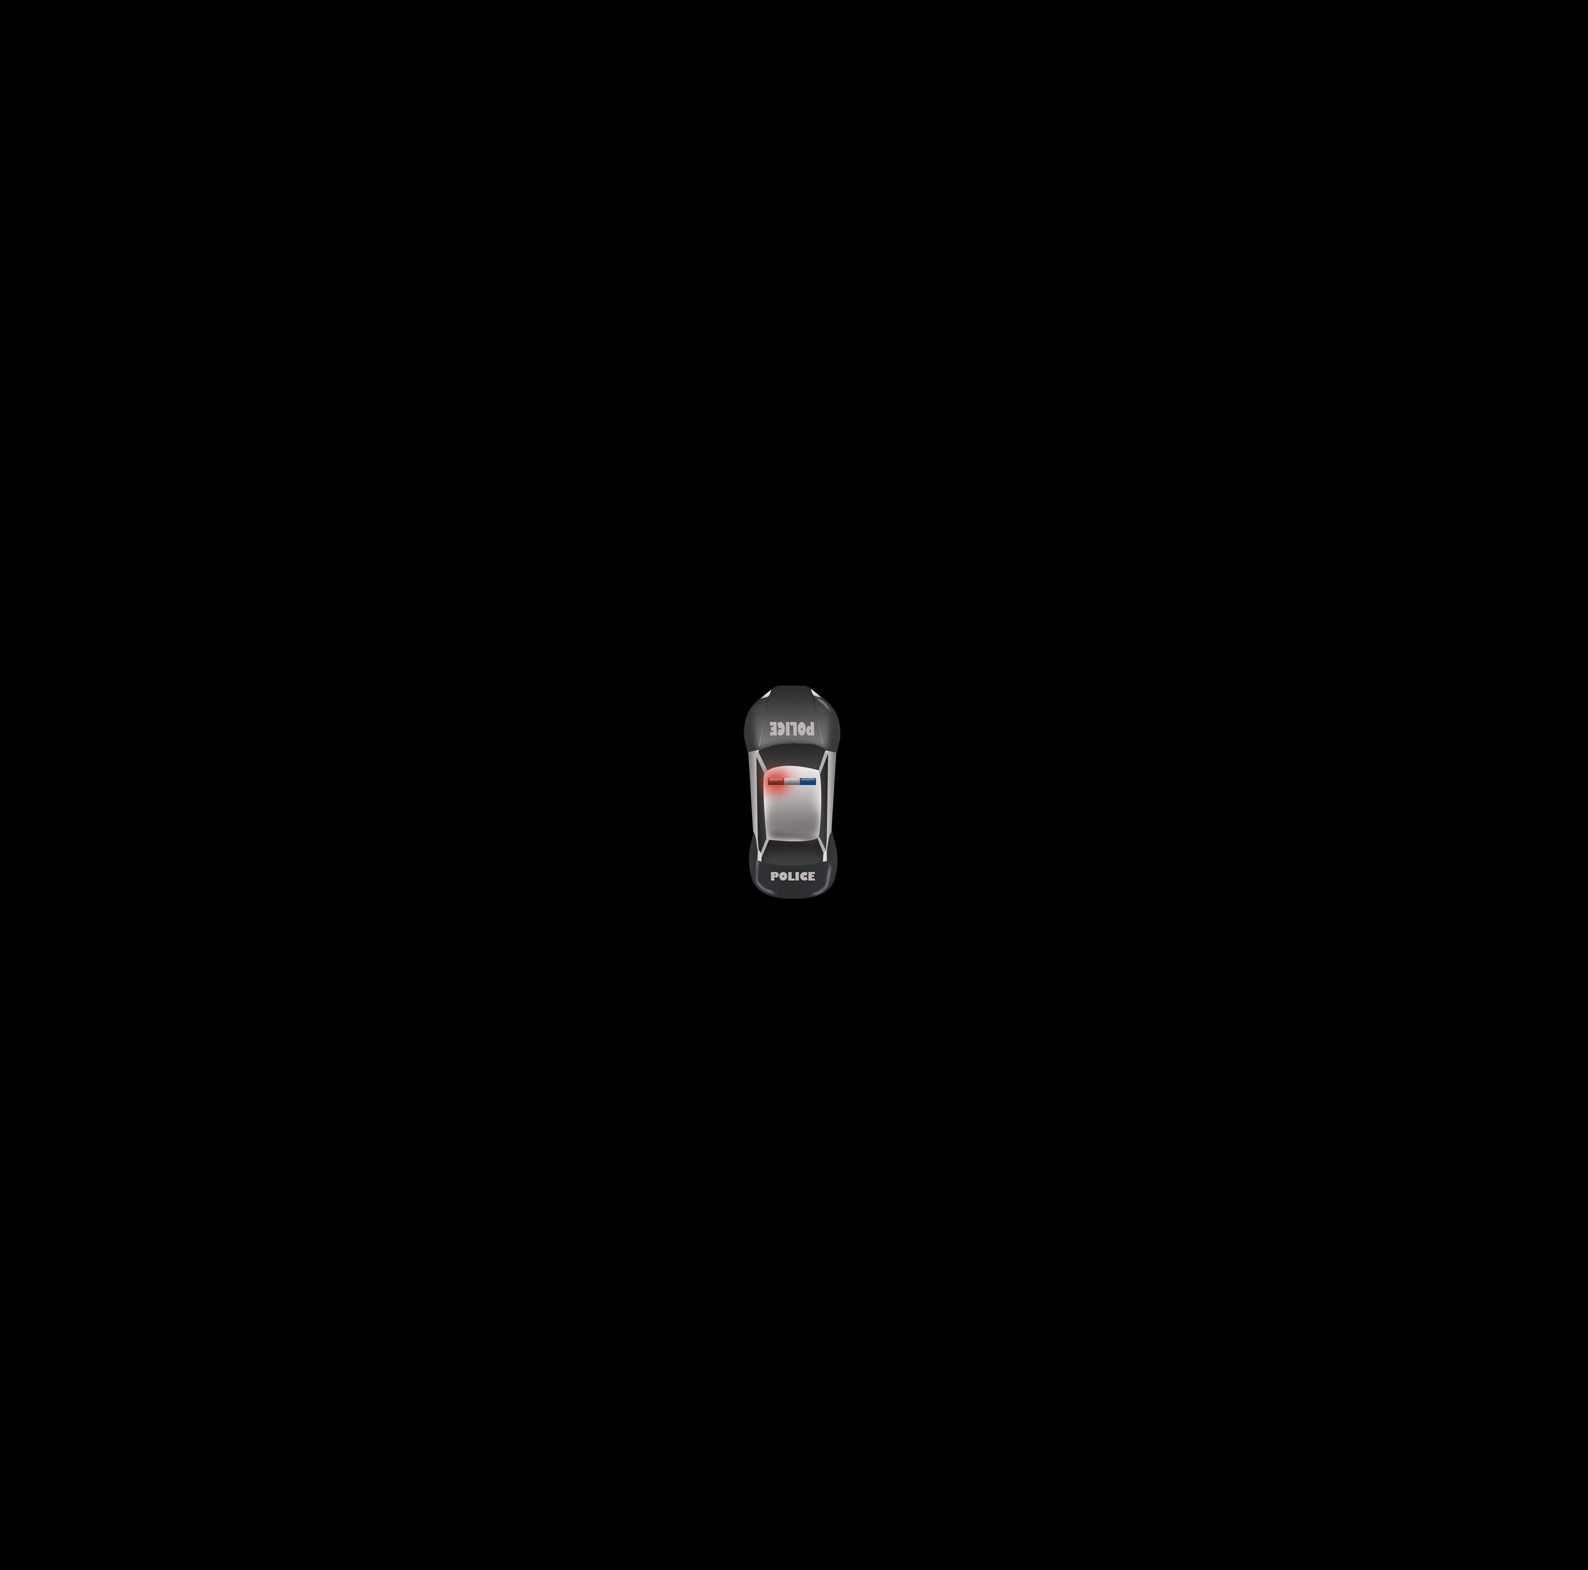
}Let's create a new file Player.js inside our js folder. In this file we will be declaring our Player class, which will be a police car where we can move around with. The player will be a sprite image created using the p5.play library.
An image sprite is a collection of images put into a single image. However, it is also possible to use multiple image to create a sprite sheet. In our example today, we will be using a sprite sheet that is created from 3 images.
In order to increase the performance of our game, it is always a good idea to first preload all the assets like the images and audio files that we will be using in our project.
p5 offers a good way to preload our assets where we can simply call the preload function predefined by the p5 library.
Since this file might get bigger later on as we have more and more assets, let's create a new file preload.js inside our js folder where we handle all our preload.
// preload.js

// the variable are declared globally so they can be accessed by the classes that needed them.

let playerAnimation;

function preload() {
  playerAnimation = loadAnimation(
    "../assets/Topdown_vehicle_sprites_pack/Police_animation/1.png",
    "../assets/Topdown_vehicle_sprites_pack/Police_animation/2.png",
    "../assets/Topdown_vehicle_sprites_pack/Police_animation/3.png"
  );
}
And our Player class will like this:
class Player {
  constructor(x, y) {
    this.x = x;
    this.y = y;
    this.velocity = 3;
  }

  setup() {
    this.sprite = createSprite(this.x, this.y, 30, 30);
    this.sprite.addAnimation("drive", playerAnimation);
    this.sprite.scale = 0.5;
  }
  }
The createSprite(x, y, width, height) function from p5.play will take in 4 parameter. Attention, the width and height here is not the width and height of the loaded sprite image. It is the width and height of the placeholder rectangle if an image is not provided. For more infomation, look into the official documentation of p5.play here.
We can now create an instance of the Player object with the constructor inside the Game class like this:
// Game.js

class Game {
  constructor() {
    this.player = new Player(WIDTH / 2, HEIGHT / 2);
  }

  setup() {
    this.player.setup();
  }

  draw() {

  }
}
Lastly, all we need to do now is to call the drawSprite function which draws all the sprites in the sketch if no parameter is given.
// main.js

function setup() {
  createCanvas(800, 800);
}

function draw() {
background(0)
drawSprite()
}
And now, you should be able to see your first sprite image on the canvas!
Now that we have a new car, let's try to move it around. The this.x and this.y defined inside the constructor are only used to intialized the position of the car. If we want to move it around, we have to modify the position of the sprite instead.
We can do that by changing the this.sprite.position.x and this.sprite.position.y of the object.
Our Player class will look like this at the end:
class Player {
  constructor(x, y) {
    this.x = x;
    this.y = y;
    this.velocity = 3;
  }

  setup() {
    this.sprite = createSprite(this.x, this.y, 30, 30);
    this.sprite.addAnimation("drive", playerAnimation);
    this.sprite.scale = 0.5;
  }

  draw() {
    this.keyIsDown();
  }

  keyIsDown() {
    if (keyIsDown(37)) {
      this.sprite.rotation -= 3;
    }
    if (keyIsDown(39)) {
      this.sprite.rotation += 3;
    }
    if (keyIsDown(38)) {
      this.sprite.position.x += sin(this.sprite.rotation) * this.velocity;
      this.sprite.position.y -= cos(this.sprite.rotation) * this.velocity;
    }
  }
}
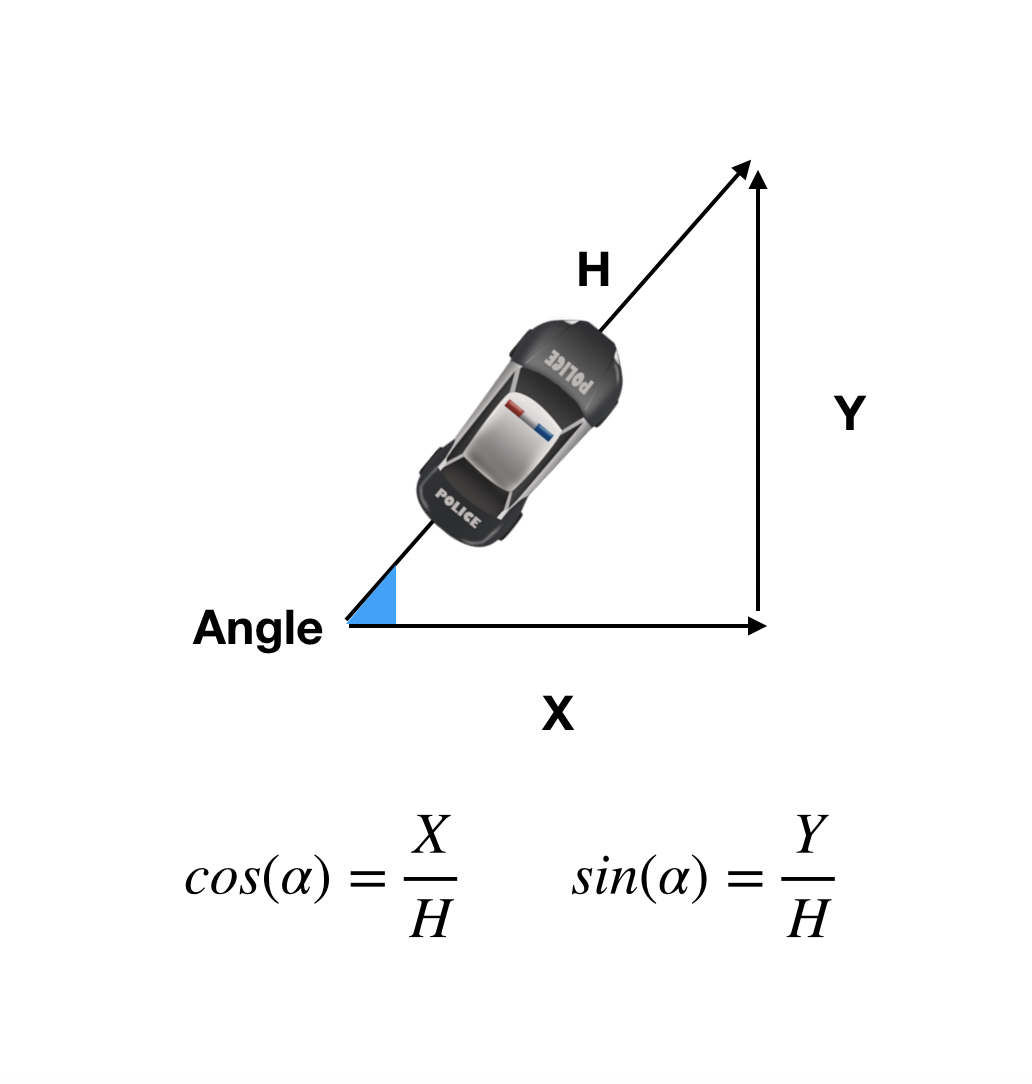
this.sprite.rotation controls the angle of the sprite image. The tricky part here is trying to move the car in the direction we are facing.
Take a look at the simple diagram below:
Whenever we are moving in a direction, we need to translate the movement into the displacement of the x and y axis. The y axis is negative as the (0,0) position of the canvas is on the top left and not bottom left.

