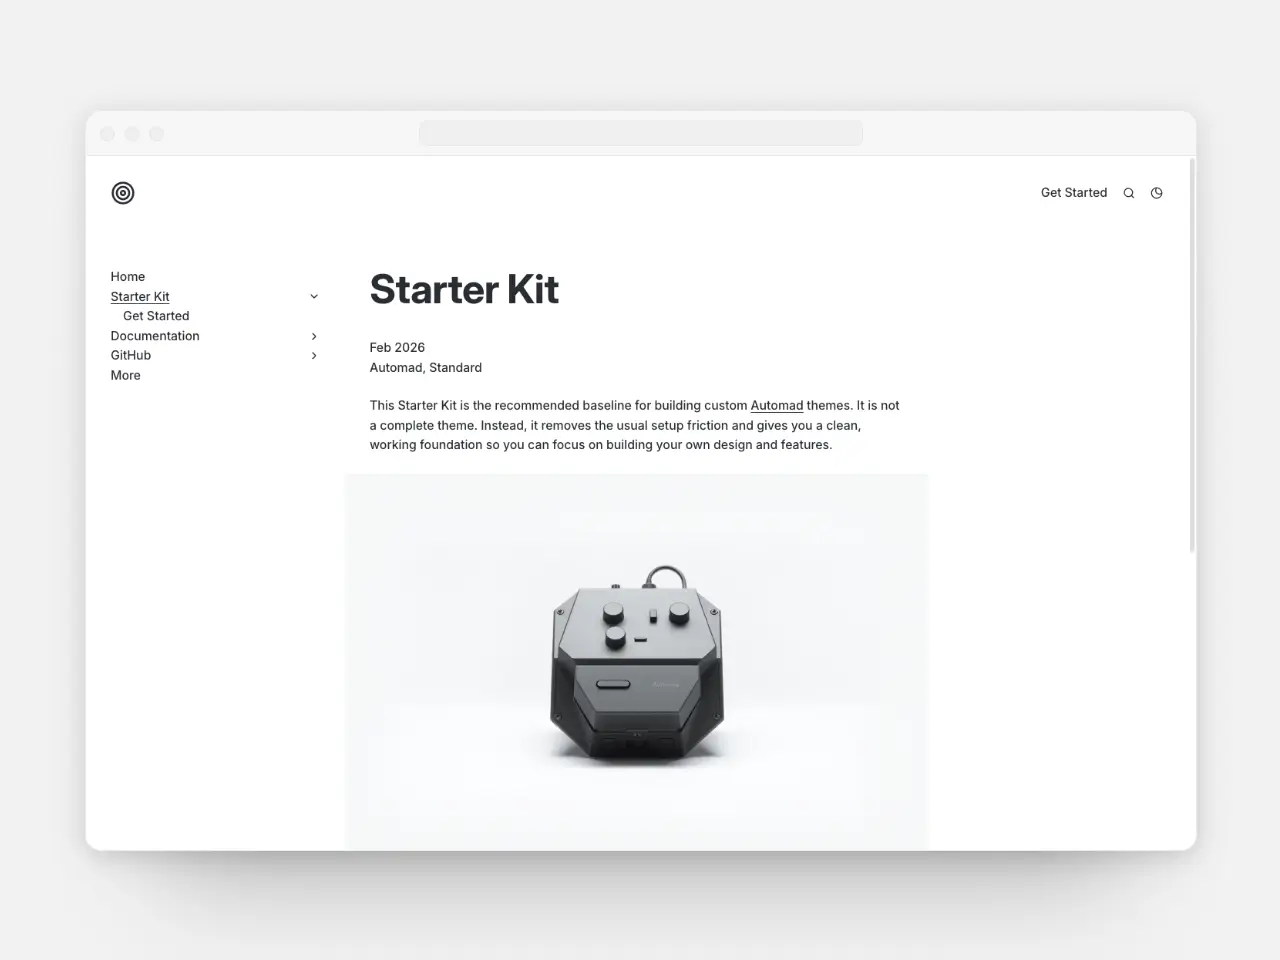
This Starter Kit is the recommended baseline for building custom Automad themes. It is not a complete theme. Instead, it removes the usual setup friction and gives you a clean, working foundation so you can focus on building your own design and features.
The repository is provided as a GitHub template and ships with a fully working build setup based on esbuild — chosen for its speed and simplicity — with integrated TypeScript support and LESS-based styling. Everything works out of the box with zero configuration required. All source files are thoroughly documented to make the codebase easy to understand and to help you get up to speed quickly with Automad theme development.
Included out of the box:
- Preconfigured esbuild setup (TypeScript + LESS)
- Minimal and basic styling
- Collapsible tree-based sidebar navigation
- Pagelist component with image previews
- Two templates — a default page and a pagelist page
- Type-ahead search dialog
- Light/dark mode switcher
Treat this as a sensible starting point, not a framework — remove what you don’t need and extend what you do.
Follow these steps to get your development environment up and running.
Automad templates use their own syntax, so it's recommended to install an Automad plugin for your preferred editor. The following editors are officially supported:
For all VS Code forks, such as Cursor, you can install the VS Code package manually.
In case you are using Neovim, check out this blog post for additional features when developing for Automad.
Make sure you have the following installed:
- PHP
- Node.js
- A working Automad installation
-
Click the Use this template button in the top right corner of this repository on GitHub and create your new theme repository.
-
Clone your new repository into your Automad packages directory.
-
Start a local web server, if you don’t already have one running:
php -S localhost:8000
-
Configure the development environment: Copy
.env.exampleto.envand adjust the settings to match your local setup (use the same port as above). -
Install dependencies:
npm install
-
Start esbuild:
npm run dev
Automad will open automatically in your default browser, and the build system will watch for changes. Inside Automad create a new page and apply one of the included templates.
Note
You also want to update the package name and info inside the composer.json and theme.json files in order to be able to make your theme installable.
The following diagram shows the main structure of the Starter Kit and how the source files are organized.
my-theme/
├─ dist/                # Production build output (generated by `npm run build`)
├─ client/              # Frontend source files
│  ├─ styles/           # Styles (LESS files)
│  │  └─ index.less     # Styles entry point
│  └─ index.ts          # TypeScript entry point
│  components/          # Automad template components
│  i18n/                # UI translations
│  └─ de.json           # German translation file
│  icons/               # SVG icon files
│  lib/                 # A lib directory for utilities
│  └─ functions.php     # Example helper functions
├─ .env                 # Development environment config
├─ composer.json        # Composer file, this needs to be updated
├─ default.php          # PHP files on the root level are considered templates
└─ theme.json # The theme configuration and meta data file,In order to make the new theme really yours, don't forget to take closer look at the composer.json and theme.json files and update fields such as name, description, author and license.
The theme.json contains all theme settings that related to the Automad dashboard. It is tightly coupled to the theme you are creating and serves as the metadata for the variables used in your templates.
{
  "name": "Starter Kit",// The name of your theme
  "description": "...",
  "author": "Your Name",
  "license": "MIT",
  "masks": {
    "page": [],         // Fields you want to hide in page settings
    "shared": ["+main"] // Fields you want to hide in global settings
  },
  "fieldOrder": [       // The order of fields in the dahsboard
    "selectColorTheme", // Field that are not listed appear at the end
    "selectPageDateFormat",
    "brand",
    ...
  ],
  "labels": {           // Alternative labels for each field
    "brand": "Brand logo (SVG, HTML or text)",
    "selectPagelistSort": "Pagelist: Sorting",
    "selectPagelistSubset": "Pagelist: Type of pagelist subset"
  },
  "options": {          // Option sets for variables with a "select*" prefix
    "selectColorTheme": {
      "switcher": "Show theme switcher, visitor can select theme",
      "light": "Light theme",
      "dark": "Dark theme"
    },
    "selectPageDateFormat": {
      "M Y": "Month and Year",
      "Y": "Year only",
      "j. M Y": "Long"
    },
    ...
  },
  "tooltips": {         // Optional tooltips for fields
    "+main": "The main content block area",
    "+footer": "A custom footer section that can also be defined globally"
  }
}All .json files that are located in the i18n/ directory contain translations for labels and options that are displayed in the Automad dashboard. If a file name matches the UI language of the dashboard, those translations are preferred. If a field or the entire language file can't be found for the current language, the values inside theme.json are used as fallback.
When you are ready to prepare your theme for distribution:
npm run buildThis will generate a minified, production-ready build in the dist folder. You can then deploy these assets to your Automad theme directory or commit them to your repository.
Deploying your new theme to a production environment or a client’s server is straightforward. You basically have two options:
You can use rsync over SSH to copy the theme into the packages directory of the remote Automad installation. This approach can also be integrated into a GitHub workflow, allowing automatic deployment whenever you push to a specific branch.
Alternatively you can also install the repository via the Automad dashboard under Packages > Private Repositories. In order to add a package, follow these steps:
- Push your package repository to a private (or public) repository on GitHub or GitLab
- Create token with only reading permission to the GitHub or GitLab API
- Authenticate to the API under Packages > Private Repositories > Authentication
- Click the Add Package button on the same page and provide the required details
This method is particularly useful if you want to manage theme updates through the dashboard.
© 2026 Marc Anton Dahmen
Released under the MIT license