Node Telnet Chat server written in Typescript
Project was developed with Node v16.15; I can't make any guarantees for older versions.
To build, run
npm run build
and then you can run it with
npm run start.
There is a default .env file you can edit if you want to change the log file location or port number. Default port is 2300.
The only runtime dependency is dotenv.
To connect to your locally running instance, run telnet localhost 2300 (or different port if you've modified .env).
If you don't want to bother running it locally, you can join my hosted version with telnet 34.68.124.40 2300.
Once you connect, you should be greeted with the welcome screen and a prompt to login
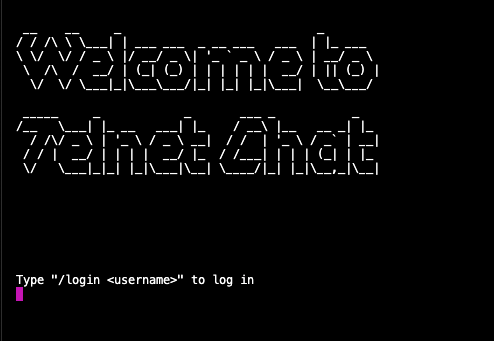
Type /login and any name to continue. You will be welcomed to the chat and invited to use /help for a list of commands.
You can list the available channels with /channels (there are some sample ones included). To join one, type
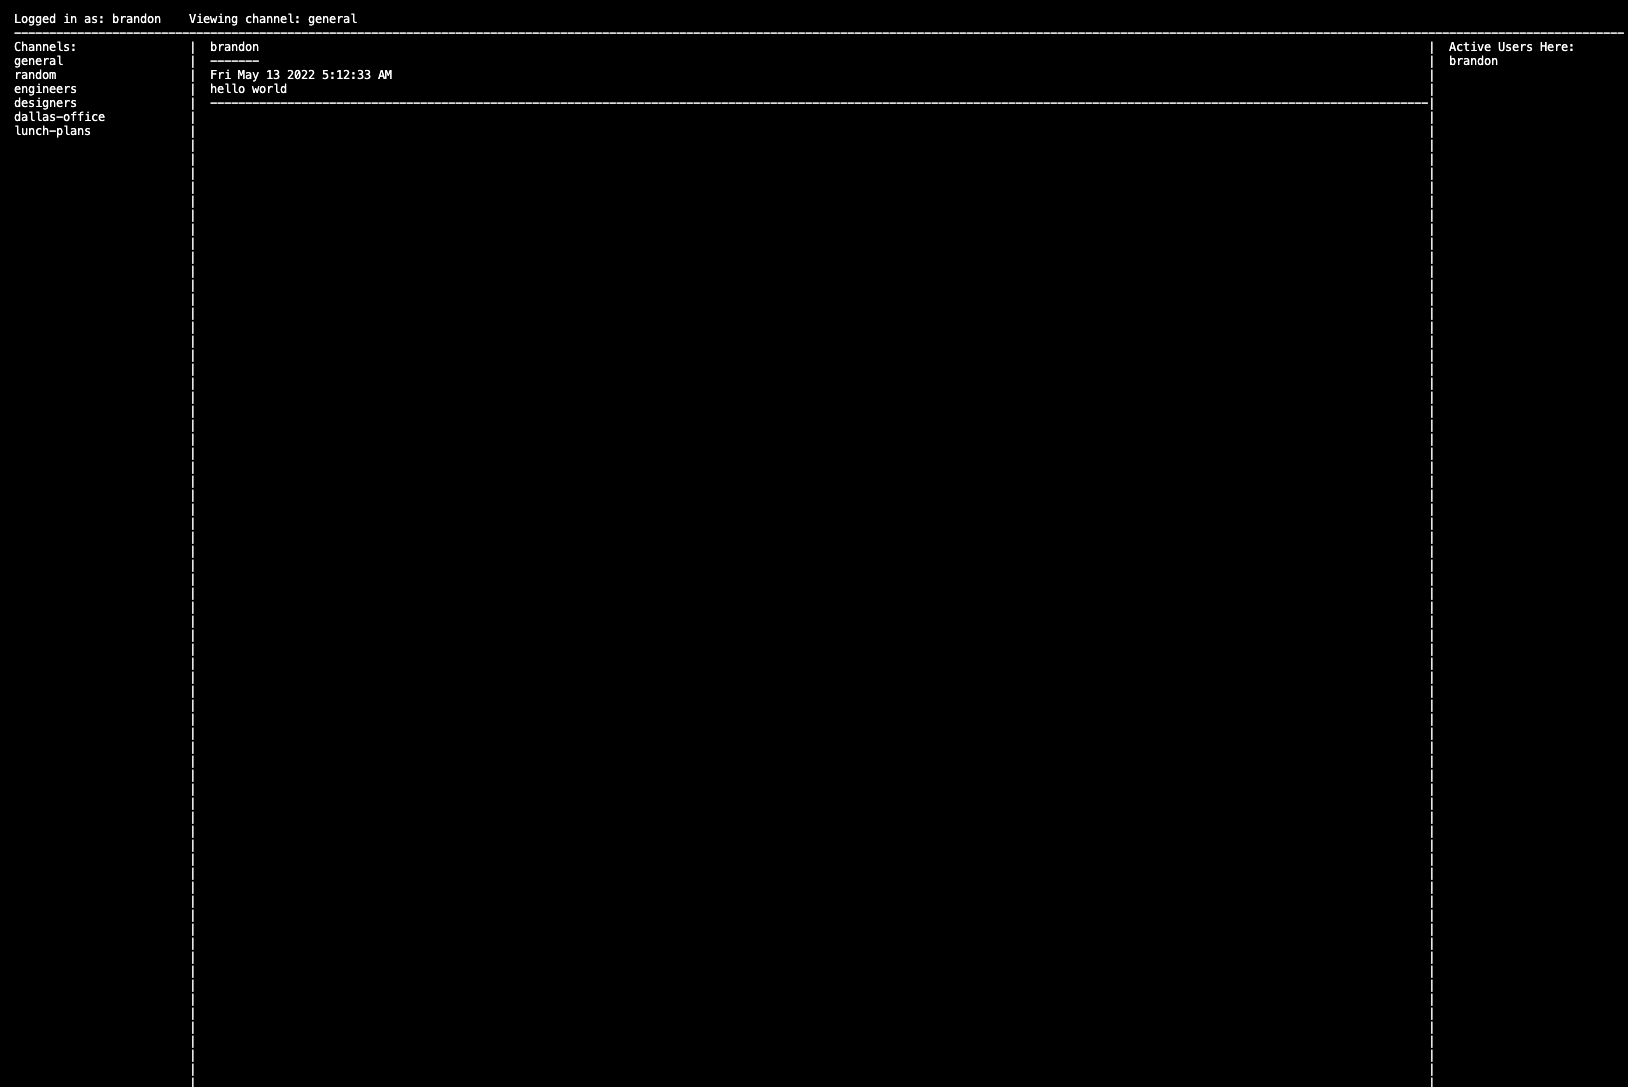
/join <channel name>. If the channel name you type doesn't exist, one will be created for you. Once you've joined a channel,
you should see a full screen chat somewhat similar to Slack. The top will tell you your username and what channel you're in.
The left sidebar will list the available channels you can join and the right sidebar will list the users actively using
that channel. Message history will be in the center. You can begin sending messages here.
As others join with different telnet sessions, the following things should update live on the chat screen
- available channels
- active users in the channel
- messages sent in the channel
- name changes for you or other users
The code consists of a handful of classes (Channel, Client, Message, Logger, Canvas, and Store). Message, Channel, and Store are pretty simple. Channel and Store both have EventEmitters so our Clients can respond to relevant updates.
A simple logger that appends JSON logs to a log file. It has 4 levels (debug, info, warn, and error). A Logger is instantiated with a default context,
which are properties that will be added to every log. At the root level, this would be things like the application name and deployment environment.
At a more granular level, each Client instantiates a logger with its client id attached to it. There are also methods for modifying the default context.
This allows for information to be added onto the logger for all future logs to include (for example, adding the name of the channel a user is in
so all logs will contain that information). There is also an extend method that is used to create a new Logger that inherits the original Logger's default context.
Most of the magic is done in Client. A Client has its net socket, a uuid, a name, a UI Context, terminal window dimensions, and a Logger instance. When the socket is connected and the Client created, we clear the screen, navigate to home with the UI Context, instantiate a new logger containing the Client ID, hook up a couple (admittedly vague) listeners to the Client and Channel stores, and finally send a Telnet command asking the client for its window dimensions.
Changing the screen is handled with the navigate method, which just renders a screen depending on the new UI Context.
The sendData method is what's used for writing to the socket back to the client. It has the capabilities for colors and styles,
but I didn't end up using those because of the rendering approach I took.
takeTelnetCommands is for responding to telnet protocol messages from the client. The spec is pretty crazy and it can be difficult to follow the
sequence of commands. Luckily, we only care about the command about the client's window size, so that's all we handle.
sendTelnetCommand is, naturally, the inverse. We use it to request the window size.
Finally, we have our rendering functions. These take facts about the state and declaratively return the data to be sent back to the client.
They operate on the Canvas, my maybe cool but maybe awful creation. The Canvas takes the client's window dimensions and creates a grid of the same size.
The grid starts out as an array of arrays, representing rows of columns. Each row begins with just one element and enough spaces to fill the width of the
client. Once created, you can overwrite specific rows on the grid, or specific cells. The cells are created with splitLineIntoColumns. This
allows you to divvy up the space in a row between any number of columns.
This rendering functionality is mainly used for renderChannel, which gives us our main chat screen. It does some calculations on how many lines it
has available for different pieces of content, loops through the lines to split them up into the three columns on the screen (5 columns
if you count the borders), and fills them out with messages, users, channels, etc.
As data changes in the application, our server will re-render the Client's UI and send it back to them. I noticed that clearing the screen and immediately sending the data back with a small change almost never results in any visible flash on the client terminal, so I took advantage to render a declarative UI rather than just sending lines of text. Think of it as a very, very poor man's React.