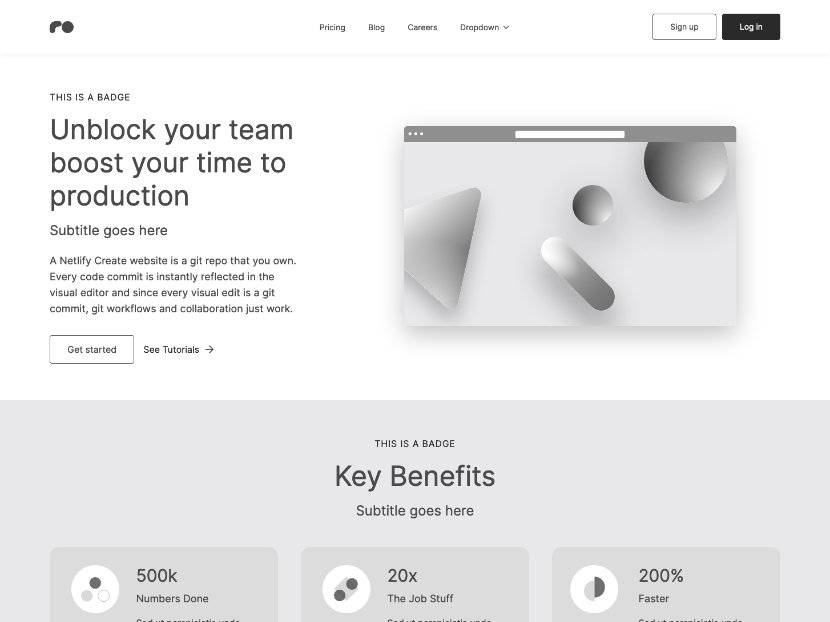
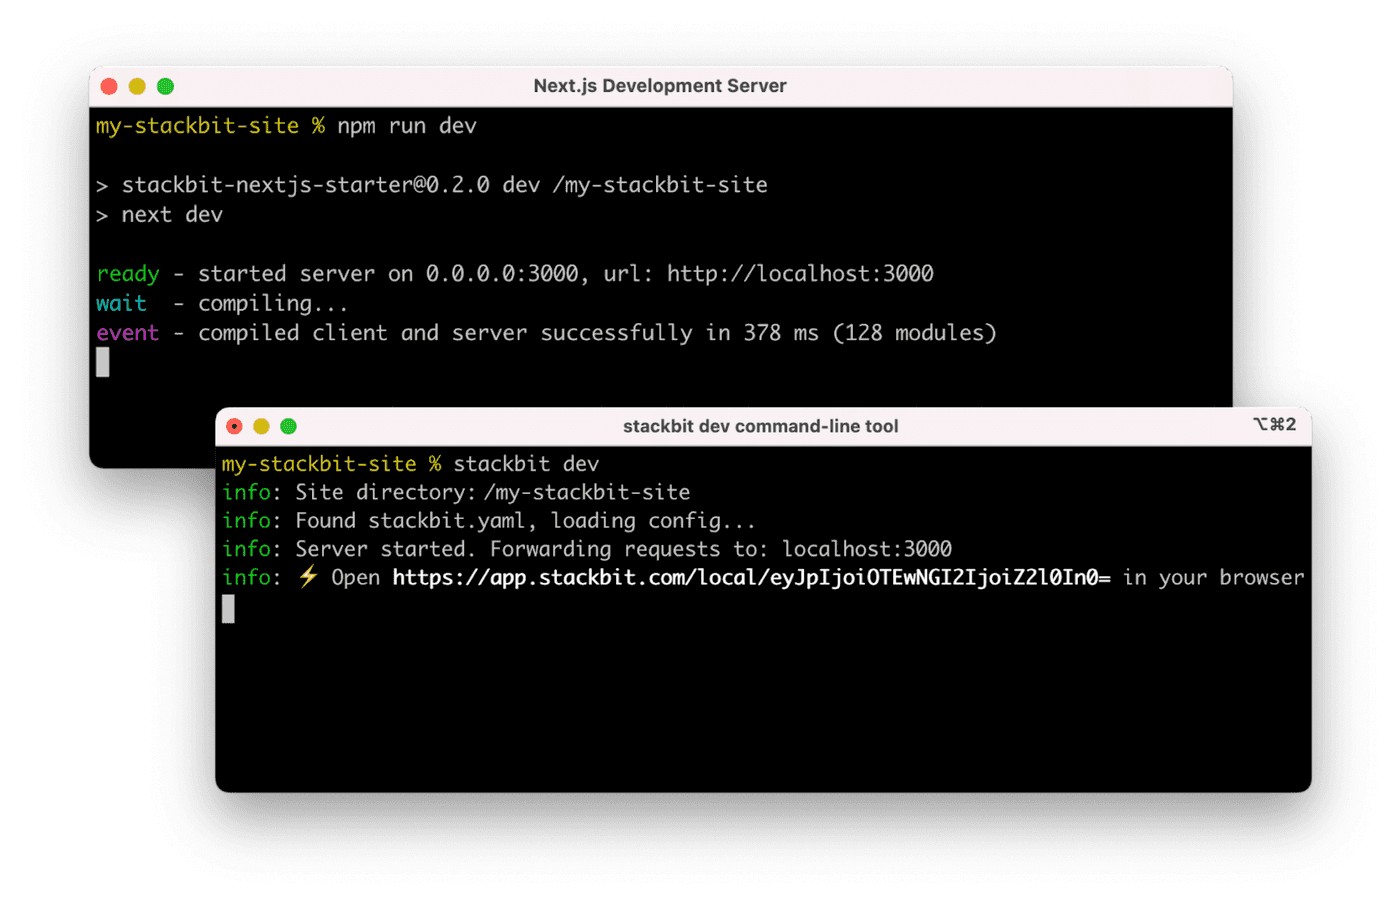
The public caragolfoundation.org website and source code.
The core way this template is different from the original is that it heavily uses .js
config files to configure data and content for its site.
Here are a few common config directories and what you will find there:
src/config/site/*
- Site configurationsrc/config/home/*
- Home page configurationfeatured-posts.js
- Featured blog posts on the home pagehero.js
- Hero component configuration on the home pagecontent.js
- Main content component configuration on the home page
src/config/components/*
- Component configurationannouncement.js
- Announcement component configuration on all pagesfooter.js
- Footer component configuration on all pagesheader.js
- Header component configuration on all pageslogo.js
- Logo (text) component configuration on all pages
Inside AstroWind template, you'll see the following folders and files:
/
βββ public/
β βββ robots.txt
β βββ favicon.ico
βββ src/
β βββ assets/
β β βββ images/
β β βββ styles/
β β βββ base.css
β βββ components/
β β βββ blog/
β β βββ common/
β β βββ widgets/
β β β βββ Header.astro
β β β βββ ...
β β βββ CustomStyles.astro
β β βββ Logo.astro
β βββ config/
β β βββ components/
| | | βββ announcement.js
| | | βββ call-to-action.js
β β β βββ ...
β β βββ home/
| | | βββ content.js
| | | βββ faqs.js
β β β βββ ...
β β βββ site/
β β β βββ blog.js
| | | βββ config.js
β β β βββ ...
β βββ content/
β β βββ post/
β β β βββ post-slug-1.md
β β β βββ post-slug-2.mdx
β β β βββ ...
β β β-- config.ts
β βββ layouts/
β β βββ BaseLayout.astro
β β βββ ...
β βββ pages/
β β βββ [...blog]/
β β β βββ [category]/
β β β βββ [tag]/
β β β βββ [...page].astro
β β β βββ index.astro
β β βββ index.astro
β β βββ about.md
β β βββ 404.astro
β β β-- rss.xml.ts
β β βββ ...
β βββ utils/
β βββ config.mjs
β βββ data.js
βββ package.json
βββ astro.config.mjs
βββ ...
Astro looks for .astro
or .md
files in the src/pages/
directory. Each page is exposed as a route based on its file name.
There's nothing special about src/components/
, but that's where we like to put any Astro/React/Vue/Svelte/Preact components.
Any static assets, like images, can be placed in the public/
directory if they do not require any transformation or in the assets/
directory if they are imported directly.
Brief documentation section around general website edits
Images for .md
files that are not blog posts are stored in the public/assets/
directory.
Images for .md|.mdx
blog posts, and other .astro
files are stored in the src/assets/images/
directory.
If you wish to create a new page, you have two options: advanced or simple.
Create a new .md
in the src/pages/
directory. This will create a new page with the same name as the file. For example, if you create a file called example.md
, you will have a page at /example
with the contents of example.md
.
If you want to link out to this page from a .astro
file, you can use the getPermalink
function like so:
<a href={getPermalink('/example')}>Example Page</a>
You can also link out to this page from .js
files where the getPermalink
function is available. For example, in the src/data.js
file:
href: getPermalink('/example');
If you want, you can also fully construct pages by using .astro
files. This is useful if you want to use Astro components or other advanced features.
You best place is the official Astro documentation
Blog posts are written in markdown and stored in the src/content/post
directory.
To create a new blog post, follow the general steps below:
-
Create a new markdown file (
<name>.md
) in thesrc/content/post
directory (ensure the filename is unique) -
Add a header section to your blog post with some details (example below)
--- publishDate: 2023-01-06T00:00:00Z title: Example Post 1 excerpt: Sint sit cillum pariatur eiusmod nulla pariatur ipsum. Sit laborum anim qui mollit tempor pariatur. image: ~/assets/images/colors.jpg tags: - project - blog - environment canonical: https://caragolfoundation.org/post-1 draft: false ---
This section is called "frontmatter" in Astro. You can read more about it here
-
Now that you have a header section, you can start writing your blog post in markdown!
-
When you are done, commit your changes and open a pull request
If you need help with formatting markdown, check out this guide for help
It should be noted that you you can use a more advanced version of markdown with .mdx
extensions. You can do all sorts of wild things with .mdx
and an example can be found here
All commands are run from the root of the project, from a terminal:
Command | Action |
---|---|
npm install |
Installs dependencies |
npm run dev |
Starts local dev server at localhost:3000 |
npm run build |
Build your production site to ./dist/ |
npm run preview |
Preview your build locally, before deploying |
npm run format |
Format codes with Prettier |
npm run lint:eslint |
Run Eslint |
npm run astro ... |
Run CLI commands like astro add , astro preview |
Here are some basic commands to get you up and running to develop with this template:
-
Install
npm
dependenciesnpm i
-
Start the development server
npm run dev
-
View your site at
localhost:3000
Live reload is enabled by default, so any changes you make will be reflected in the browser.
Deployment docs for GitHub Pages
When you push
changes to this repository, GitHub will automatically build and deploy your site through GitHub Actions + GitHub Pages.
This repository also comes bundled with the branch-deploy Action. Please ensure you view the branch-deploy.yml
file for reference.
The branch-deploy
Action will allow you to trigger branch deployments from pull requests by using comments such as .deploy
.
This templates also uses a custom GitHub Actions build cache to help speed things up in CI when processing images. If you make any changes to images when working on a project using this template, please ensure to run npm run build
before deploying to ensure your cache.json
file is updated.
This section goes into details on how you can make changes to the template.
Actual examples in the form of commits to this repository:
This theme is based off the template by onwidget