For this document, we provide complete example files in our Azure Pipelines Github Repository.
Azure Pipelines is a continuous integration tool that lets you automate your development process quickly, safely, and at scale. Through Azure Pipelines' integration with GitHub, GitHub Enterprise, Azure Repos Git & TFVC, Bitbucket Cloud, and Subversion, every time you commit code, a build is created and automatically run in a clean container or virtual machine, allowing you to test every commit.
In this guide we will use Azure Pipelines with Github for testing using the Selenium Webdriver and the Python programming language.
1. Sign into your Azure DevOps organization or follow the detailed guide here to create a new one.
2. Install the CBT for Azure DevOps extension for your organization
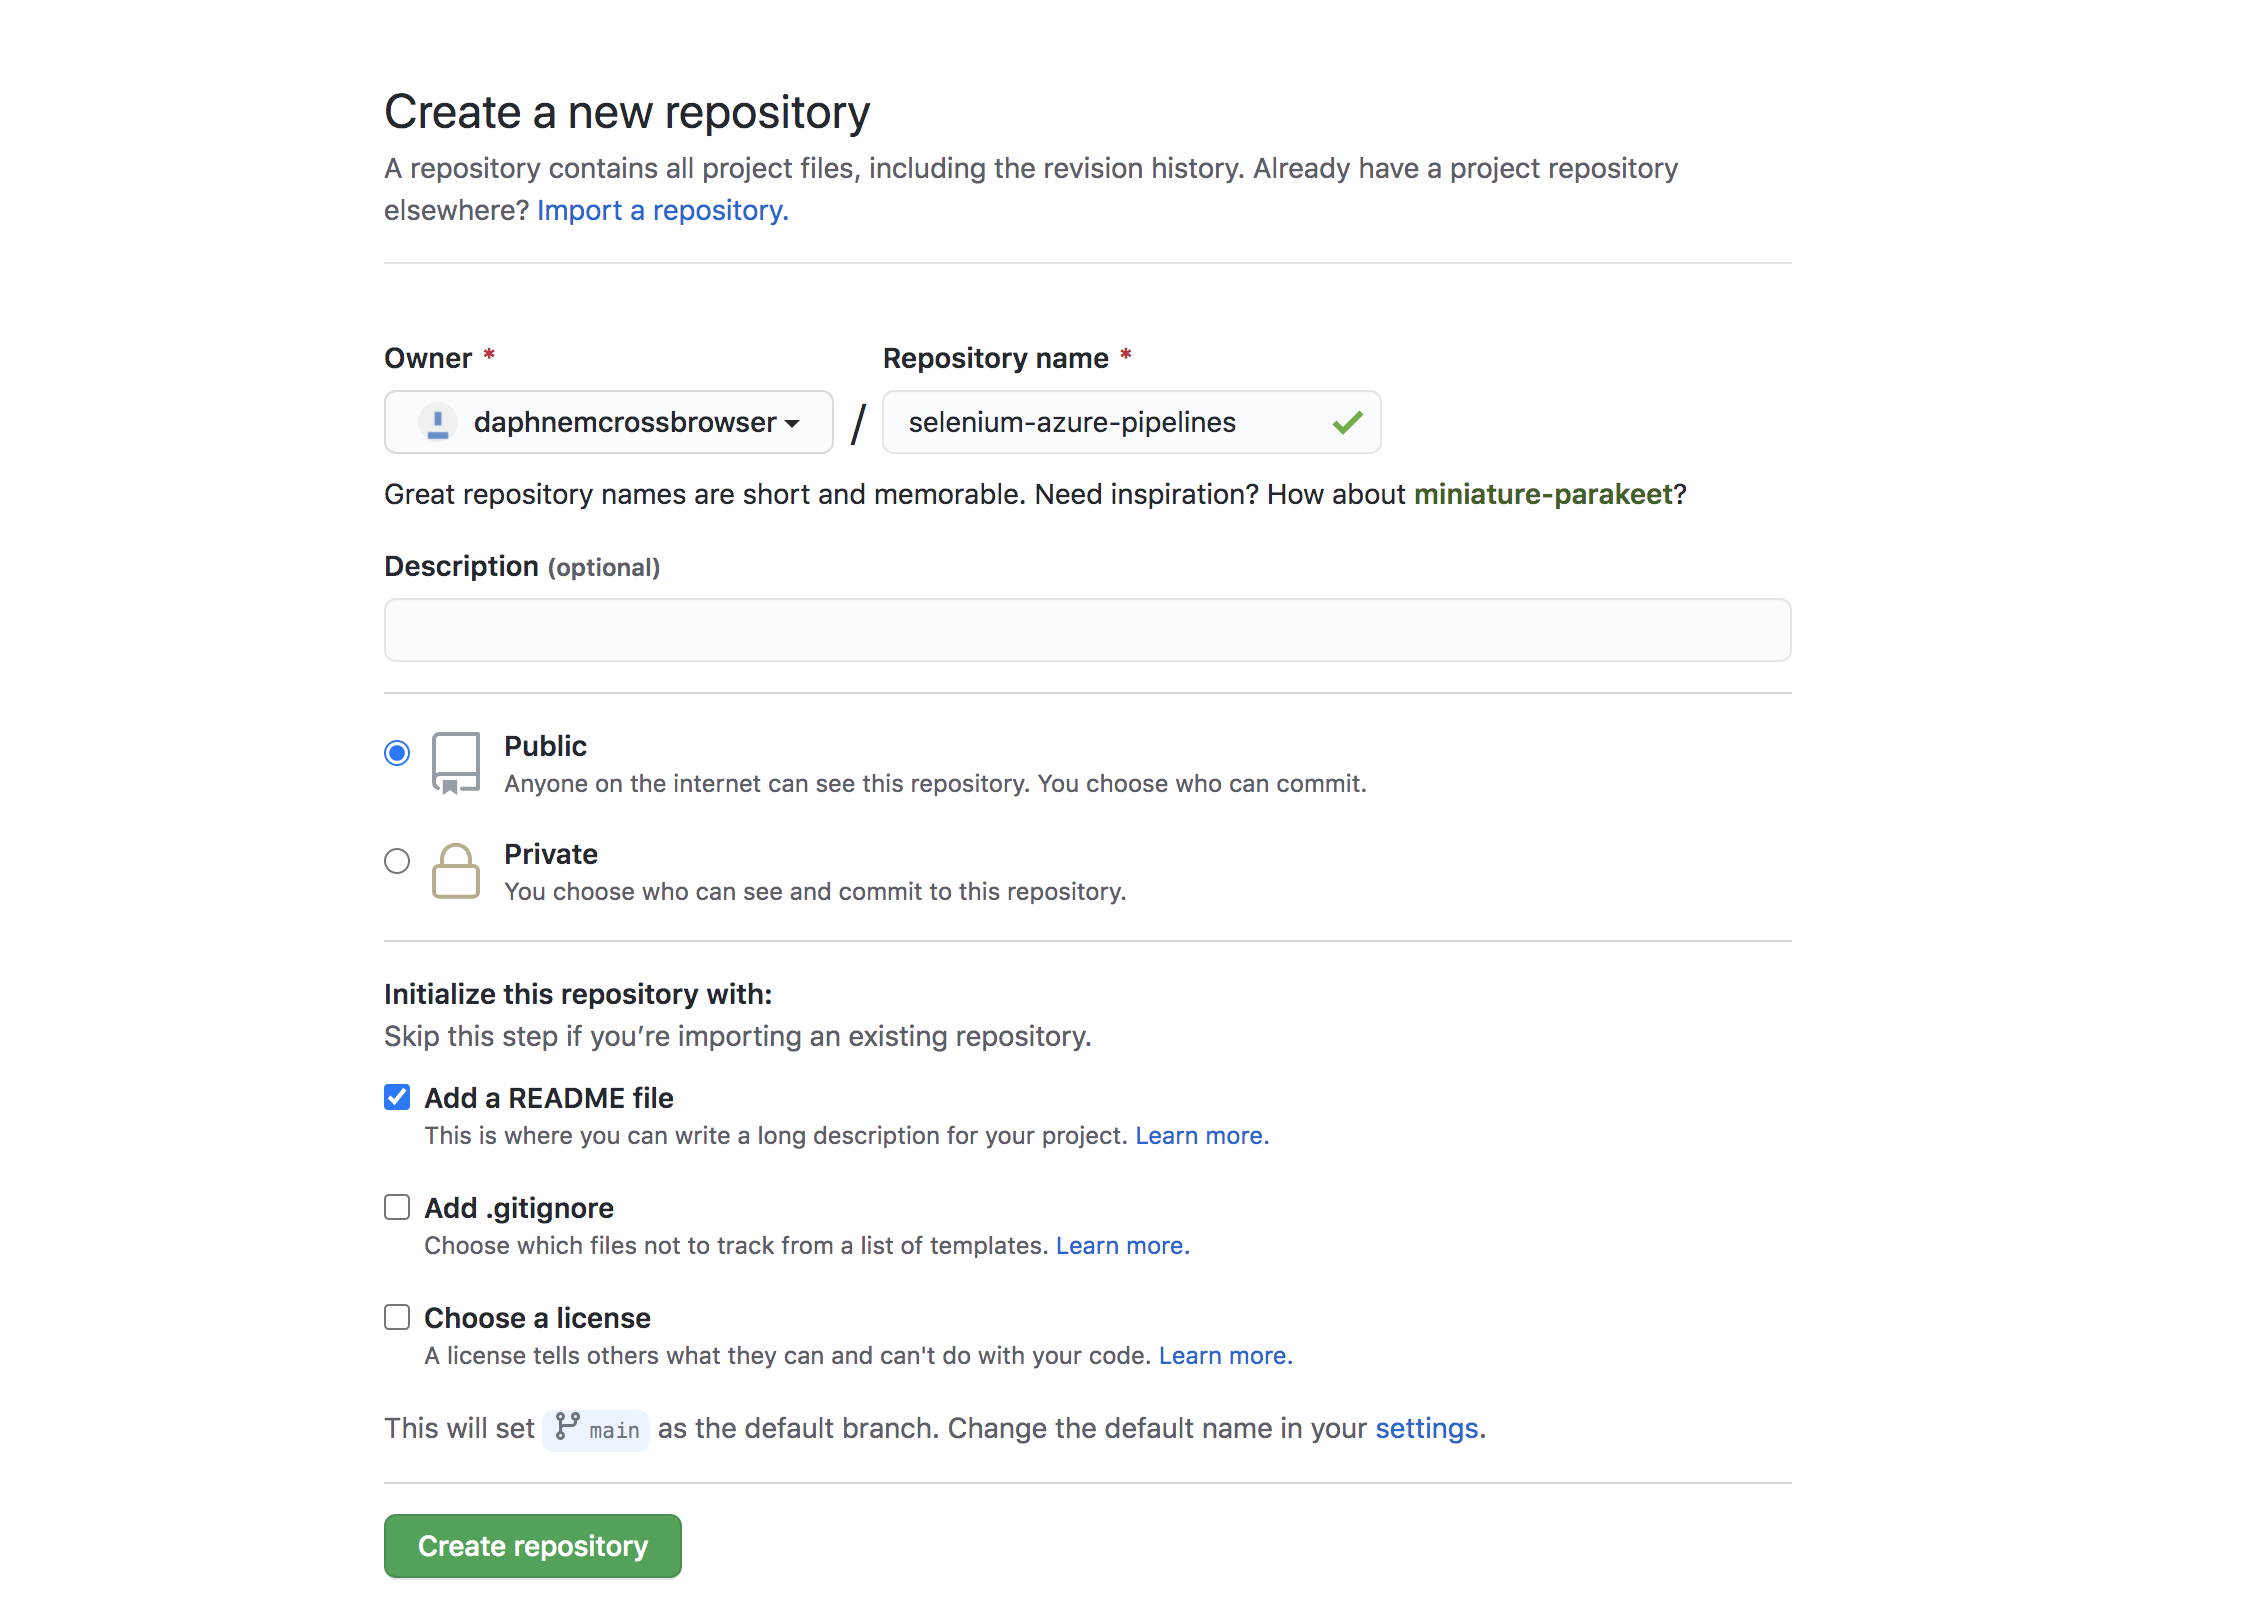
3. Navigate to your GitHub account and create a new repository.
4. Add file LoginFormTest.cs
using System; using System.IO; using System.Net; using System.Text; using System.Text.RegularExpressions; using NUnit.Framework; using OpenQA.Selenium; using OpenQA.Selenium.Remote; using OpenQA.Selenium.Support.UI;namespace LoginFormTest { class LoginFormTest { // put your username and authKey here: public static readonly string Username = Environment.GetEnvironmentVariable("CBT_USERNAME"); public static readonly string AuthKey = Environment.GetEnvironmentVariable("CBT_AUTHKEY");
static void Main(string[] args) { var cbtApi = new CbtApi(); // Start by setting the capabilities var caps = new RemoteSessionSettings(); caps.AddMetadataSetting("name", "C Sharp Test"); caps.AddMetadataSetting("username", Username); caps.AddMetadataSetting("password", AuthKey); caps.AddMetadataSetting("browserName", "Chrome"); caps.AddMetadataSetting("platformName", "Windows 10"); caps.AddMetadataSetting("record_video", "true"); caps.AddMetadataSetting("record_network", "false"); caps.AddMetadataSetting("username", Username); caps.AddMetadataSetting("password", AuthKey); // Start the remote webdriver var driver = new RemoteWebDriver(new Uri("http://hub.crossbrowsertesting.com:80/wd/hub"), caps, TimeSpan.FromSeconds(180)); // wrap the rest of the test in a try-catch for error logging via the API try { // Maximize the window - DESKTOPS ONLY // driver.Manage().Window.Maximize(); // Navigate to the URL driver.Navigate().GoToUrl("http://crossbrowsertesting.github.io/login-form.html"); // Check the title Console.WriteLine("Entering username"); driver.FindElementByName("username").SendKeys("tester@crossbrowsertesting.com"); // then by entering the password Console.WriteLine("Entering password"); driver.FindElementByName("password").SendKeys("test123"); // then by clicking the login button Console.WriteLine("Logging in"); driver.FindElementByCssSelector("div.form-actions > button").Click(); // let's wait here to ensure that the page has loaded completely var wait = new WebDriverWait(driver, TimeSpan.FromSeconds(10)); wait.Until(drv => driver.FindElement(By.XPath("//*[@id=\"logged-in-message\"]/h2"))); // Let's assert that the welcome message is present on the page. // if not, an exception will be raised and we'll set the score to fail in the catch block. string welcomeMessage = driver.FindElementByXPath("//*[@id=\"logged-in-message\"]/h2").Text; Assert.AreEqual("Welcome tester@crossbrowsertesting.com", welcomeMessage); cbtApi.SetScore(driver.SessionId.ToString(), "pass"); driver.Quit(); } catch (AssertionException ex) { var snapshotHash = cbtApi.TakeSnapshot(driver.SessionId.ToString()); cbtApi.SetDescription(driver.SessionId.ToString(), snapshotHash, ex.ToString()); cbtApi.SetScore(driver.SessionId.ToString(), "fail"); Console.WriteLine("caught the exception : " + ex); driver.Quit(); throw new AssertionException(ex.ToString()); } } } public class CbtApi { private const string BaseUrl = "https://crossbrowsertesting.com/api/v3/selenium"; private readonly string _username = LoginFormTest.Username; private readonly string _authKey = LoginFormTest.AuthKey; public string TakeSnapshot(string sessionId){ // returns the screenshot hash to be used in the setDescription method. // create the POST request object pointed at the snapshot endpoint var request = (HttpWebRequest)WebRequest.Create(BaseUrl + "/" + sessionId + "/snapshots"); Console.WriteLine(BaseUrl+"/"+sessionId); request.Method = "POST"; request.Credentials = new NetworkCredential(_username, _authKey); request.ContentType = "application/x-www-form-urlencoded"; request.UserAgent = "HttpWebRequest"; // Execute the request var response = request.GetResponse(); // store the response var responseString = new StreamReader(response.GetResponseStream()!).ReadToEnd(); // parse out the snapshot Hash value var regex = new Regex("(?<=\"hash\": \")((\\w|\\d)*)"); var snapshotHash = regex.Match(responseString).Value; Console.WriteLine (snapshotHash); //close our request stream response.Close(); return snapshotHash; } public void SetDescription(string sessionId, string snapshotHash, string description ){ // encode the data to be written var encoding = new ASCIIEncoding (); var putData = encoding.GetBytes ("description=" + description); // create the request var request = (HttpWebRequest)WebRequest.Create (BaseUrl + "/" + sessionId + "/snapshots/" + snapshotHash); request.Method = "PUT"; request.Credentials = new NetworkCredential (_username, _authKey); request.ContentType = "application/x-www-form-urlencoded"; request.UserAgent = "HttpWebRequest"; // write data to stream var newStream = request.GetRequestStream (); newStream.Write (putData, 0, putData.Length); newStream.Close (); var response = request.GetResponse (); response.Close(); } public void SetScore(string sessionId, string score ) { var url = BaseUrl + "/" + sessionId; // encode the data to be written var encoding = new ASCIIEncoding(); var data = "action=set_score&score="+ score; var pdata = encoding.GetBytes (data); // Create the request var request = (HttpWebRequest)WebRequest.Create(url); request.Method = "PUT"; request.Credentials = new NetworkCredential(_username, _authKey); request.ContentLength = pdata.Length; request.ContentType = "application/x-www-form-urlencoded"; request.UserAgent = "HttpWebRequest"; // Write data to stream var newStream = request.GetRequestStream (); newStream.Write (pdata, 0, pdata.Length); var response = request.GetResponse(); response.Close(); } }
}
5. Add file LoginFormTest.csproj
<PropertyGroup>
    <OutputType>Exe</OutputType>
    <TargetFramework>net5.0</TargetFramework>
</PropertyGroup>

<ItemGroup>
  <PackageReference Include="NUnit" Version="3.13.2" />
  <PackageReference Include="OpenQA.Selenium.Winium" Version="1.0.0.4" />
</ItemGroup>
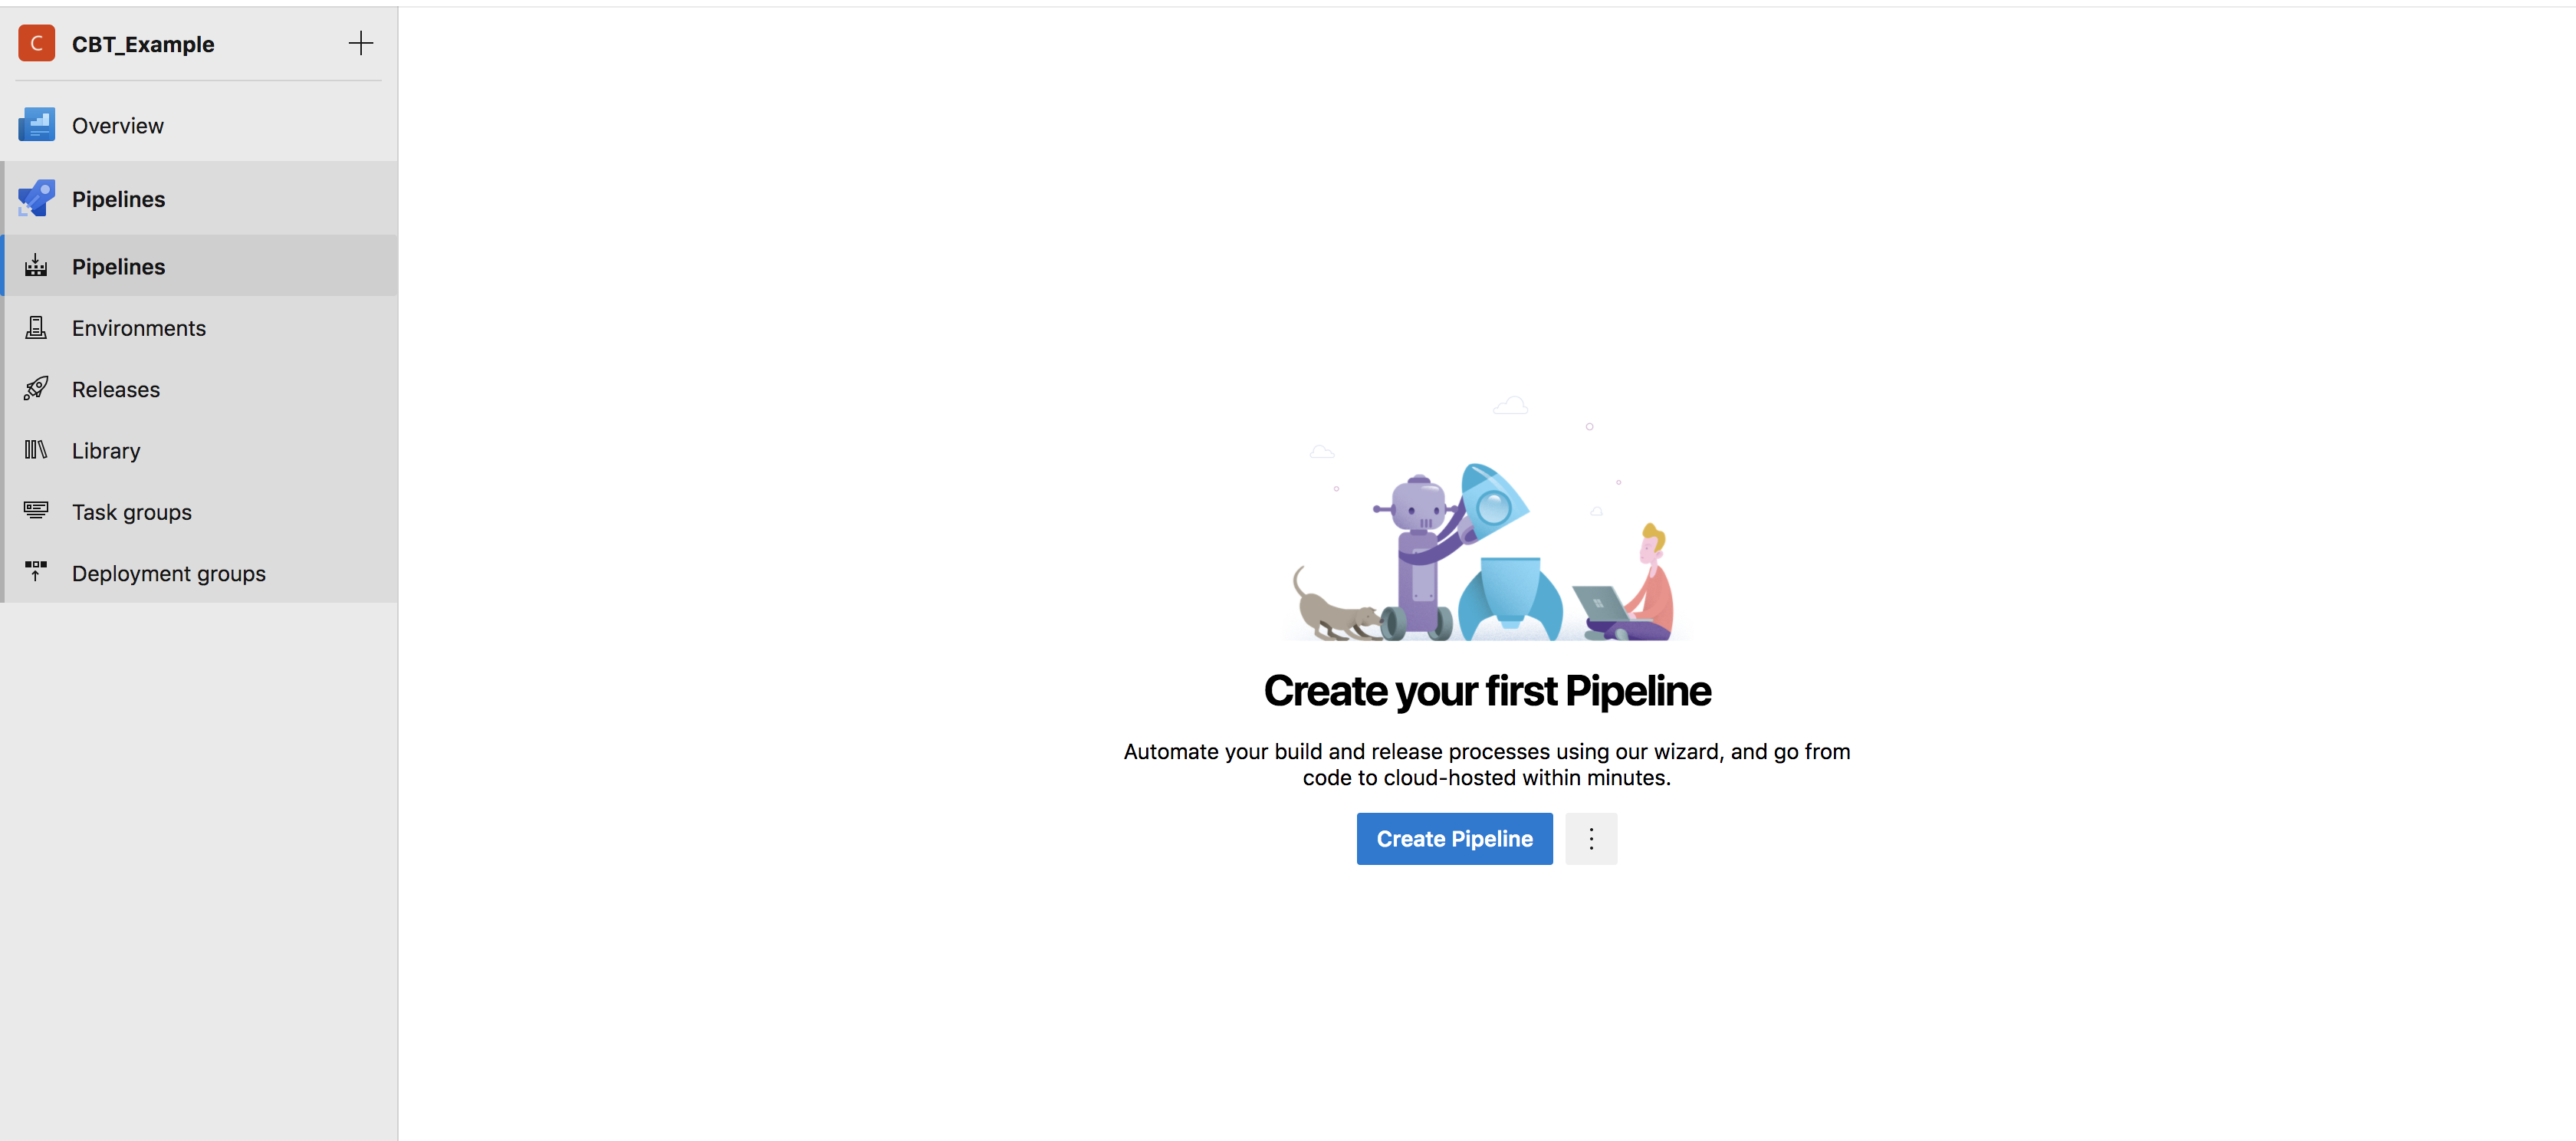
1. From the Azure DevOps dashboard Dashboard, create a new project and select Pipelines
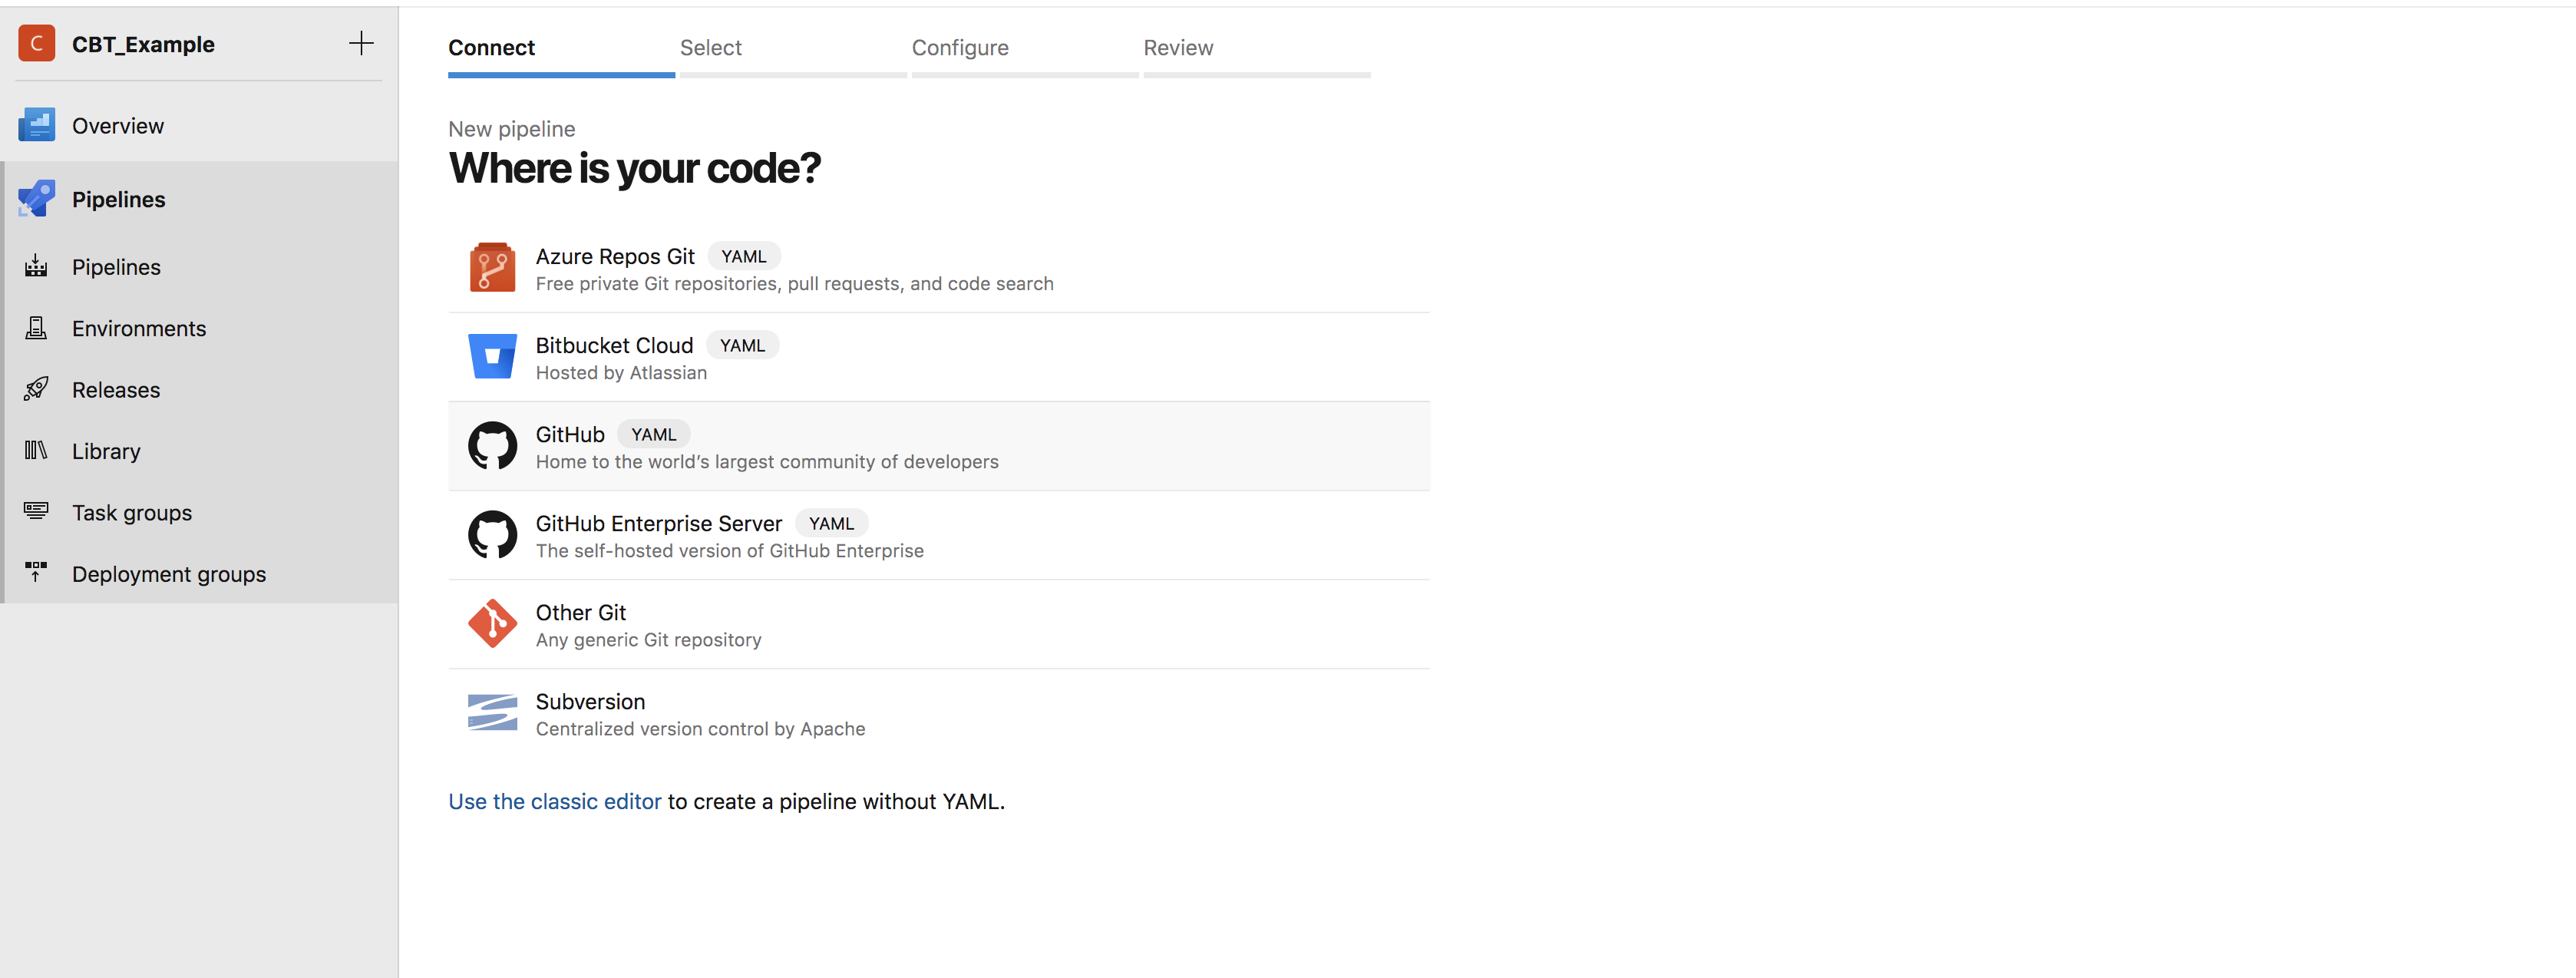
2. Create a new pipeline and set up your GitHub repo
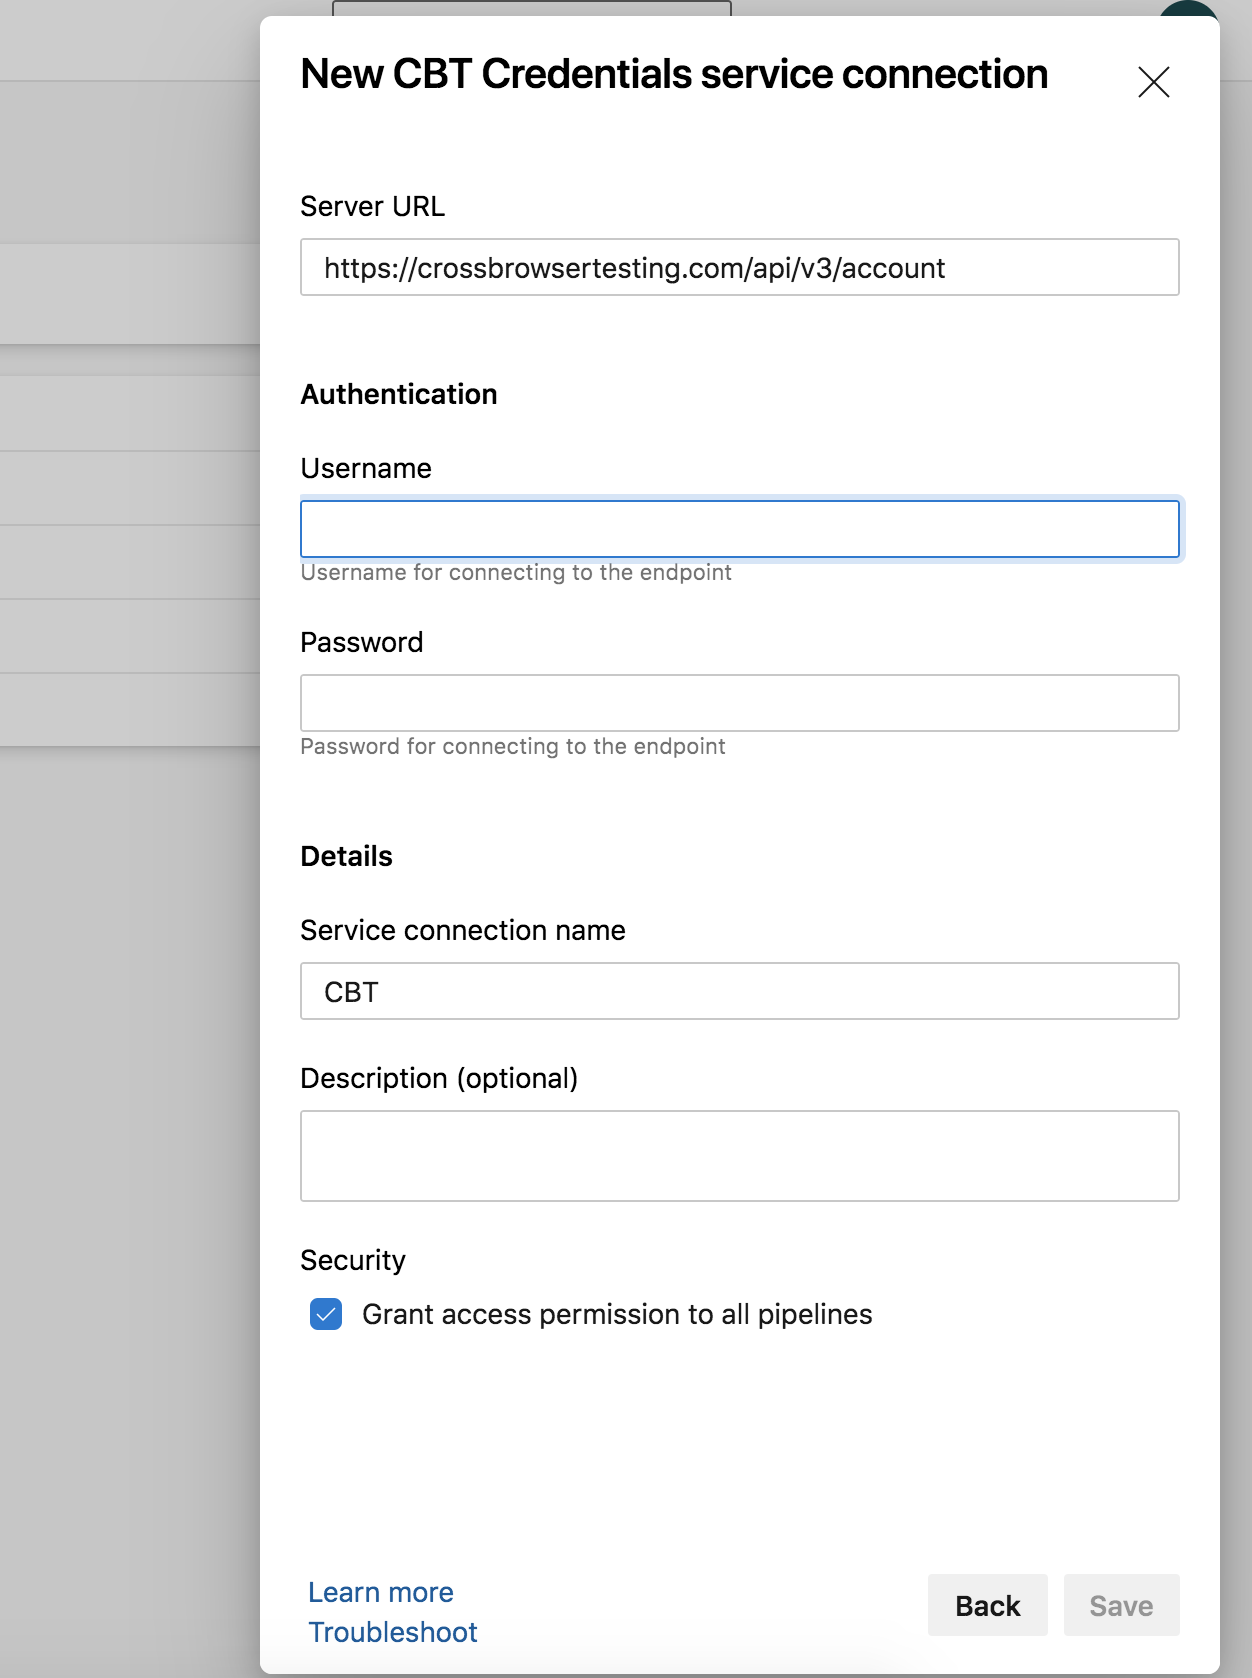
3. Add a new Service Connection from the Project Settings page using the type CBT Credentials
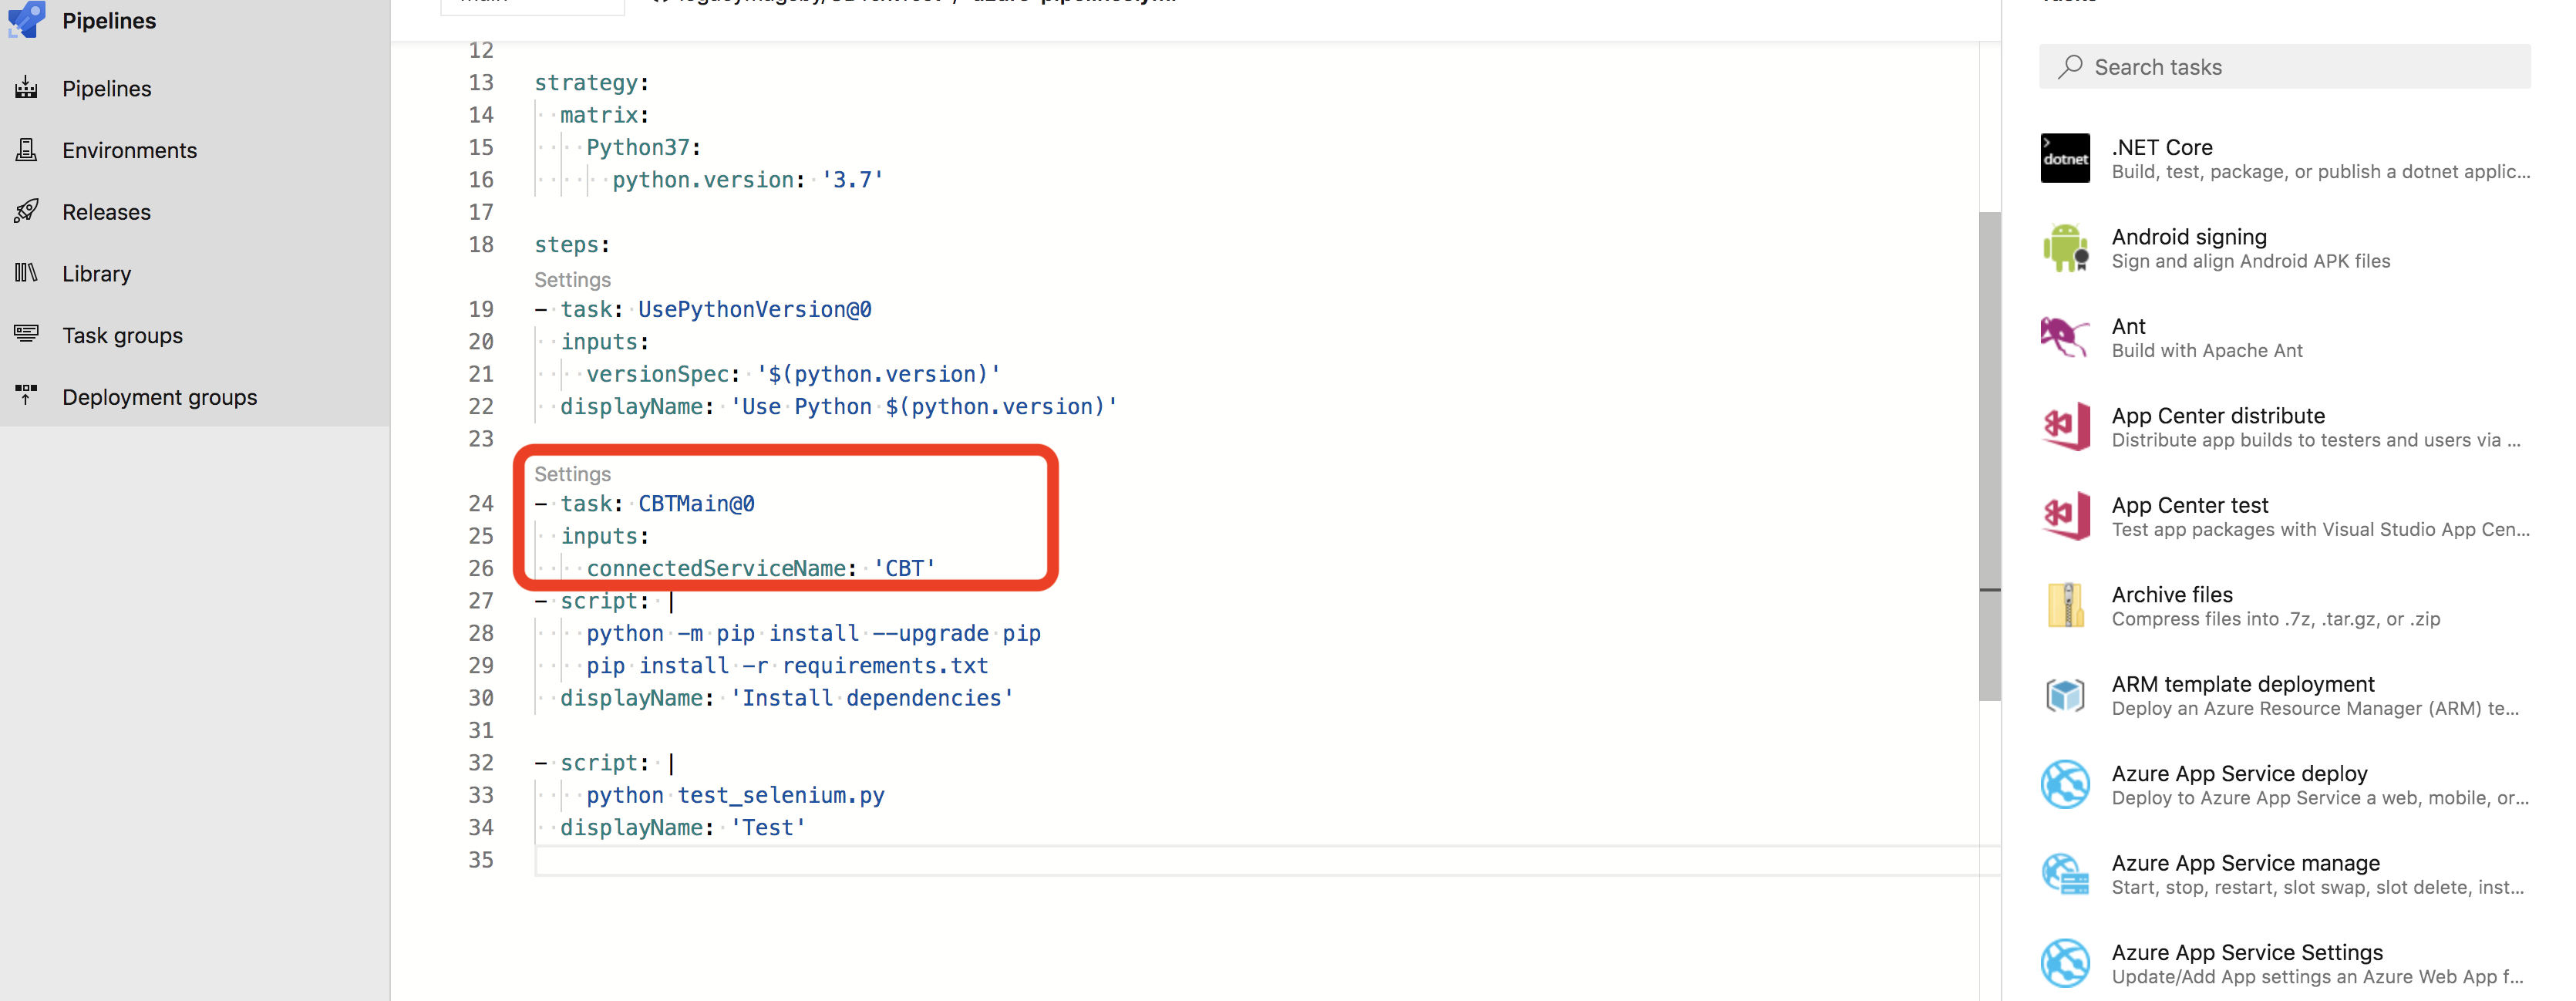
4. Add the CrossBrowserTesting Configuration task to your azure-pipelines.yml file
5. Save and Run
You should see your build start to run in Azure Pipelines and in the CrossBrowserTesting app here.
If you have any questions or concerns, feel free to get in touch.
