Django is a great web framework for fast development. Django Admin allows you to manage your data without creating your own views.
The primary use case of the Admin is CRUD operations. You can populate your local database with test data or change some real data in the production environment.
Sometimes, you need some custom interfaces to perform your routines on the project. Fortunately, Django Admin has a lot of room for customization. In this guide, I'll show how to create a custom detail page in Django Admin.
Let's start from scratch. I'll use python3.9 in this guide. If you are not interested in the basic details, you can jump to the custom Order page part.
First, create a virtual environment and install Django. Also, we need Pillow for Django's ImageField:
python3.9 -m venv venv
. ./venv/bin/activate
pip install django==4.1.1 Pillow==9.2.0
Then, create a new Django project and product app inside.
python -m django startproject django_admin_example .
python -m django startapp products
It will be a simple shop application with Product, Order, and OrderItem models. Order can have several OrderItem and belongs to some User. Each OrderItem contains the Product and count—quantity of the Product in the Order.
Add these models in products/models.py:
from django.contrib.auth import get_user_model
from django.db import models

User = get_user_model()


class Product(models.Model):
    title = models.CharField(max_length=255)
    price = models.IntegerField()
    image = models.ImageField()

    def __str__(self):
        return self.title


class Order(models.Model):
    user = models.ForeignKey(User, on_delete=models.CASCADE)
    created = models.DateTimeField(auto_now_add=True)

    def __str__(self):
        return f"{self.user} {self.created.date()}"


class OrderItem(models.Model):
    order = models.ForeignKey(Order, on_delete=models.CASCADE)
    product = models.ForeignKey(Product, on_delete=models.CASCADE)
    count = models.PositiveIntegerField()

    def __str__(self):
        return f"{self.product} x{self.count}"
Let's include the product app in django_admin_example/settings.py. Also, we need to set MEDIA_URL and MEDIA_ROOT for file uploading:
INSTALLED_APPS = [
    # Other apps
    "products",
]

...

MEDIA_URL = 'media/'
MEDIA_ROOT = BASE_DIR / 'media/'
Now we can create and run migrations:
python manage.py makemigrations
python manage.py migrate
We are done with the models. Moving to the Admin part. Create a products/admin.py with the following content:
from django.contrib import admin
from products.models import Product, OrderItem, Order


@admin.register(Product)
class ProductAdmin(admin.ModelAdmin):
    list_display = ['title', 'price']


class OrderItemInline(admin.TabularInline):
    model = OrderItem

@admin.register(Order)
class OrderAdmin(admin.ModelAdmin):
    list_display = ['user', 'created']
    inlines = [OrderItemInline]


@admin.register(OrderItem)
class OrderItemAdmin(admin.ModelAdmin):
    list_display = ['order', 'product', 'count']
We created OrderItemInline to change order items on the Order form.
Next, we need to add a URL configuration for the admin site in urls.py. Also, we want to add media file URLs to serve images:
from django.contrib import admin
from django.urls import path
from django.conf import settings
from django.conf.urls.static import static

urlpatterns = [
    path('admin/', admin.site.urls),
    *static(settings.MEDIA_URL, document_root=settings.MEDIA_ROOT),
]
Finally, we need a superuser to login into the admin:
$ python manage.py createsuperuser
Username (leave blank to use 'user'): admin
Email address: admin@test.com
Password:
Password (again):
Superuser created successfully.
Run python manage.py runserver, go to the http://127.0.0.1:8000/admin/, and log in with the admin user.
Now, it's time to fill our database with some dummy data!
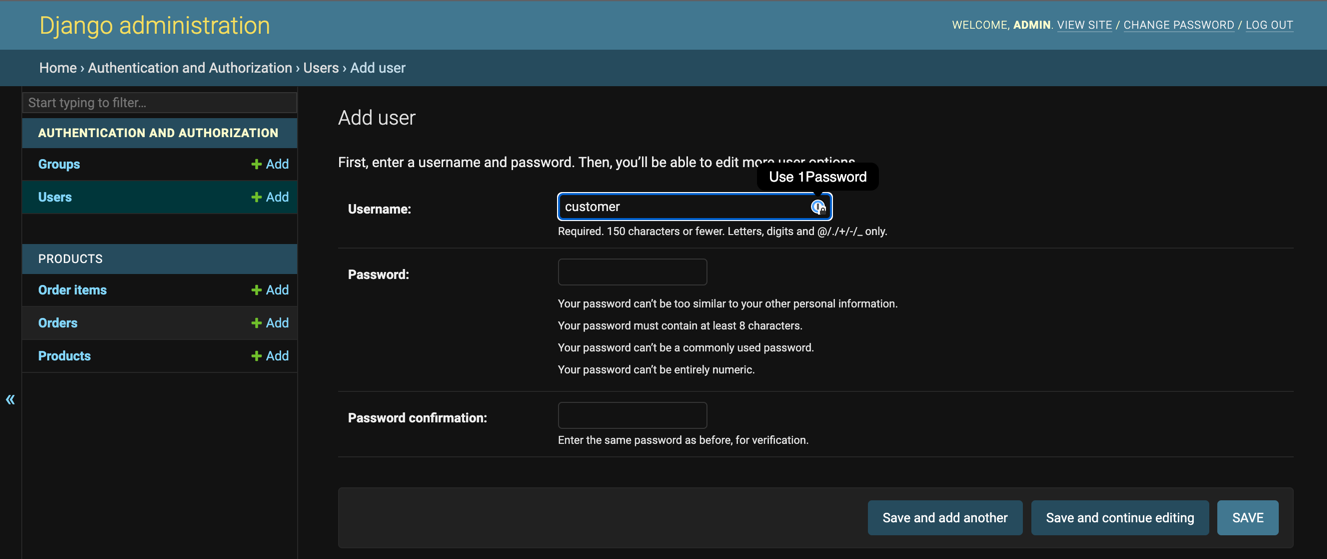
Let's add a customer user;
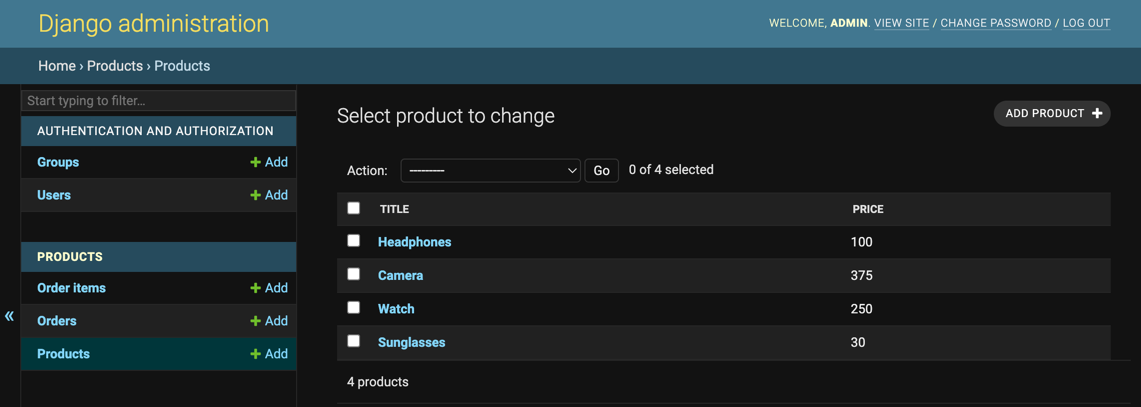
Some product to our shop;
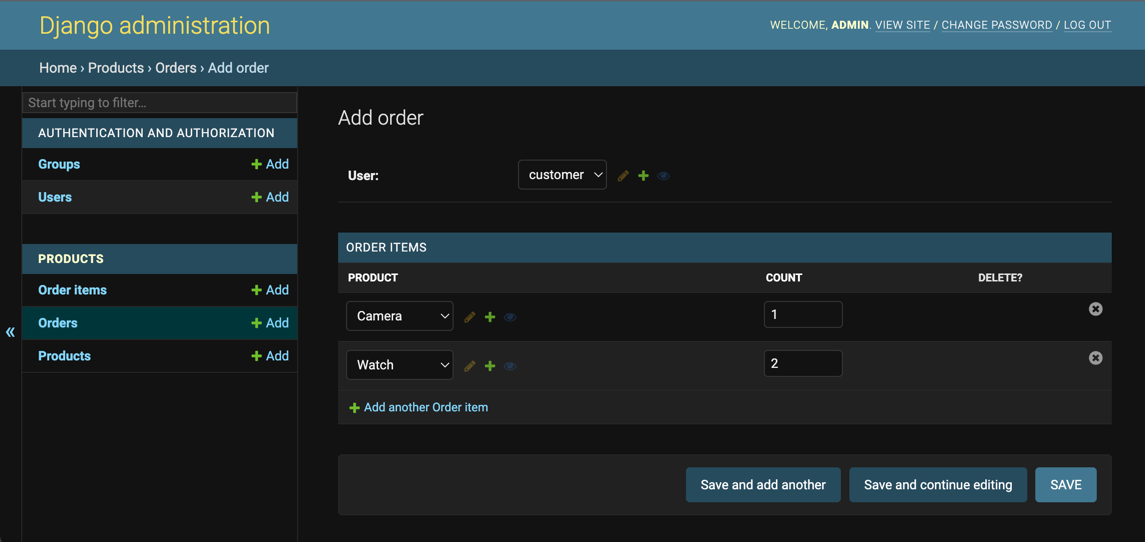
And create an order for the customer.
Now we are ready to create a page for order summary. We want customer information, a list of ordered products, and a total order sum on this page.
Let's start with an empty template in products/templates/admin/products/order/detail.html. Django Admin enforces this structure for the templates: admin/APP_NAME/MODEL_NAME/some_template.html. So, all custom templates for the Order model will be in this folder.
Then, let's create an OrderDetailView in admin.py:
from django.contrib.auth.mixins import PermissionRequiredMixin
from django.views.generic.detail import DetailView
from products.models import Order

class OrderDetailView(PermissionRequiredMixin, DetailView):
    permission_required = "products.view_order"
    template_name = "admin/products/order/detail.html"
    model = Order
Add this view to the OrderAdmin.get_urls, create the detail column and add it to the list_display:
from django.contrib import admin
from django.urls import path, reverse
from django.utils.html import format_html
from products.models import Order


@admin.register(Order)
class OrderAdmin(admin.ModelAdmin):
    list_display = ['user', 'created', 'detail']
    inlines = [OrderItemInline]

    def get_urls(self):
        return [
            path(
                "<pk>/detail",
                self.admin_site.admin_view(OrderDetailView.as_view()),
                name=f"products_order_detail",
            ),
            *super().get_urls(),
        ]

    def detail(self, obj: Order) -> str:
        url = reverse("admin:products_order_detail", args=[obj.pk])
        return format_html(f'<a href="{url}">📝</a>')
OrderDetailView will accept pk as an argument. Also, we wrap the view into admin_site.admin_view. This wrapper checks that user is logged in, user.is_staff=True, and enforces CSRF validation.
Let's check how it looks:
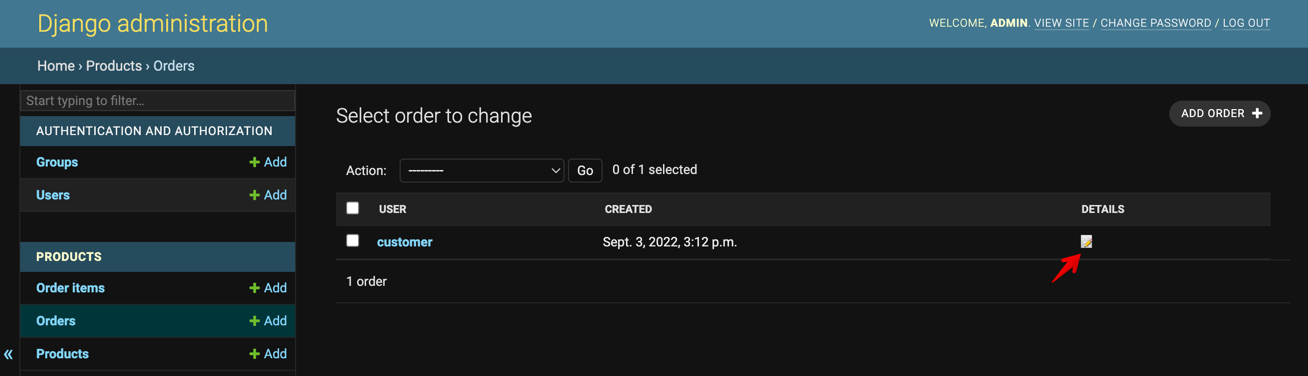
Now the detail link leads to an empty page. Let's create a real one.
As docs says:
If you want to use the admin layout, extend from admin/base_site.html:
Add this code to the detail.html and check the page in your browser:
{% extends 'admin/base_site.html' %}

{% block content %}

    <h1>Order by {{ object.user }} {{ object.created.date }}</h1>

    <dl>
        <dt>Name:</dt>
        <dd>{{ object.user.get_full_name }}</dd>
        <dt>Email:</dt>
        <dd>{{ object.user.email }}</dd>
    </dl>

{% endblock %}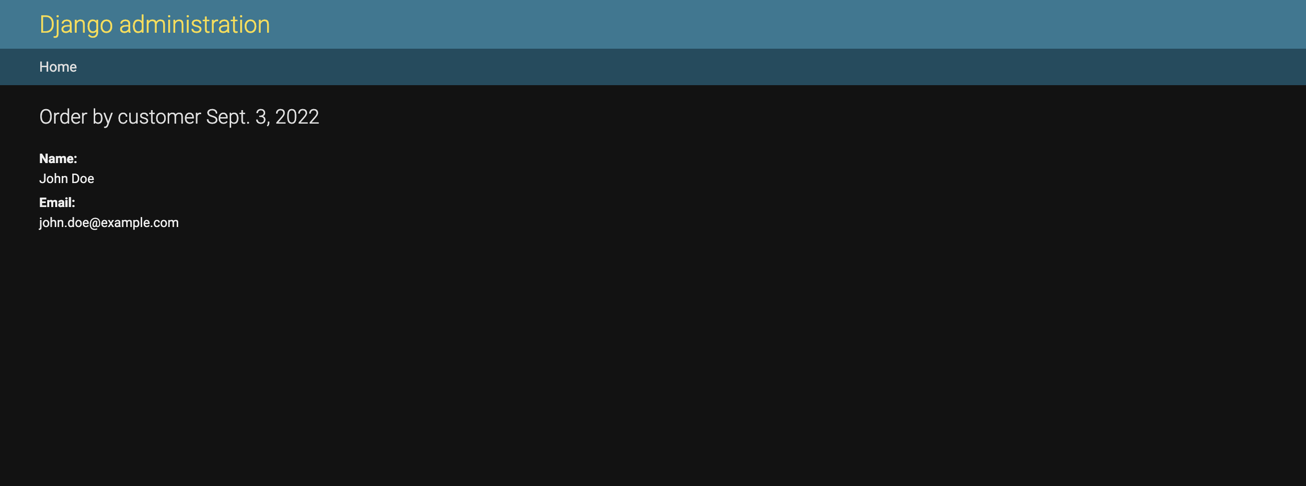
The page looks like a Django Page, but we are missing some components on the page: breadcrumbs, sidebar, and change password/logout buttons. You can check admin/base.html and admin/change_form.html to see how they are implemented.
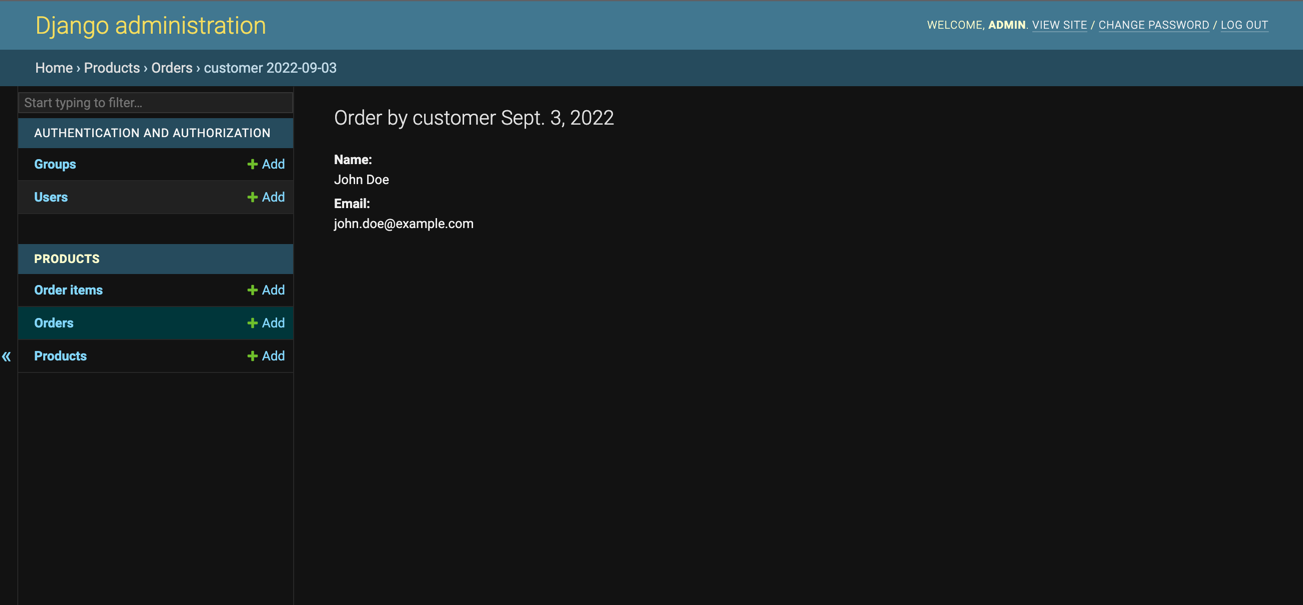
First, we need a context for the template. Let's override a OrderDetailView.get_context method:
class OrderDetailView(PermissionRequiredMixin, DetailView):
    ...

    def get_context_data(self, **kwargs):
        return {
            **super().get_context_data(**kwargs),
            **admin.site.each_context(self.request),
            "opts": self.model._meta,
        }
This will be enough for the sidebar and change password/logout buttons. Now, let's add the breadcrumbs block to the detail.html. We can take the breadcrumbs block from the admin/change_form.html and modify it like this:
{% load i18n admin_urls %}
{% block breadcrumbs %}
<div class="breadcrumbs">
<a href="{% url 'admin:index' %}">{% translate 'Home' %}</a>
› <a href="{% url 'admin:app_list' app_label=opts.app_label %}">{{ opts.app_config.verbose_name }}</a>
› <a href="{% url opts|admin_urlname:'changelist' %}">{{ opts.verbose_name_plural|capfirst }}</a>
› {{ object }}
</div>
{% endblock %}
Finally, let's add a product table. We need a total amount of Order, so create a total_amount method for OrderItem and Order:
class Order(models.Model):
    ...

    @property
    def total_amount(self):
        return sum([item.total_amount for item in self.orderitem_set.all()])

class OrderItem(models.Model):
    ...

    @property
    def total_amount(self):
        return self.product.price * self.count
Add the table and the total to the detail.html:
{% block content %}
    ...

    <table style="width: 100%; margin-bottom: 10px;">
        <thead>
        <tr>
            <td></td>
            <td>Product</td>
            <td>Price</td>
            <td>Count</td>
            <td>Total</td>
        </tr>
        </thead>
        <tbody>
        {% for item in object.orderitem_set.all %}
            <tr>
                <td><img src="{{ item.product.image.url }}" height="50"></td>
                <td>{{ item.product.title }}</td>
                <td>${{ item.product.price }}</td>
                <td>x{{ item.count }}</td>
                <td>${{ item.total_amount }}</td>
            </tr>
        {% endfor %}
        </tbody>
    </table>

    <p style="font-size: 18px;text-align: end;padding-right: 60px;">
        Total: ${{ object.total_amount }}
    </p>

{% endblock %}
Check the final result:
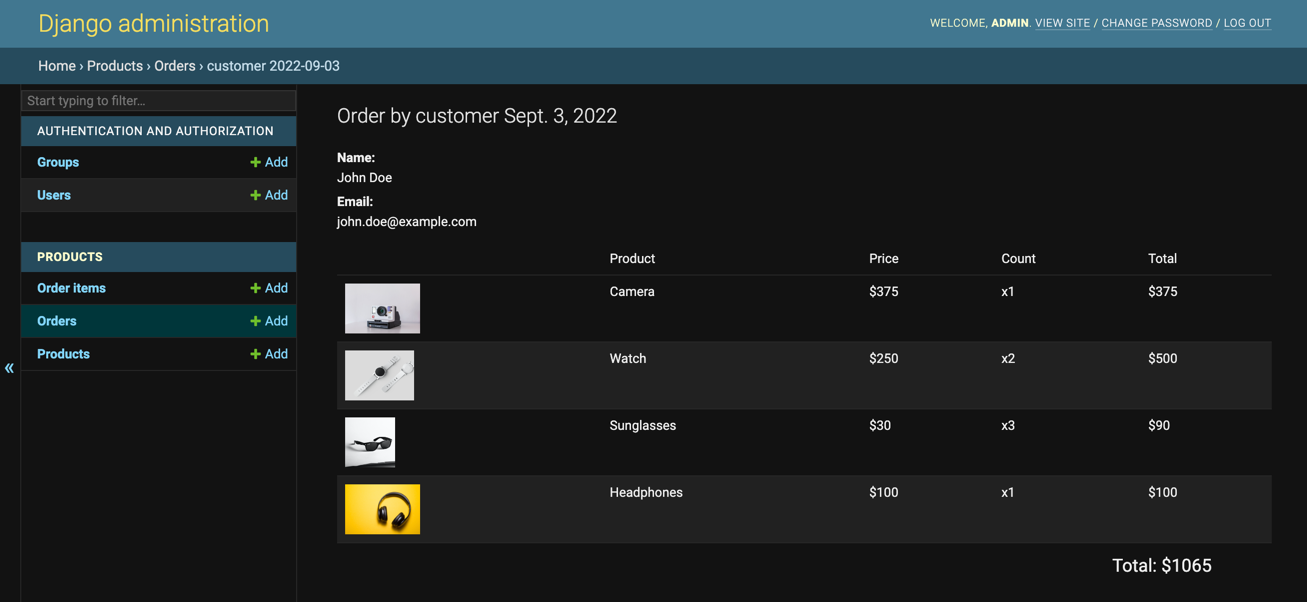
Congratulations! We added a custom page to the Django Admin. This is a way you can customize the Admin Django according to your project needs.
You can find the source code here.
If you need to build a custom web application, check out our website or connect with me directly on LinkedIn.