在开始前,您需要创建 Aliyun AccessKey,参考步骤:Ali DNS AccessKey,本教程有 2 种实现方式:
- 基于「手工模式(manual)」,调用云厂商 API,通过环境变量把 ACME 信息传给脚本完成验证;
- 基于「Certbot 插件」,是一个 Python 包插件,专门给 Certbot 自动化 ACME DNS-01 验证用;
# 安装方式
pip install certbot-dns-aliyun
Let's Encrypt (ACME) 协议做 DNS-01 验证生成证书的大致流程:「1.Certbot 生成验证值 → 2.添加到 DNS _acme-challenge 子域 TXT 记录 → 3.等待 DNS 生效 → 4.Let's Encrypt 解析并验证 → 5.验证通过并颁发证书 → 6.删除 TXT记录」
手动模式(manual),支持不删除TXT记录进行证书更新,同时也支持更新并删除TXT记录;certbot-dns-aliyun插件不支持保留TXT记录。
容器镜像 cleverest/certbot-dns-aliyun ,支持linux/amd64 linux/arm64 架构操作系统;
首次申请证书后,每天的凌晨 12 点容器会自动执行证书续期检测任务;
# 查看续期检测日志
tail /var/log/letsencrypt/certbot-renew.log必需指定 ALI_ACCESS_KEY_ID ALI_ACCESS_KEY_SECRET 环境变量,证书持久化路径视情况而定。
docker run -d --name certbot \
  -v /etc/letsencrypt:/etc/letsencrypt \
  -e ALI_ACCESS_KEY_ID='********************************' \
  -e ALI_ACCESS_KEY_SECRET='********************************' \
cleverest/certbot-dns-aliyun# 进入容器
docker exec -it certbot sh- 手工模式(manual)
更改 -d -m 后面的值生成您所需证书,事例生成证书后不会删除TXT记录,若您需要删除,加上 --manual-cleanup-hook "alidns clean" 参数值即可。
加上 --dry-run 参数可运行测试,不会生成实际证书。
certbot certonly -d www.example.com -m admin@example.com \
--manual --preferred-challenges dns \
--manual-auth-hook "alidns" \
--agree-tos \
--no-eff-email申请多个域名证书时,2 种书写模式,需要注意:多个域名其实使用的是一张证书,一次性签好。
在 /etc/letsencrypt/live/ 路径下不会生成多个域名的文件夹,此时可以使用 --cert-name 参数,将多个域名的证书文件存在这个域名文件夹内。
certbot certonly --cert-name example.com -d example.com -d www.example.com -d api.example.com ...
或者
certbot certonly --cert-name example.com -d example.com,www.example.com,api.example.com ...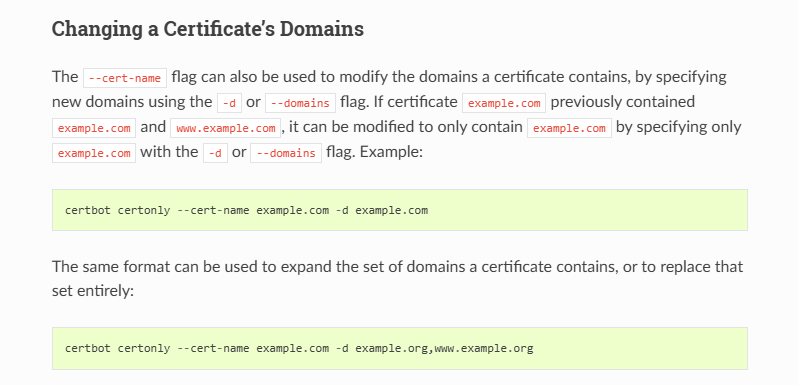
- Certbot 插件
官网dns-plugins介绍,指定的工作模式不一样外,参数与“手工模式”使用方法一致,生成证书后不会保留TXT记录。
# 进入容器
docker exec -it certbot shcertbot certonly -d example.com -m admin@example.com \
--authenticator=dns-aliyun \
--dns-aliyun-credentials='/root/.alidns.ini' \
--agree-tos \
--no-eff-email