| Light Mode | Dark Mode |
|---|---|
 |
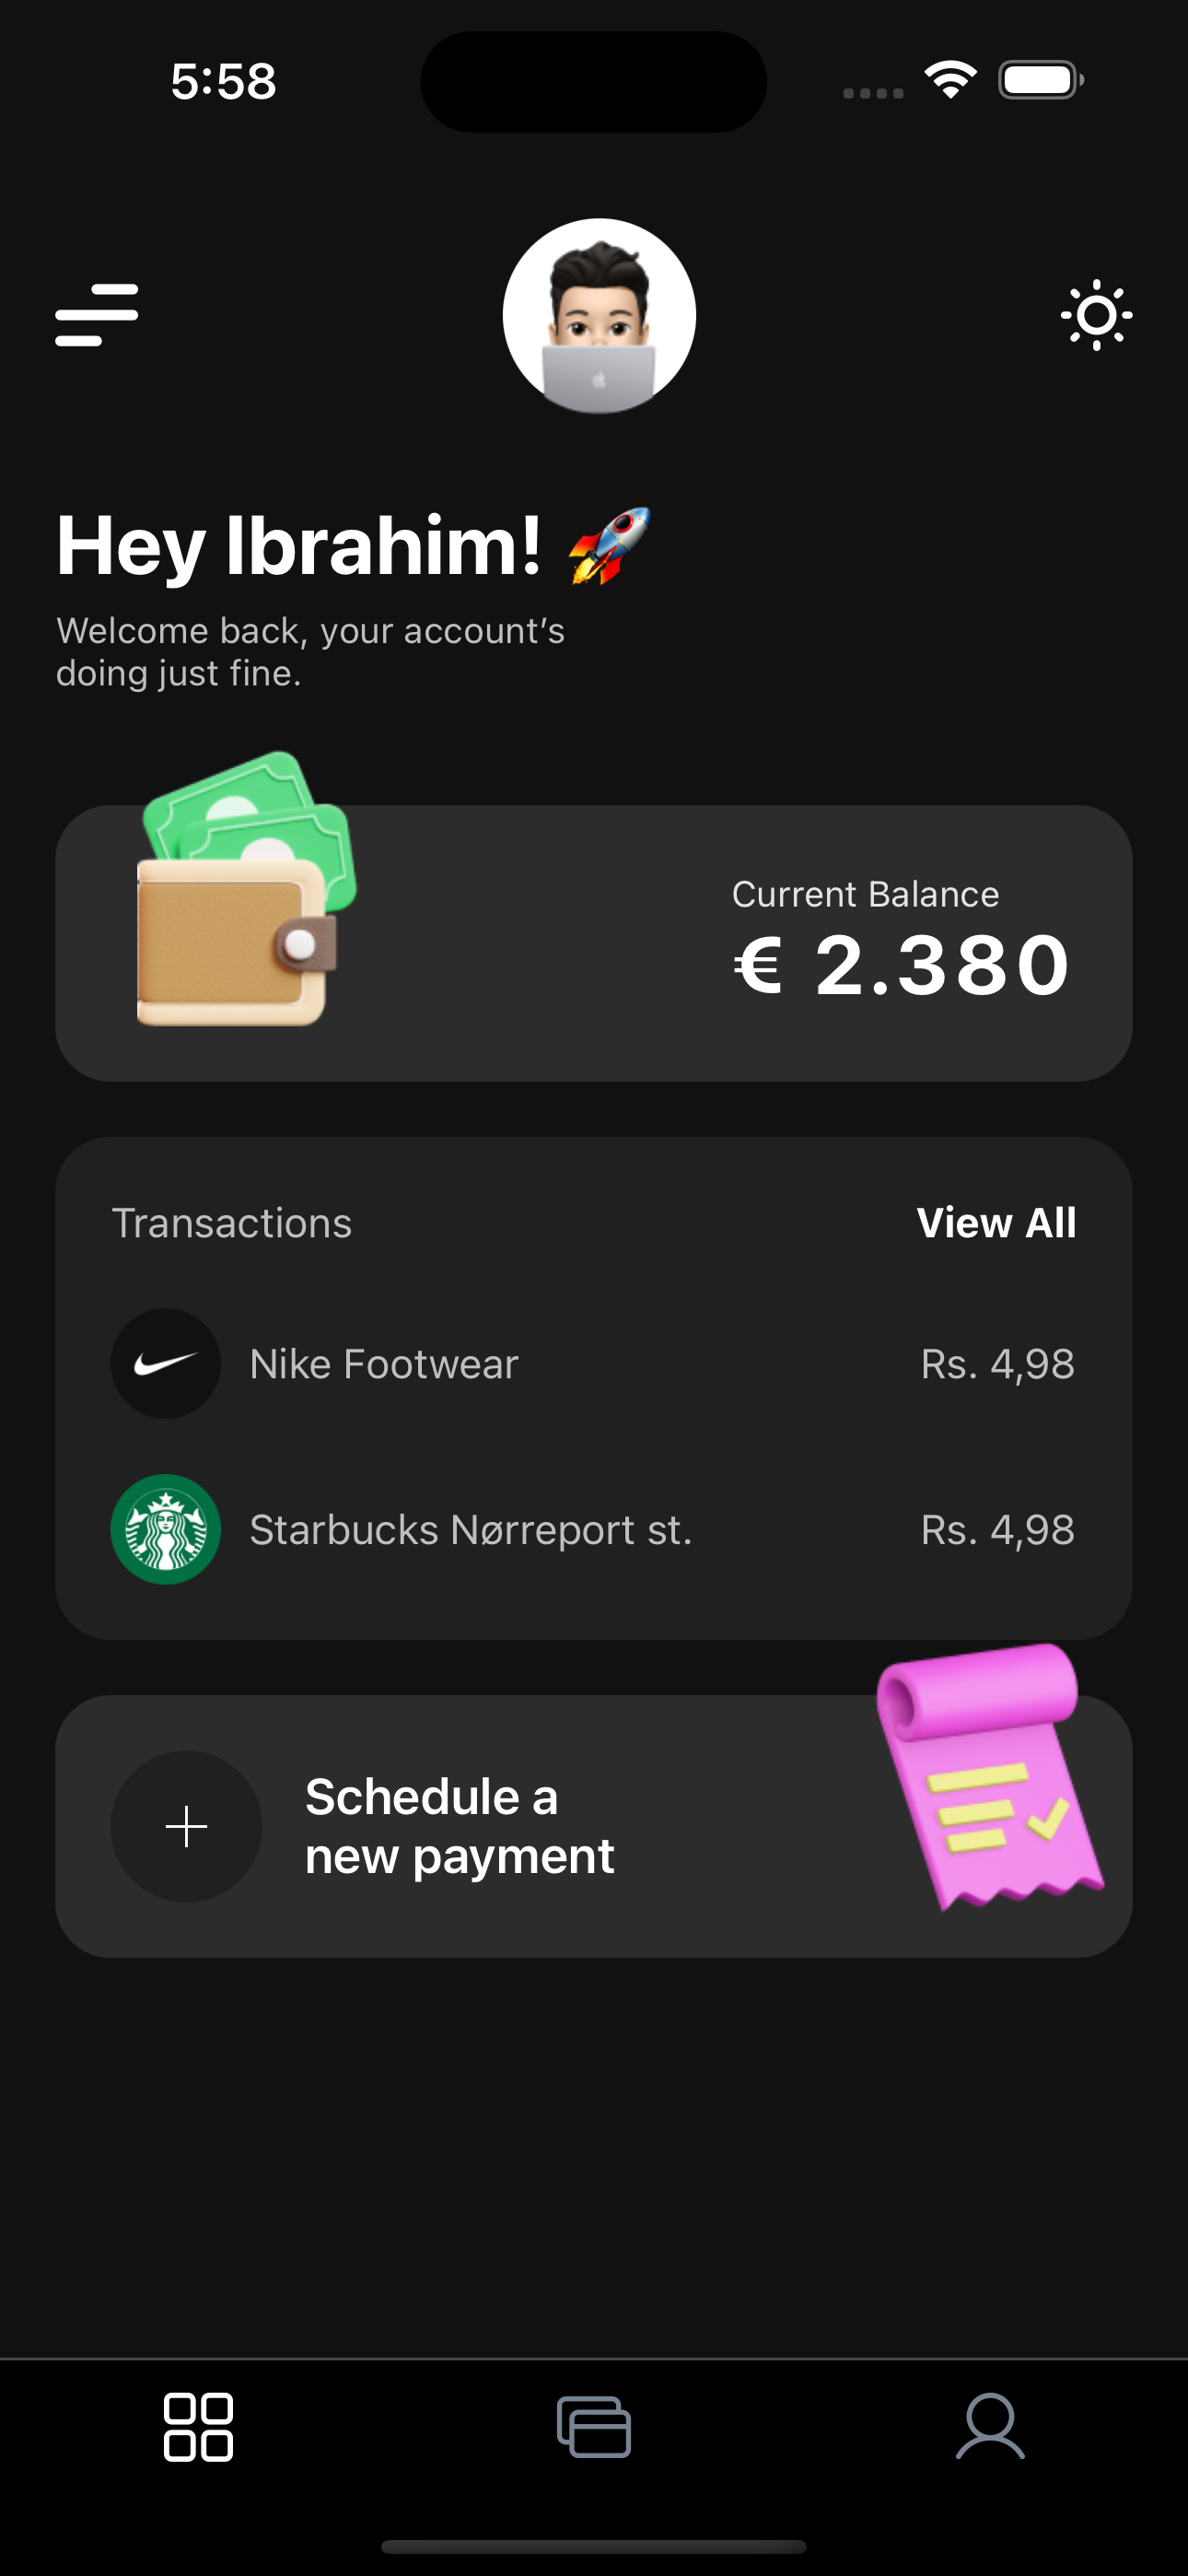 |
I have successfully developed a cutting-edge fintech open-source application using React Native, incorporating a meticulously designed architecture. The key features and technologies integrated into the application include:
Leveraging the power of state management through Redux Toolkit for efficient data handling and seamless updates.
Ensuring persistent state storage for enhanced user experience, allowing seamless data retrieval even after app closures.
Implementing an intuitive and user-friendly navigation system, enhancing the overall accessibility and flow of the application.
Incorporating a visually appealing splash screen to provide users with a smooth and engaging onboarding experience.
Offering users a personalized experience with a Dark Mode feature that seamlessly adapts to both user preferences and system preferences, enhancing usability in various settings.
Utilizing async-storage for efficient and asynchronous data storage, contributing to faster app performance and responsiveness.
Designing a robust component architecture that enhances the overall maintainability and scalability of the codebase.
Prioritizing user experience with a clean and minimalistic design approach, ensuring that the application is not only visually appealing but also easy to navigate.
This comprehensive set of features reflects a commitment to best practices in app development, resulting in a sophisticated fintech application that excels in both functionality and design."
First, you will need to start Metro, the JavaScript bundler that ships with React Native.
To start Metro, run the following command from the root of your React Native project:
# using npm
npm start

# OR using Yarn
yarn startLet Metro Bundler run in its own terminal. Open a new terminal from the root of your React Native project. Run the following command to start your Android or iOS app:
# using npm
npm run android

# OR using Yarn
yarn android# using npm
npm run ios
# OR using Yarn
yarn iosIf everything is set up correctly, you should see your new app running in your Android Emulator or iOS Simulator shortly provided you have set up your emulator/simulator correctly.
This is one way to run your app — you can also run it directly from within Android Studio and Xcode respectively.
Now that you have successfully run the app, let's modify it.
-
Open
App.jsin your text editor of choice and edit some lines. -
For Android: Press the R key twice or select "Reload" from the Developer Menu (Ctrl + M (on Window and Linux) or Cmd ⌘ + M (on macOS)) to see your changes!
For iOS: Hit Cmd ⌘ + R in your iOS Simulator to reload the app and see your changes!
You've successfully run and modified your React Native App. 🥳
- If you want to add this new React Native code to an existing application, check out the Integration guide.
- If you're curious to learn more about React Native, check out the Introduction to React Native.
If you can't get this to work, see the Troubleshooting page.
To learn more about React Native, take a look at the following resources:
- React Native Website - learn more about React Native.
- Getting Started - an overview of React Native and how setup your environment.
- Learn the Basics - a guided tour of the React Native basics.
- Blog - read the latest official React Native Blog posts.
@facebook/react-native- the Open Source; GitHub repository for React Native.