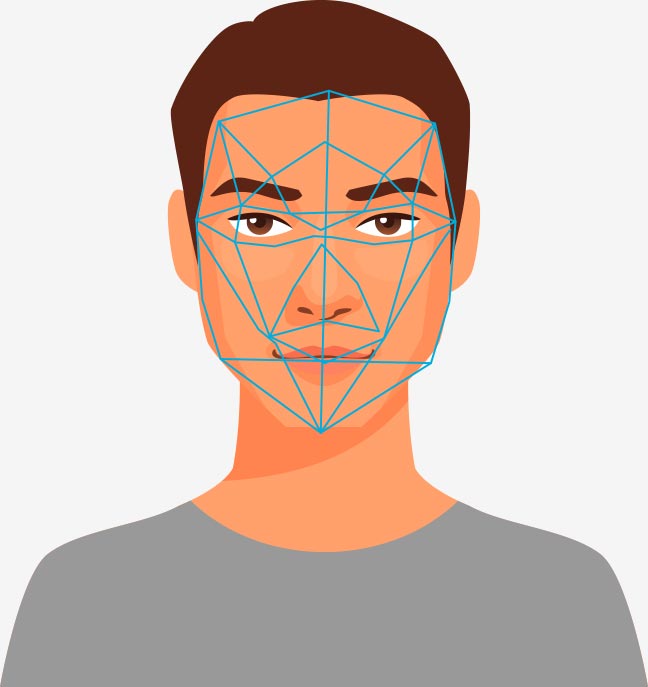
- This is a face-recognition project using K-Nearest Neighbours algorithm.
- It will predict the name of the person by reading his/her image using KNN algorithm.
- KNN basically find the Euclidean distance between the query point and all the training points.
- Euclidean Distance between two points ((x,y),(a,b)) is given as = √(x - a)² + (y - b)²
- Then using these distances we find the k nearest points to the query point.
- And then we classify the query point to a class whose points are more closer to query point.
- There is no time required for training the data. So order for training is O(1).
- All the time required is to find the distance of query point from all the points. So if there are N points and Q query points , then total time complexity of this algorithm will be O(NQ).
Suppose Q is a query point and there are two classes namely 0 and 1.
Let say there are total m points in the training set.
First the distance of all these points from query point will be calculated.
Let say out of those m points a,b,c,d and e are five nearest points to Q.
(a,0),(b,1),(c,1),(d,0),(e,1).This means 'a' belongs to class 0 and 'b' belongs to class 1 and so on.
Since 3 points from class 1 are closer to Q while 2 from class 0.
So it is clear that points from class 1 are more closer hence the probability of Q belonging to class 1 is more.
Hence Q belongs to class 1.
This is how KNN Algorithm classifies a given point to a particular class.
- One is for generating the training data by capturing the images.
- Second one is written to predict the name of the person by using KNN.
- Put all the three files (First Face_Detection_Training_Data , Face_Recognition , haarcascade_frontalface_alt.xml) into a single folder.
- Install all the important packages first like OpenCV and Numpy as they have been used extensively in this project.
- Run the Face_Detection_Training_Data script first , it will generate training data by capturing the image of one person at a time , press q to stop the process.
- Repeat the above step with different person to generate multiple training dataset.
- After above steps when the training dataset is created , run Face_Recognition in order to read the image and predict the result.
In this a predefined classifier is used. Its name is Haarcascade Classifier. In this it has been used to read the face.A Haar Cascade is based on “Haar Wavelets” which is used to create haar like features.Haar-like features are digital image features (alternate feature set instead of usual image intensities) used in object recognition.
A Haar-like feature considers adjacent rectangular regions at a specific location in a detection window, sums up the pixel intensities in each region and calculates the difference between these sums. This difference is then used to categorize subsections of an image. For example, with a human face, it is a common observation that among all faces the region of the eyes is darker than the region of the cheeks. Therefore a common Haar feature for face detection is a set of two adjacent rectangles that lie above the eye and the cheek region.
Here is the link for full documentation of Haarcascade. https://docs.opencv.org/3.4.3/d7/d8b/tutorial_py_face_detection.html
In this all the images read are 3 layered (BGR - Blue Green Red). So if we store this image as an numpy array , it will be a 3D array. This 3D array is flatten into a single row array. So the training data of a single person have multiple rows , each row have information about the image. A unique ID is allocated to each training data which helps in prediction. So training dataset will have multiple training data.
When we read the image for prediction , it is also flatten so that training data and this image have same dimension as we have to find Euclidean distance so both training and test data must have same dimension. After calculating the distance , k nearest neighbours are determined and then the output is predicted according to KNN.
