🔏 Create Keycloak themes using React 🔏


Ultimately this build tool generates a Keycloak theme

NEW in v2
- It's now possible to implement custom
.ftlpages. - Support for Keycloak plugins that introduce non standard ftl values.
(Like for example this plugin that define
authorizedMailDomainsinregister.ftl).
Keycloak provides theme support for web pages. This allows customizing the look and feel of end-user facing pages so they can be integrated with your applications. It involves, however, a lot of raw JS/CSS/FTL hacking, and bundling the theme is not exactly straightforward.
Beyond that, if you use Keycloak for a specific app you want your login page to be tightly integrated with it. Ideally, you don't want the user to notice when he is being redirected away.
Trying to reproduce the look and feel of a specific app in another stack is not an easy task not to mention the cheer amount of maintenance that it involves.
Without keycloakify, users suffers from a harsh context switch, no fronted form pre-validation

Wouldn't it be great if we could just design the login and register pages as if they were part of our app?
Here is keycloakify for you 🍸
TL;DR: Here is a Hello World React project with Keycloakify set up.
If you already have a Keycloak custom theme, it can be easily ported to Keycloakify.
- Motivations
- Requirements
- How to use
- Support for Terms and conditions
- Some pages still have the default theme. Why?
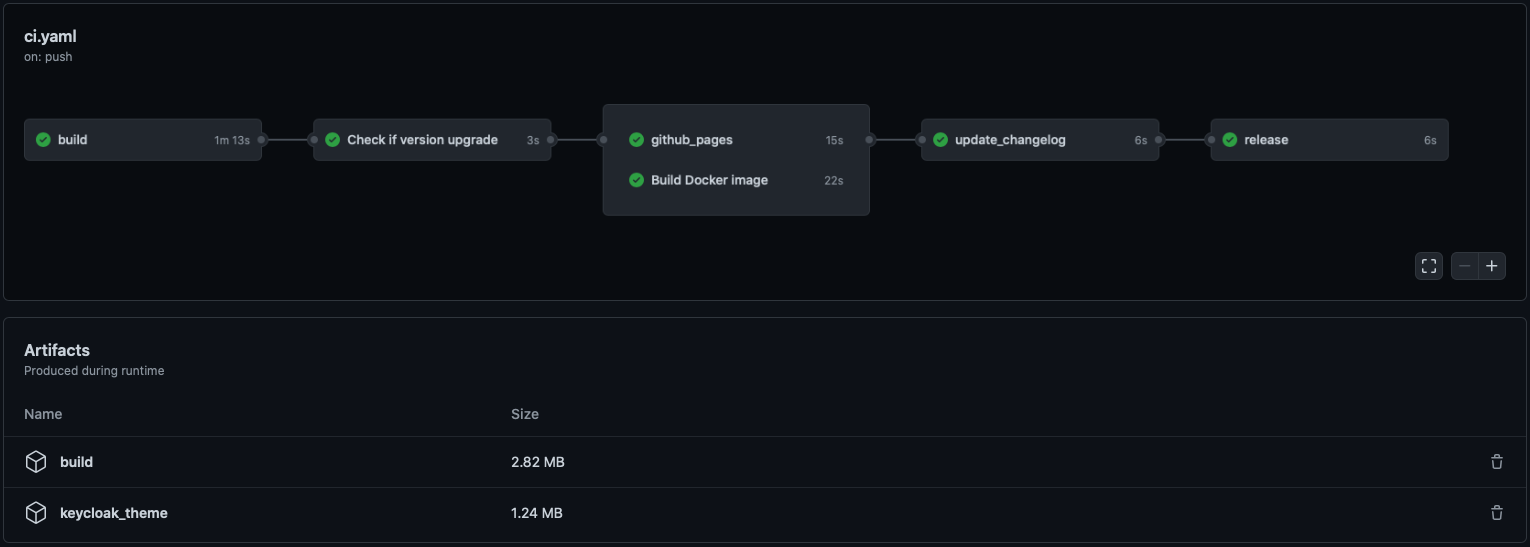
- GitHub Actions
- Limitations
- Implement context persistence (optional)
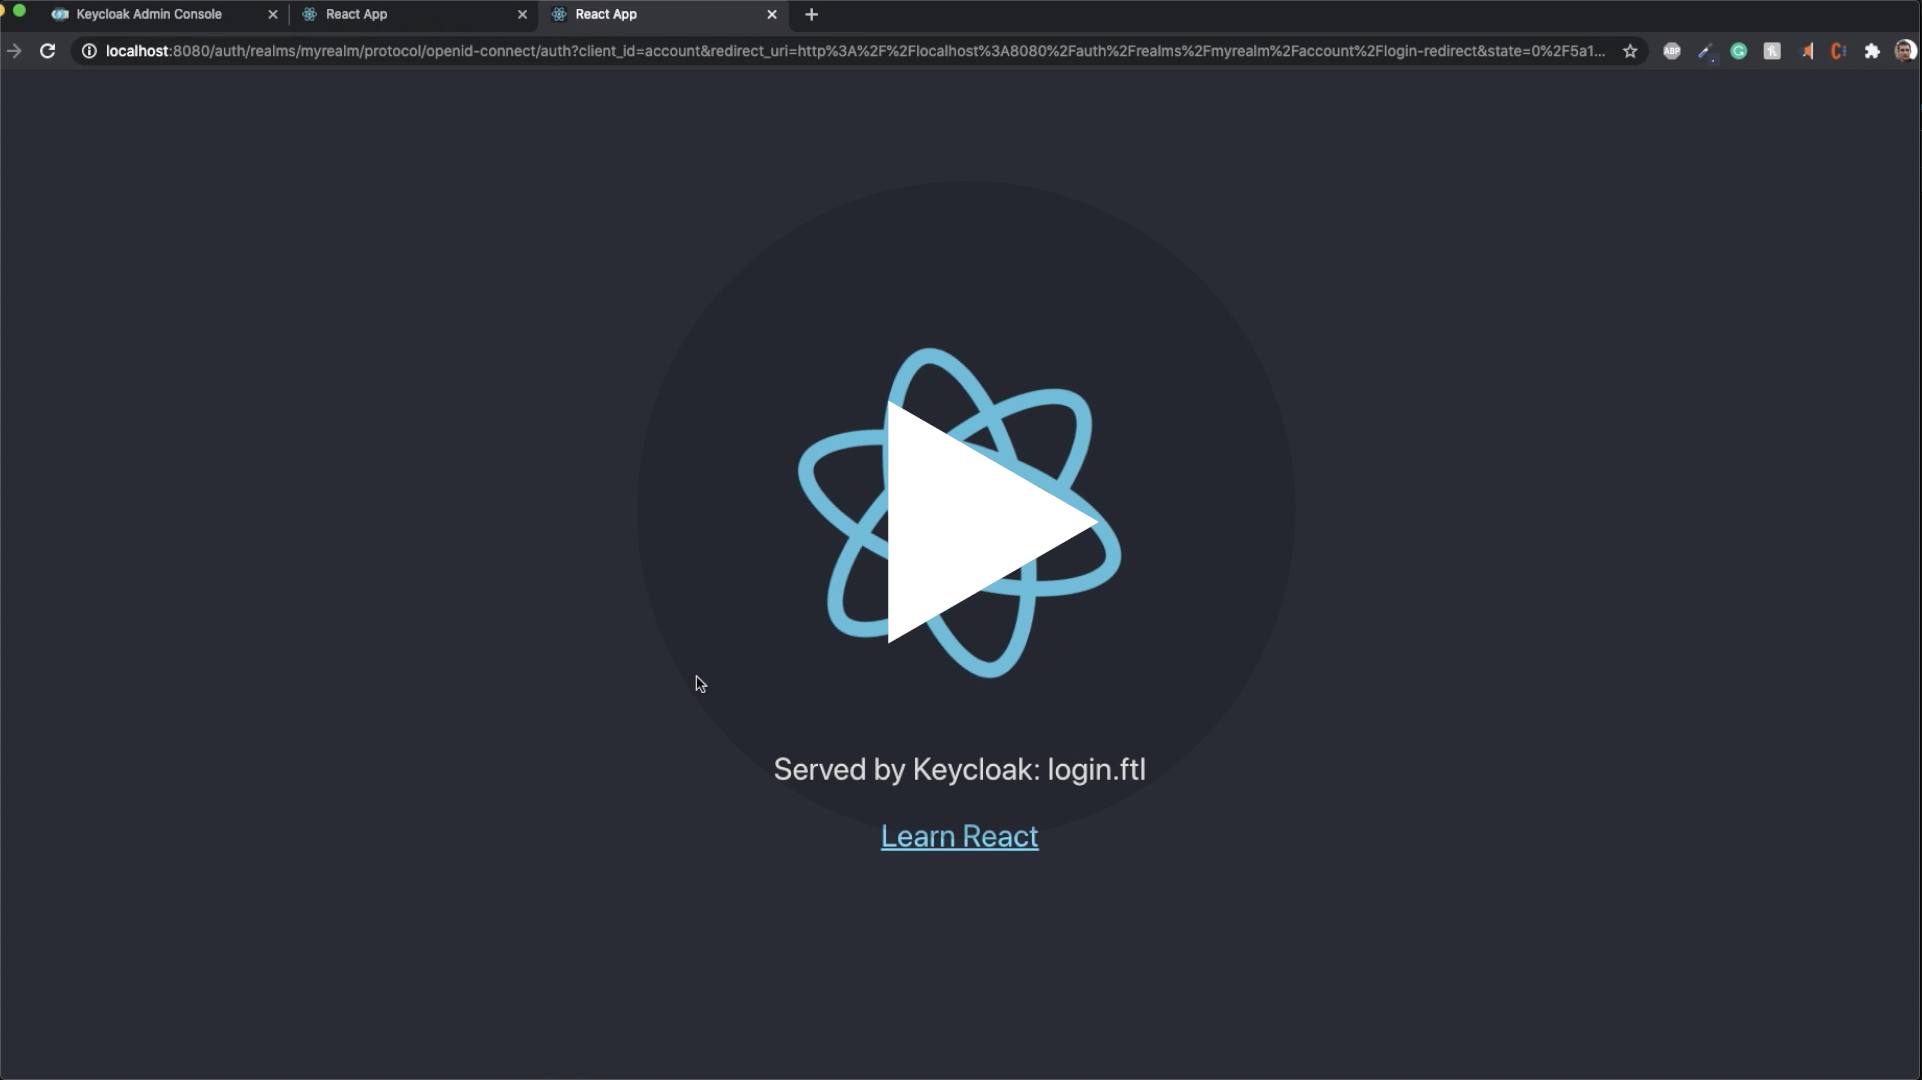
- Kickstart video
- Email domain whitelist
Tested with the following Keycloak versions:
This tool will be maintained to stay compatible with Keycloak v11 and up, however, the default pages you will get (before you customize it) will always be the ones of Keycloak v11.
This tool assumes you are bundling your app with Webpack (tested with 4.44.2) .
It assumes there is a build/ directory at the root of your react project directory containing a index.html file
and a build/static/ directory generated by webpack.
For more information see this issue
Currently Keycloakify is only compatible with create-react-app apps.
It doesn’t mean that you can't use Keycloakify if you are using Next.js, Express or any other
framework that involves SSR but your Keycloak theme will need to be a standalone project.
Find specific instructions about how to get started here.
To share your styles between your main app and your login pages you will need to externalize your design system by making it a separate module. Checkout ts_ci, it can help with that.
yarn add keycloakify"scripts": {
"keycloak": "yarn build && build-keycloak-theme",
}yarn keycloak # generates keycloak-theme.jarOn the console will be printed all the instructions about how to load the generated theme in Keycloak
The first approach is to only customize the style of the default Keycloak login by providing your own class names.
If you have created a new React project specifically to create a Keycloak theme and nothing else then your index should look something like:
src/index.tsx
import { App } from "./<wherever>/App";
import {
  KcApp,
  defaultKcProps,
  getKcContext
} from "keycloakify";
import { css } from "tss-react";

const { kcContext } = getKcContext();

const myClassName = css({ "color": "red" });

reactDom.render(
        <KcApp
            kcContext={kcContext}
            {...{
                ...defaultKcProps,
                "kcHeaderWrapperClass": myClassName
            }}
        />
    document.getElementById("root")
);
If you share a unique project for your app and the Keycloak theme, your index should look more like this:
src/index.tsx
import { App } from "./<wherever>/App";
import {
  KcApp,
  defaultKcProps,
  getKcContext
} from "keycloakify";
import { css } from "tss-react";

const { kcContext } = getKcContext();

const myClassName = css({ "color": "red" });

reactDom.render(
    // Unless the app is currently being served by Keycloak
    // kcContext is undefined.
    kcContext !== undefined ?
        <KcApp
            kcContext={kcContext}
            {...{
                ...defaultKcProps,
                "kcHeaderWrapperClass": myClassName
            }}
        /> :
        <App />, // Your actual app
    document.getElementById("root")
);Example of a customization using only CSS: here (the index.tsx ) and the result you can expect:
If you want to go beyond only customizing the CSS you can re-implement some of the pages or event add new ones.
If you want to go this way checkout the demo setup provided here. If you prefer a real life example you can checkout onyxia-web's source. The web app is in production here.
Main takeaways are:
- You must declare your custom pages in the package.json. example
- (TS only) You must declare theses page in the type argument of the getter
function for the
kcContextin order to have the correct typings. example - (TS only) If you use Keycloak plugins that defines non standard
.ftlvalues (Like for example this plugin that defineauthorizedMailDomainsinregister.ftl) you should declare theses value to get the type. example - You should provide sample data for all the non standard value if you want to be able to debug the page outside of keycloak. example
WARNING: If you chose to go this way use:
"dependencies": {
    "keycloakify": "~X.Y.Z"
}
in your package.json instead of ^X.Y.Z. A minor update of Keycloakify might break your app.
Rebuild the theme each time you make a change to see the result is not practical.
If you want to test your login screens outside of Keycloak you can mock a given kcContext:
import {
    KcApp,
    defaultKcProps,
    getKcContext
} from "keycloakify";

const { kcContext } = getKcContext({
    "mockPageId": "login.ftl"
});

reactDom.render(
        <KcApp
            kcContext={kcContextMocks.kcLoginContext}
            {...defaultKcProps}
        />
    document.getElementById("root")
);
Then yarn start, you will see your login page.
Checkout this concrete example
By default the theme generated is standalone. Meaning that when your users
reach the login pages all scripts, images and stylesheet are downloaded from the Keycloak server.
If you are specifically building a theme to integrate with an app or a website that allows users
to first browse unauthenticated before logging in, you will get a significant
performance boost if you jump through those hoops:
- Provide the url of your app in the
homepagefield of package.json. ex - Build the theme using
npx build-keycloak-theme --external-assetsex - Enable long-term assets caching on the server hosting your app.
- Make sure not to build your app and the keycloak theme separately and remember to update the Keycloak theme every time you update your app.
- Be mindful that if your app is down your login pages are down as well.
Checkout a complete setup here
First you need to enable the required action on the Keycloak server admin console:

Then to load your own therms of services using like this.
This project only support out of the box the most common user facing pages of Keycloak login.
Here is the complete list of pages (you get them after running yarn test)
and here are the pages currently implemented by this module.
If you need to customize pages that are not supported yet or if you need to implement some non standard .ftl pages please refer to Advanced pages configuration.
Here is a demo repo to show how to automate the building and publishing of the theme (the .jar file).
All this is defaults with create-react-app (tested with 4.0.3)
- For building the theme:
mvn(Maven) must be installed (but you can build the theme in the CI) - For testing the theme in a local Keycloak container (which is not mandatory for development):
rm,mkdir,wget,unzipare assumed to be available anddockerup and running.
You won't be able to import things from your public directory in your JavaScript code. (This isn't recommended anyway).
If you are building the theme with --external-assets this limitation doesn't apply, you can import fonts however you see fit.
- We have a
fonts/directory insrc/ - We import the font like this
src: url("/fonts/my-font.woff2") format("woff2");in a.scssa file.
- Use
--external-assets. - If it is possible, use Google Fonts or any other font provider.
- If you want to host your font recommended approach is to move your fonts into the
publicdirectory and to place your@font-facestatements in thepublic/index.html.
Example here. - You can also use non relative url but don't forget
Access-Control-Allow-Origin.
If, before logging in, a user has selected a specific language you don't want it to be reset to default when the user gets redirected to the login or register pages.
Same goes for the dark mode, you don't want, if the user had it enabled to show the login page with light themes.
The problem is that you are probably using localStorage to persist theses values across
reload but, as the Keycloak pages are not served on the same domain that the rest of your
app you won't be able to carry over states using localStorage.
The only reliable solution is to inject parameters into the URL before
redirecting to Keycloak. We integrate with
keycloak-js,
by providing you a way to tell keycloak-js that you would like to inject
some search parameters before redirecting.
The method also works with @react-keycloak/web (use the initOptions).
You can implement your own mechanism to pass the states in the URL and
restore it on the other side but we recommend using powerhooks/useGlobalState
from the library powerhooks that provide an elegant
way to handle states such as isDarkModeEnabled or selectedLanguage.
Let's modify the example from the official keycloak-js documentation to
enables the states of useGlobalStates to be injected in the URL before redirecting.
Note that the states are automatically restored on the other side by powerhooks
import keycloak_js from "keycloak-js";
import { injectGlobalStatesInSearchParams } from "powerhooks/useGlobalState";
import { createKeycloakAdapter } from "keycloakify";

//...

const keycloakInstance = keycloak_js({
    "url": "http://keycloak-server/auth",
    "realm": "myrealm",
    "clientId": "myapp"
});

keycloakInstance.init({
    "onLoad": 'check-sso',
    "silentCheckSsoRedirectUri": window.location.origin + "/silent-check-sso.html",
    "adapter": createKeycloakAdapter({
        "transformUrlBeforeRedirect": injectGlobalStatesInSearchParams,
        keycloakInstance
    })
});

//...
If you really want to go the extra miles and avoid having the white
flash of the blank html before the js bundle have been evaluated
here is a snippet that you can place in your public/index.html if you are using powerhooks/useGlobalState.
NOTE: keycloak-react-theming was renamed keycloakify since this video was recorded

If you want to restrict the emails domain that can register, you can use this plugin
and kcRegisterContext["authorizedMailDomains"] to validate on.


