


To run the example project, clone the repo, and run pod install from the Example directory first.
If this is first time you use OpenCV-Dynamic as the dependency, it'll take time to install.
Just import the framework
import SwiftEyes
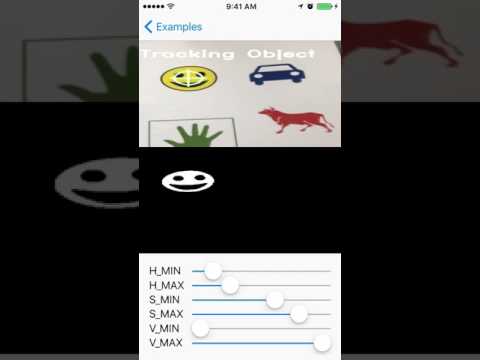
In class SEMotionTrackViewController, you can see the example.
Simply use the code below can identify the motion blob.
func processImage(_ image: OCVMat!) {

// Parameters
let blurSize = 10
let sensitivityValue = 20.0
var differenceMat = OCVMat(cgSize: CGSize(width: image.size.width, height: image.size.height), type: image.type, channels: image.channels)


// from BGR to RGB
OCVOperation.convertColor(fromSource: image, toDestination: image, with: .typeBGRA2RGBA)

// set current mat
currentMat = image.clone()

// convert current mat from RGB to GrayScale
OCVOperation.convertColor(fromSource: currentMat, toDestination: currentMat, with: .typeRGBA2GRAY)

if previousMat != nil {
OCVOperation.absoluteDifference(onFirstSource: currentMat, andSecondSource: previousMat, toDestination: differenceMat)
OCVOperation.blur(onSource: differenceMat, toDestination: differenceMat, with: OCVSize(width: blurSize, height: blurSize))
OCVOperation.threshold(onSource: differenceMat, toDestination: differenceMat, withThresh: sensitivityValue, withMaxValue: 255.0, with: .binary)
}

DispatchQueue.main.sync {
cameraImageView.image = image.image()
displayImageView.image = differenceMat.image()
}

// use previous mat(frame) to compare with next mat(frame)
previousMat = currentMat

}


If you didn't install CocoaPods yet, you can install from here.
And before you run pod install, please be sure that you have install cmake as well.
To download it, simply use Homebrew to install:
brew install cmakeSwiftEyes is available through CocoaPods. To install it, simply add the following line to your Podfile:
pod "SwiftEyes"Victor Lee, specialvict@gmail.com
BSD license, respect OpenCV license as well.