- Joong-Won Seo @JoongWonSeo
- Mohammad Naanaa @hamnaanaa
- Jack Sterling Klusmann @Jack-Klusmann
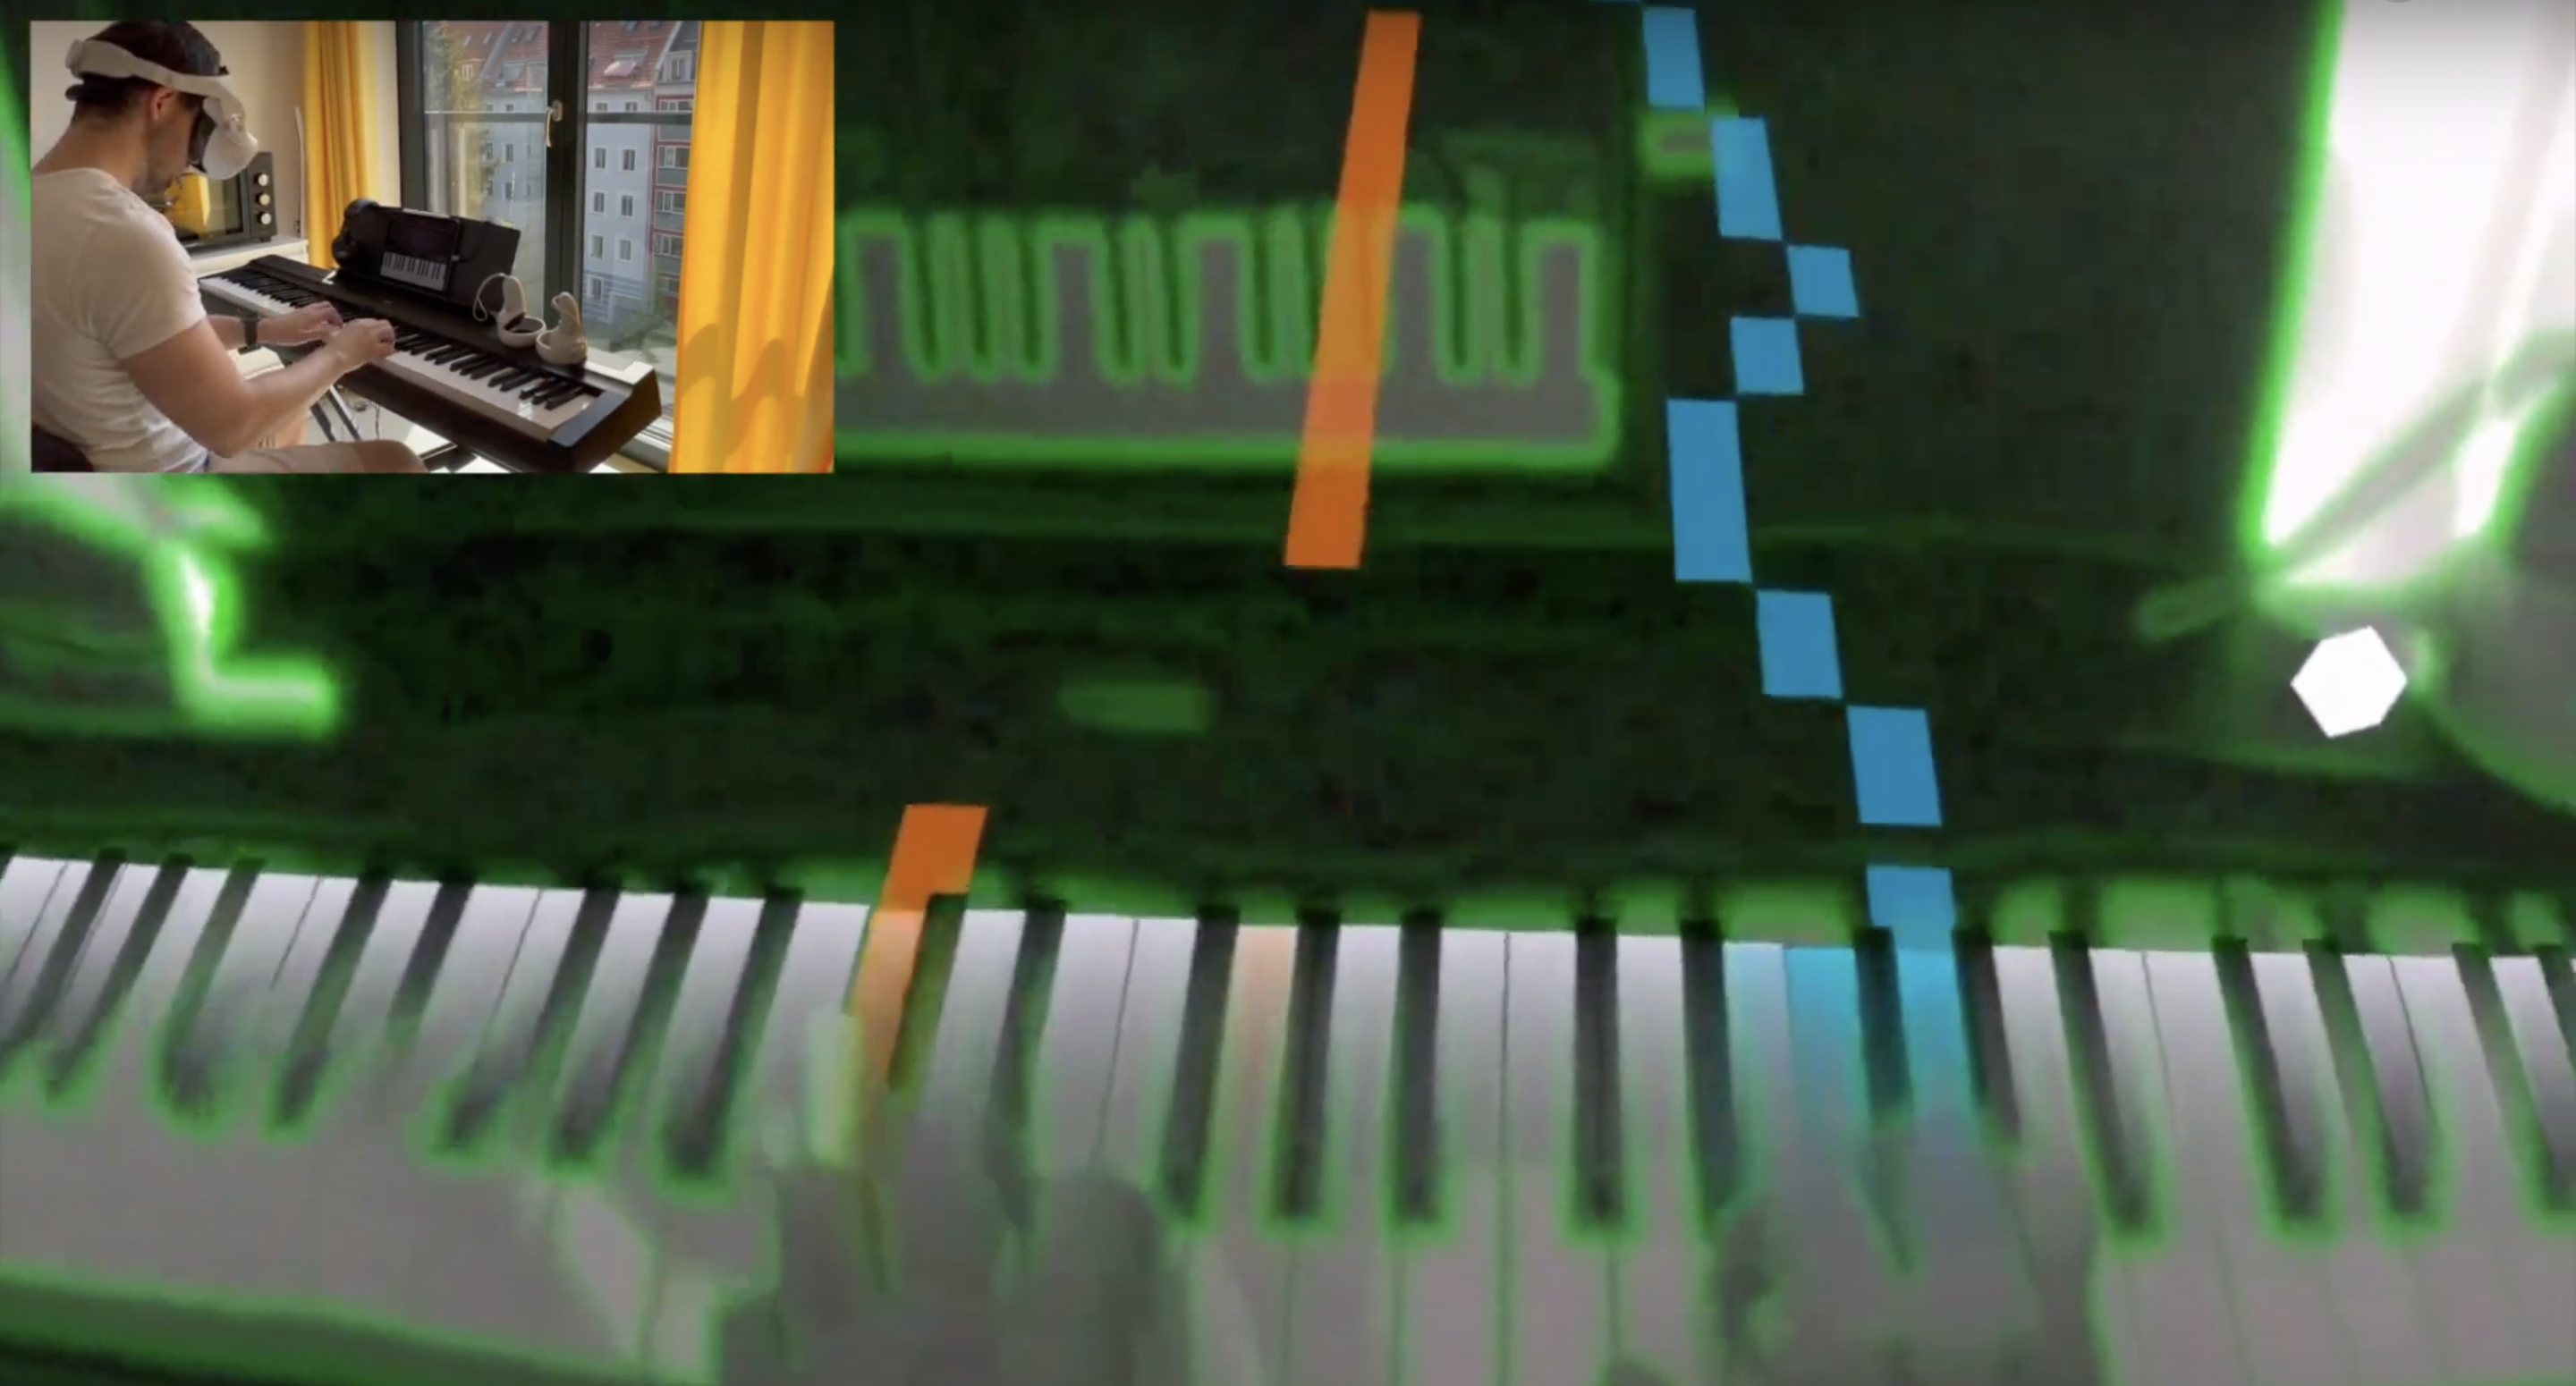
piARno is a piano teaching and practicing application for head-mounted displays (in our case, the Oculus Quest). Upon launching the application, the user will be prompted to specify the location of the piano as well as select the song the user would like to play. Subsequently, the user will be guided through the selected song by 3D augmented tiles moving towards the piano keys. Once the user should press a key, a tile will touch the respective piano key and light up. The alignment of the tiles tells the users which keys to press next. The length of the tiles tell the user how long the keys need to be pressed.
This project supports two installation options - pre-compiled APK and building from sources with Android Studio.
You can use ADB or SideQuest to install the pre-compiled APK onto your Quest 2. Download the latest APK from Releases.
- Clone this repository
- Install Android Studio
- If you are a Mac user, install XCode.
- Within the Android Studio SDK Manager, install:
4.1 Android SDK Platform, API level 26
4.2 Android SDK Build Tools, v 28.0.3 or later
4.3 Android NDK - Within Android Studio, ensure the following veriables are set:
5.1 Set the environment variableJAVA_HOMEto the JDK locationC:\Program Files\Android\Android Studio\jre.
5.2 Set the environment variableANDROID_HOMEto the Android SDK locationC:\Users\[username]\AppData\Local\Android\Sdk.
5.3 Set the environment variableANDROID_NDK_HOMEto the Android NDK locationC:\Users\[username]\AppData\Local\Android\Sdk\ndk\[versionnumber].
5.4 Add the JDK tools directory to your PATHC:\Program Files\Android\Android Studio\jre\bin.
5.5 Add the Android SDK platform-tools directory to your PATHC:\Users\[username]\AppData\Local\Android\Sdk\platform-tools.
5.6 Add the Android SDK tools directory to your PATHC:\Users\<username>\AppData\Local\Android\Sdk\tools. - If you are a Windows user, set up your system to detect your Android device over USB. You may need to install a USB driver for ADB.
- Import the project in Android Studio by selecting the
<repo root>/XrSamples/XrPassthrough/Projects/Androidfolder. - Connect your Oculus Quest 2 headset via USB and press 'Run'.
All of the relevant source files are located in <repo root>/XrSamples/XrPassthrough/Src.
Engine.(h|cpp) and Object.(h|cpp) contain the classes that create an abstraction layer on top of the underlying frameworks OpenGL ES and OpenXR, in order to simplify the actual project code and make it more portable.
Piarno.(h|cpp) contains the code of the project relevant logic (piano overlay rendering, falling tiles based on the MIDI file, UI controls, etc.).
The midi subfolder contains the Midifile library (see below) to parse raw MIDI files into the events containing e.g. note press/release information.
The subfolders models and songs each contain pre-converted 3D models and MIDI files, respectively (in order to avoid NDK's complicated file loading procedure).
This project is based on the XRPassthrough sample code from the Oculus OpenXR Mobile SDK.
-
Oculus Mobile SDK using C++ for Android Native Development Kit.
-
Passthrough API: Real-time 3D visualization of the physical world in the Oculus headsets for AR development.
-
OpenXR: OpenXR is a royalty-free, open standard that provides high-performance access to Augmented Reality (AR) and Virtual Reality (VR)—collectively known as XR—platforms and devices.
-
OpenGL: 3D rendering.
-
Midifile: C++ MIDIfile parsing library developed by Craig Stuart Sapp (@craigsapp).
-
obj2c: Simple command line tool to convert Wavefront OBJ models to C/C++ data arrays developed by Guilherme R. Lampert (@glampert).
-
Minecraft Ten Font: Font used for rendering in-app text.
-
Free Piano Tutorials: Most of included sample MIDI songs from freepianotutorials.net.
