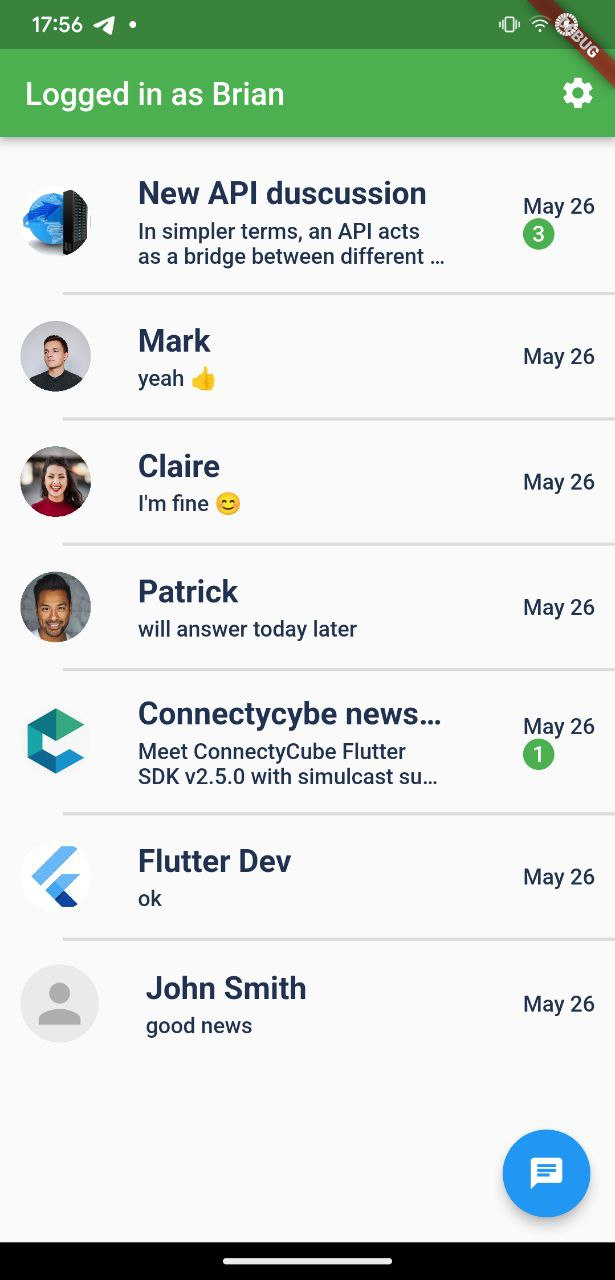
This README introduces ConnectyCube Chat code sample for Flutter
The project contains the following features implemented:
- User authorization:
- By login;
- By e-mail;
- By Phone number (on supported platforms - Android, iOS, Web);
- Users search
- Chat dialogs creation
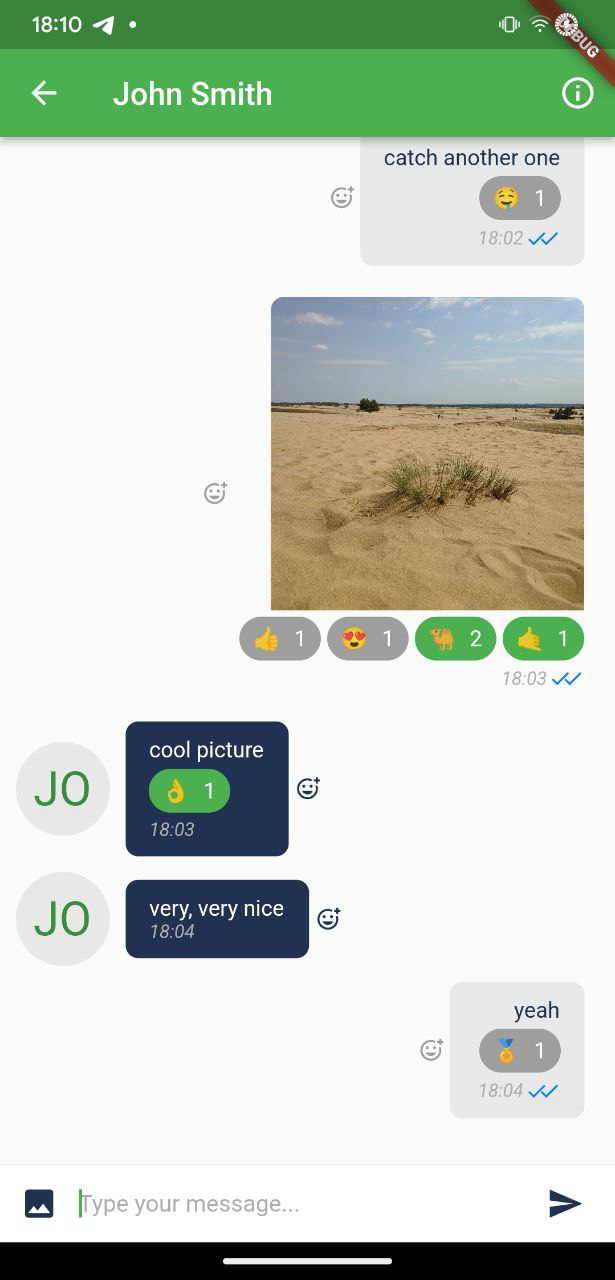
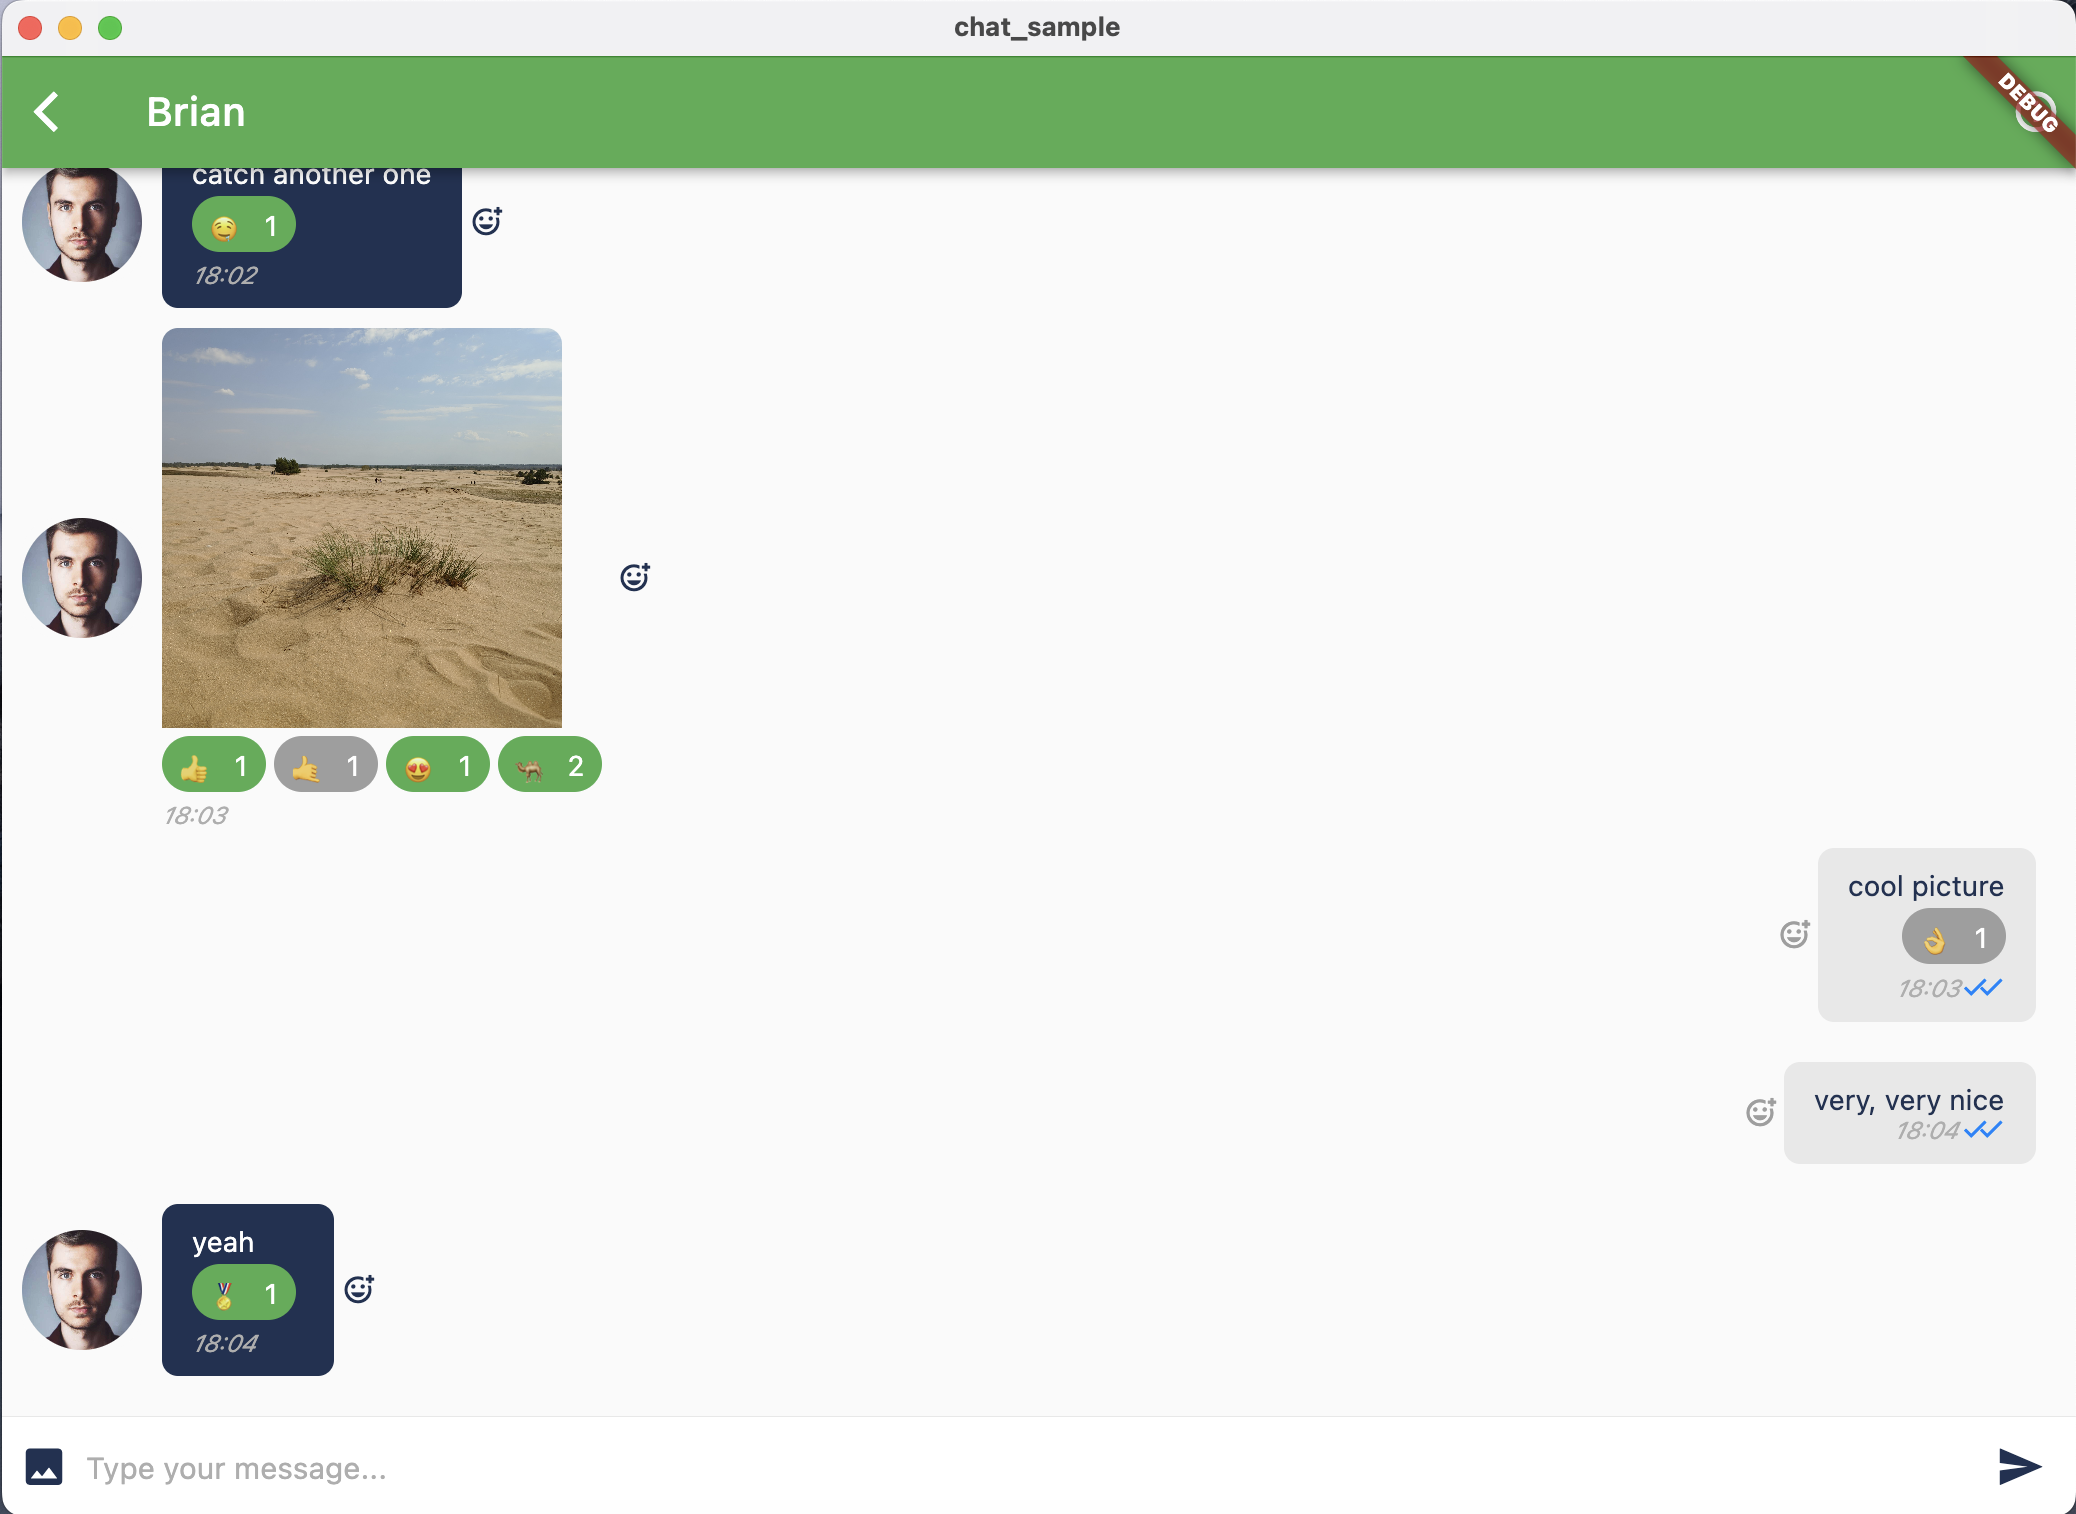
- 1-1 messaging
- Group messaging
- ‘Is typing’ statuses
- Group chat: edit a name, photo; list of participants, add/remove participants; leave a group
- Push notification: subscribe/unsubscribe, show local notification, navigate to the app click on a local notification
- Messages' reactions
ConnectyCube Flutter getting started - https://developers.connectycube.com/flutter
ConnectyCube Chat API documentation - https://developers.connectycube.com/flutter/messaging
Quickstart Flutter app.
Prepare environment for Flutter and clone the project.
- Right mouse button click on
main.dart; - Chose 'Run 'main.dart''.
The app will automatically run on your Android device.
- Start Xcode;
- Select
Runner.xcworkspaceto run Xcode project; - Press the' Build' button to start project building.
The app will automatically run on a selected iOS device or simulator.
- Run command from the Terminal
flutter run -d macos;
- Run command from the Terminal
flutter run -d windows;
- Run command from the Terminal
flutter run -d chrome;
or follow the link to take a look at the deployed version
- Run command from the Terminal
flutter run -d linux;
- Create your own app in the ConnectyCube admin panel (if not created yet);
- Create a project in the Firebase developer console (if not created yet);
- Add the Server API key from the Firebase developer console to the ConnectyCube admin panel for the Android platform (short guide);
- Add Apple certificate for the iOS platform (short guide, how to generate and set it to the admin panel);
- Generate config file
firebase_options.dartvia FlutterFire CLI(the simple util provided for avoiding manual configuration for each platforms) and put it by placelib/firebase_options.dart; - Build and run the app as usual;
Note: For working with push notifications on the macOS platform you should generate a separate certificate similar to p.4 but with other app bundle id.
Note: For displaying notifications on the Web platform from the background you should feel the file
web/firebase-messaging-sw.jswith data from your Firebase developer console.
Got troubles with building Flutter code samples? Just create an issue at Issues page - we will create the sample for you. For FREE!