


This project consists of robots that, based on user input, search for texts on Wikipedia, download images and render a video with After Effects or FFmpeg.
- Node (https://nodejs.org)
- After Effects CC 2019 (https://www.adobe.com/br/products/aftereffects.html)
- FFmpeg (https://www.ffmpeg.org/)
- Image Magick (https://imagemagick.org/index.php)
-
Install all prerequisites;
-
Set the FFmpeg path in the environment variables path:
'C:\Program Files (x86)\ffmpeg\bin' -
Check the ImageMagick path in the environment variables path:
'C:\Program Files\ImageMagick-7.0.11-Q16-HDRI' -
Check and insert your APIs_Keys in the credentials folder
-
You need to create your access key to be able to test the bots. To do this, you need to access the Algorithmia website. There's no secret here. Just access it and register. After logging into your account, in the Dashboard, look for the Api Keys menu and copy it.
Go to the project folder where you cloned the repository, navigate to the iVideosSearchBot\credentials folder, create a text file and rename it to algorithmia.json. Inside this file, you will place the API that you copied from the Algorithmia website in the structure below:
{
"apiKeyAlgorithmia": "API_KEY_HERE"
}- You also need to create the Watson credentials on the IBM website, there is no secret to it either, just register, when you are logged in, in the top menu click on Catalog, then within AI look for Natural Language Understanding by clicking on it on the new page a "create" button will appear at the end of the page, once the service is created, you will be redirected to the management page of the service you just created, in the left side menu look for Service Credentials and then click on Auto-generated service credentials highlighted below, then copy the Credentials:
Again, going back to the project folder still within the iVideosSearchBot\credentials folder you will add the keys according to the following model:
{
"apiKeyAlgorithmia":"API_KEY_HERE",
"nlu": {
"apikey": "...",
 "iam_apikey_description": "...",
 "iam_apikey_name": "...",
 "iam_role_crn": "...",
 "iam_serviceid_crn": "...",
 "url": "..."
 },
}- Before we create the APIs that we will use, we need to link our Google account with Google Cloud Platform. On the Google Cloud Platform page, you will click on the Take a Free Trial button and then select the Terms and Conditions option
Ps.: It is important to remember that some Google Cloud Platform features are Paid, for this reason it is necessary to enter the payment information, but rest assured because we will only use the Free features.
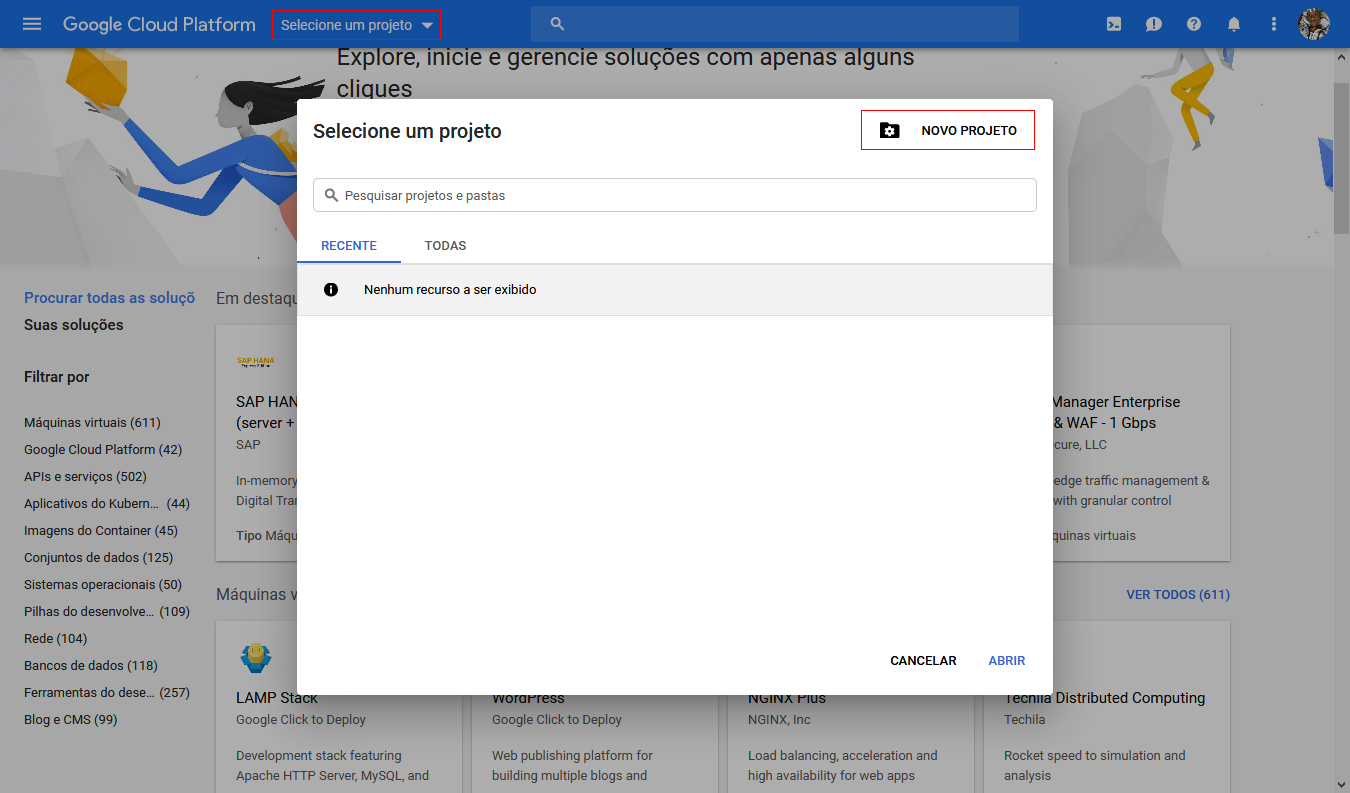
Now it's time to create a project that we will link the APIs that we are going to use, to do this just click on the menu at the top of the page "Select project" and then on "New Project":
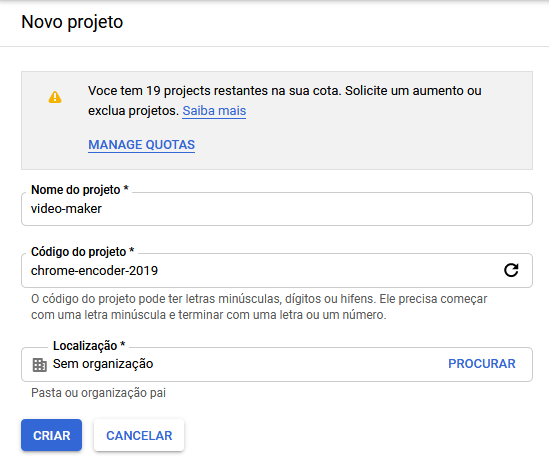
give the project a name and click the create: button
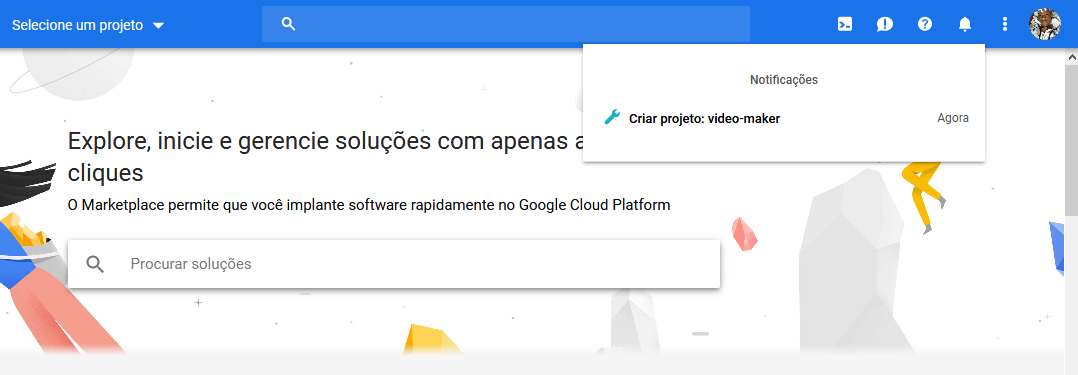
After that the project will start to be created and as soon as it finishes a menu will appear with the project we just created then you will select it:
With the project created, it's now time to enable and configure the API. You will click on the top left side menu and navigate to API's and Services > Libraries:

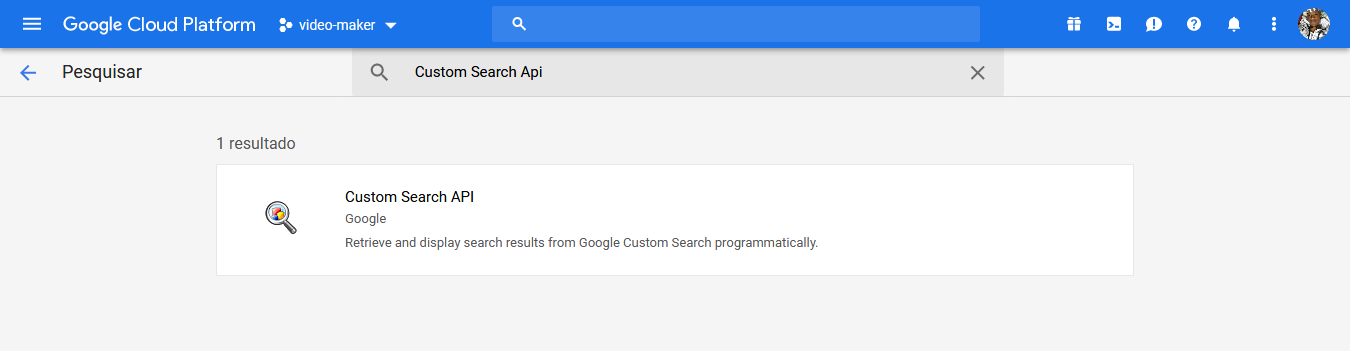
In the search field, simply search for Custom Search API, click Activate, and wait until the API is activated:
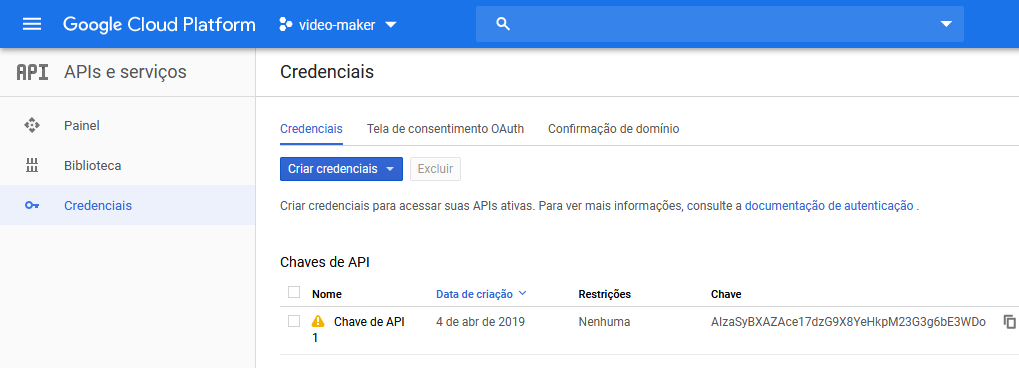
After activation, a message will appear asking you to create API credentials, so just click on Create Credentials:

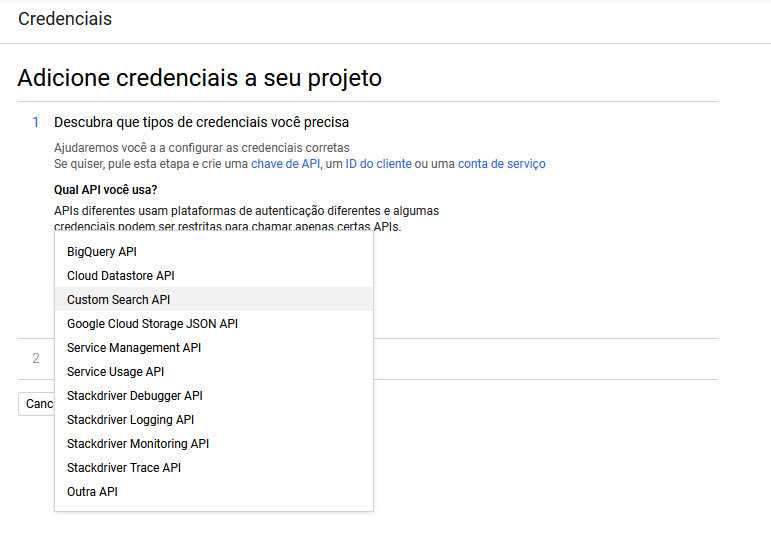
Look for Custom Search API in the dropdown and click on "What credentials do I need?"
After that, your API Key will appear. Copy it and click the Finish button. Return to the project folder and navigate to iVideosSearchBot/credentials and add the keys, according to the following model:
{
"apiKeyAlgorithmia":"API_KEY_HERE",
"nlu": {
"apikey": "...",
"iam_apikey_description": "...",
"iam_apikey_name": "...",
"iam_role_crn": "...",
"iam_serviceid_crn": "...",
"url": "..."
},
"google":{
"apiKey": "...",
}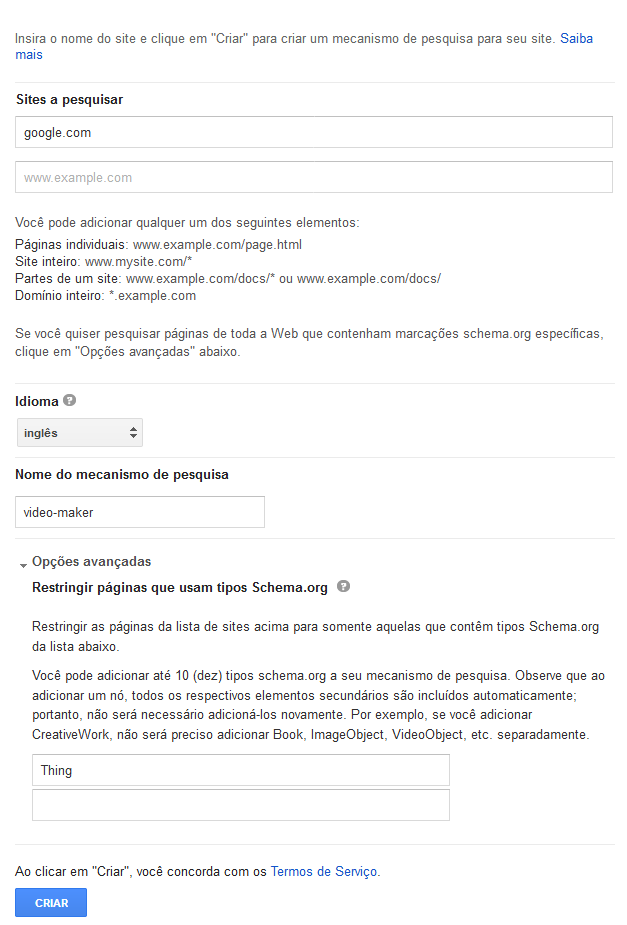
}Now we will configure our custom Google search engine, for this you will access the Custom Search Engine, and you will inform the site to search put google.com, you will select the language you prefer in the video Filipe leaves English so I advise leaving it in English, and finally click on Advanced options and for the scheme we will use the most generic Thing, ready everything filled in you will click on create:
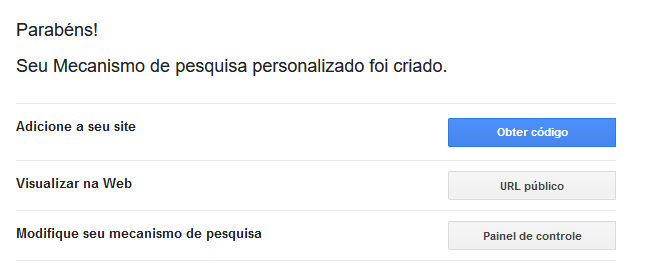
Now just click on Control Panel on the new screen we will enable the Image Search option and then we will click on the Copy to clipboard button"
Ps.: There are several options that I recommend you test in the future and find out what each one does 😋
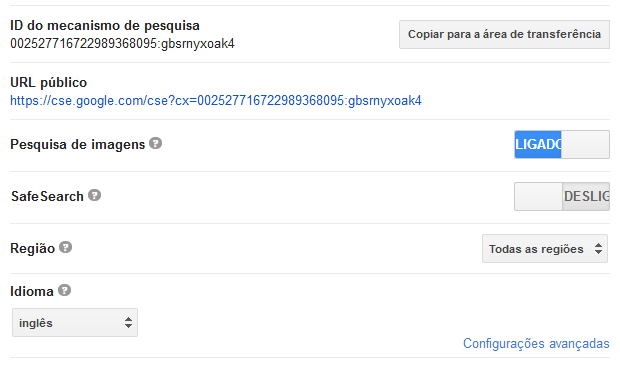
Returning to the env.json file, we will create a new property and paste the identifier code of the search engine we created, identified by searchEngineId, in the end it will look like this:
{
"apiKeyAlgorithmia":"API_KEY_AQUI",
"nlu": {
"apikey": "...",
"iam_apikey_description": "...",
"iam_apikey_name": "...",
"iam_role_crn": "...",
"iam_serviceid_crn": "...",
"url": "..."
},
"google":{
"IDSearchEngine": "...",,
"apiKey": "...",
}
}It's time to configure the YouTube API! As we did with the custom search API, we will do the same with the YouTube API, so just access Google Cloud and enable the YouTube service, clicking on the Side menu Apis and Services -> Library, in the search box search for YouTube, and click on the Activate button:
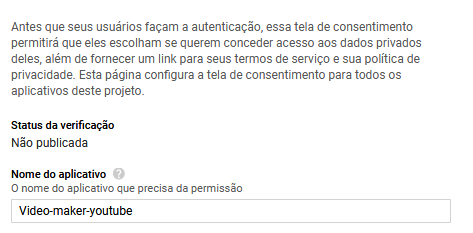
Now click on the OAuth Consent Screen tab
Then fill in only the "application name" field, in the future you can come back here to customize it with other information if you wish:
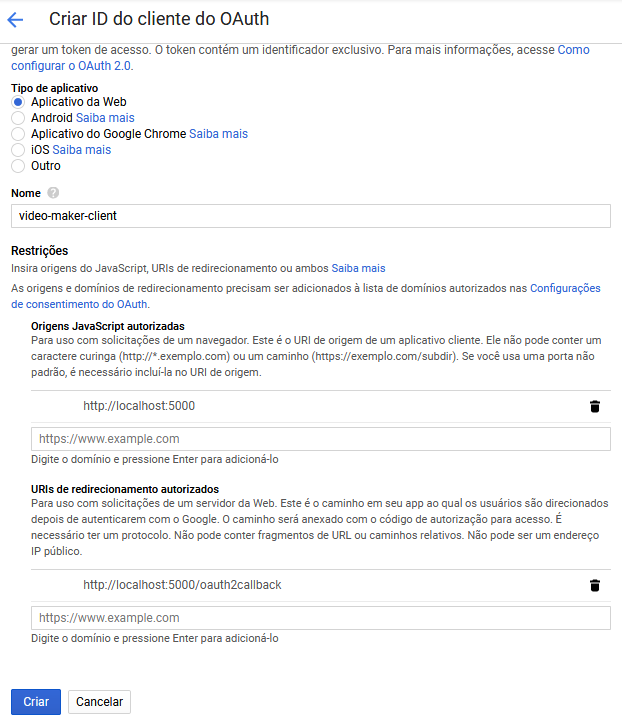
Click the Create Credentials dropdown and choose OAuth Client ID:
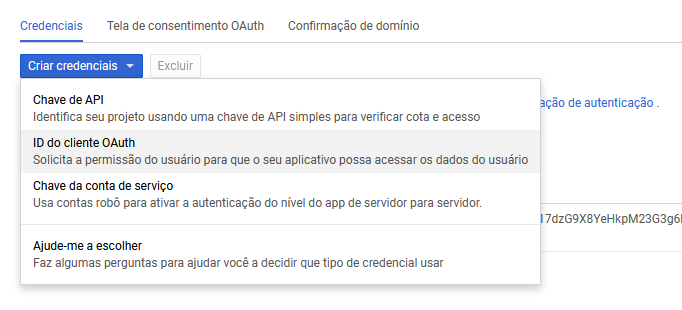
There's not much of a secret here, choose Web Application for the Application Type, choose an application name, in the first field enter the address http://localhost:5000 and in the second http://localhost:5000/oauth2callback and click the create button:
After being created, a window will appear with the credentials, you can click ok, as we will download the credentials as shown in the screen below:
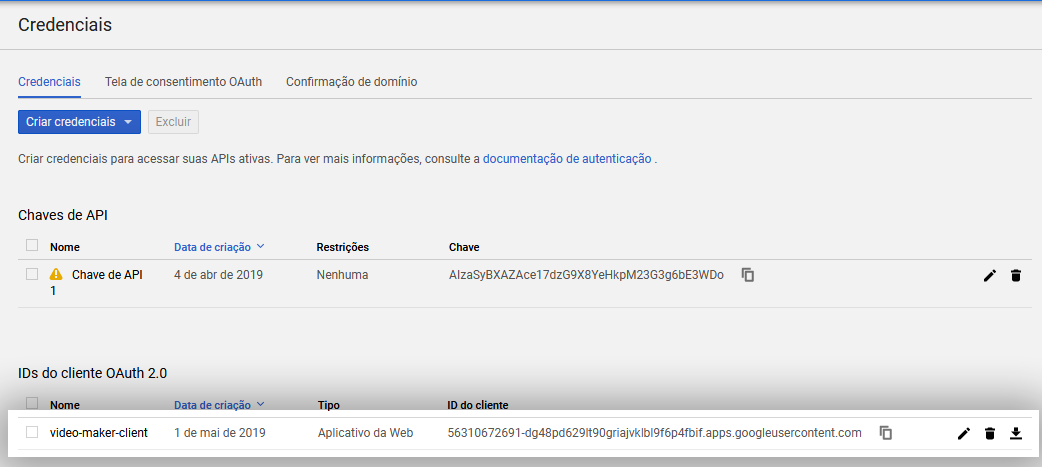
I rename the file to credentialsOAuthYT.json and save it inside the iVideosSearchBot/credentials folder 😄
- Create a
.envfile and inside it insert the path to After Effects and FFmpeg Convert, as per the following model:
AFTER_EFFECTS_PATH_DARWIN=/Applications/Adobe After Effects CC 2019/aerender
AFTER_EFFECTS_PATH_WIN_32=C:\\Program Files\\Adobe\\Adobe After Effects CC 2019\\Support Files\\aerender.exe
FFMPEGCONVERTPATH=C:\\Program Files (x86)\\ffmpeg\\bin\\ffmpeg.exe
- Open the template.aep that is inside the iVideosSearchBot\templates\1\ folder, locate the text expression that corresponds to the search title and change the path of $.eval to the one that actually corresponds on your system. Following the model below:
$.evalFile('C:\Users\ryangalvaogp\Documents\GitHub\iVideosSearchBot\templates\1');
content
Check if the paths mentioned correspond to the ones on your machine, otherwise, replace them with the ones on your system.
##Running the Project ## Inside the iVideosSearchBot folder you can open cmd or powershell and run the command:
yarn dev