-
Notifications
You must be signed in to change notification settings - Fork 1
App User Instructions zh
這個 app 透過 X.509 憑證金鑰組來跟 MQTT broker 進行通訊,是各類 MQTT 通訊中安全等級最高的方法。App 同時也支援 Face ID/Touch ID 做為手機端的安全控管。如果 MQTT 端的資料都設定完成,app 本身的使用應該是非常的直覺與簡單。
最初的源頭,只是想要找一個方法可以讓手機控制車庫大門,這樣就不用多帶一個遙控器。然而因為控制的是大門,對於安全的要求就必需非常高,然而找遍了各種通用型的 app 沒有一個可以符合簡單好用但是超級安全,幾乎所有的 IoT app 都採用 Restful 的控制方法,MQTT 有只有使用 username/password 的版本,遍尋不到後,決定乾脆自己重新啟動一個專案,除了自己能用,也希望可以造福到創客社群。
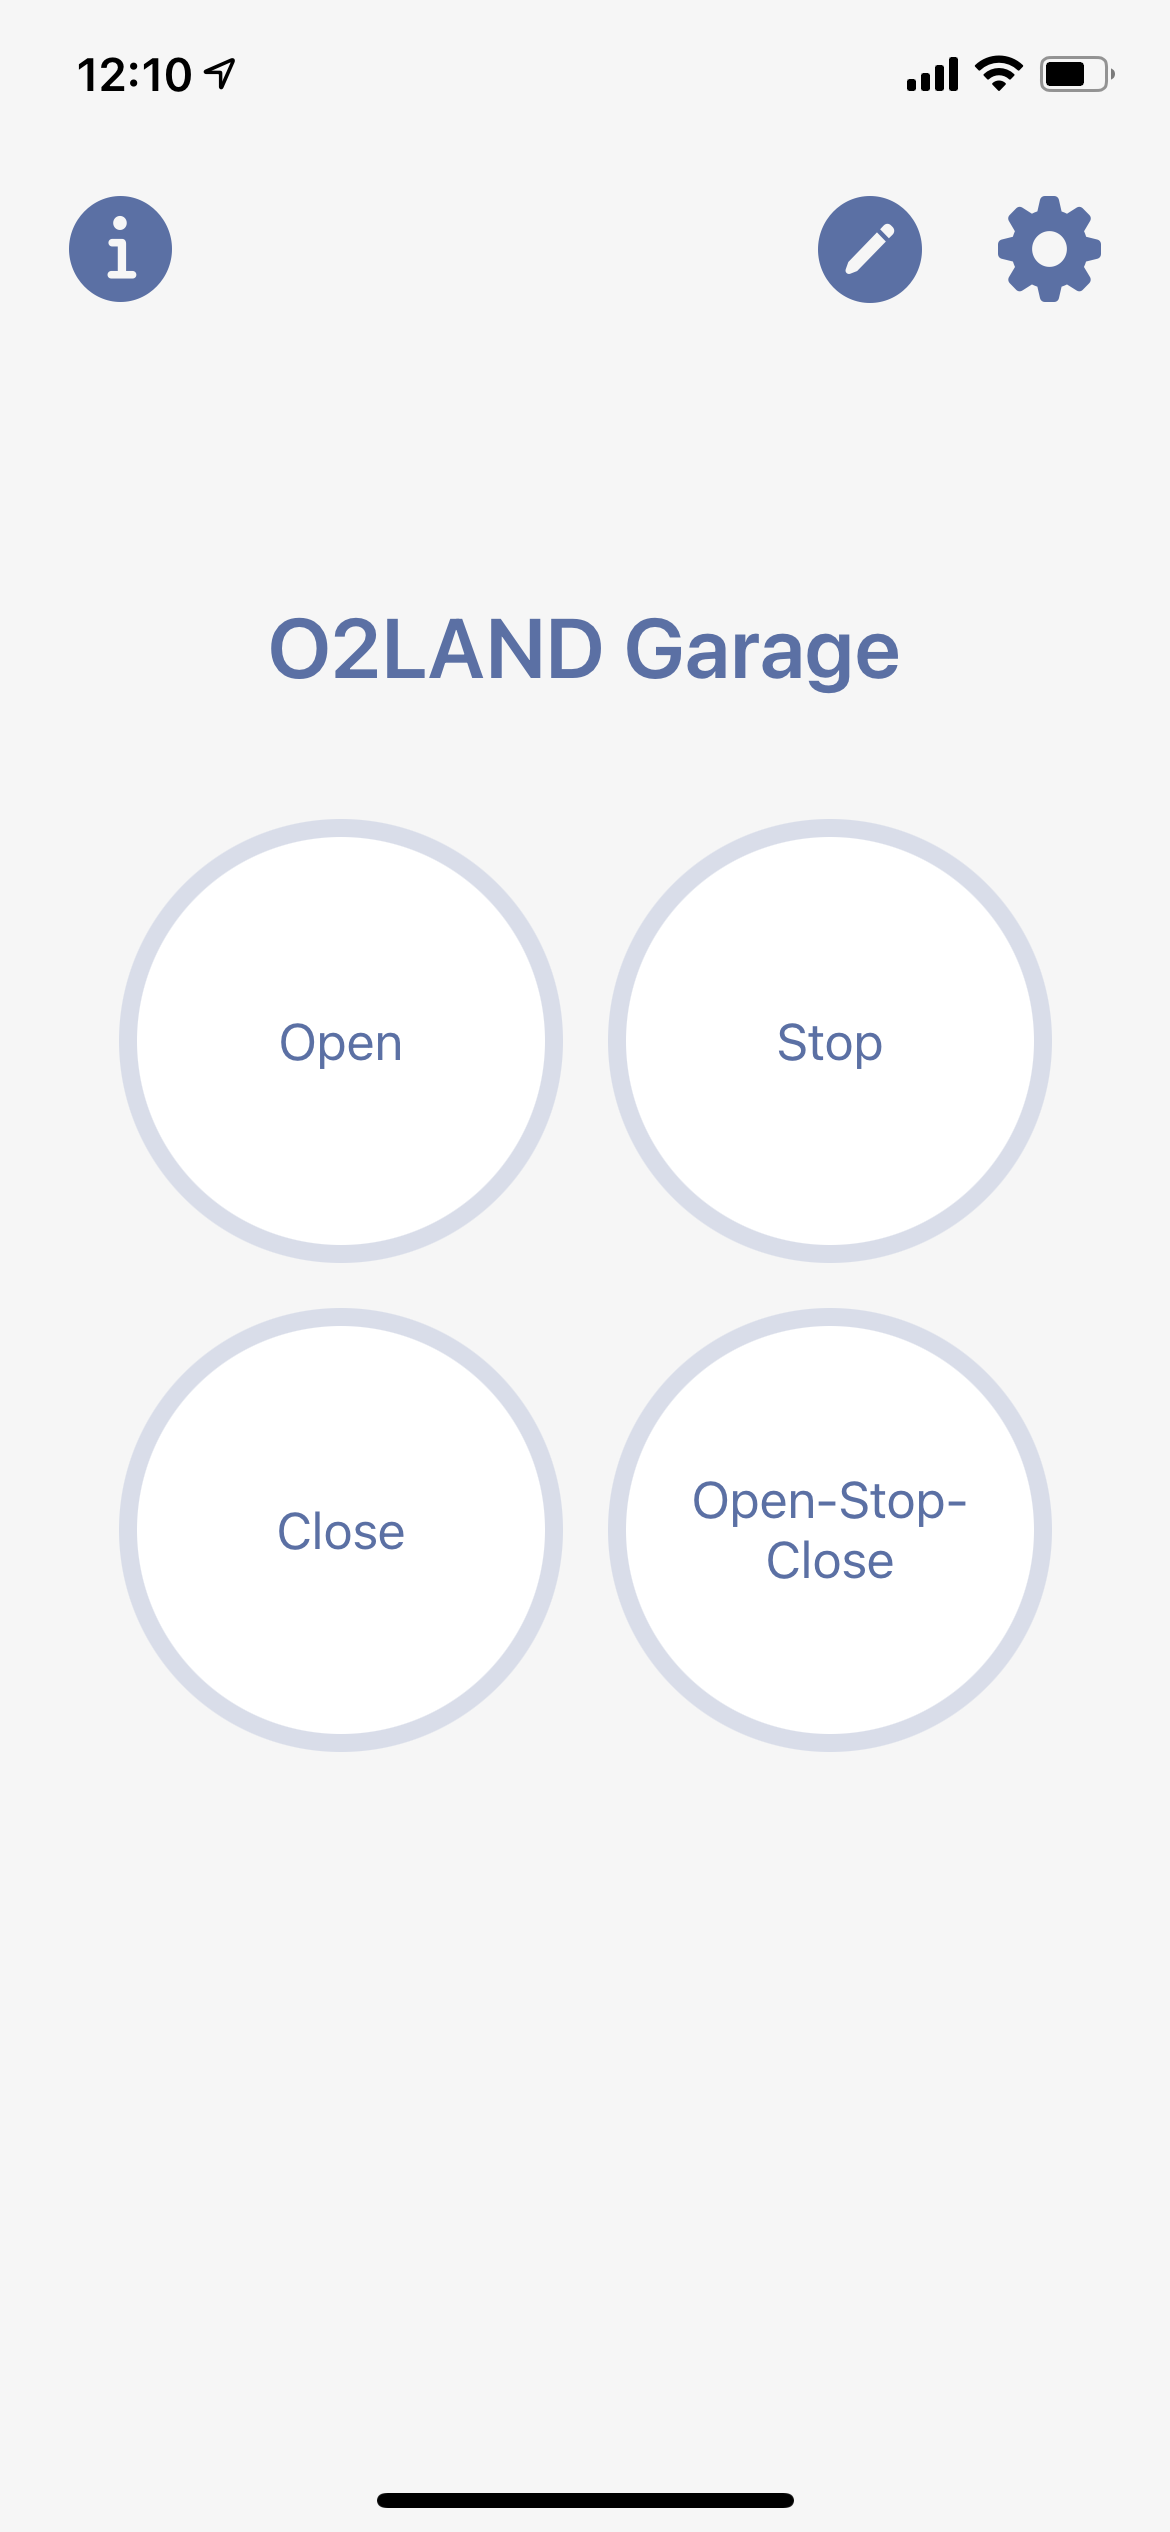
App 主畫面.
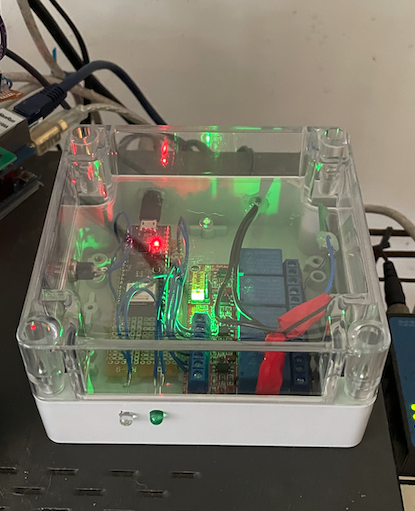
物聯網控制器是用 ESP32-PICO-MINI-02 kit 所搭建出來的。
完成後的使用示範影片。
更多的資料在本開源計畫專頁中。
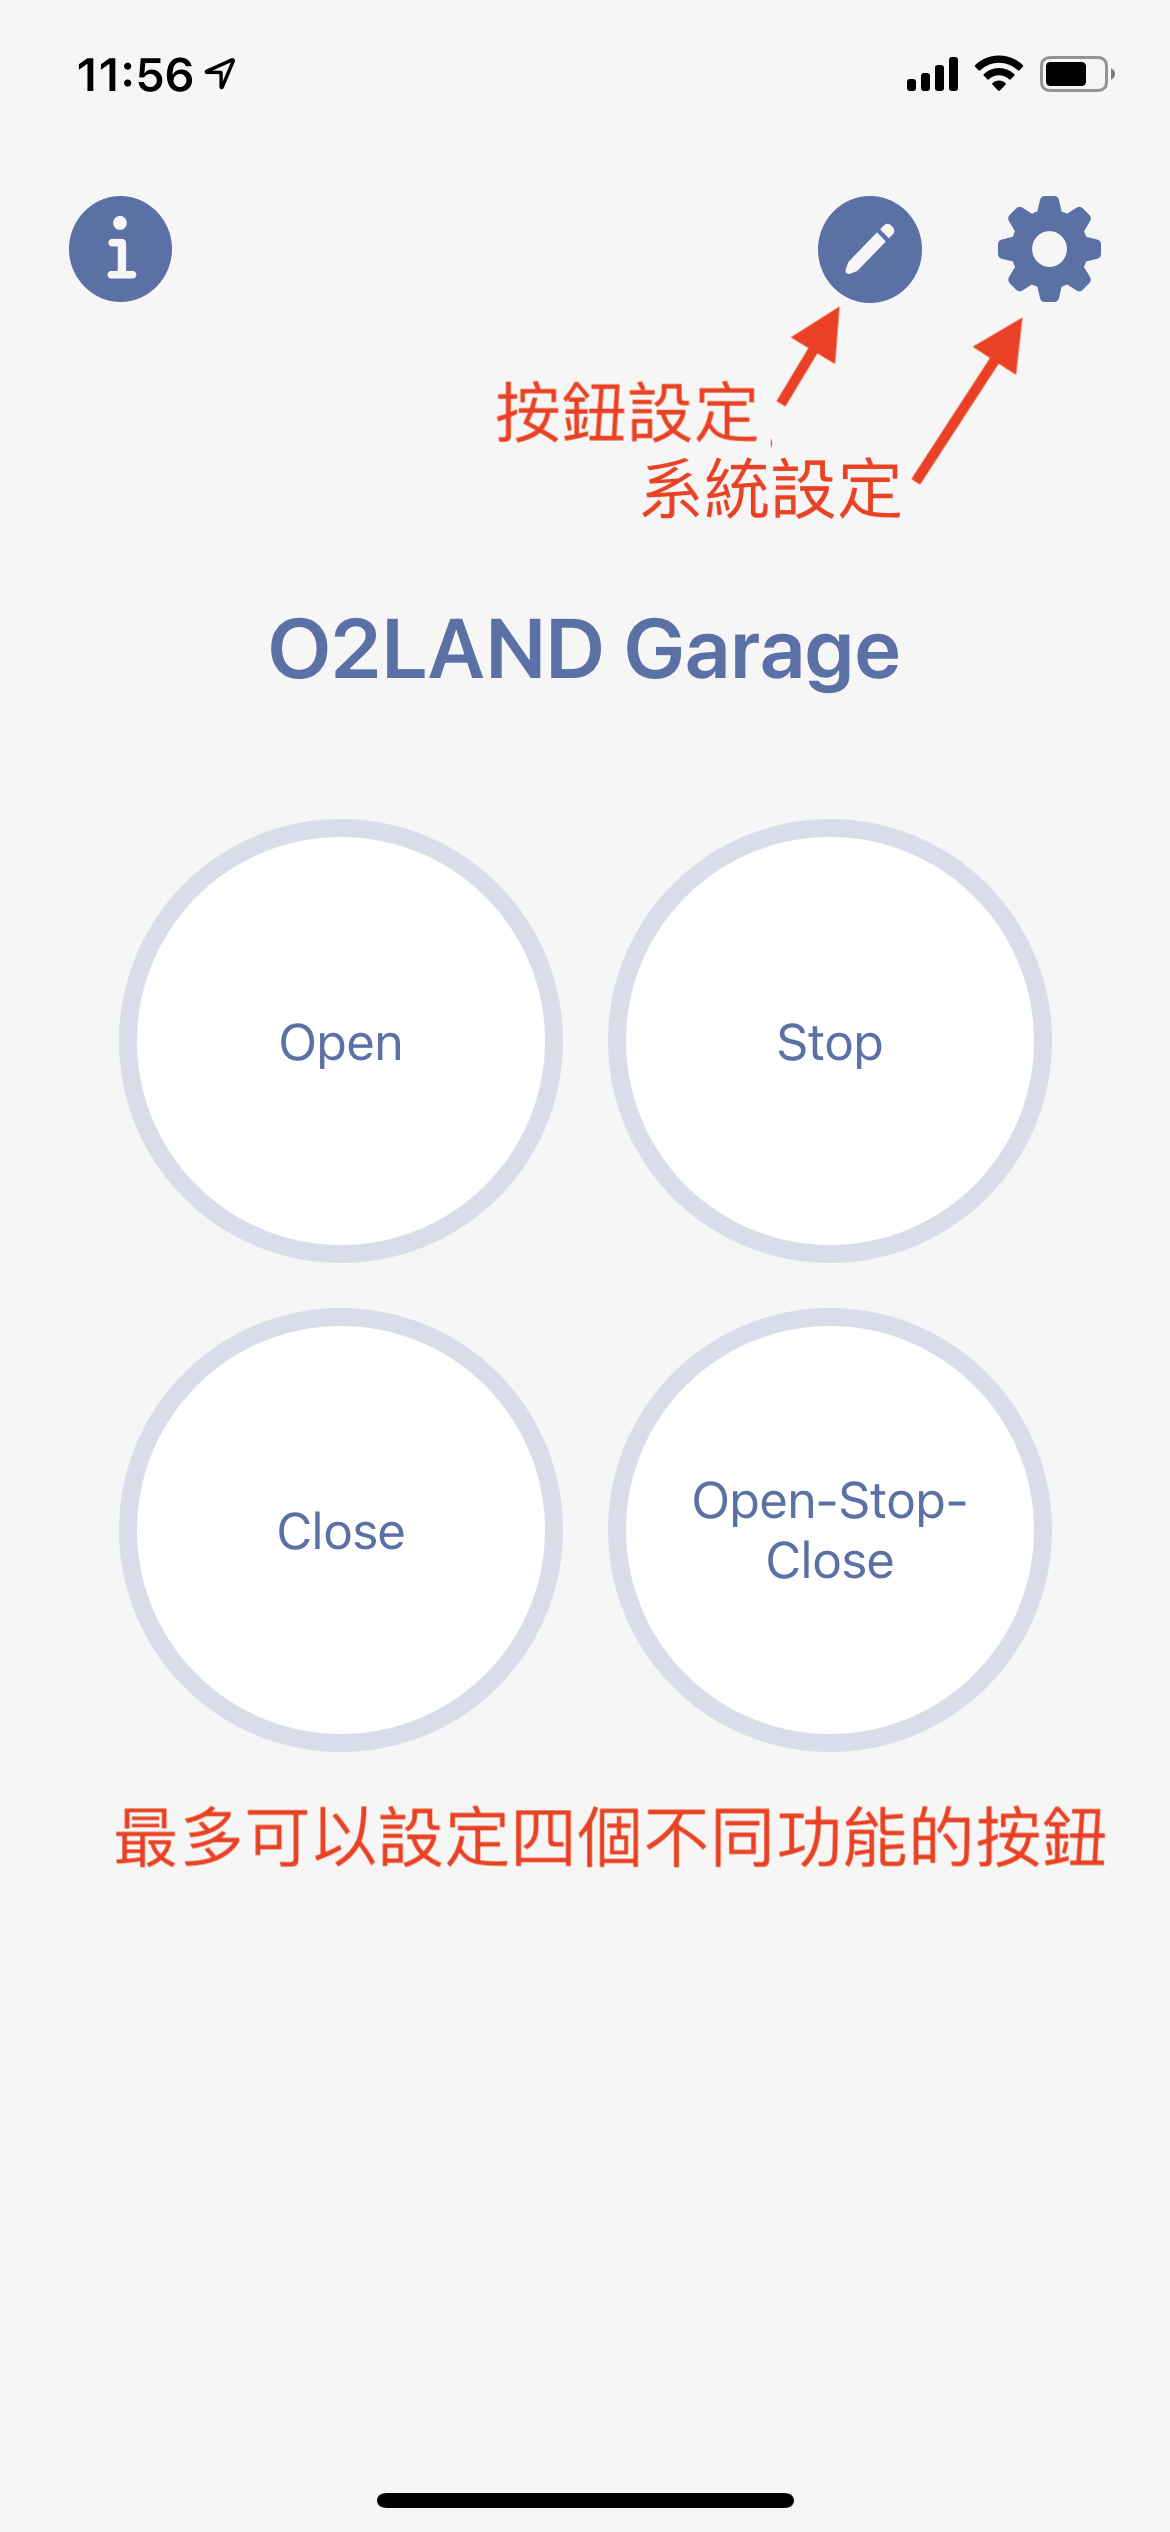
This app supports maximum 4 buttons. Each button can be defined with its own MQTT message and the topic for the message to be sent to. The main screen is the first screen to open when the app is opened. If Face ID/Touch ID is enabled, the main screen will be opened after the Face ID/Touch ID authentication is passed. With the 4 buttons, you can send 4 different MQTT messages to the same broker. To configure the buttons and their message/topic, go to button editing. To setup the broker, go to the system settings.
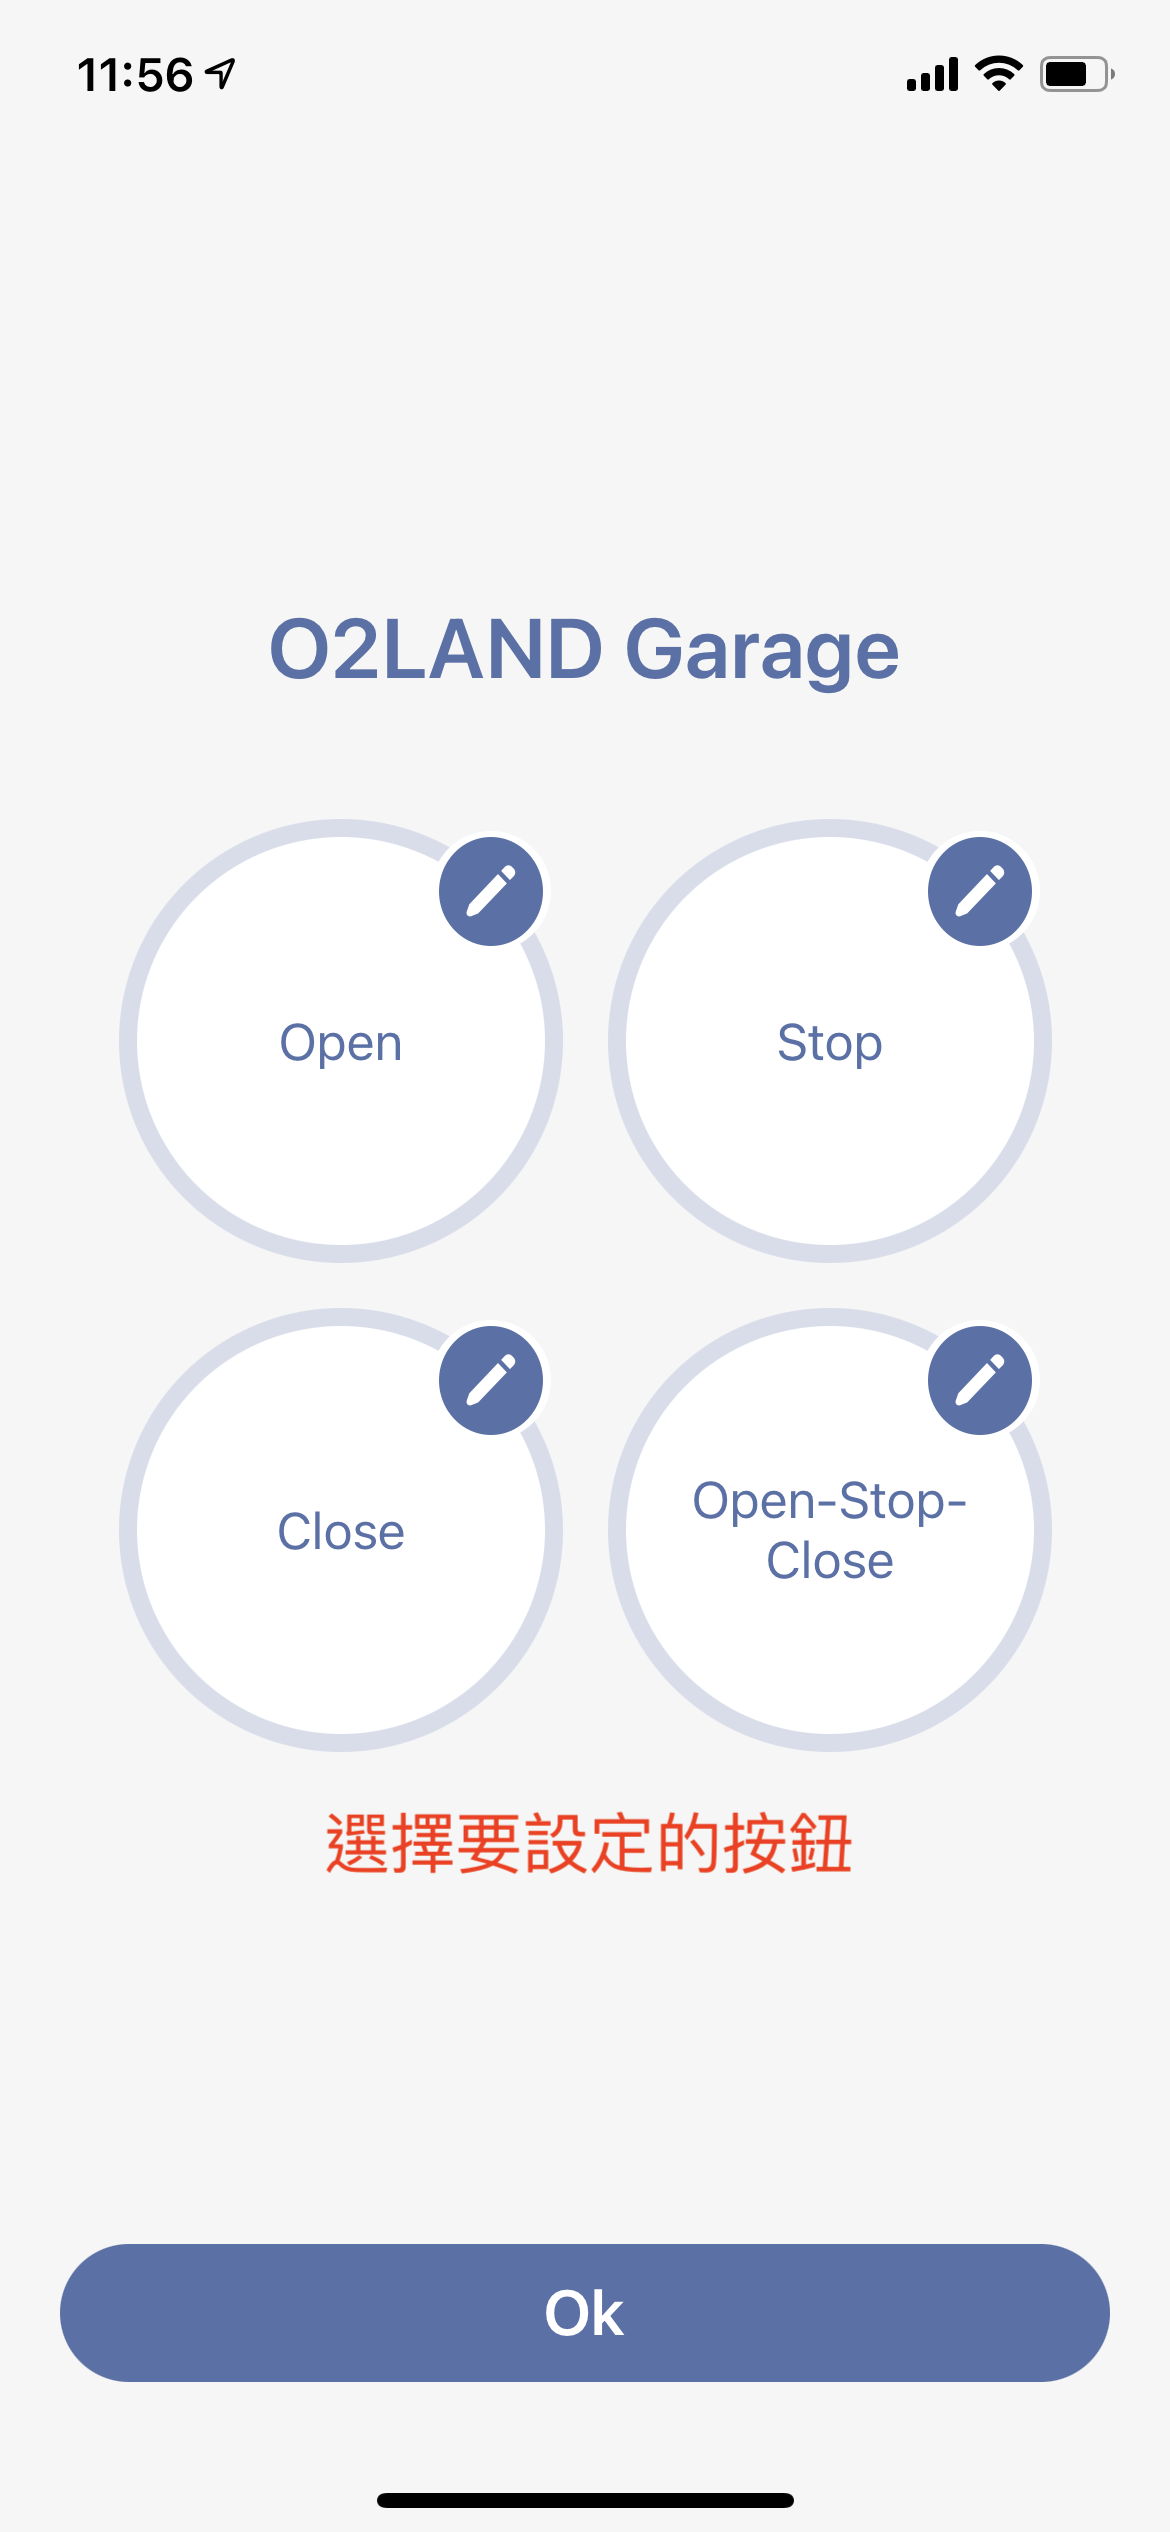
In the button setting mode, you can choose the button you want to edit.
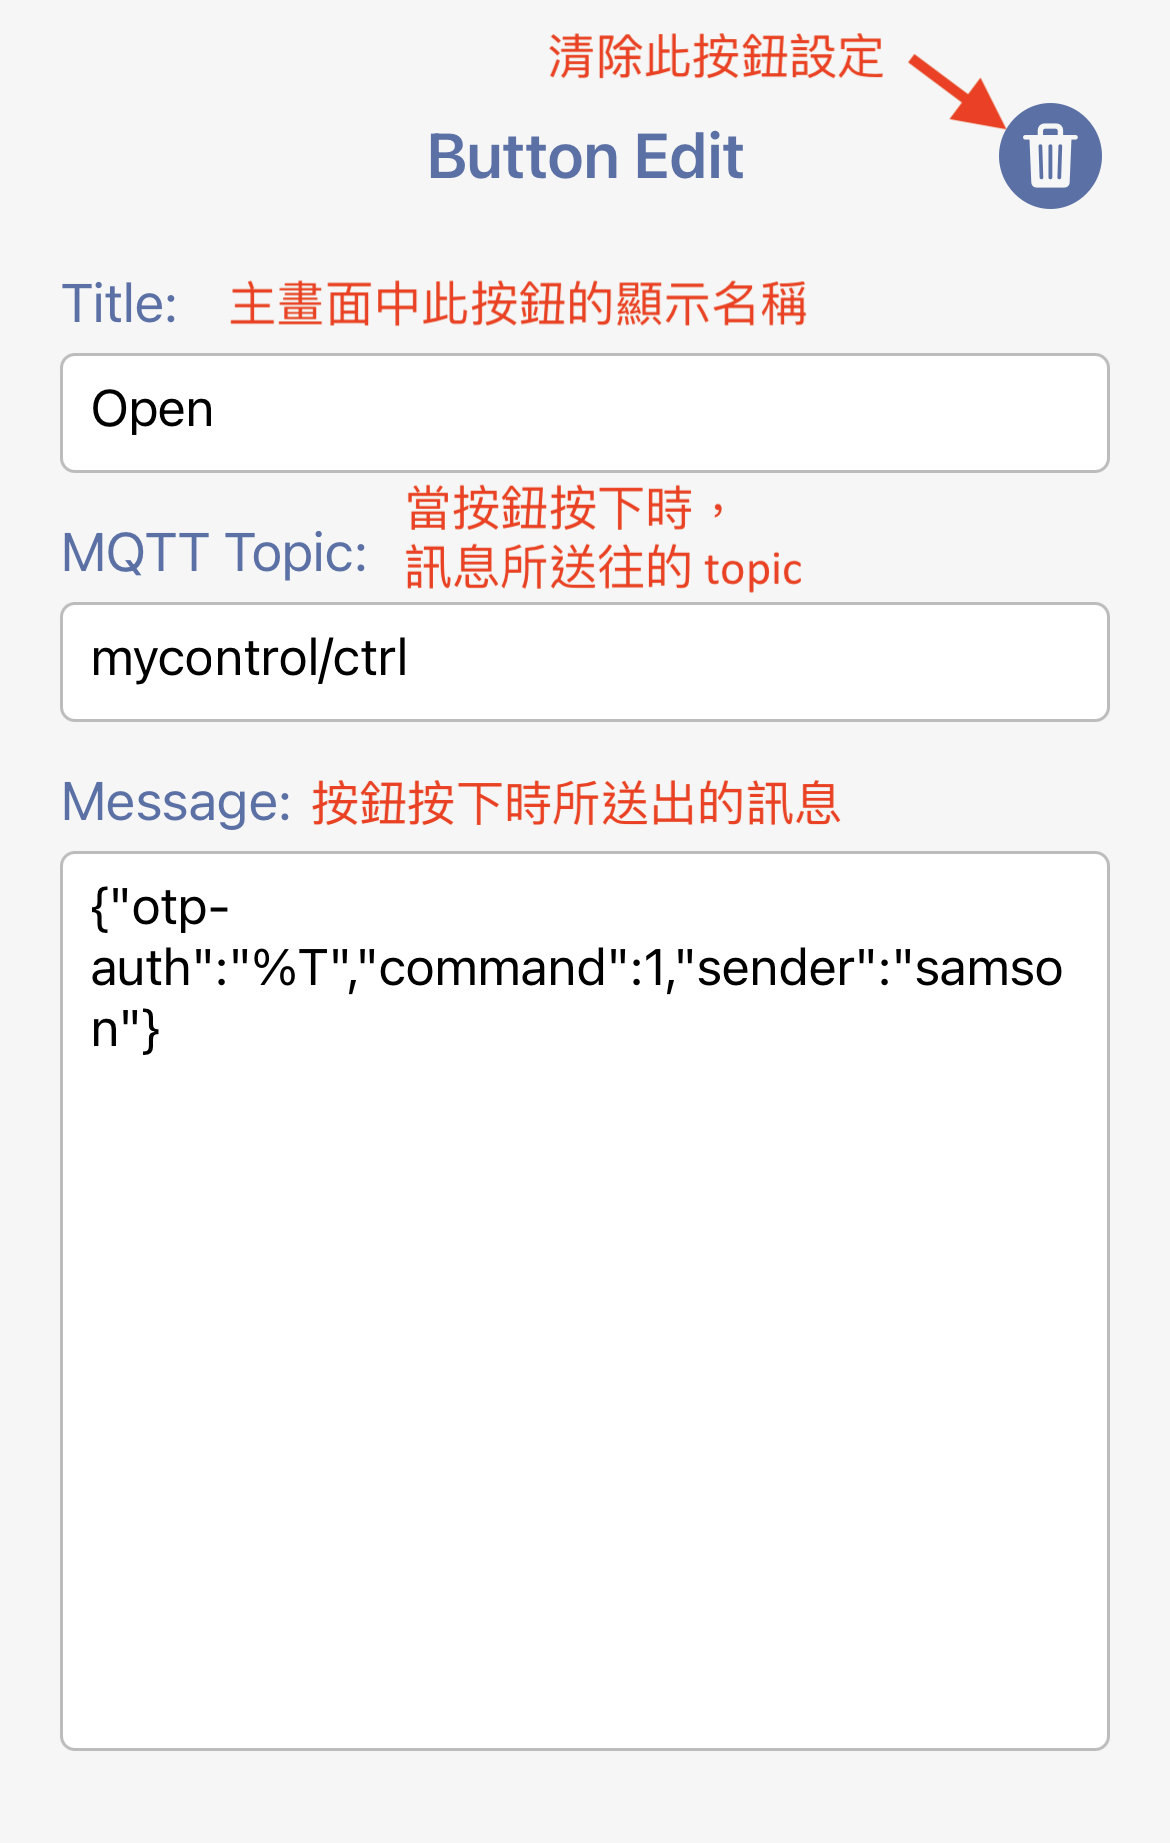
The title to use displayed in the main screen for this button.
Topic to send the message to when this button is triggered. For example,
mycontrol/ctrl
The topic requires the permission from the policy attached to the certificate used in the clients, including this app and the ESP32 client.
The message to be sent to the MQTT broker. The message can be anything. The sample message is for the ESP32 client. JSON is an easier choice for the control message.
{
    "otp-auth":"%T",
    "command":1,
    "sender":"samson"
}
%T is a meta keyword. When the message is about to be sent out, '%T' will be replaced with the encrypted OTP message. Please refer to Where is AES key used and how to prevent a middle-man attack?. "command" is different for each button. In this example, 1 is open, 2 is stop, 3 is close, 4 is auto. "sender" will be used by the AWS IoT rule engine for a log, so you can find who did what from the log.
You can reset the settings of this button by clicking the trashcan icon.
System setting is the place to configure the MQTT broker information and some app features. Currently, this app supports single MQTT broker only. If you are interested in making it support multiple brokers, please contact us.
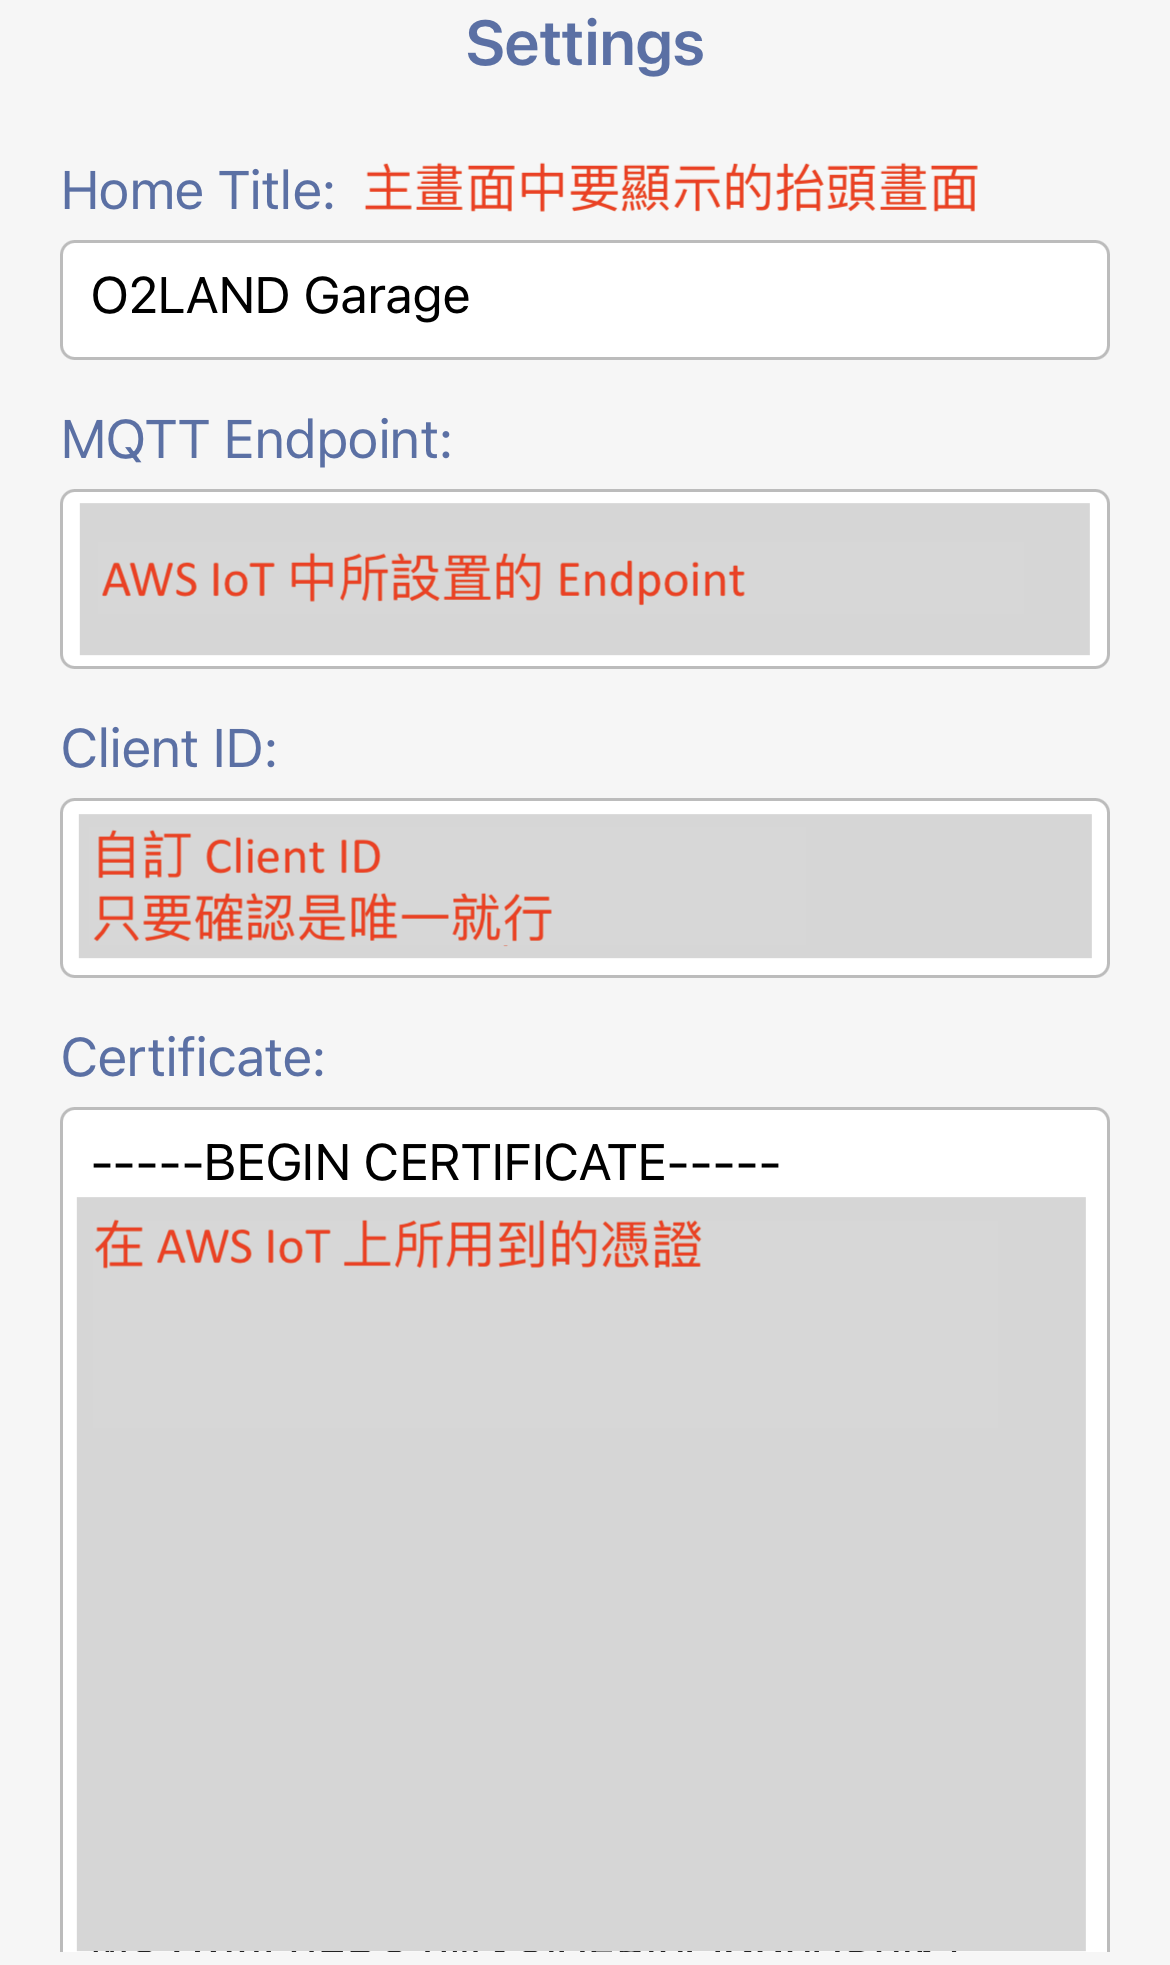
The MQTT Endpoint is from the setting of your AWS IoT account. (If you are using non-AWS, this is the address of your broker.) The TCP port number is 8883. The current app cannot use another port number, so please set your broker on 8883 only.

For AWS IoT, it something like
axxxxxxxxxxxxx-ats.iot.xx-xxxx-x.amazonaws.com
Client ID is for the broker to identify the MQTT client. It can be any string value. The most important rule is each client requires a unique client ID. If you are going to use multiple phones with this app and/or multiple ESP32 clients to communicate with the same MQTT broker, make sure each client has its own client ID. Just like the message topics, the client ID also requires the permissions from the policy attached to the certificate you are using with this app.
A client ID can be something like this, but you can invent your own:
Client-c65b5995-cac7-4f73-846e-ccf40c357729
(The above is actually an 128-bit UUID.)
This is the X.509 certificate downloaded from AWS IoT. There is a security policy attached to this certificate. The policy shall grant the permissions to the client ID and the topics of the messages you are going to use.
Please refer to How to create the AWS IoT device certificate? for more information.
The certificate looks like this: (Do not use my sample, you need to prepare your own certificate.)
-----BEGIN CERTIFICATE-----
MIIDWjCCAkKgAwIBAgIVAOA/9ypgBEuGEcvjrewIM3+1wr2IMA0GCSqGSIb3DQEB

...partially deleted so you don't use mine....

OmN/Z6B7YWJ2jKKiFS9X/Ov3bOz8CdNbbePpZjfY8LlXKCqC8aQhQOEdqQbxfViG
tm+9GVYCs+FSbYlAHW24wgcnPXe3H05tL93rm7vjVaZfCJlhNbDkgrl6ZuSOtcl9
4mZXi+jlUzRh0LvSqAXml4iTuSKOqOz7dHYsAv2iPXmlEjU6D9A5ynEgpq5xiQ==
-----END CERTIFICATE-----
The private key comes with the certificate you created. It is also downloaded from AWS IoT.
The private key looks like this: (Again, do not use mine!)
-----BEGIN RSA PRIVATE KEY-----
MIIEogIBAAKCAQEAp7W+S4i/MFLqn6phLPD1OHDC5t4VB1BTqXspEJ4Lq2uPB5zA

...partially deleted so you don't use mine....

DYCjAoGAHZ2UDk3DLBmjjPdJJpv9aDqZxfIpyi15f4XQdj7/VfJjaaNtPgf8rdm5
nQBFaj02zm/C/39vluXC4bIbtO6TEFGo8lktXRVItwg+L53ezMmZKDsyhTdNelNc
/QmClNpjxg2rbrf99rskL+k4PURQofAoqMN2o7Fs9Xcb8ed8VcA=
-----END RSA PRIVATE KEY-----
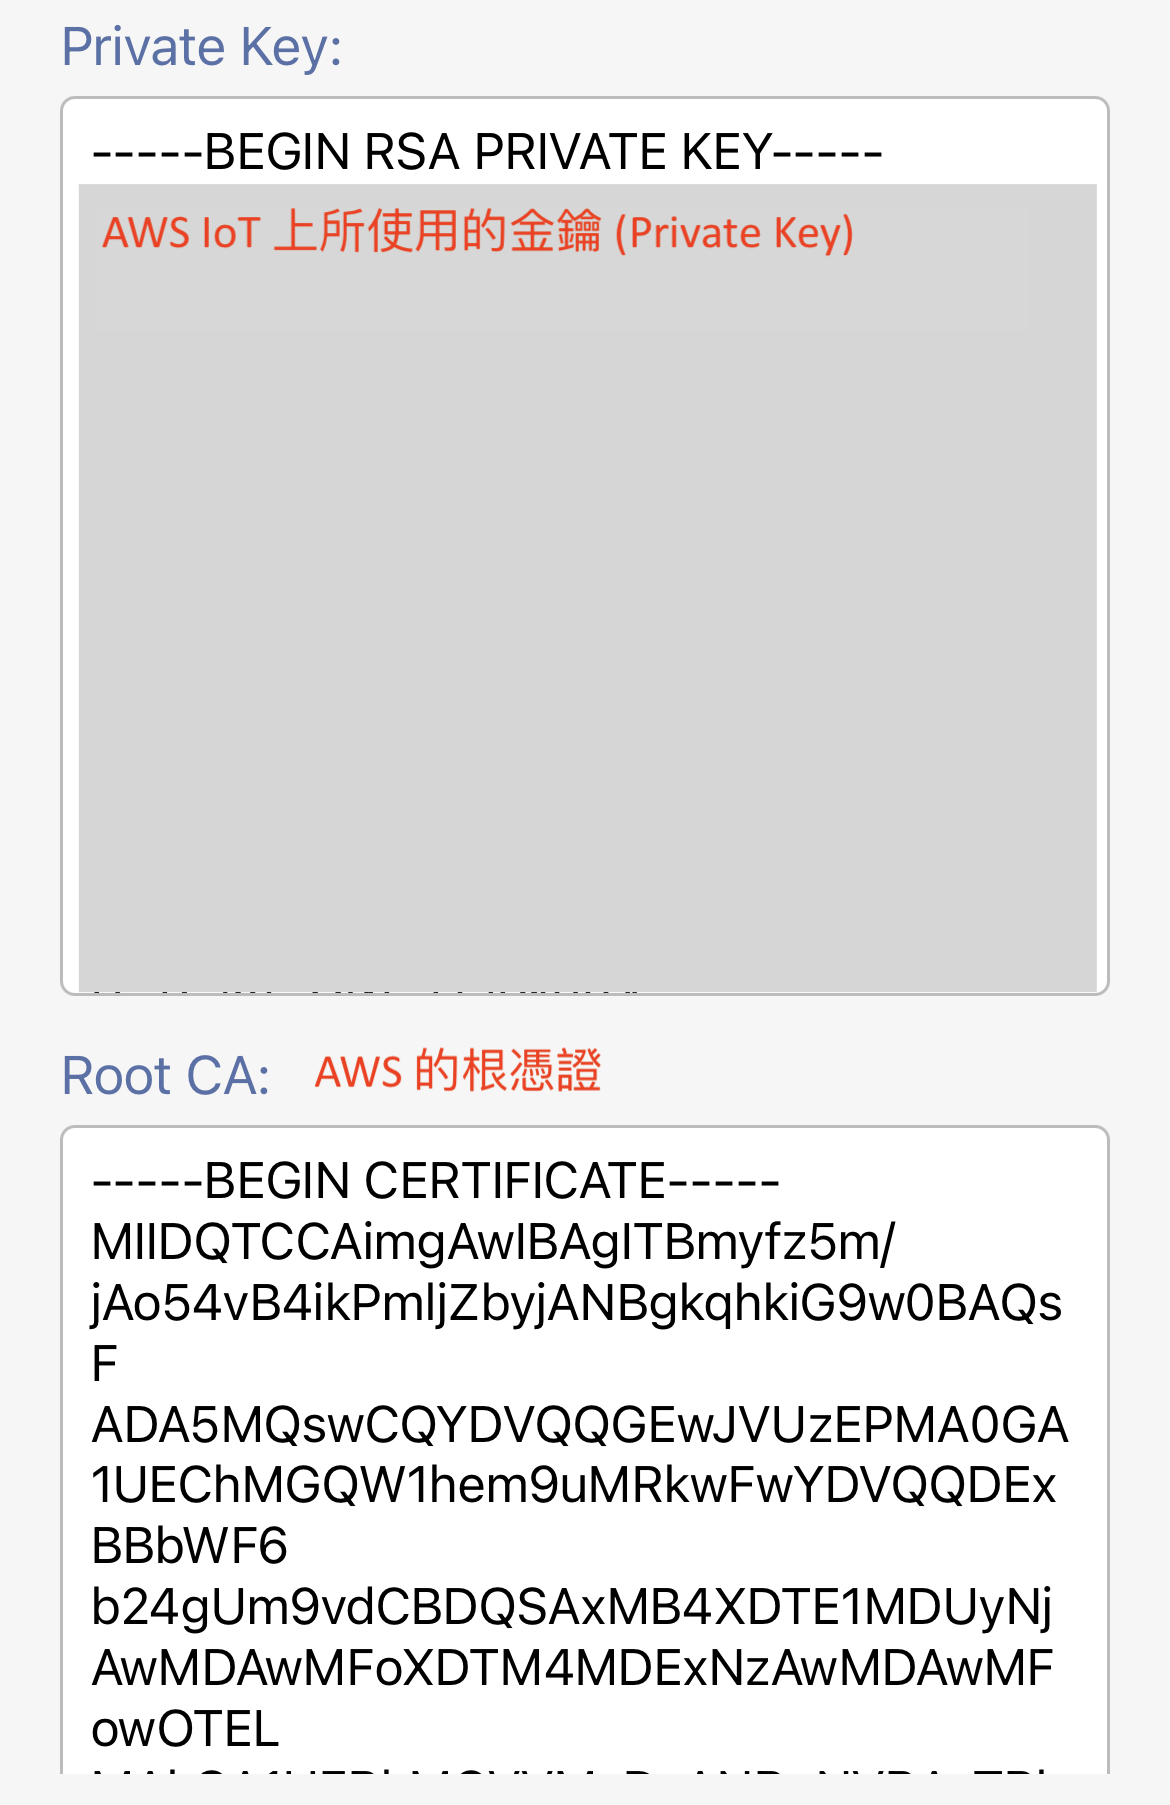
You can have different X.509 certificate-key pairs for each client, so you can activate them or deactivate them separately. However, all the certificates require the same policy attachment to have the permissions.
The ROOT CA certificate is used to certify that your client is talking to the trusted broker, so you will not be hijacked by a fake service. You can leave it blank if you don't want to do a Root CA authentication against the broker you are talking to. Since our example is talking to AWS IoT, we will use the AWS Root CA1. Here is the information:
This is AWS Root CA1: (Ok, this one you can use mine, which is a public information from AWS.)
-----BEGIN CERTIFICATE-----
MIIDQTCCAimgAwIBAgITBmyfz5m/jAo54vB4ikPmljZbyjANBgkqhkiG9w0BAQsF
ADA5MQswCQYDVQQGEwJVUzEPMA0GA1UEChMGQW1hem9uMRkwFwYDVQQDExBBbWF6
b24gUm9vdCBDQSAxMB4XDTE1MDUyNjAwMDAwMFoXDTM4MDExNzAwMDAwMFowOTEL
MAkGA1UEBhMCVVMxDzANBgNVBAoTBkFtYXpvbjEZMBcGA1UEAxMQQW1hem9uIFJv
b3QgQ0EgMTCCASIwDQYJKoZIhvcNAQEBBQADggEPADCCAQoCggEBALJ4gHHKeNXj
ca9HgFB0fW7Y14h29Jlo91ghYPl0hAEvrAIthtOgQ3pOsqTQNroBvo3bSMgHFzZM
9O6II8c+6zf1tRn4SWiw3te5djgdYZ6k/oI2peVKVuRF4fn9tBb6dNqcmzU5L/qw
IFAGbHrQgLKm+a/sRxmPUDgH3KKHOVj4utWp+UhnMJbulHheb4mjUcAwhmahRWa6
VOujw5H5SNz/0egwLX0tdHA114gk957EWW67c4cX8jJGKLhD+rcdqsq08p8kDi1L
93FcXmn/6pUCyziKrlA4b9v7LWIbxcceVOF34GfID5yHI9Y/QCB/IIDEgEw+OyQm
jgSubJrIqg0CAwEAAaNCMEAwDwYDVR0TAQH/BAUwAwEB/zAOBgNVHQ8BAf8EBAMC
AYYwHQYDVR0OBBYEFIQYzIU07LwMlJQuCFmcx7IQTgoIMA0GCSqGSIb3DQEBCwUA
A4IBAQCY8jdaQZChGsV2USggNiMOruYou6r4lK5IpDB/G/wkjUu0yKGX9rbxenDI
U5PMCCjjmCXPI6T53iHTfIUJrU6adTrCC2qJeHZERxhlbI1Bjjt/msv0tadQ1wUs
N+gDS63pYaACbvXy8MWy7Vu33PqUXHeeE6V/Uq2V8viTO96LXFvKWlJbYK8U90vv
o/ufQJVtMVT8QtPHRh8jrdkPSHCa2XV4cdFyQzR1bldZwgJcJmApzyMZFo6IQ6XU
5MsI+yMRQ+hDKXJioaldXgjUkK642M4UwtBV8ob2xJNDd2ZhwLnoQdeXeGADbkpy
rqXRfboQnoZsG4q5WTP468SQvvG5
-----END CERTIFICATE-----

If you are using %T meta word in the message configured in the button settings, this is the AES key to encrypt the timestamp. The encrypted timestamp is for the ESP32 client to verify to avoid the middle-man attach. Please refer to Where is AES key used and how to prevent a middle-man attack? for more information.
The AES key is the 128-bit long AES-128 key in hex format (32 hexadecimal characters). It looks like this: (Definitely don't use mine.)
23557A788EDFA8AA88328CC7D87DDB11

You can enable the touch ID or Face ID features. Once it is enabled, you need to pass the Touch ID/Face ID authentication before you can reach the main screen of the app. Please be aware, unlike the other app, there is no backup method to bypass Touch ID/Face ID if it is enabled and you are unable to pass the authentication.
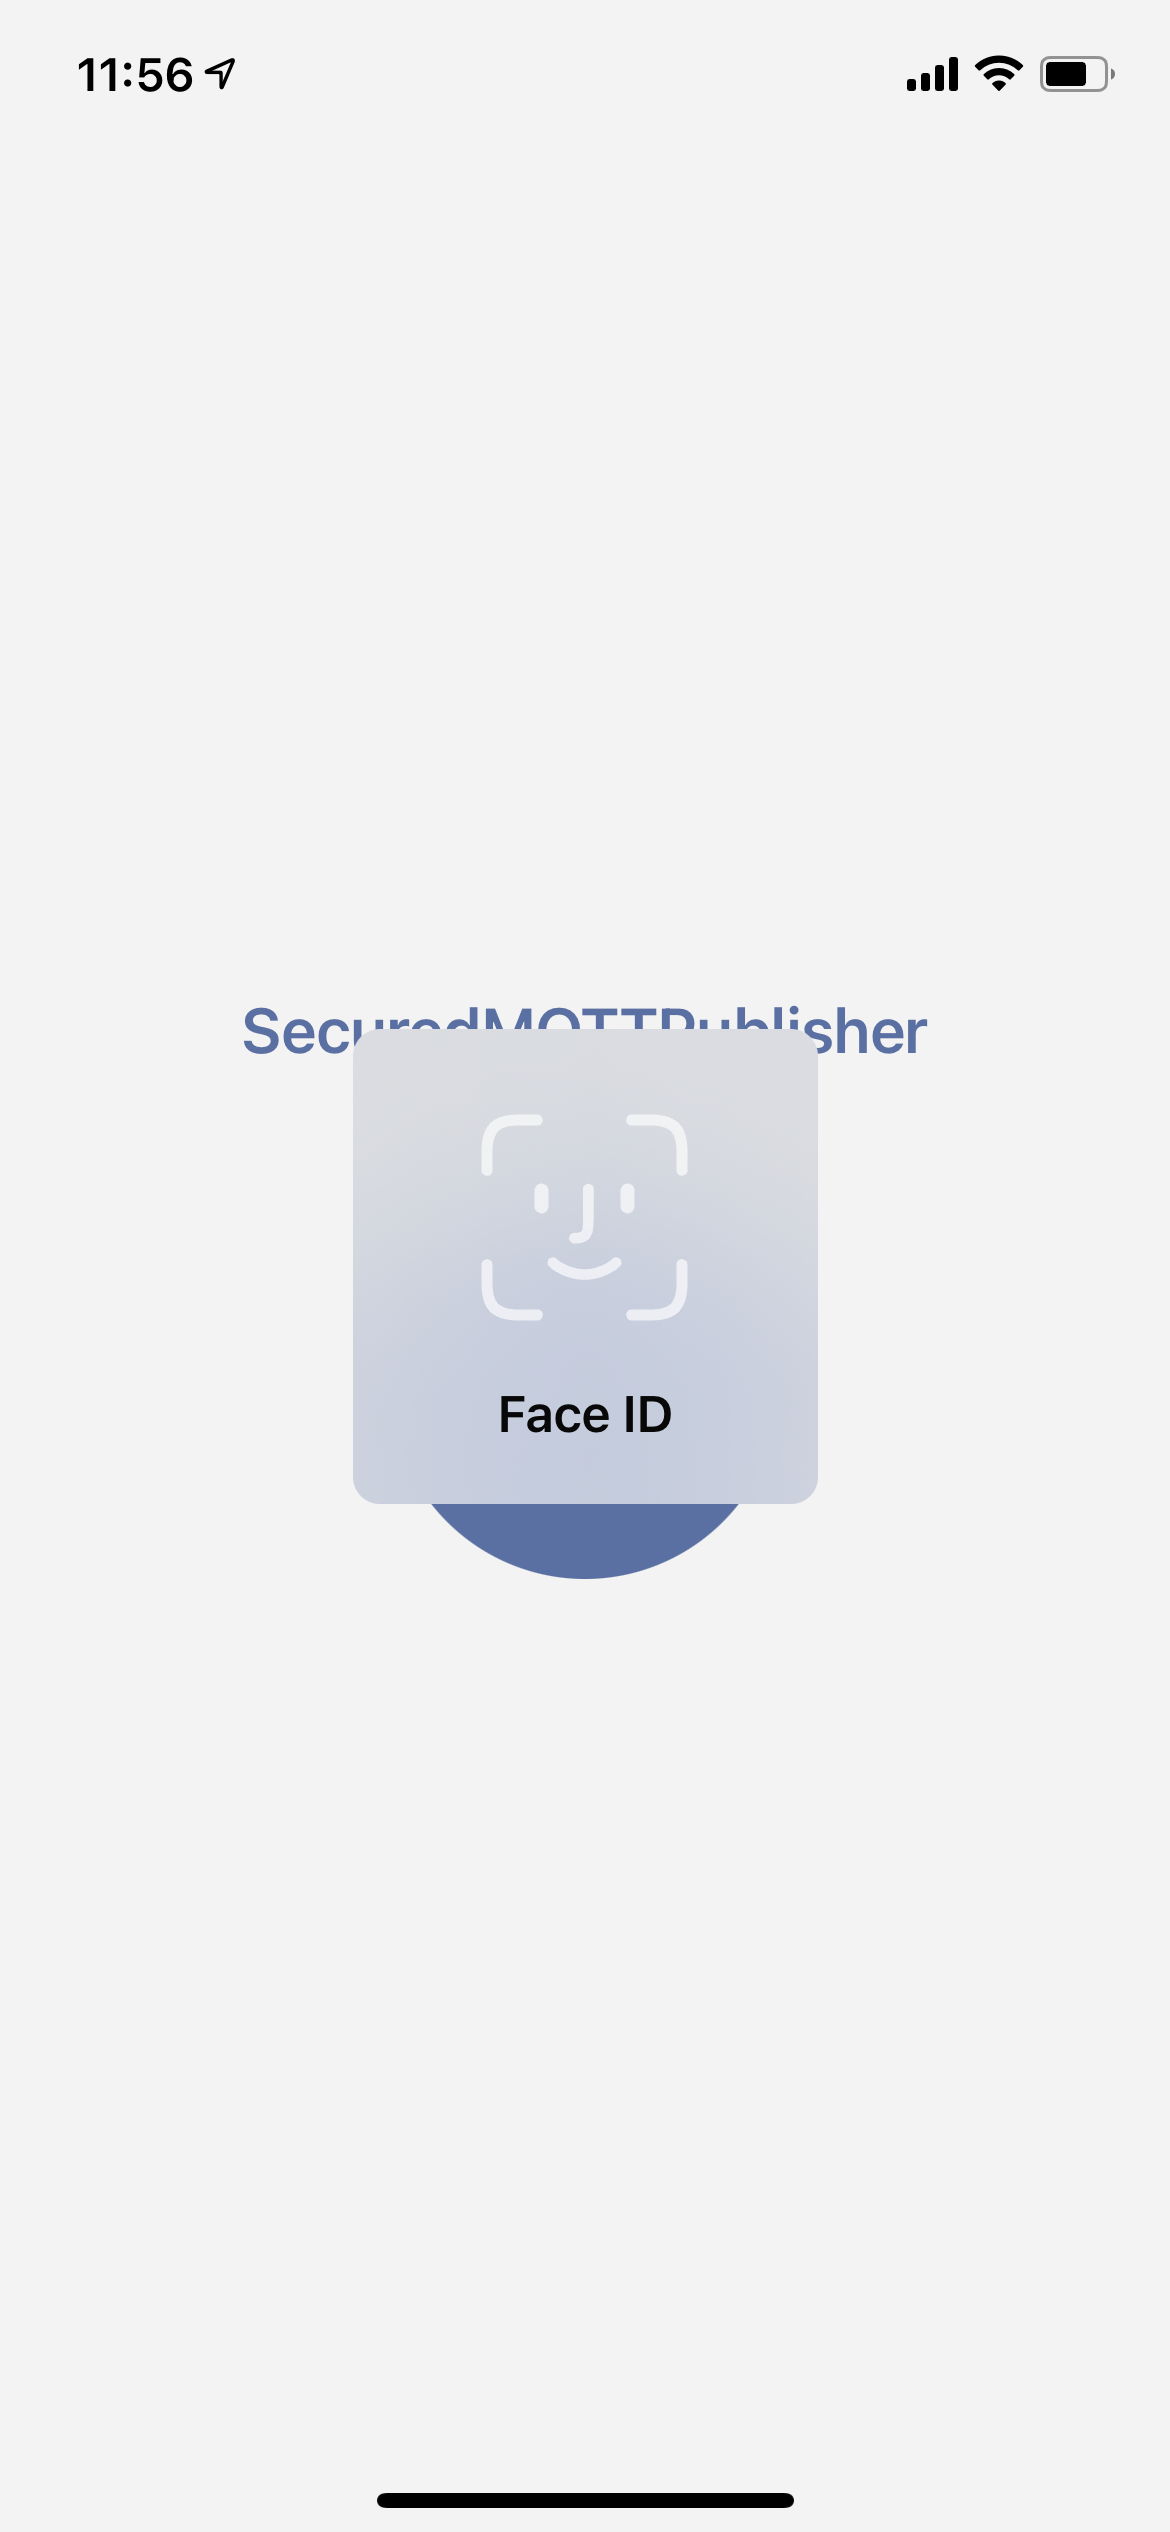
You may not have used all 4 buttons on the main screen. If you enable this feature, the main screen will not show the button(s), which has an empty configuration.
The current implementation does not have the app-side PIN to be the alternative unlocking method. Phone master PIN easily gets peeked since it is frequently used. To make a better security with this app, once Face ID/Touch ID fails, there is no alternative way to unlock it.
For more information, please check the wiki page of this project.
