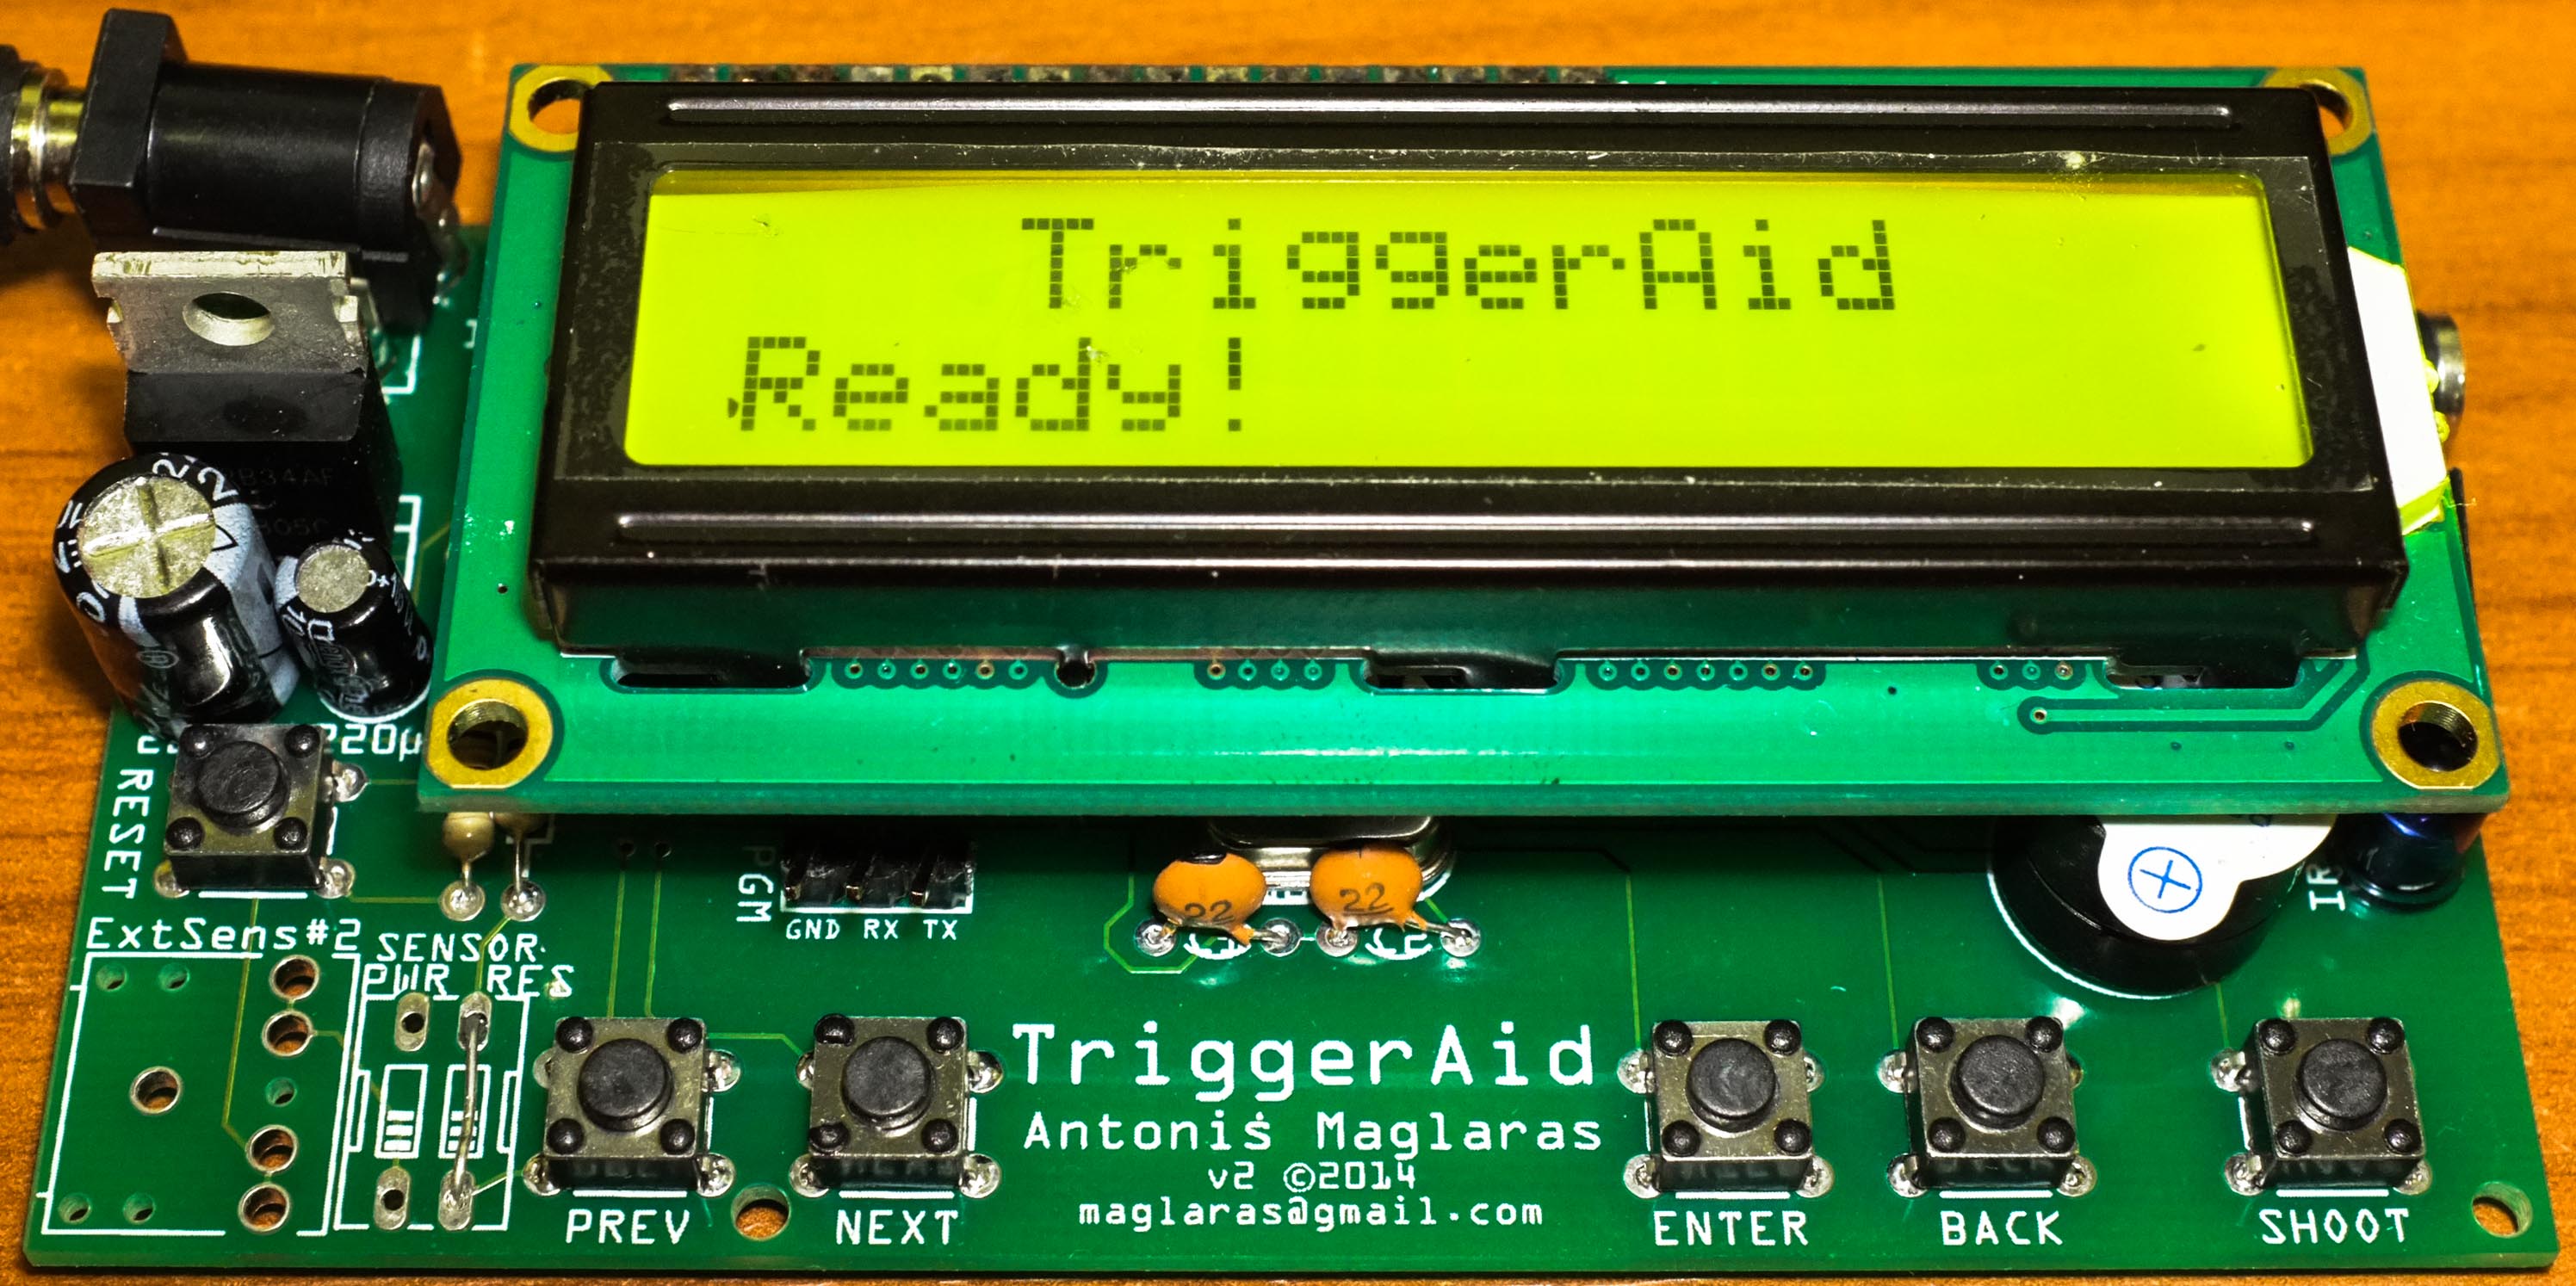
Home
Menu Structure:
-
Light Trigger It reads the light from the sensor (phototransistor) and you set a threshold. When light exceed the threshold, it triggers.
-
External Trigger You can use any digital module you can find for triggering. For example a Sound Sensor or something else. (3 Pins, VCC/GND/OUT). It connects to digital pin. You have two (2) options. To trigger when the module sends HIGH or LOW. On the code, you can find out an unused pin, marked as ExternalPin2 (or something like that), which is mapped to an analog pin. You can use it for analog sensors (with some required changes in the code).
-
Time Lapse You set the interval (in seconds, from 1 to 360 (of course you can change it). It can be triggered when the light reading is more or less the selected threshold. This setting (when it triggers) it can be selected from the setup menu.
-
Bulb Mode You set the time that the shutter stays open (from 1-360 seconds).
-
High Speed Burst Very useful feature for high speed burst photos. It's basically designed for triggering a (high speed) flash unit. You have to setup your flash to 1/16, 1/32, 1/64 etc (or GN1-GN2 for example), so the flash speed will be very high. You set the interval, like in Time Lapse, but in MilliSeconds (from 1 to 500).
-
Setup Parameters
- Pre Focus. Some cameras (for example my Olympus E-3) needs to have pre-focused for lower lag when triggering the shutter. When enabled, the focus will be triggered first (and will stay that way, till ending the triggering/exiting).
- Wired Triggers. You can select "Both Active" (both "shutter" and "focus" will be active), "First Only" ("focus"), "Second Only" ("shutter"), or "Both not active" (both disabled. Can be used when triggering via infrared).
- Infrared Trigger. You can select your camera from Olympus, Pentax, Canon, Nikon, Sony or to disable the infrared triggering.
- Light Trigger. You choose when the (built-in) Light sensor triggers. When the light reading is more than the threshold (HIGH) or when it's lower (LOW) than the threshold.
- Pre Shot Delay. Time (in MilliSeconds) to delay after the event but before the triggering. If prefocus is enabled, it affects only the shutter. It also affects the Infrared.
- Shutter Delay. Time (in MilliSeconds) that the shutter/focus will stay triggered. You have to do some tests to check what's the required time for your camera (it affects only wired triggering).
- After Shot Delay. Time (in MilliSeconds) that the triggering wait till next event.
- High Speed Delay. Time (in MilliSeconds, from 1 to 100) that both triggers (first and second) will stay triggered. As this mode is for flash units, it usually can go too low (like 1 or 3-4 ms!).
- High Speed Limit. How many times the High Speed mode will trigger. I guess noone needs a flash to trigger for 4392590452309 times, for every millisecond :)
- Shortcut. You can define a shortcut, when you press the lower right key for 3 seconds ("Back" button).
- LCD Backlight. If you want the LCD to be backlit or not.
- Buzzer. Every device that loves itself, it needs a buzzer. It's useful for checking if it triggered or not, or to break the nevres to your friends. I usually use the buzzers with a sticker on top :)
- Setup Time. As this devices has a RTC, you can setup the time/date. It will also be needed for next version of the TriggerAid. I plan to put a feature to shot at specific time/day/whatever.
-
Information Displays the current version and the free memory (used for debugging).
-
Factory Reset You have to do a factory reset when you first use it. It setup the "default" parameters on the EEPROM. It also erases everything, so when you can use it when you had made many changes and you're bored to revert them back.
To be continued someday...