Get started developing applications quickly with best practices using Serverless on AWS.
- AWS CLI
- Node.js
- Git
- GitHub Account
To get started, run the following commands:
git clone https://github.com/wizeline/serverless-fullstack
cd serverless-fullstack
npm run setup-file
The last command will create a setup.config.json file, adjust it to set your application name and your aws credentials.
Application name is required, if it's not provided, the setup will throw an error. The AWS DEV profile is required, if prod and stage are not provided, the dev will be used instead.
Once you're done with the configuration file, run the following commands:
npm i
npm run setup
Add your AWS credentials as secrets to your GitHub Repository with the following keys:
AWS_ACCESS_KEY_ID_DEVAWS_SECRET_ACCESS_KEY_DEVAWS_ACCESS_KEY_ID_STAGINGAWS_SECRET_ACCESS_KEY_STAGINGAWS_ACCESS_KEY_ID_PRODAWS_SECRET_ACCESS_KEY_PROD
It's advised that development, staging, and production environments exist in separate AWS accounts. However, if you'd prefer to deploy to a single AWS Account for simplicity, you can simply specify the same credentials for each.
Create a GitHub Personal Access Token and add it as a repository secret called GH_PERSONAL_ACCESS_TOKEN. This is used to create GitHub releases.
Coming soon: setup script to automate this.
The UI was bootstrapped with Create React App and modified to include an Auth flow using AWS Amplify and Cognito.
Static website hosting is provided by AWS Ampify, backed by S3 and CloudFront.
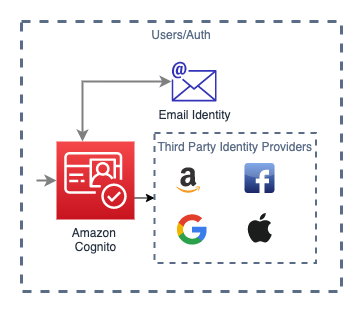
User authentication is provided by AWS Cognito.
Social sign-in coming soon.
A Node.js Express API running on Lambda and API Gateway allows for a familiar developer experience while leveraging the benefits of Serverless.
DynamoDB is capable of scaling to meet any requirements you may have.
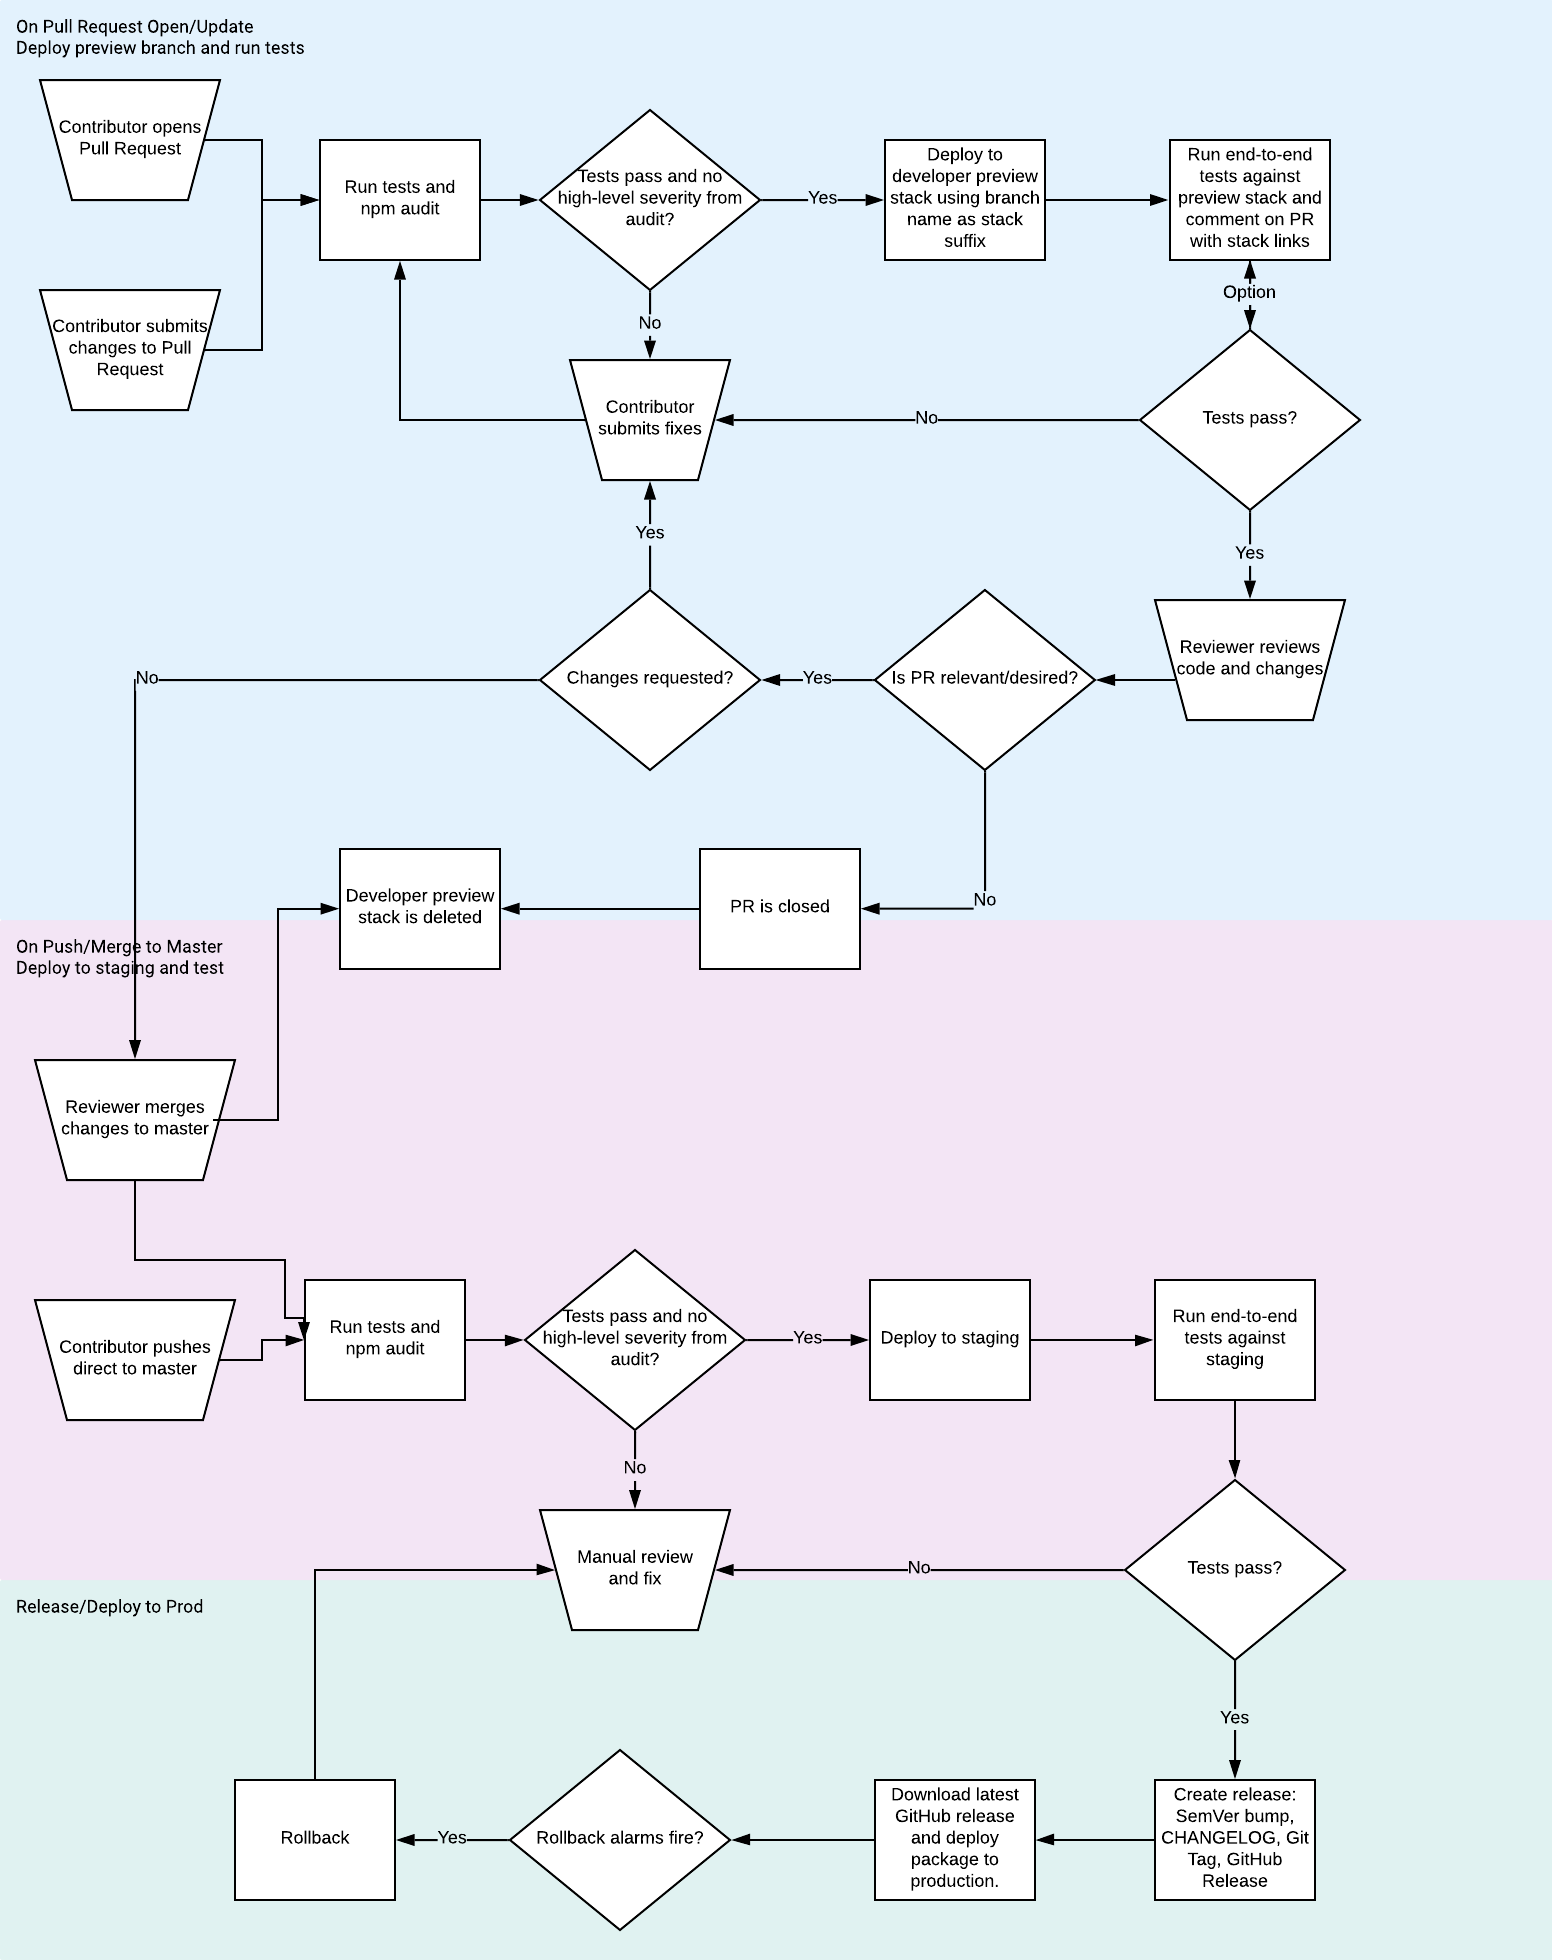
GitHub Actions is used to create a Continuous Deployment Pipeline from developer preview, to staging, to production. Each environment is deployed to an isolated AWS Account (optionally, these can be deployed to the same account for simplicity).
Changes are automatically versioned with Semantic Versioning based on git commit messages and immutable release packages created as GitHub relesaes.
Each PR gets its own stack deployed so that reviewers can see the results for themselves, and end-to-end tests can be run.
Serverless Framework is used to describe our infrastruture
- CloudWatch Alarms
- Per-function IAM Roles
- REST API Logs in JSON
- Custom Domain Names
- .env support
- Pruning of old Lambda Function Versions
- Lambda Functions optimized with Webpack
Make a copy of the example.env.development file:
cp example.env.development .env.developmentModify the values in your .env.development file. If you're using a shared developer account, you should set SERVERLESS_SERVICE_SUFFIX=-brett, ensuring the value you specify is unique and not used by other developers on your team.
Run npm run deploy:dev to deploy to your dev account.
To deploy to staging and production manually, you can run npm run deploy:staging or npm run deploy:prod respectively.
After deploying to your developer AWS account, run npm run start:ui to run your UI locally against your AWS resources in the cloud.
If you want to run your API locally also, you can run npm run start:api and npm run start:ui:offline separately.
By default, Cognito forces users to verify their email address, but this kit comes with auto-verification of new users to reduce onboarding friction. If you want to remove this and require users to verify their accounts, perform the following:
- Inside of
serverless.yaml, remove thecognitoAutoConfirmUserfunction, theCognitoAutoConfirmUserLambdaCognitoPermissionresource, and thePreSignUp: !GetAtt CognitoAutoConfirmUserLambdaFunction.Arnline. - Remove the
ConfirmSignUpRedirectToSignInfunction frompackages/ui/src/AuthenticatedApp.js, and replace<ConfirmSignUpRedirectToSignIn override="ConfirmSignUp" />,with<ConfirmSignup />. - Delete
packages/api/functions/auto-confirm-user.js
- Improve setup experience (primarily, replace myapp with custom name)
- Custom domains
- CloudFormation rollback triggers
- Enable stack termination protection on prod and staging
- Add lumigo-cli, especially for tuning
- Split stacks to mitigate chance of hitting CloudFormation 200 resource limit
- Additional unit/integration tests
- End-to-end tests (with Cypress?)
- Make it easy to disable PR Previews for open-source projects where you don't want to allow people to create resources in your AWS account. 🔒


