You can test project on this API & Web Server
-
update (160906): added an exe version - myqr.exe in qrcode_win
-
update (160908): added a web version - amazing-qrcode (made by Maras0830)
-
update (160910): distributed to PyPI - MyQR !
- 160911: updated to be importable
Python QR Code Generator
Generate common qr-code, artistic qr-code (black & white or colorized), animated qr-code (black & white or colorized).
# via pip
pip(3) install myqr(or MyQR)
(TIPS: If you haven't install MyQR, you should python(3) myqr.py instead of myqr blow.)
# summary
myqr 	Words
		[-v {1,2,3,...,40}]
		[-l {L,M,Q,H}]
        [-n output-filename]
		[-d output-directory]
		[-p picture_file]
		[-c]
		[-con contrast]
[-bri brightness]- see Common QR-Code for
Words,-v,-l,-n,-d - see Artistic QR-Code for
-p,-c,-con,-bri - see Animated GIF QR-Code about GIF
#1 Words
myqr https://github.com- Just input a URL or a sentence, then get your QR-Code named 'qrcode.png' in the current directory.
#2 -v, -l
myqr https://github.com -v 10 -l Q-
The default size of QR-Code depends both on the numbers of words you input and the level, while the default level (Error Correction Level) is H (the highest).
-
Customize: If you want to control the size and the error-correction-level, use the
-vand-larguments.-vrepresenting the length is from a minimum of 1 to a maximum of 40.-lrepresenting the error correction level is one of L, M, Q and H, where L is the lowest level and H is the highest.
#3 -n, -d
myqr https://github.com -n github_qr.jpg -d .../paths/-
The default output-filename is 'qrcode.png', while the default output-directory is current directory.
-
Customize: You can name the output-file and decide the output-directory. Notice that if the name is as same as a existing file, the old one will be deleted.
-nrepresenting the output-filename could be in the format one of.jpg,.png,.bmp,.gif.-dmeans directory.
#1 -p
myqr https://github.com -p github.jpg- The
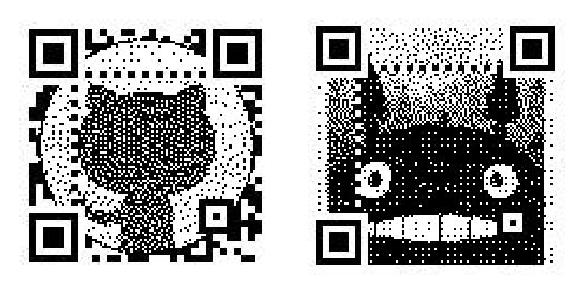
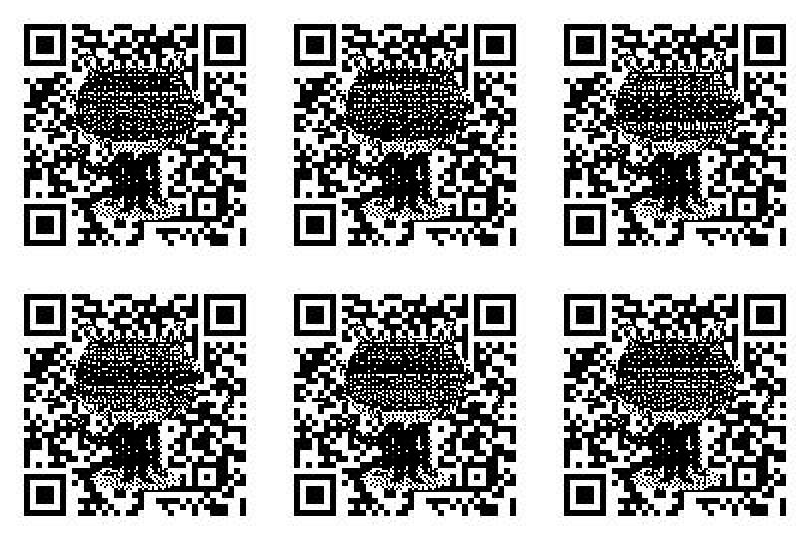
-pis to combine the QR-Code with the following picture which is in the same directory as the program. The resulting picture is black and white by default.
#2 -c
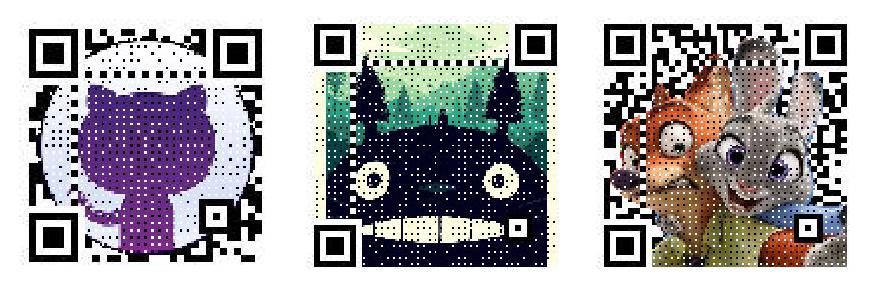
myqr https://github.com -p github.jpg -c- The
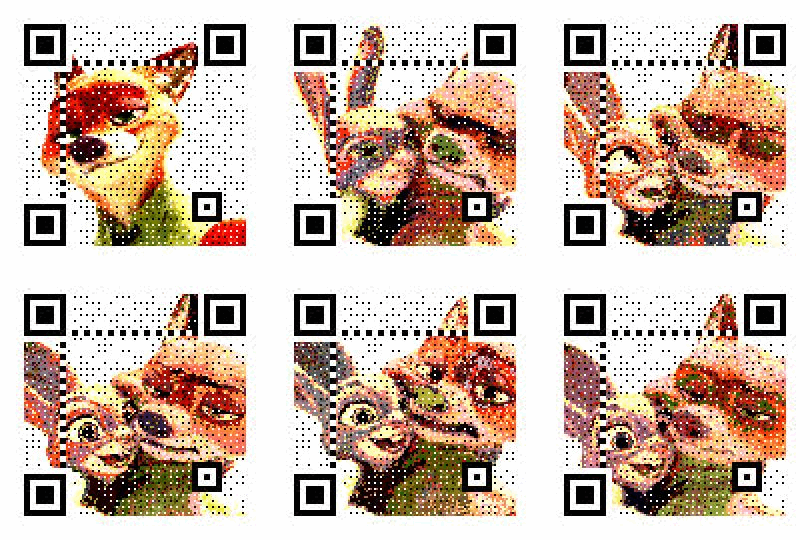
-cis to make the resulting picture colorized.
#3 -con, -bri
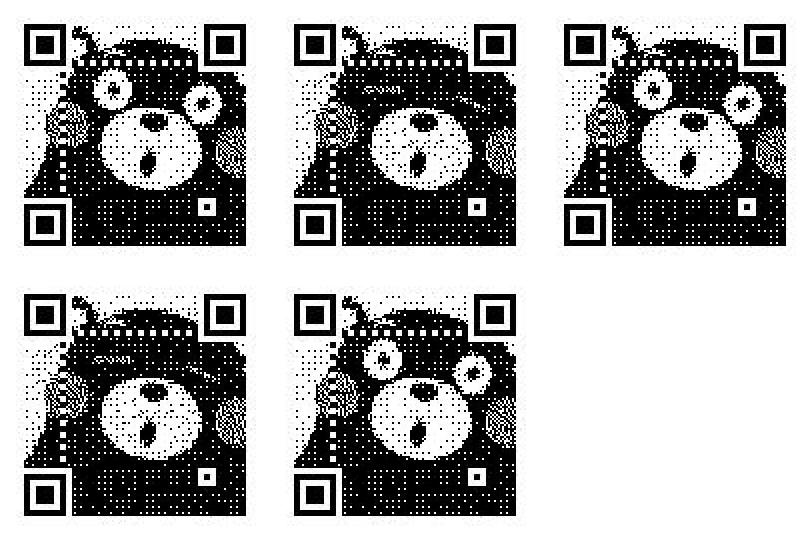
myqr https://github.com -p github.jpg [-c] -con 1.5 -bri 1.6-
The
-conflag changes the contrast of the picture - a low number corresponds to low contrast and a high number to high contrast. Default: 1.0. -
The
-briflag changes the brightness and the parameter values work the same as those for-con. Default: 1.0.
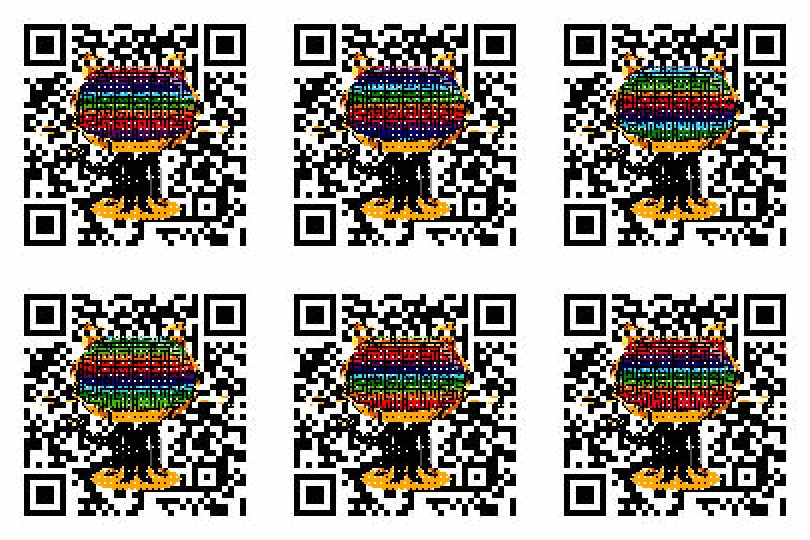
The only difference from Artistic QR-Code mentioned above is that you should input an image file in the .gif format. The you can get your black-and-white or colorful qr-code. Remember that when you use -n to customize the output-filename, then the output-filename must end by .gif.
# after installation
from MyQR import myqr
version, level, qr_name = myqr.run(
	words,
    version=1,
    level='H',
    picture=None,
    colorized=False,
    contrast=1.0,
    brightness=1.0,
    save_name=None,
    save_dir=os.getcwd()
	)
details about each parameter are as mentioned above
# help(myqr)
Positional parameter
   words: str

Optional parameters
   version: int, from 1 to 40
   level: str, just one of ('L','M','Q','H')
   picutre: str, a filename of a image
   colorized: bool
   constrast: float
   brightness: float
   save_name: str, the output filename like 'example.png'
save_dir: str, the output directory-
Use a nearly square picture instead of a rectangle one.
-
If the size of the picture is large, you should also choose a rightly large
-vinstead of using the default one. -
If part of the picture is transparent, the qr code will look like:

You can change the transparent layer to white, and then it will look like:

-
Numbers:
0~9 -
Letters:
a~z, A~Z -
Common punctuations:
· , . : ; + - * / \ ~ ! @ # $ % ^ & ` ' = < > [ ] ( ) ? _ { } | and (space)
(TIPS: Without a installed MyQR, you should use pip install -r requirements.txt to ensure you have all dependencies.)
- Linux, Python 3
- Windows, Python 3
- Mac, Python 3
- GPLv3

