Picamera2 demo, model export to IMX, packaging to .rpk, and how to run it on the on‑sensor NPU.
This repo is the English companion to a Japanese write‑up. It shows how to export YOLOv8n to the IMX500 format, create a .rpk with
imx500-package, and run the Picamera2 IMX500 demo.
Sony IMX500 is an intelligent vision sensor with an on‑sensor inference engine.
It reduces CPU/GPU load on the Pi and keeps latency low by running the NN directly on the sensor.


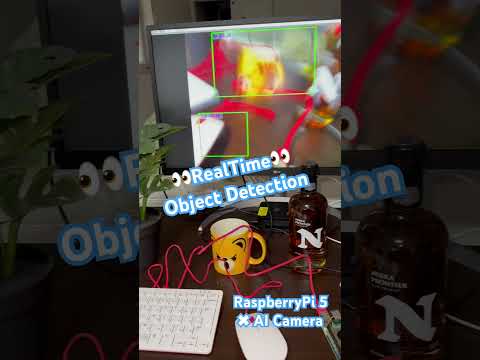
- Raspberry Pi 5 (8 GB recommended)
- Raspberry Pi AI Camera (Sony IMX500)
- Stable PSU (e.g., 27W USB‑PD)
Connect the ribbon cable to CAM1 (or CAM0). You can check camera indices later via rpicam-hello --list-cameras.

sudo apt update
# IMX500 firmware & tools
sudo apt install -y imx500-all imx500-tools
# Camera & Python
sudo apt install -y python3-picamera2 rpicam-apps git python3-venv python3-pipmkdir -p ~/person_detection && cd ~/person_detection
python3 -m venv . && source ./bin/activate
pip install --upgrade pip ultralytics
python - <<'PY'
from ultralytics import YOLO
m = YOLO("yolov8n.pt")
m.export(format="imx")
print("DONE")
PYYou should see a folder like:
yolov8n_imx_model/
 ├─ packerOut.zip   # to be packaged into .rpk
 ├─ labels.txt
 ├─ dnnParams.xml
 ├─ yolov8n_imx.onnx
 └─ yolov8n_imx.pbtxt
cd ~/person_detection/yolov8n_imx_model
imx500-package -i packerOut.zip -o out
ls -l out # -> out/network.rpkcd ~
[ -d picamera2 ] || git clone https://github.com/raspberrypi/picamera2.git
cd ~/picamera2/examples/imx500
cp imx500_object_detection_demo.py imx500_object_detection_demo_cam1.py
sed -i 's/Picamera2()/Picamera2(1)/' imx500_object_detection_demo_cam1.py
python3 imx500_object_detection_demo_cam1.py --model ~/person_detection/yolov8n_imx_model/out/network.rpk --labels ~/person_detection/yolov8n_imx_model/labels.txt --threshold 0.15 --bbox-normalization --bbox-order xyTry the model zoo too:
sudo apt install -y imx500-models
python3 imx500_object_detection_demo_cam1.py --model /usr/share/imx500-models/imx500_network_yolo11n_pp.rpk --bbox-normalization --bbox-order xy --threshold 0.15Add this to the demo to save the overlaid preview on key press:
# near imports
from pathlib import Path
from datetime import datetime
OUT_DIR = Path.home() / "captures"
OUT_DIR.mkdir(parents=True, exist_ok=True)
# in the preview loop, after drawing on "display" (a copy of the frame)
cv2.imshow("preview", display)
key = cv2.waitKey(1) & 0xFF
if key == ord('s'):
ts = datetime.now().strftime("%Y%m%d-%H%M%S")
cv2.imwrite(str(OUT_DIR / f"imx500_{ts}.png"), display)
elif key == ord('q'):
break


imx500-package: command not found→sudo apt install -y imx500-toolsModuleNotFoundError: ultralytics→ activate venv andpip install ultralytics- No camera / wrong index →
rpicam-hello --list-camerasand setPicamera2(0/1)accordingly
.
├─ README.md
├─ assets/
│  └─ images/  # screenshots & diagrams
└─ scripts/
MIT (see LICENSE). Check 3rd‑party licenses for Ultralytics/Raspberry Pi docs when you redistribute code or assets.
- Demo video: https://youtu.be/rZKfoza8wTg
- Japanese article (Note): https://note.com/yokoyan_pws/n/nff0ec1f00e04
Contributions are welcome! 🎉
If you find a bug or have a suggestion for improvement:
- Fork this repository.
- Create a new branch (
git checkout -b feature/YourFeatureName). - Commit your changes.
- Open a Pull Request.
Please make sure your code follows the existing style and includes relevant documentation or examples.