Setting up ko KR
여기 오신게 처음인가요? 환영합니다! 우리 프로젝트에 관심을 가진 분이 또 있다니 정말 행복합니다. 다만 큰 힘에는 큰 책임이 따른다는 것을 기억하세요. ASF는 Steam에 관련된 다양한 많은 것을 할 수 있지만 당신이 어떻게 사용한하는지 충분히 아는 만큼만 쓸 수 있습니다. 이에 대한 학습 곡선은 가파르고, 이 관점에서 우리는 모든것이 어떻게 동작하는지 세부적으로 설명하는 위키를 당신이 읽어주시길 바랍니다.
위의 텍스트를 견뎌내고 여전히 여기 있네요? 좋아요. 막 넘기지 않았다면 이제 곧 **끔찍한 시간**이 될겁니다... 어쨌건간에, ASF는 평소에 쓰건 친숙한 GUI가 없는 콘솔 프로그램입니다. ASF는 주로 서버에서 돌아가도록 되어있고, 데스크탑 프로그램이 아닌 서비스(대몬)으로 동작합니다.
하지만 PC에서 사용할 수 없다거나 사용법이 뭔가 더 복잡하다거나 뭐 그런 뜻은 아닙니다. ASF는 설치가 필요없는 독립실행 프로그램으로, 상자에서 꺼내면 바로 작동합니다. 하지만 쓸만해지려면 설정이 필요합니다. 설정은 ASF가 실행된 후에 실제로 뭘 해야하는지를 알려주는 일입니다. 설정하지 않고 실행하면 ASF는 아무 것도 하지 않습니다. 간단하죠.
일반적으로 다음 몇분동안 할 일의 목록입니다:
- .NET Core 필수 구성 요소 설치
- 특정 OS에 맞는 최신 버전 ASF 다운로드
- 압축파일을 새 위치에 풀기(리눅스/OS X라면
chmod +x ArchiSteamFarm실행) - ASF 환경설정
- ASF를 실행하고 마법을 경험하세요
꽤 간단한 것 같죠? 자 이제 해봅시다.
첫 번째 단계는 당신의 OS가 ASF를 제대로 실해할 수 있는지를 확인하는 것입니다. ASF는 C#으로 작성되었고 .NET Core를 기반으로 하므로 당신의 플랫폼에서 아직 사용할 수 없는 네이티브 라이브러리를 필요로 할 수도 있습니다. 윈도우, 리눅스, OS X 어떤 것을 쓰는지에 따라 필요조건이 달라지는데, .NET Core 필수 구성 요소 문서에 모두 나열되어 있으니 따라하시기 바랍니다.다 이 참조자료를 사용해야 하지만, 편의를 위해 아래에 필요한 모든 패키지를 설명했으므로 문서 전체를 읽을 필요는 없습니다.
당신의 시스템에 일부(혹은 전체) 종속성이 이미 존재하는 것은 사용하고 있는 제3자 소프트웨어가 설치했을 수 있으므로 완벽하게 정상입니다. 하지만 당신의 OS에 맞는 설치관리자가 실행중인지를 확인해야 합니다. 이 종속성 없이는 ASF가 전혀 실해되지 않습니다.
특정 OS용 빌드는 이미 모든 것을 포함하고 있으므로 .NET Core SDK나 런타임의 설치 등 다른 어떤 것도 할 필요가 없다는 것을 명심하십시오. ASF에 포함된 .NET Core 런타임을 실행하기 위해서는 .NET Core 필수 구성 요소(종속 프로그램)만 필요합니다.
- Microsoft Visual C++ 2015 Redistributable Update (x64 for 64-bit Windows, x86 for 32-bit Windows)
- 모든 윈도우 업데이트를 미리 설치해 놓는 것을 매우 권장합니다. 적어도 **KB2533623**과 **KB2999226**은 필수이고 더 많은 업데이트가 필요할 수 있습니다. 윈도우가 최신 상태라면 모든 것이 설치되어 있을 것입니다. Visual C++ 패키지를 설치하기 전에 요구사항을 충족하는지 확인하십시오.
리눅스 배포판에 따라 패키지 이름이 다릅니다. 아래에 공통적인 것들을 나열했습니다. 데비안에서는 apt, CentOS에서는 yum 등 OS에서 사용하는 자체 패키지 관리자를 통해 전부를 설치할 수 있습니다.
-
libc6(libc) -
libgcc1(libgcc) -
libicu(icu-libs, latest version for your distribution, for examplelibicu67) -
libgssapi-krb5-2(libkrb5-3,krb5-libs) -
libssl1.1(libssl,openssl-libs, latest version for your distribution,1.1.Xor1.0.X) -
libstdc++6(libstdc++, in version5.0or higher) -
zlib1g(zlib)
At least a majority of those should be already natively available on your system. The minimal installation of Debian stable required only libicu63.
OS X:
- 현재는 없습니다만, 적어도 10.13 이상의 OS X 최신버전이 설치되어 있어야 합니다.
모든 필요한 종속 프로그램을 다 가지고 있으므로, 다음 단계는 **최신 ASF 릴리즈**를 다운로드 받는 것입니다. ASF는 다양한 변종이 있지만 당신은 OS와 아키텍쳐에 맞는 패키지를 원할 것입니다. 예를들어 64-비트 윈도우를 사용한다면, ASF-win-x64 패키지를 사용하면 됩니다. 사용가능한 변종에 대한 더 많은 정보를 원하시면 호환성 항목을 참고하십시오. ASF는 32비트 윈도우같은 특정OS용 패키지가 없는 다른 OS에서도 실행이 가능합니다. **[일반 설치](#일반 설치)**항목을 참고하시기 바랍니다.

다운로드 후에 zip 파일의 압축을 폴더에 푸는 것부터 시작하십시오. We recommend using 7-zip, but all standard utilities like unzip from Linux/OS X should work without problems as well.
If you're using Linux/OS X, don't forget to chmod +x ArchiSteamFarm in the extracted folder, since permissions are not automatically set in the zip file. 최초 압축해제시 한번만 하면 됩니다.
ASF를 기존에 다른 무언가로 쓰고있던 디렉토리가 아닌 새 디렉토리에 압축을 푸는 것을 권장합니다. ASF의 자동업데이트 기능은 업그레이드할때 모든 오래되고 관련이 없는 파일들을 삭제합니다. 만약 ASF디렉토리에 관련이 없는 뭔가가 있다면 없어질 것입니다. ASF와 함께 사용하고 싶은 추가 스크립트나 파일이 있다면 한단계 상위 폴더에 넣으십시오.
다음은 구조도 예시입니다:
C:\ASF (where you put your own things)
    ├── ASF shortcut.lnk (optional)
    ├── Config shortcut.lnk (optional)
    ├── Commands.txt (optional)
    ├── MyExtraScript.bat (optional)
    ├── (...) (any other files of your choice, optional)
    └── Core (dedicated to ASF only, where you extract the archive)
         ├── ArchiSteamFarm(.exe)
         ├── config
         ├── logs
         ├── plugins
         └── (...)
마지막 단계인 환경설정을 할 준비가 되었습니다. 아직 익숙하지 않은 많은 새로운 정보가 잔뜩 생기므로 지금까지 중에서 가장 복잡한 단계입니다. 그래서 이해하기 쉬운 예제와 간략한 설명을 여기에서 제공하려고 합니다.
가장 먼저, 환경설정과 관련된 모든 것 을 설명하는 환경설정 페이지가 있지만 엄청난 양의 새로운 정보이고, 상당량은 당장 알 필요는 없습니다. 그 대신, 실제로 찾는 정보를 얻는 방법을 알려드리겠습니다.
ASF 환경설정은 웹 환경설정 생성기 또는 수동의 두가지 방법으로 할 수 있습니다. 이에 대해 환경설정 항목에서 깊게 설명하고 있으므로 더 자세한 정보를 원한다면 참고하십시오. 여기서는 훨씬 쉽기 때문에 웹 환경설정 생성기를 사용하겠습니다.
사용하는 웹 브라우저로 웹 환경설정 생성기 페이지에 갑니다. 자바스크립트를 수동으로 비활성화 했다면 활성화 해두어야 합니다. 크롬이나 파이어폭스를 권장하지만, 거의 대부분의 유명한 브라우저에서 작동합니다.
페이지를 연 후 "Bot" 탭으로 전환합니다. 아래와 비슷한 페이지를 볼 수 있습니다.

혹시라도 방금 다운로드한 ASF의 버전이 환경설정 생성기가 기본으로 사용하도록 설정된 버전보다 오래되었다면, 드롭다운 메뉴에서 사용중인 ASF 버전을 선택합니다. 환경설정 생성기는 사전릴리스 등 아직 안정버전이 아닌 새로운 ASF 버전용으로도 사용할 수 있어서 이런 일이 발생합니다. ASF의 최신 안정 릴리스를 다운로드했다면 안정적으로 동작할 것입니다.
빨간색으로 강조된 필드에 봇 이름을 넣는 것부터 시작하십시오. 이것은 별명, 계정명, 숫자 등등 당신이 사용하고 싶은 어떤 이름이라도 가능합니다. 사용할 수 없는 단 하나의 단어가 있습니다. ASF 는 일반 환경설정 파일로 예약된 키워드입니다. 추가로, 봇 이름은 마침표로 시작할 수 없습니다.(ASF는 이 파일을 내부적으로 무시합니다.) 공백문자를 사용하지 않는 것을 추천하므로 단어 구분자가 필요하면 _를 사용할 수 있습니다.
After you decided about your name, change Enabled switch to be on, this defines whether your bot is supposed to be started by ASF automatically after launch (of the program).
Now you can decide upon two things:
- You can put your login in
SteamLoginfield and your password inSteamPasswordfield - Or you can leave them empty
Doing the first thing will allow ASF to automatically use your account credentials during startup, so you won't need to input them manually each time ASF needs them. You can however decide to omit them, in which case they're not being saved, so ASF won't be able to automatically start without your help and you'll need to input them during runtime.
ASF requires your login credentials because it includes its own implementation of Steam client and needs the same details to log in as the one that you use yourself. Your login credentials are not saved anywhere but on your PC in ASF config directory only, our web config generator is client-based which means that the code is run locally in your browser to generate valid ASF configs, without details you're inputting ever leaving your PC in the first place, so there is no need to worry about any possible sensitive data leak. Still, if you for whatever reason don't want to put your credentials there, we understand that, and you can put them manually later in generated files, or omit them entirely and put them only in ASF command prompt. More on security matter can be found in configuration section.
You can also decide to leave just one field empty, such as SteamPassword, ASF will then be able to use your login automatically, but will still ask for password (similar to Steam Client). If you're using Steam parental to unlock the account, you'll need to put it into SteamParentalCode field.
After the decision and optional details, your web page will now look similar to the one below:

You can now hit "download" button and our web config generator will generate new json file based on your chosen name. Save that file into config directory which is located in the folder where you've extracted our zip file in the previous step.
config 디렉토리는 다음과 같은 모습이 됩니다.

축하합니다! 기본적인 ASF 봇 환경설정을 끝마쳤습니다. 잠시 후에 추가적으로 더 하겠지만, 지금으로선 여기까지만 있으면 됩니다.
이제 프로그램을 처음 실행할 준비가 되었습니다. Simply double-click ArchiSteamFarm binary in ASF directory.
After doing so, assuming you installed all required dependencies in the first step, ASF should launch properly, notice your first bot (if you didn't forget to put generated config in config directory), and attempt to log in:

If you supplied SteamLogin and SteamPassword for ASF to use, you'll be asked for your SteamGuard token only (e-mail, 2FA or none, depending on your Steam settings). If you didn't, you'll also be asked for your Steam login and password.
Now is a good time to review our privacy policy section if you're concerned about what will happen next, as stated by ASF itself.
After passing through initial login gate, assuming your details are correct, you'll successfully log in, and ASF will start idling using default settings that you didn't change as of now:

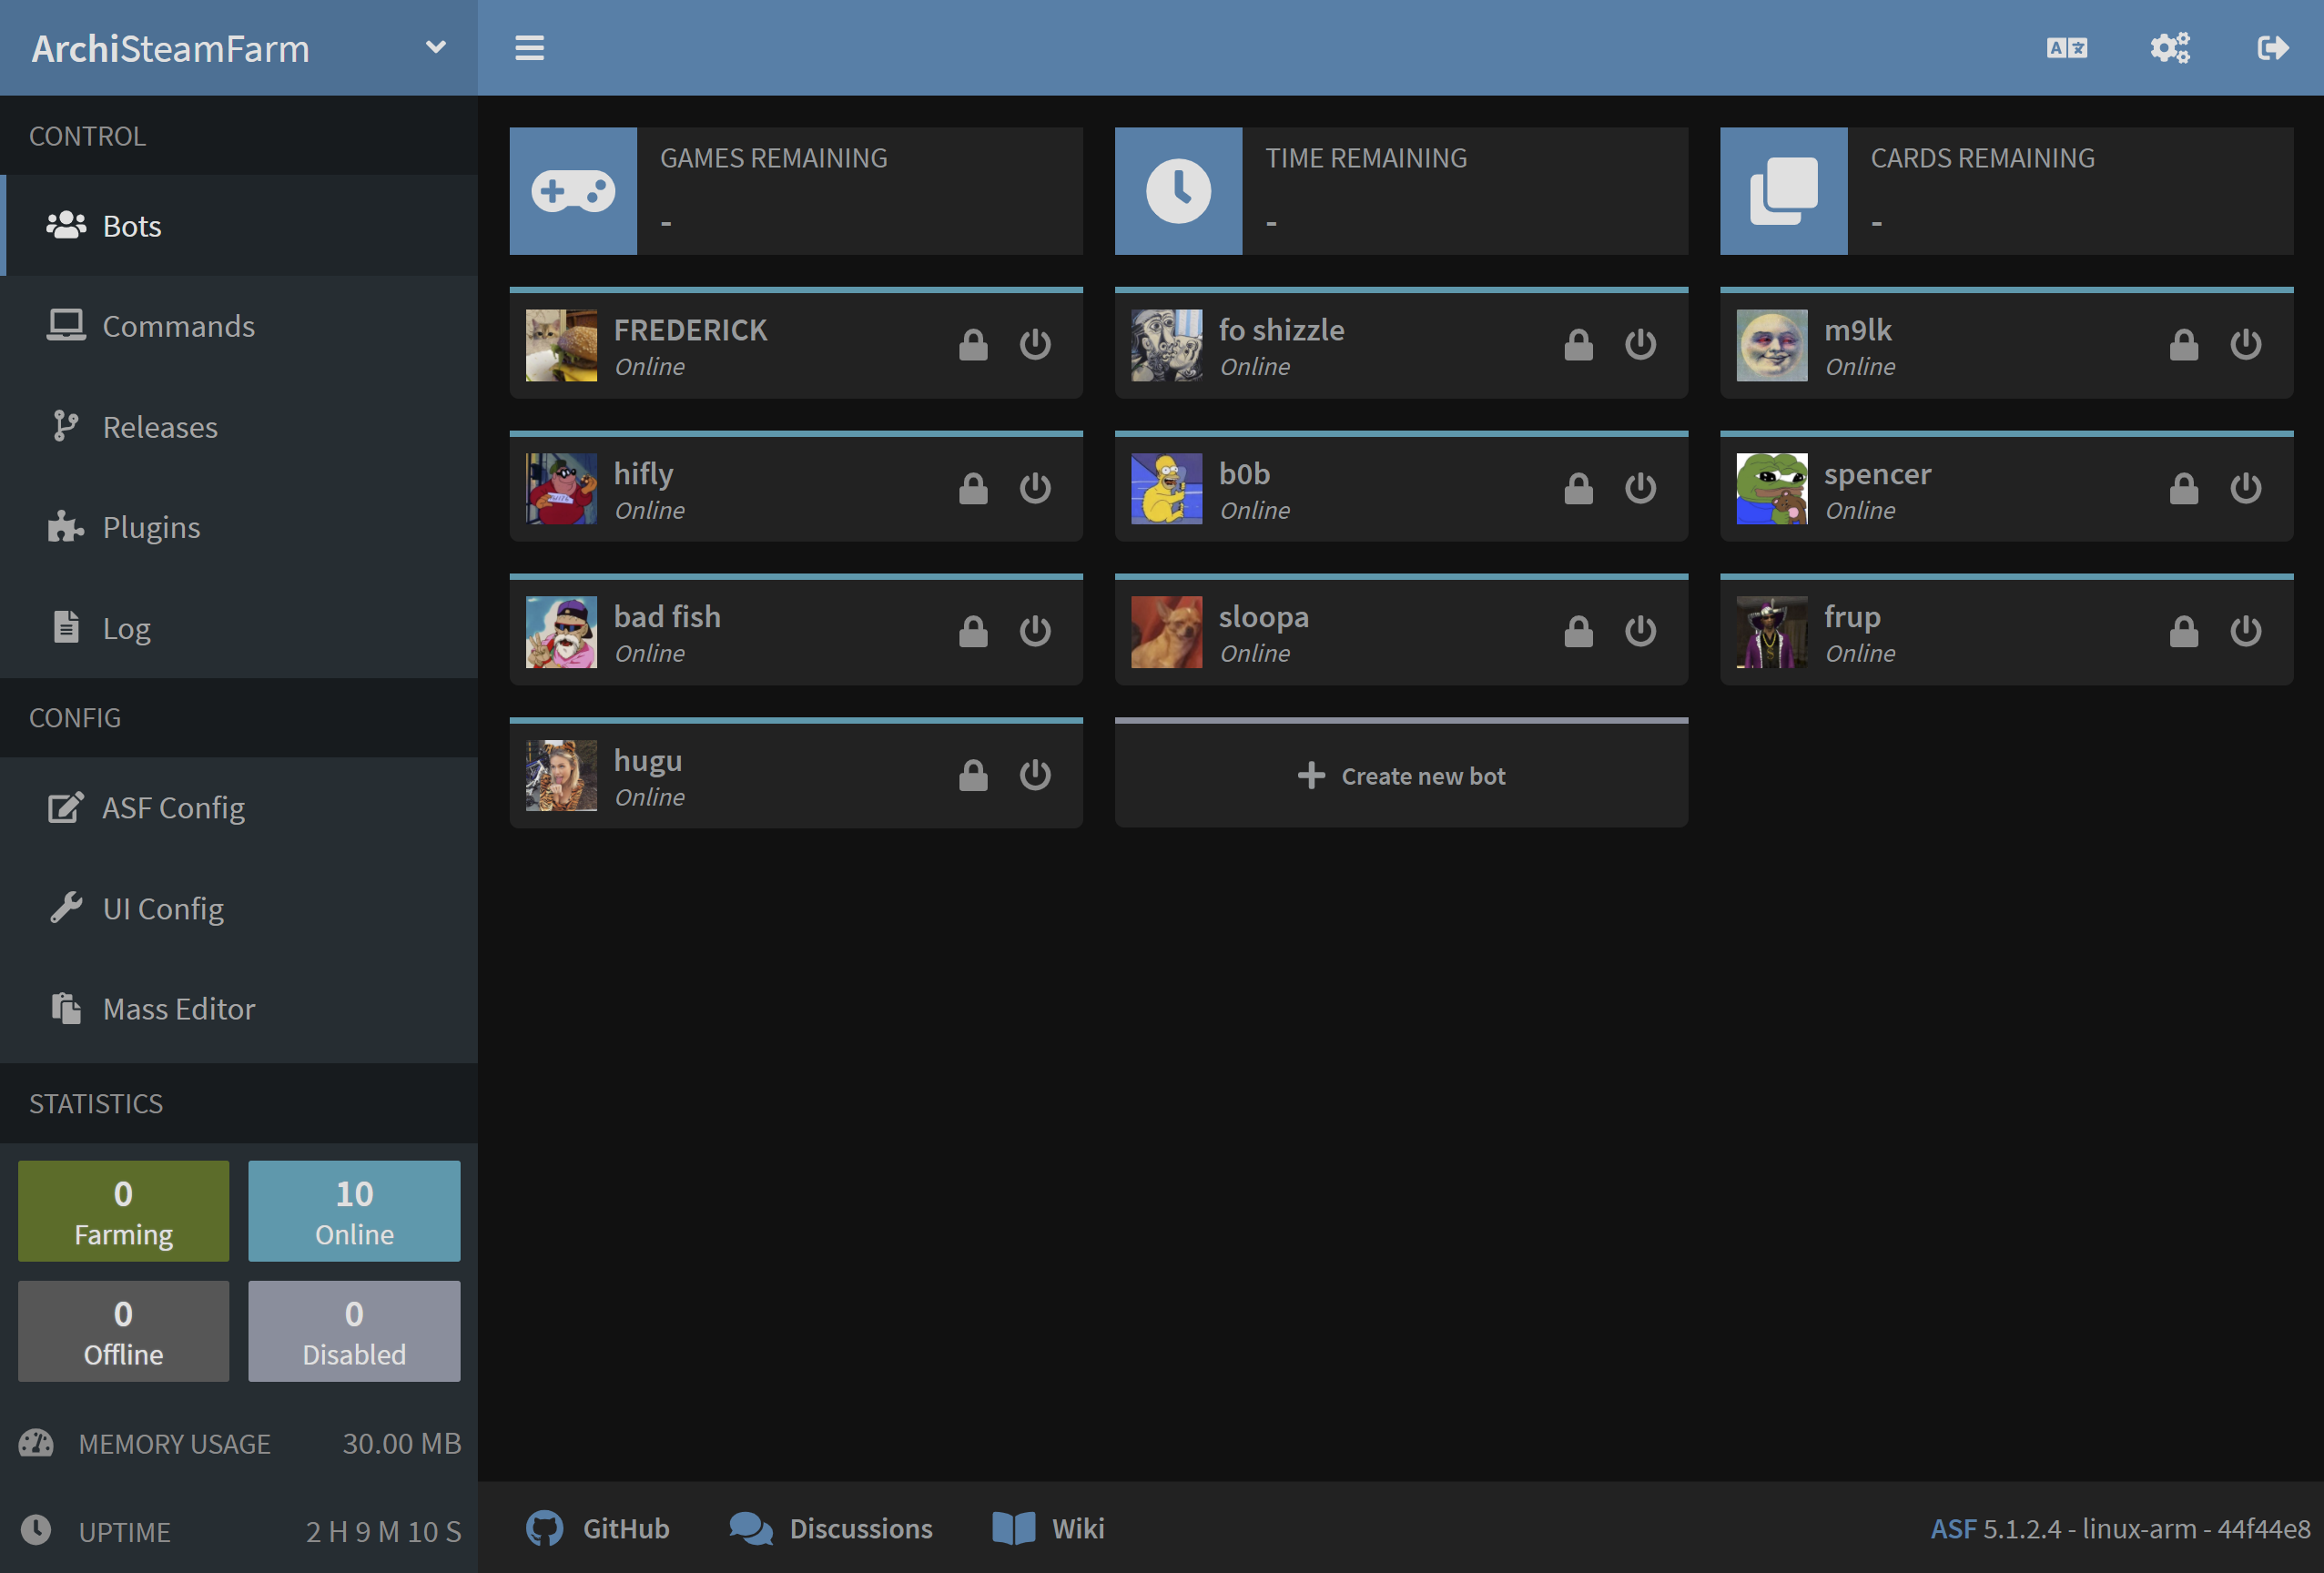
This proves that ASF is now successfully doing its job on your account, so you can now minimize the program and do something else. After enough of time (depending on performance), you'll see Steam trading cards slowly being dropped. Of course, for that to happen you must have valid games to idle, showing as "you can get X more card drops from playing this game" on your badges page - if there are no games to idle, then ASF will state that there is nothing to do, as stated in our FAQ.
This concludes our very basic setting up guide. You can now decide whether you want to configure ASF further, or let it do its job in default settings. We'll cover a few more basic details, then leave you entire wiki for discovery.
ASF supports idling more than one account at a time, which is its primary function. You can add more accounts to ASF by generating more bot config files, in exactly the same way as you've generated your first one just a few minutes ago. You need to ensure only two things:
- Unique bot name, if you already have your first bot named "MainAccount", you can't have another one with the same name.
- Valid login details, such as
SteamLogin,SteamPasswordandSteamParentalCode(if using Steam parental settings)
In other words, simply jump to configuration again and do exactly the same, just for your second or third account. Remember to use unique names for all of your bots.
You change existing settings in exactly the same way - by generating a new config file. If you didn't close our web config generator yet, click on "toggle advanced settings" and see what is there for you to discover. For this tutorial we'll change CustomGamePlayedWhileFarming setting, which allows you to set custom name being displayed when ASF is idling, instead of showing actual game.
So let's do that, if you run ASF and start idling, in default settings you'll see that your Steam account is in-game now:

이제 이것을 변경해봅시다. Toggle advanced settings in web config generator and find CustomGamePlayedWhileFarming. Once you do that, put your own custom text there that you want to display, such as "Idling cards":

Now download the new config file in exactly the same way, then overwrite your old config file with new one. You can also delete your old config file and put new one in its place of course.
Once you do that and start ASF again, you'll notice that ASF now displays your custom text in previous place:

This confirms that you've successfully edited your config. In exactly the same way you can change global ASF properties, by switching from bot tab to "ASF" tab, downloading generated ASF.json config file and putting it in your config directory.
ASF is a console app and doesn't include a graphical user interface. However, we're actively working on ASF-ui frontend to our IPC interface, which can be a very decent and user-friendly way to access various ASF features.
In order to use ASF-ui, you should ensure that you set up IPC and SteamOwnerID global configuration properties (ASF tab).
For SteamOwnerID, you need to input unique Steam identificator in 64-bit form of your account. You can look it up in various different ways, we'll use SteamRep for that purpose. Open the website, locate sign in through Steam button in top right corner, then log in. Afterwards, in the same place, click on your avatar, and look up steamID64 field on your profile.

For my account, this is 76561198006963719 number. You'll have a similar one, also starting from 7656. Copy it.
Now navigate once again to our web config generator and input that number as SteamOwnerID. Lastly, you need to enable IPC option nearby for the interface to activate.

Now you can download your ASF config and put it in your config directory, as usual. Afterwards, launch ASF again, and you should be able to confirm that it properly started IPC interface:

If you did everything properly, you'll now be able to access ASF's IPC interface under this link, as long as ASF is running. You can use ASF-ui for various purposes, e.g. sending commands. Feel free to take a look around in order to find out all ASF-ui functionalities.
Please note that ASF-ui is currently in preview state and not everything is available/working yet, but it's more than enough for simple ASF usage.
You've successfully set up ASF to use your Steam accounts and you've already customized it to your liking a little. If you followed our entire guide, then you even managed to send a simple command through our ASF-ui interface. Now is a good time to read our entire configuration section in order to learn what all those different settings you've seen in advanced tab actually do, and what ASF can offer. If you've stumbled upon some issue or you have some generic question, read FAQ instead which should cover all, or at least majority of questions that you may have. If you want to learn everything about ASF and how it can make your life easier, head over to the rest of our wiki. Have fun!
This setup is for advanced users that want to set up ASF to run in generic variant. It's not recommended for people that can use OS-specific setup.
You want to use generic variant mainly in those situations (but of course you can use it regardless):
- When you're using OS that we don't build OS-specific package for (such as 32-bit Windows)
- When you already have .NET Core Runtime/SDK, or want to install and use one
- When you want to minimize ASF structure size by handling runtime requirements yourself
- When you want to use a custom plugin which requires a generic setup of ASF to run properly (due to missing native dependencies)
However, keep in mind that you're in charge of .NET Core runtime in this case. This means that if your .NET Core SDK (runtime) is unavailable, outdated or broken, ASF won't work. This is why we don't recommend this setup for casual users, since you now need to ensure that your .NET Core SDK (runtime) matches ASF requirements and can run ASF, as opposed to us ensuring that our .NET Core runtime bundled with ASF can do so.
For generic package, you can follow entire OS-specific guide above, with two small changes. In addition to installing .NET Core prerequisites, you also want to install .NET Core SDK, and instead of having OS-specific ArchiSteamFarm(.exe) executable file, you now have a generic ArchiSteamFarm.dll binary only. Everything else is exactly the same.
With extra steps:
- .NET Core 필수 구성 요소 설치
- Install .NET Core SDK (or at least runtime) appropriate for your OS. You most likely want to use an installer. Refer to runtime requirements if you're not sure which version to install.
- 일반적인 최신 버전 ASF 다운로드
- 압축파일을 새 위치에 풀기(리눅스/OS X라면
chmod +x ArchiSteamFarm.sh실행) - ASF 환경설정
- Launch ASF by either using a helper script or executing
dotnet /path/to/ArchiSteamFarm.dllmanually from your favourite shell.
Helper scripts (such as ArchiSteamFarm.cmd for Windows and ArchiSteamFarm.sh for Linux/OS X) are located next to ArchiSteamFarm.dll binary - those are included in generic variant only. You can use them if you don't want to execute dotnet command manually. Obviously helper scripts won't work if you didn't install .NET Core SDK and you don't have dotnet executable available in your PATH. Helper scripts are entirely optional to use, you can always dotnet /path/to/ArchiSteamFarm.dll manually.
 |
 |
 |
 |
|---|---|---|---|
 |
 |
 |
 |
|---|---|---|---|
- 🏡 Home
- 🔧 환경설정
- 💬 FAQ
- ⚙️ Setting up (start here)
- 👥 백그라운드 게임 등록기
- 📢 Commands
- 🛠️ Compatibility
- 🧩 ItemsMatcherPlugin
- 📋 Management
- ⏱️ Performance
- 📡 Remote communication
- 👪 Steam 가족 공유
- 🔄 Trading