-
Notifications
You must be signed in to change notification settings - Fork 0
MoMA tutorial tracking
-
Processing in MoMA
-
Tracking and curating a growth lane with MoMA
- Opening a GL and running first optimization
- Basic GUI interaction
- Selecting/forcing assignments to correct assignment errors
- Selecting/forcing components
- Ignoring components
- Selecting and modifying multiple assignments and components (version 0.9 and above)
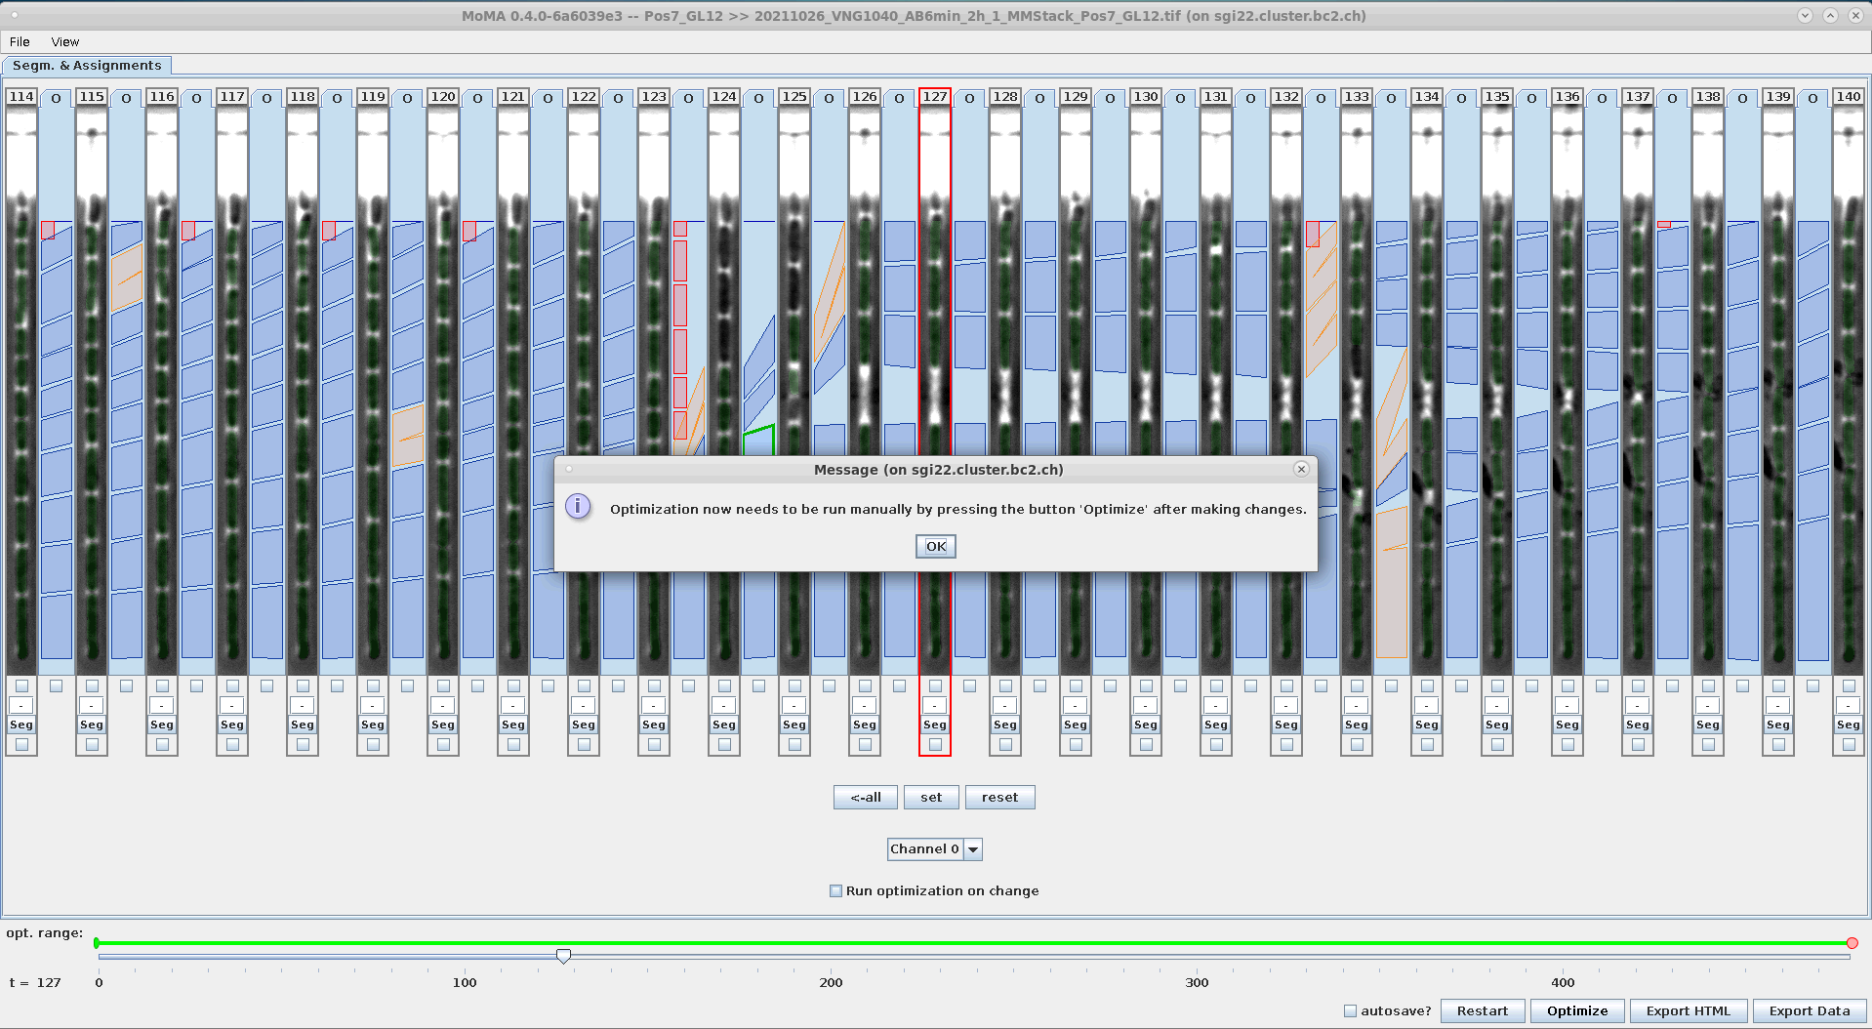
- Using deferred optimization to reduce curation time
- Filtering assignments using the fluorescence intensity (version 0.9 and above)
-
Tracking and curating a growth lane with MoMA
This section explains how to track cells in GL ROI TIFF-stack. This can be broke down into three steps:
- load the TIFF stack and run tracking
- curate tracking results
- export tracking results to disk
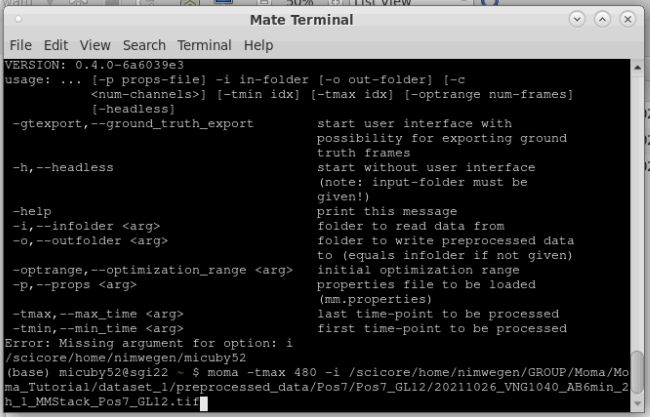
We will now track GL12 in Pos7 as an example to explain MoMA functionality. To start moma with this GL run this command in the GPU node terminal:
moma -tmax 480 -i <ANALYSIS_DIRECTORY>/preprocessed_data/Pos7/Pos7_GL12/20211026_VNG1040_AB6min_2h_1_MMStack_Pos7_GL12.tifThis will start MoMA to analyze the first 480 frames:
| Starting MoMA for Pos7_GL12 on the first 480 frames. | Running the U-Net model on the PhC image. | Generating segmentation hypotheses/components. |
|---|---|---|
 |
 |
 |
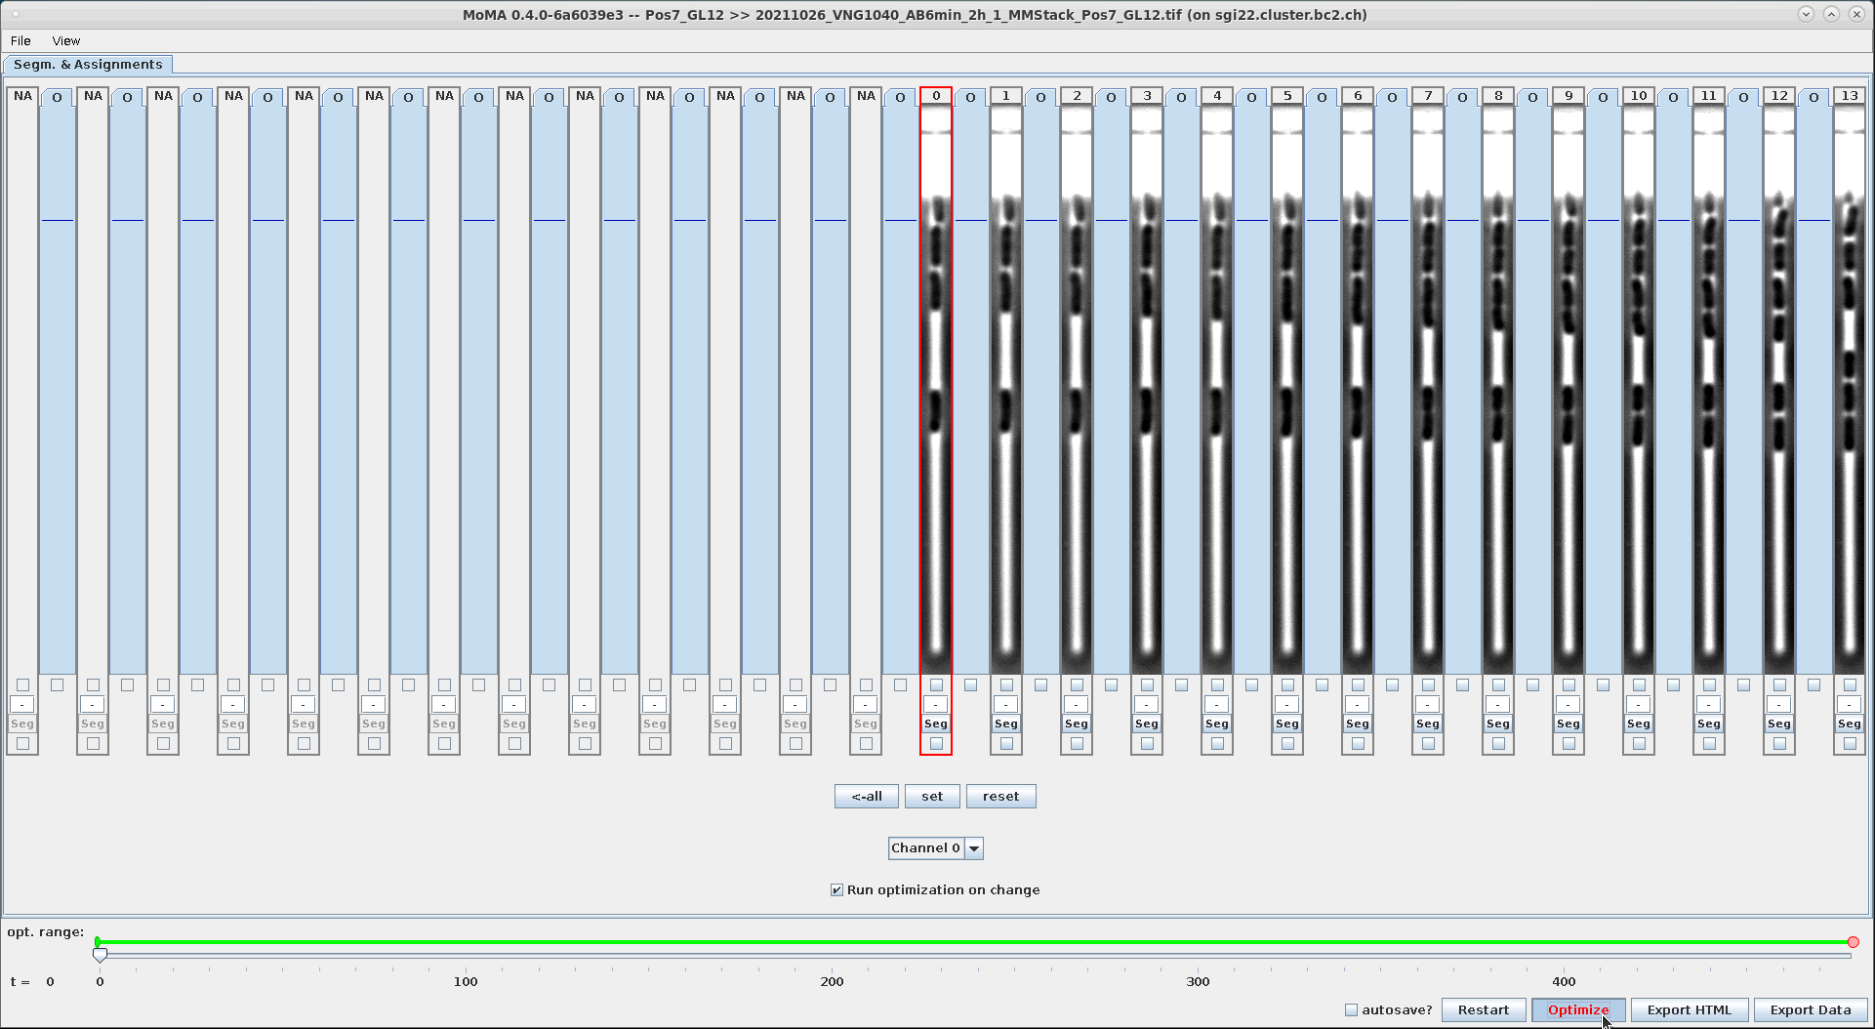
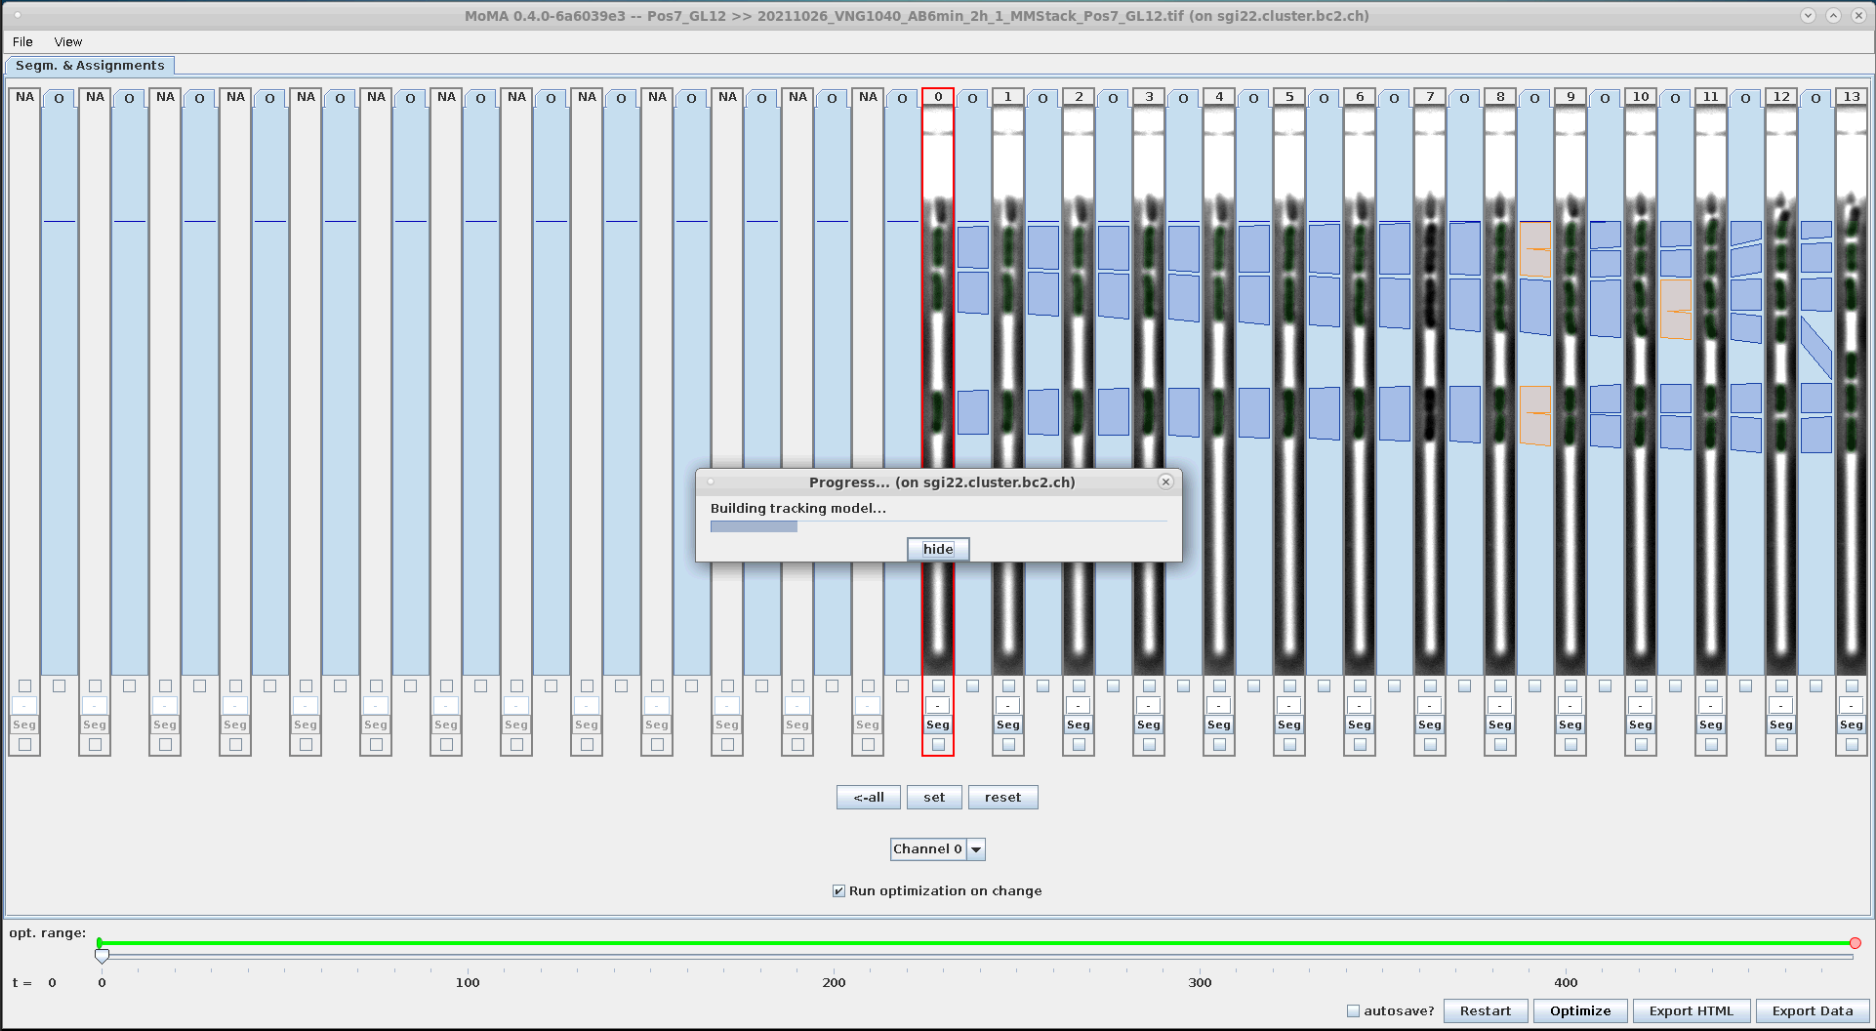
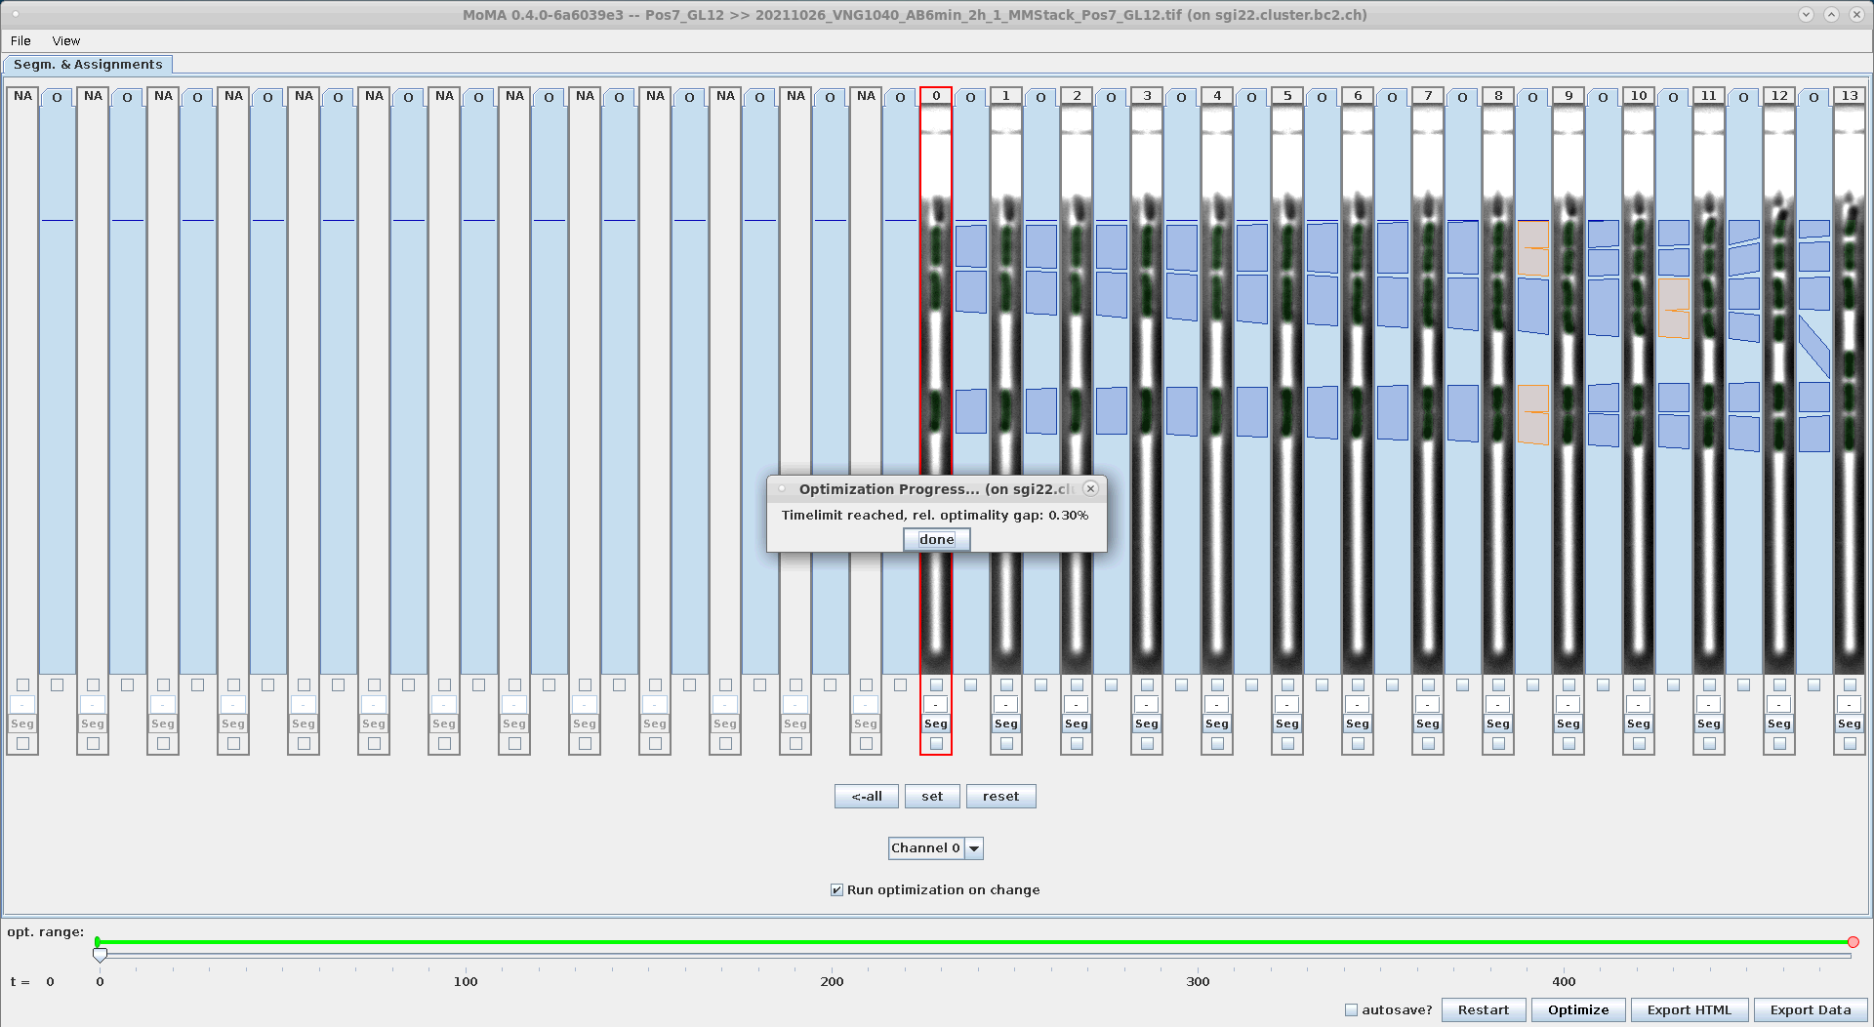
Now run the optimization:
| To start the optimization click "Optimize" button or hit 'o' key. | Optimization running ... | Optimization finished. After optimization the GUI will display green overlays indicating the masks of detected cells. In this case there was no optimal solution found within the optimization time (this can happen for more complex GLs, where cells e.g. lyse, etc.). In this case it sometime helps to press 'Optimize' again to continue the optimization. If still no optimal result is found, then we can still continue with curation. Usually optimization performance improves during curation when ILP constraints are introduced by user. So confirm clicking by 'Done'. |
|---|---|---|
 |
 |
 |
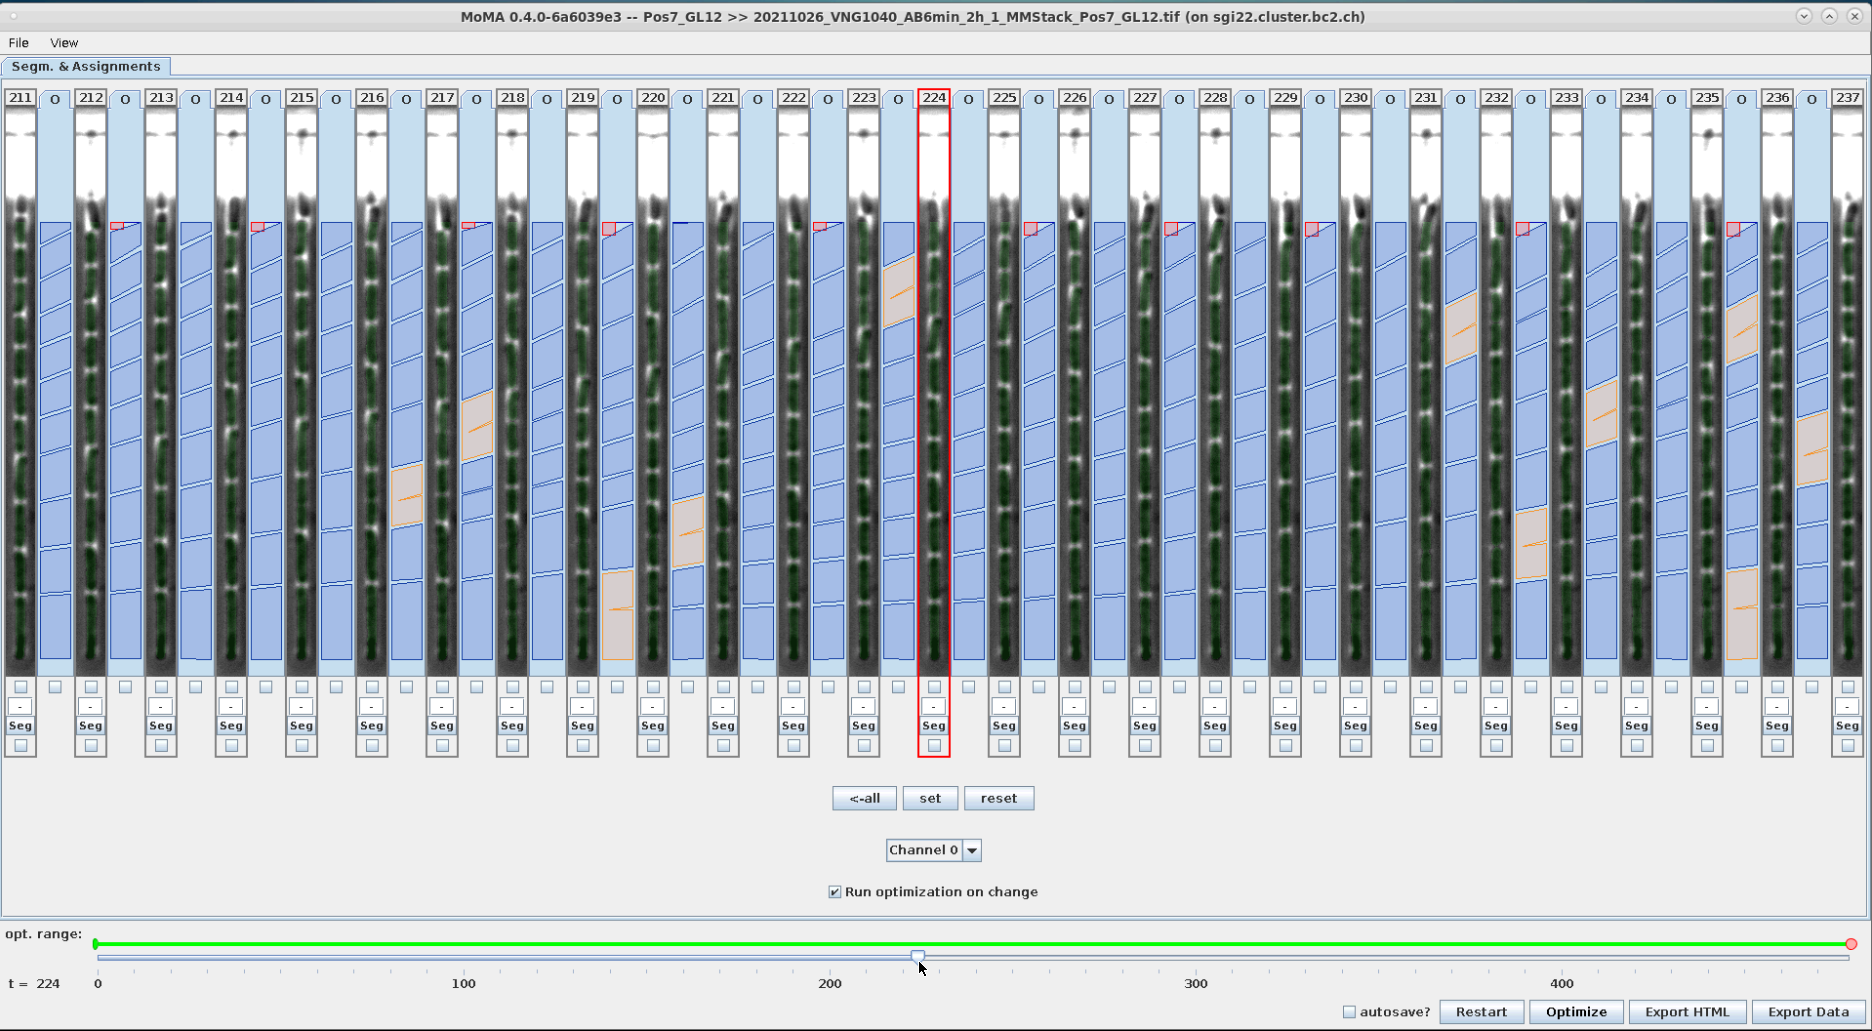
Use the slider at the bottom to scroll through time. You can also use the Left/Right arrow keys.
| Dragging slider to navigate time steps. |
|---|
 |
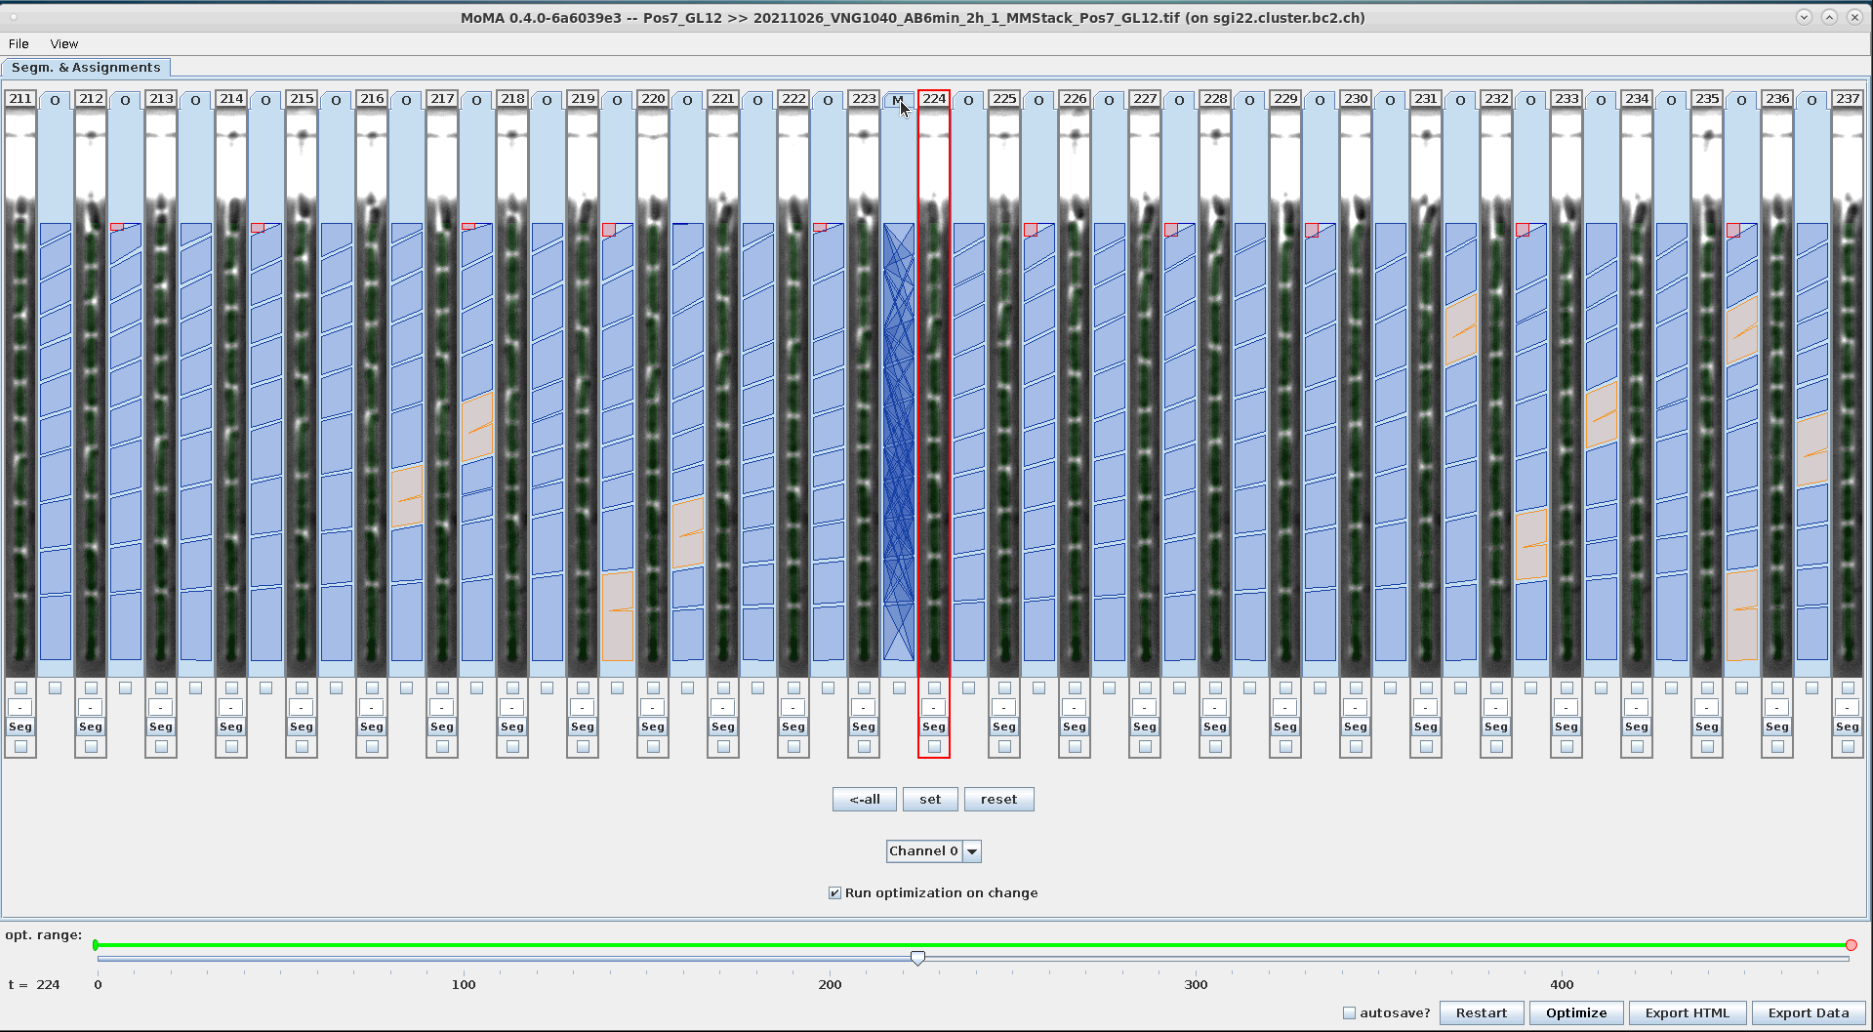
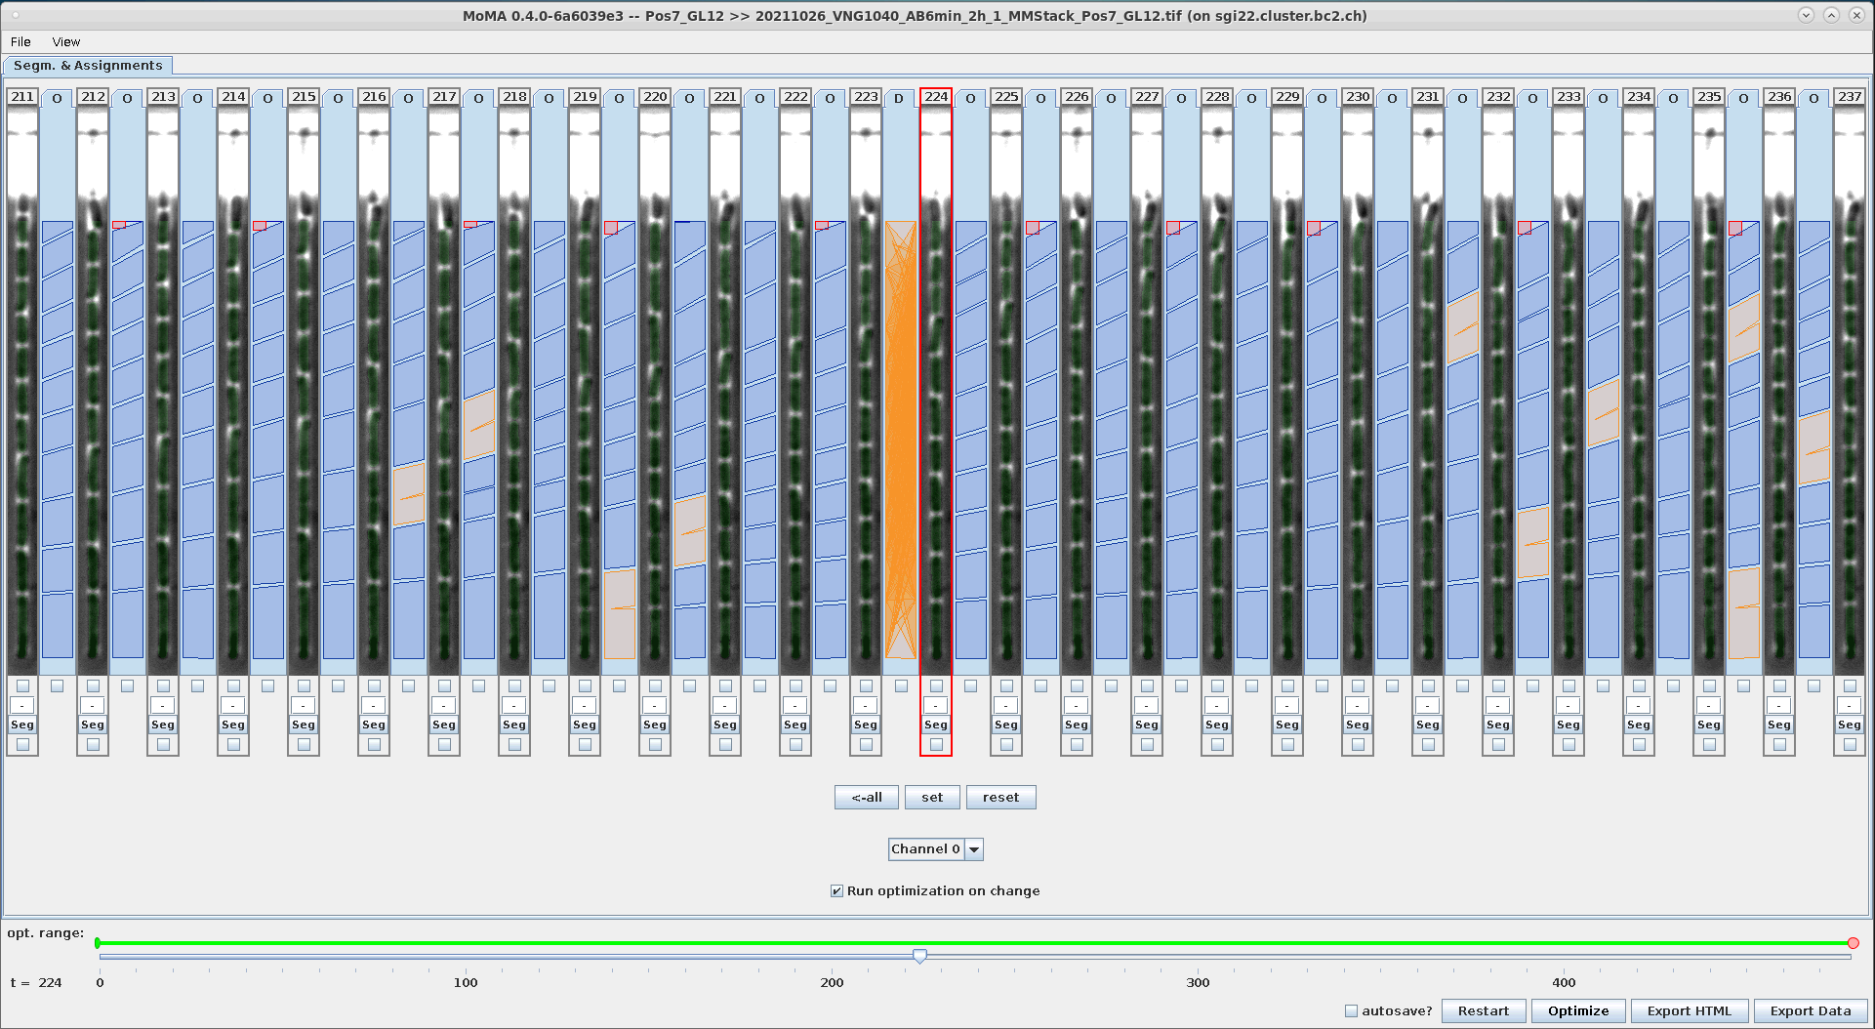
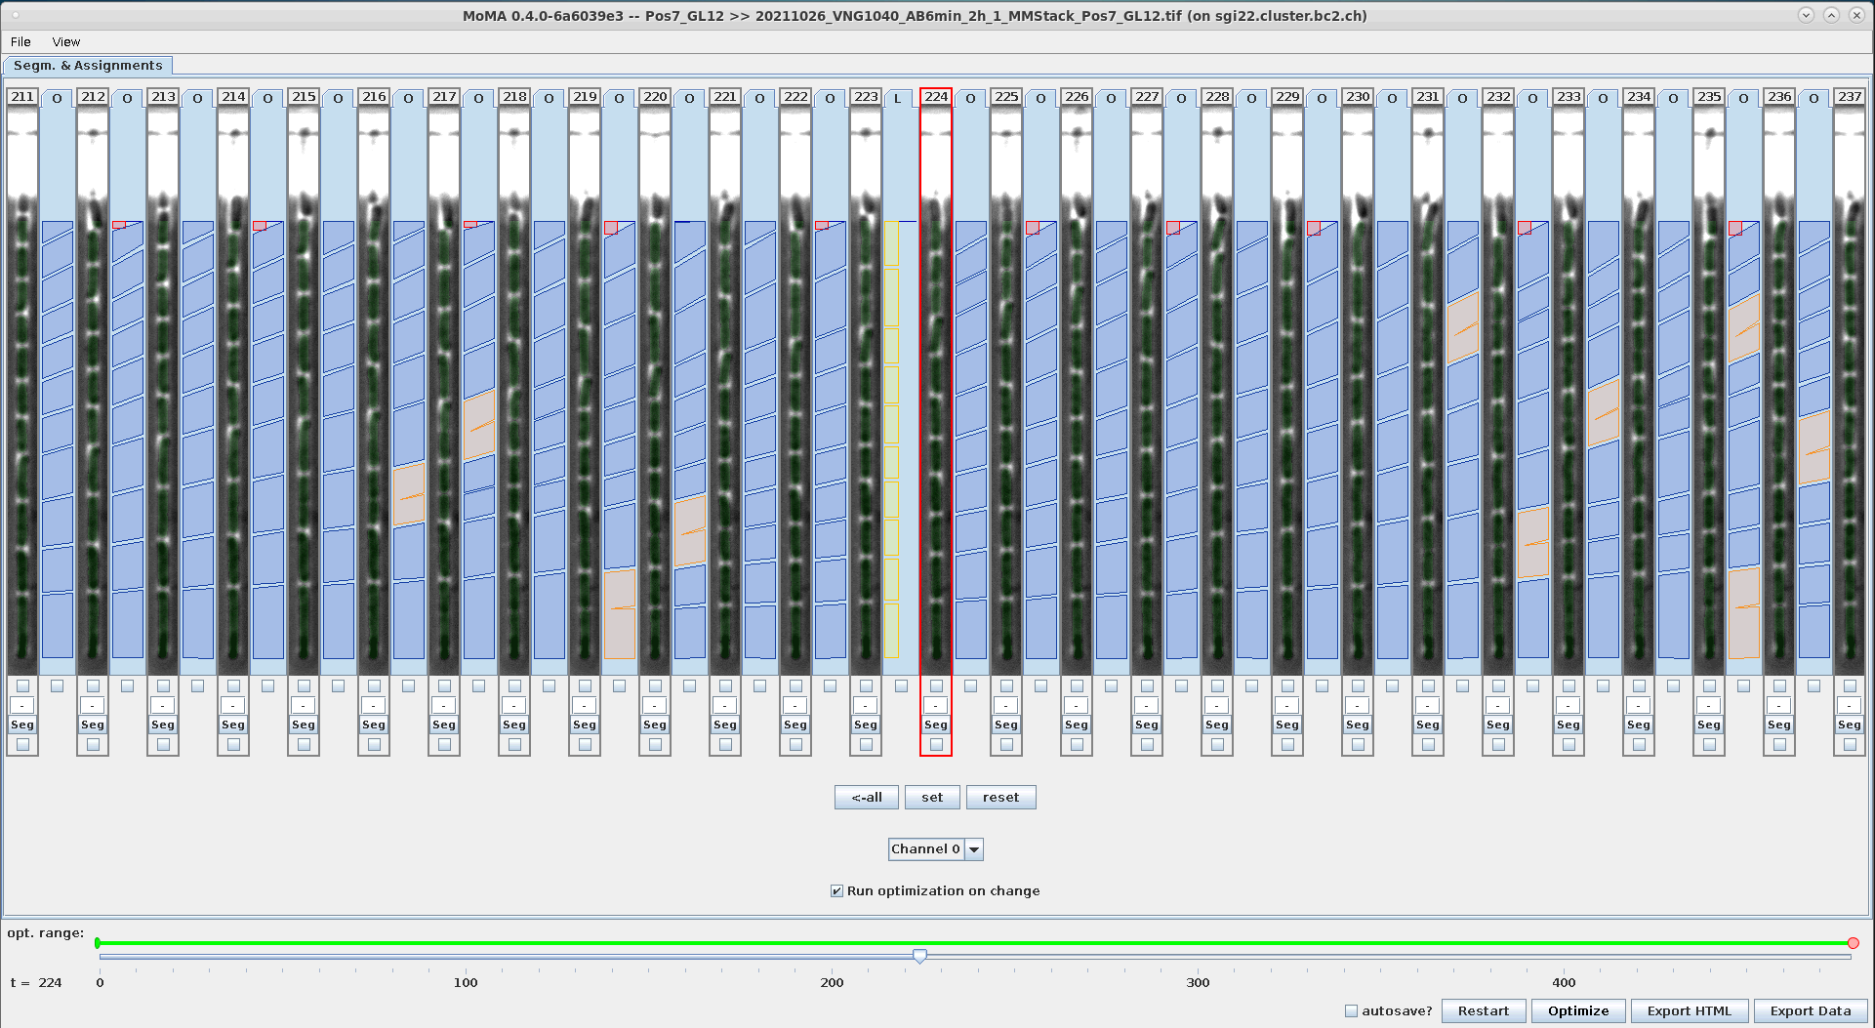
To cycle through the different assignment types click on the tab at the top of an assignment view for a given time step.
| Mapping assignments selected. | Division assignments selected. | Exit assignments selected. | Lysis assignments selected. |
|---|---|---|---|
 |
 |
 |
 |
You can switch assignment views using the keyboard by hitting the keys:
| key | assignment type |
|---|---|
| 0 | optimal assignments |
| 1 | mapping |
| 2 | division |
| 3 | exit |
| 4 | lysis |
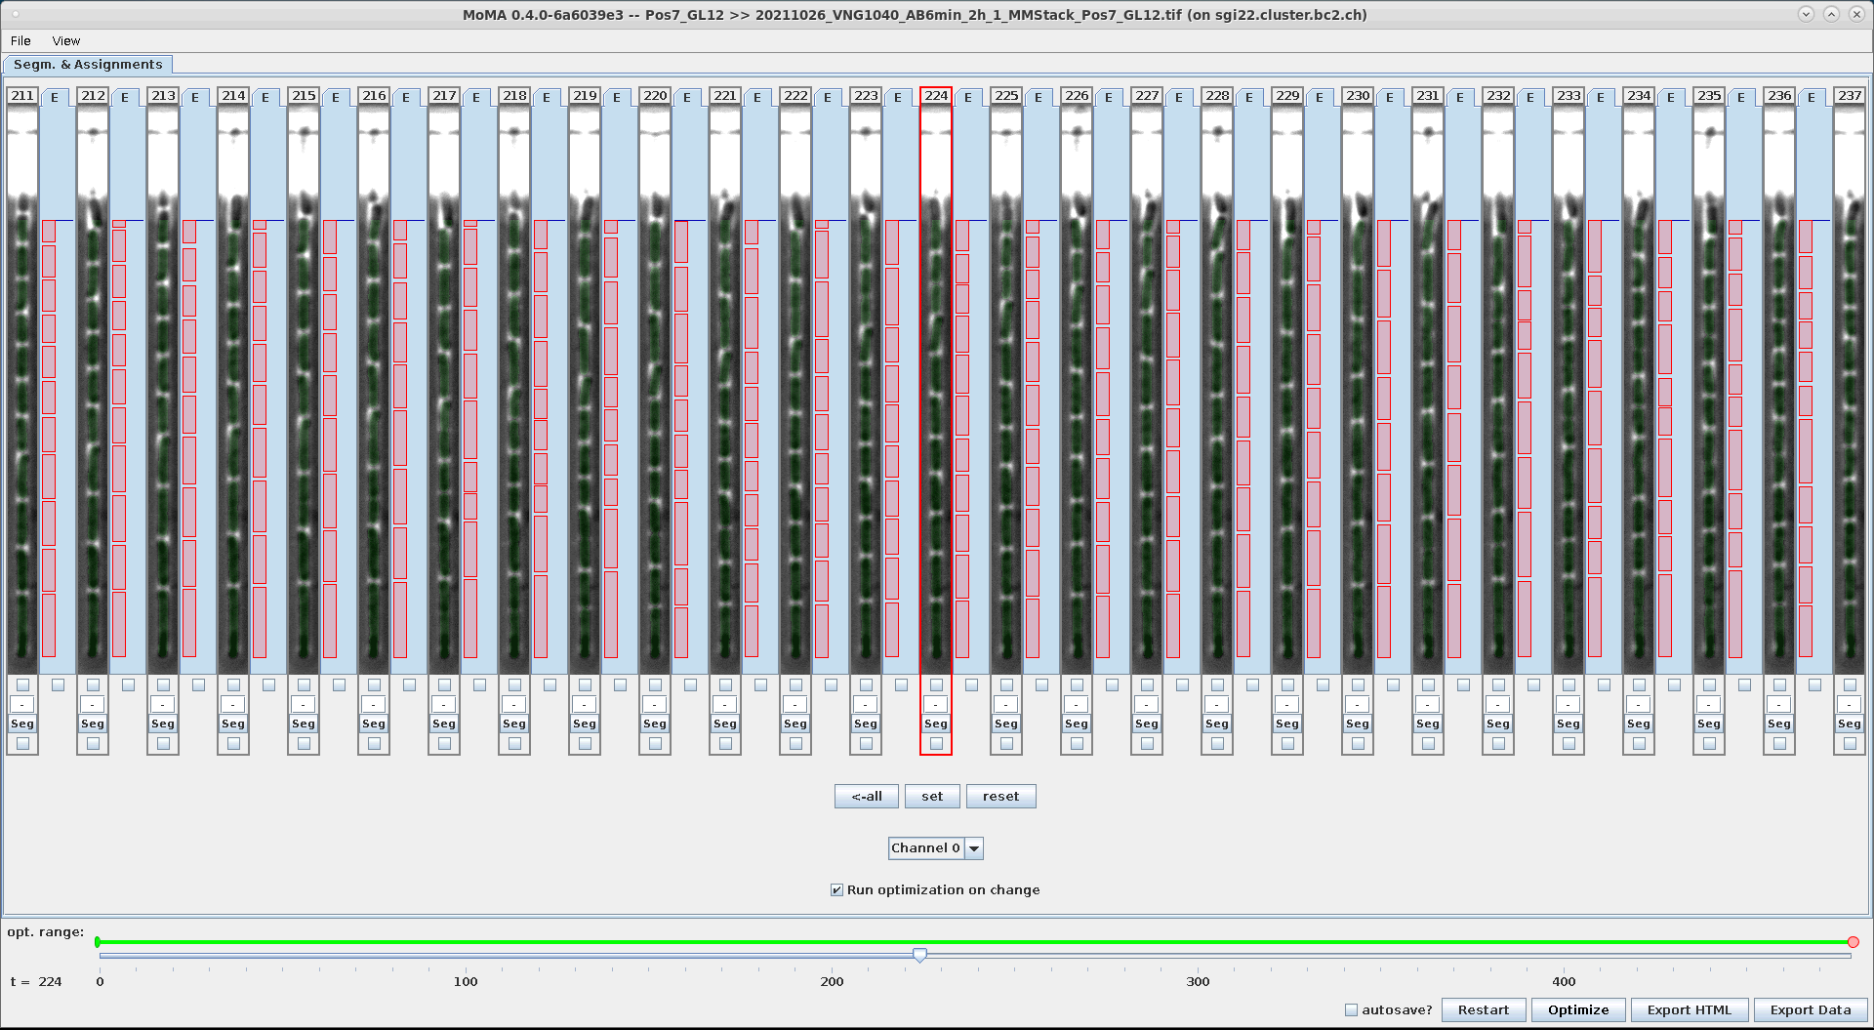
When the mouse is hovered over an assignment view only that assignment view will change. When the mouse is outside of the assignment views, all assignments will be switched:
| All assignment view switched to mapping assignments. | All assignment view switched to division assignments. | All assignment view switched to exit assignments. | All assignment view switched to lysis assignments. |
|---|---|---|---|
 |
 |
 |
 |
Assignment error are fixed by selecting/forcing the correct assignment to be part of the solution. To do this:
- Select correct assignment type at the time step.
- Hover the mouse at the location of the desired assignment (e.g. next the source component).
- Use the mouse wheel to scroll through the available assignments at the location of the mouse cursor.
- Left-click to select the currently highlighted assignment.
MoMA automatically highlights the optimal assignment (i.e. the one selected by the optimizer) at the position of the mouse. If there is not optimal assignment at the location of the mouse cursor, it will automatically highlight the assignment with minimal cost. Most of the time, this is the desired assignment, which it speeds up curation.
 |
 |
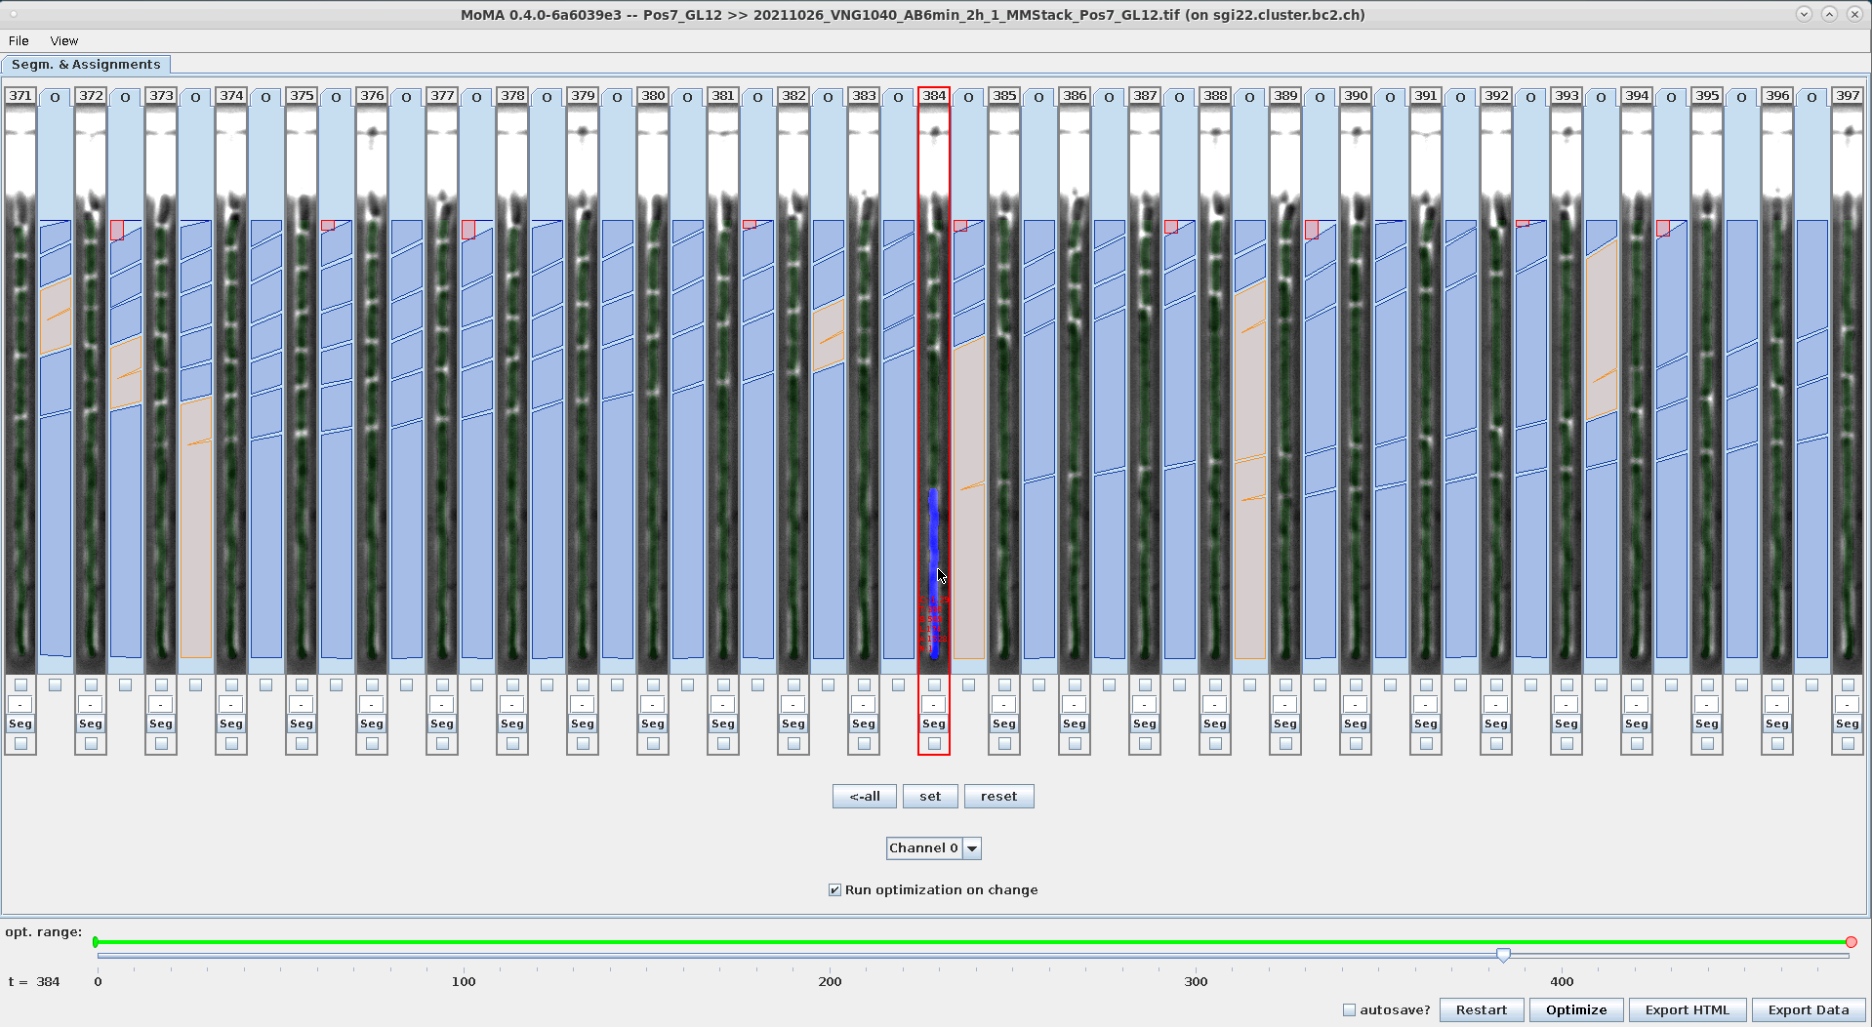
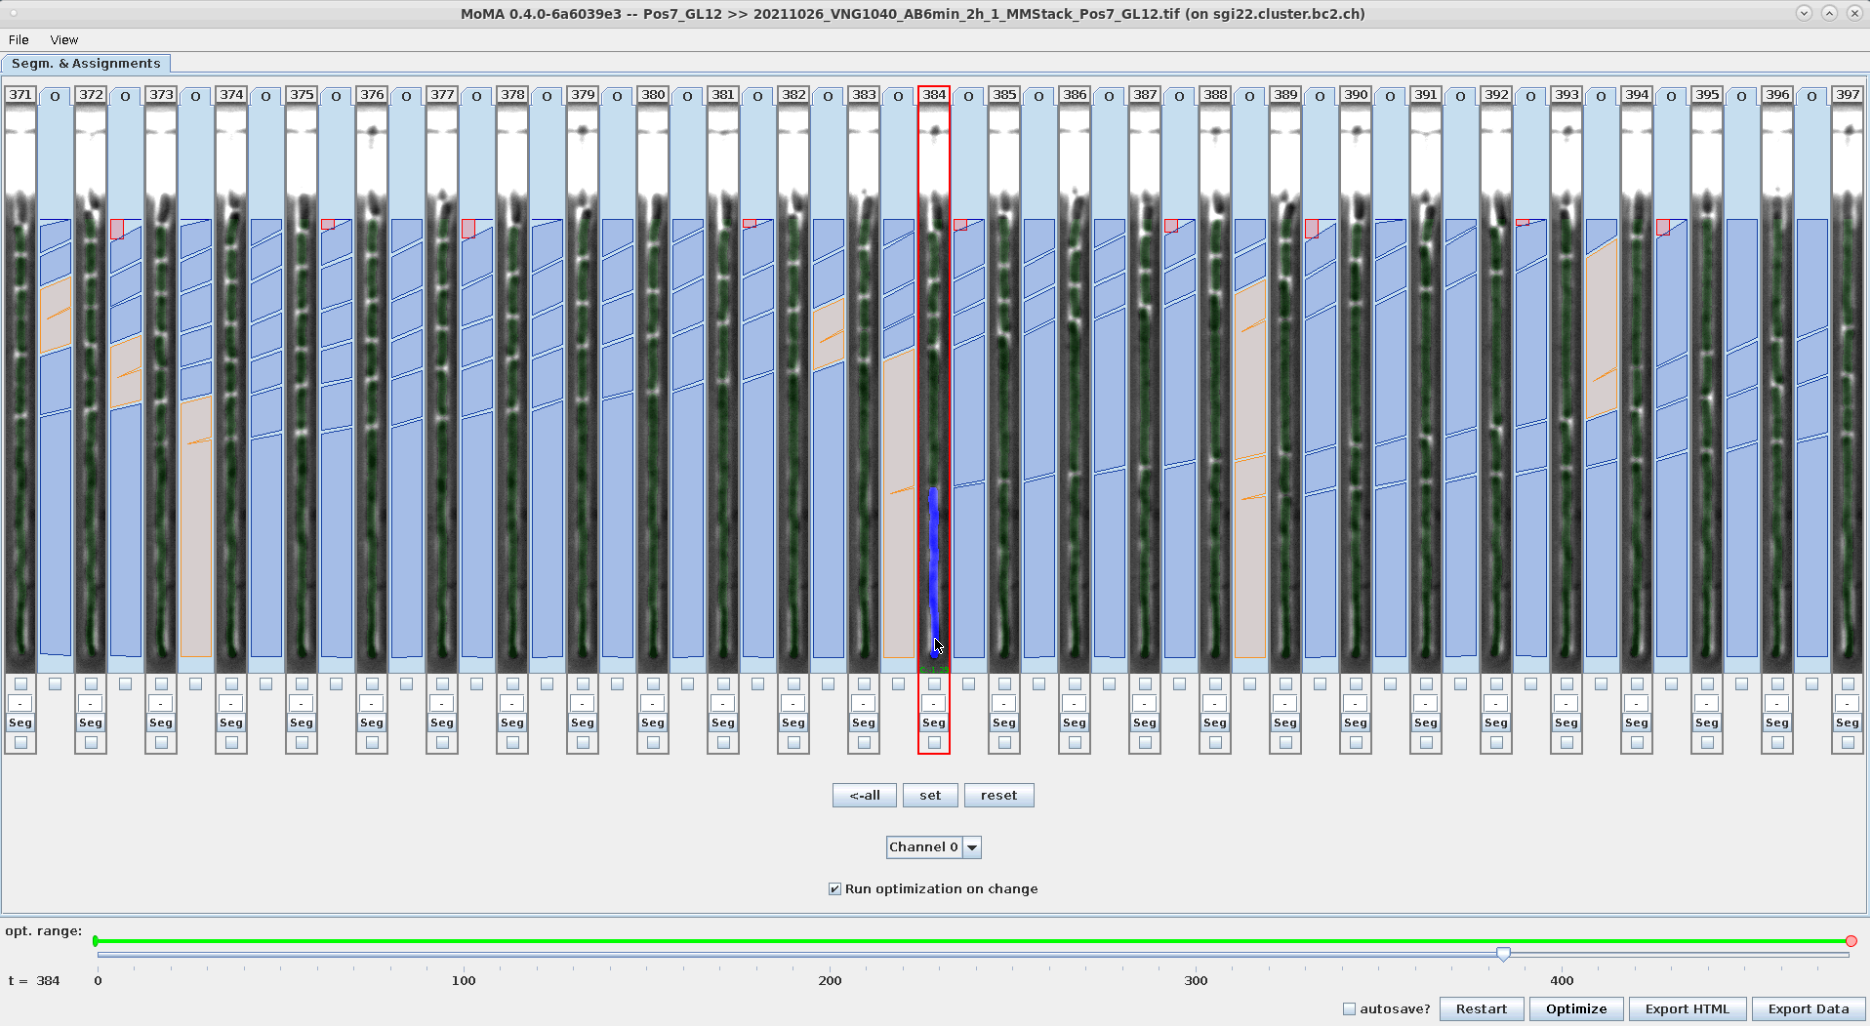
Segmentation can be corrected by selecting/forcing components to be part of the tracking solution. To do this:
- However the mouse over the desired component. The currently optimal component will be highlighted.
- Use the mouse wheel to scroll through the available components at the location of the mouse cursor.
- Left-click on the desired component when it is highlighted to select/force it as part of the tracking solution. After optimization the selected/forced component is highlighted in yellow.
You can unselect/un-enforce a component by clicking on it.
| Optimal component is highlighted in blue, when hovering the mouse over it. | A different component is highlighted with the mouse wheel and selected by left-clicking. | After reoptimizing the forced component is shown in yellow. Accordingly, the corresponding division assignment in the new tracking solution has shift by one time left to the left. | The selection of the component is reverted by left-clicking on the forced (yellow) component and reoptimizing. |
|---|---|---|---|
 |
 |
 |
 |
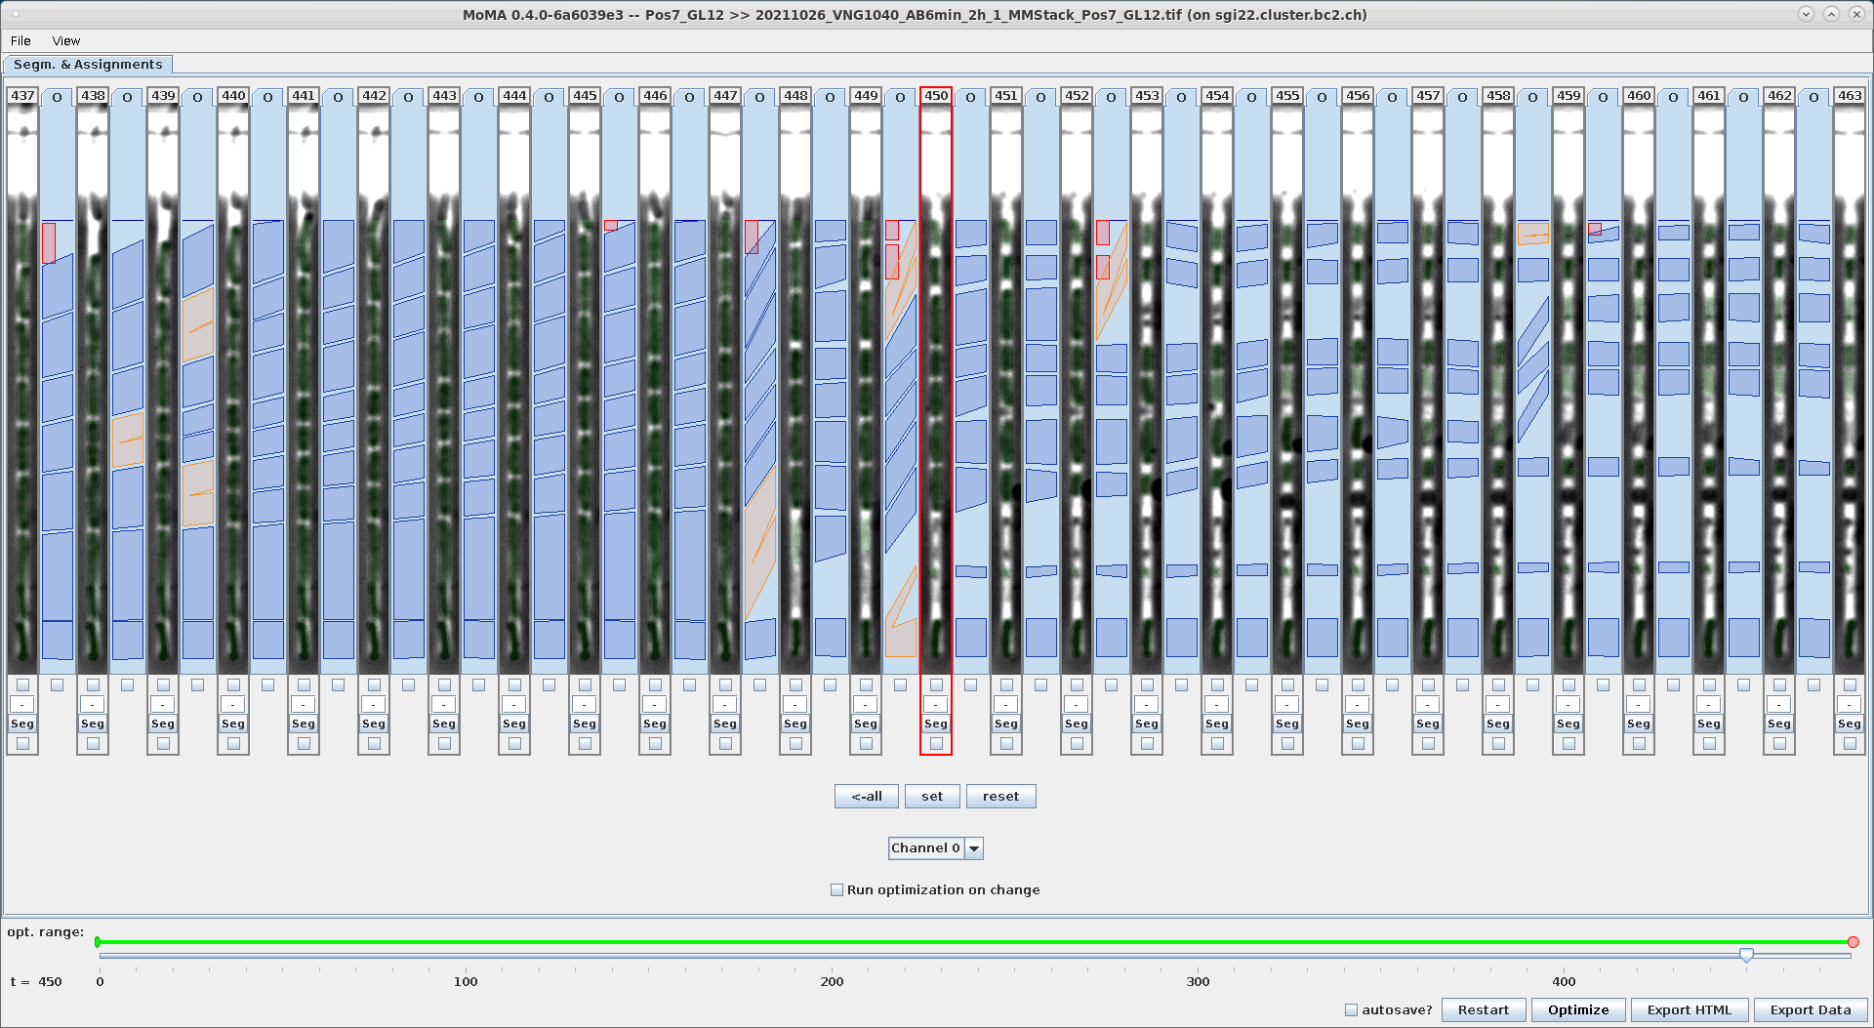
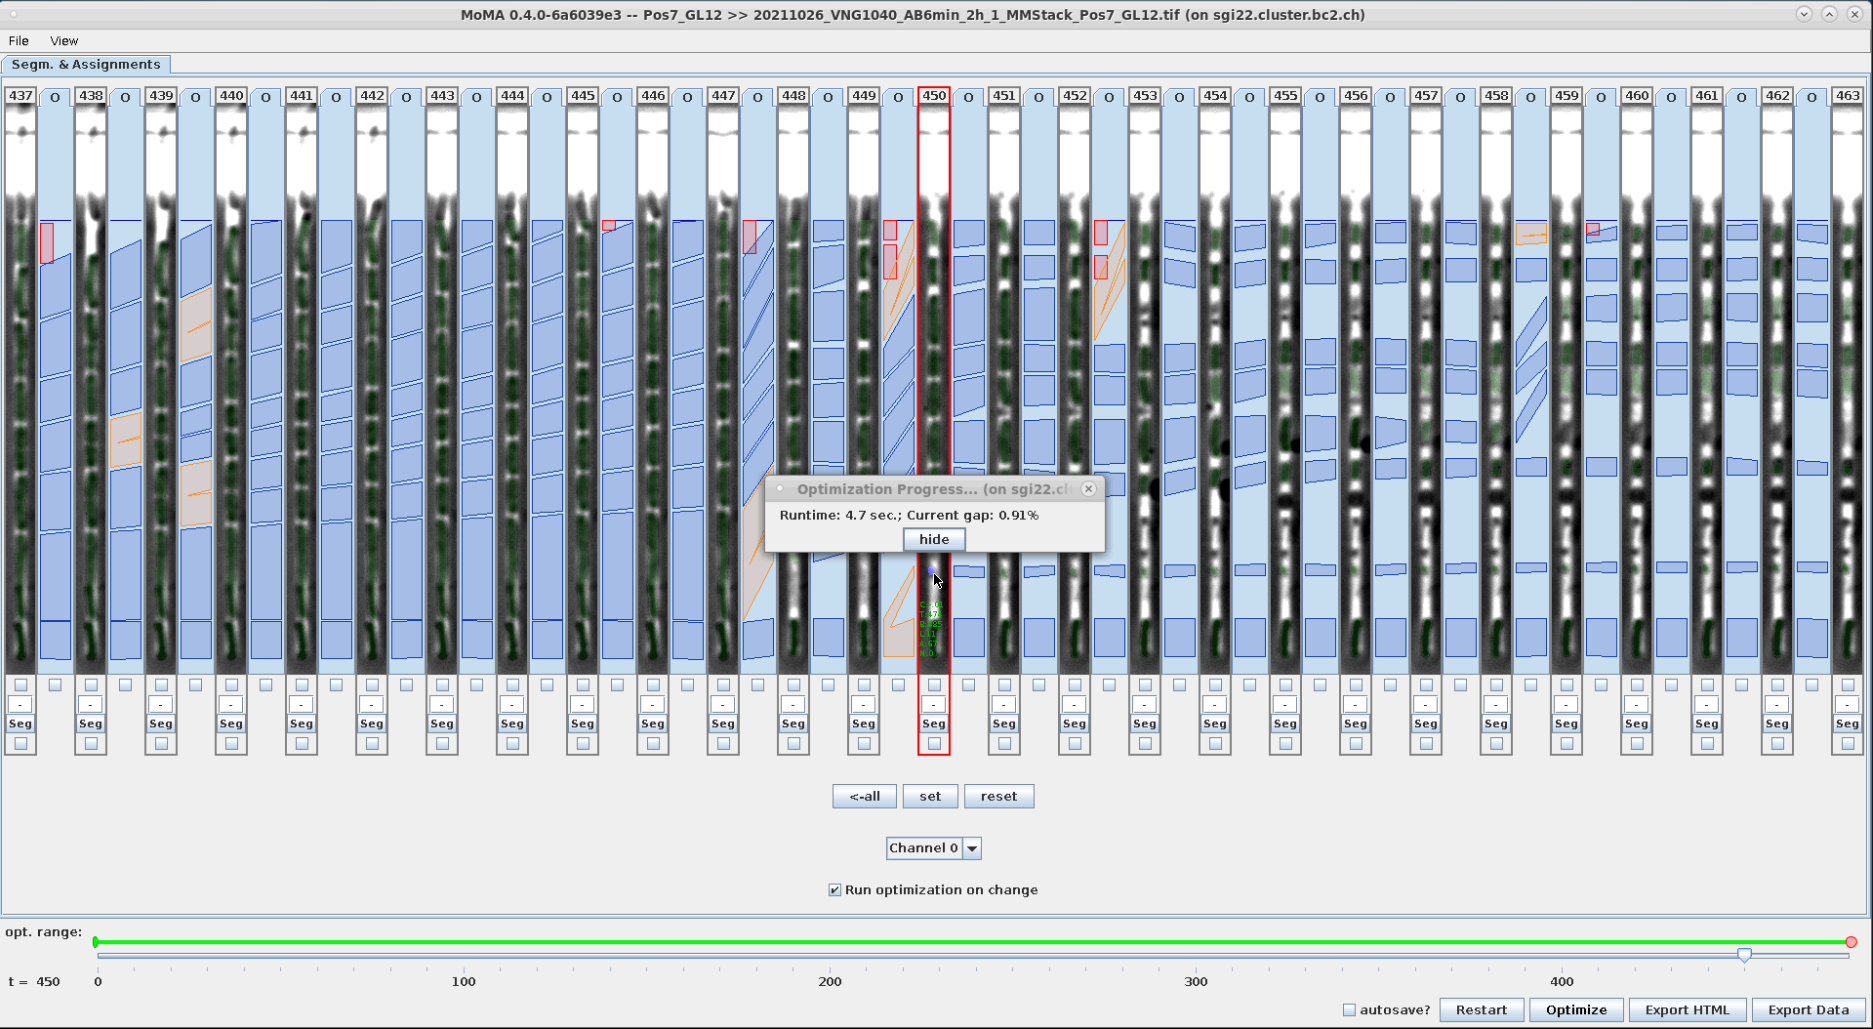
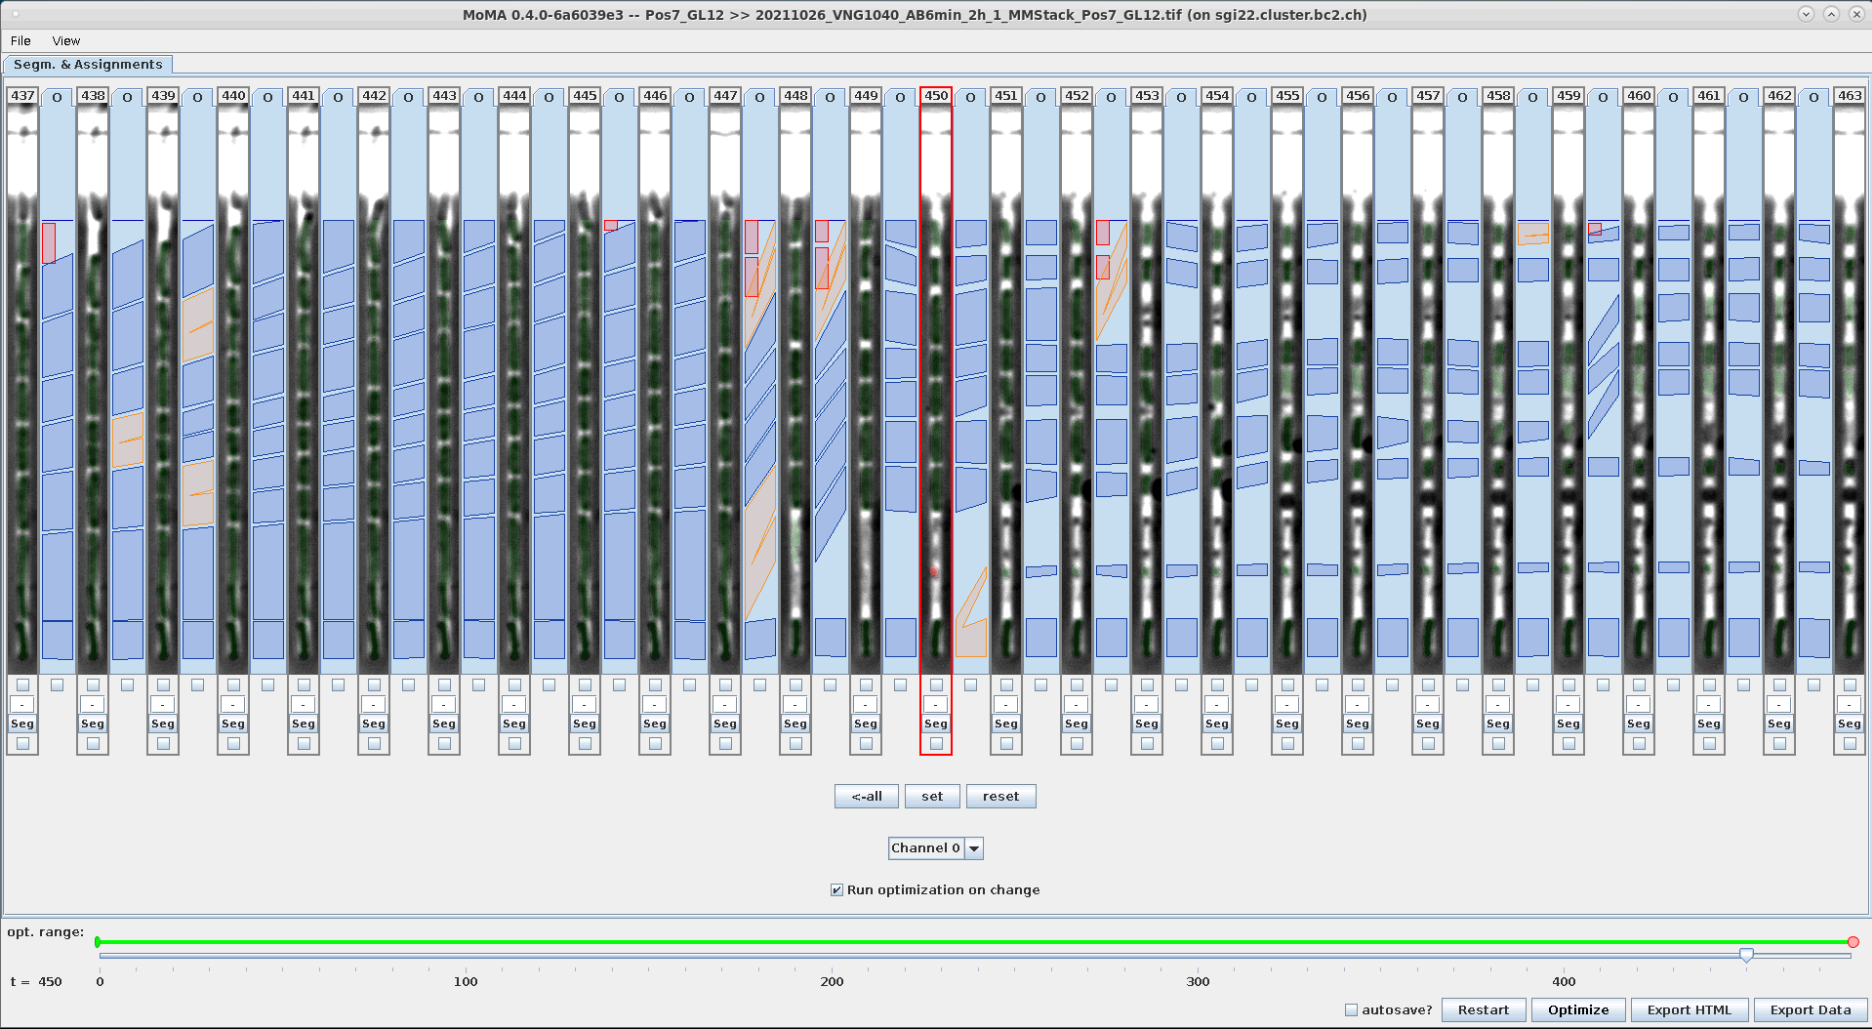
Components are force-ignored from the solution by right-clicking on them. Ignored components are highlighted in red.
| An incorrect division assignment occurs at the mother cell at t=449. | Left-clicking on the small target component at the top ignores it and starts optimization. | The ignored component is highlight in red. The (still incorrect) division assignment has shifted to the right by one time step. |
|---|---|---|
 |
 |
 |
MoMA 0.9 adds functionality to select ranges of hypotheses that have assignments between them and modify that selection. This speeds up curation, in particular when there exists a fragment in the GL, which is repeatedly assigned to itself between time-steps and must be ignored.
Perform the following actions to range-select hypotheses:
- Ctrl + LeftClick: Set first hypothesis of the selection range.
- Ctrl + RightClick: Set last hypothesis of the selection range.
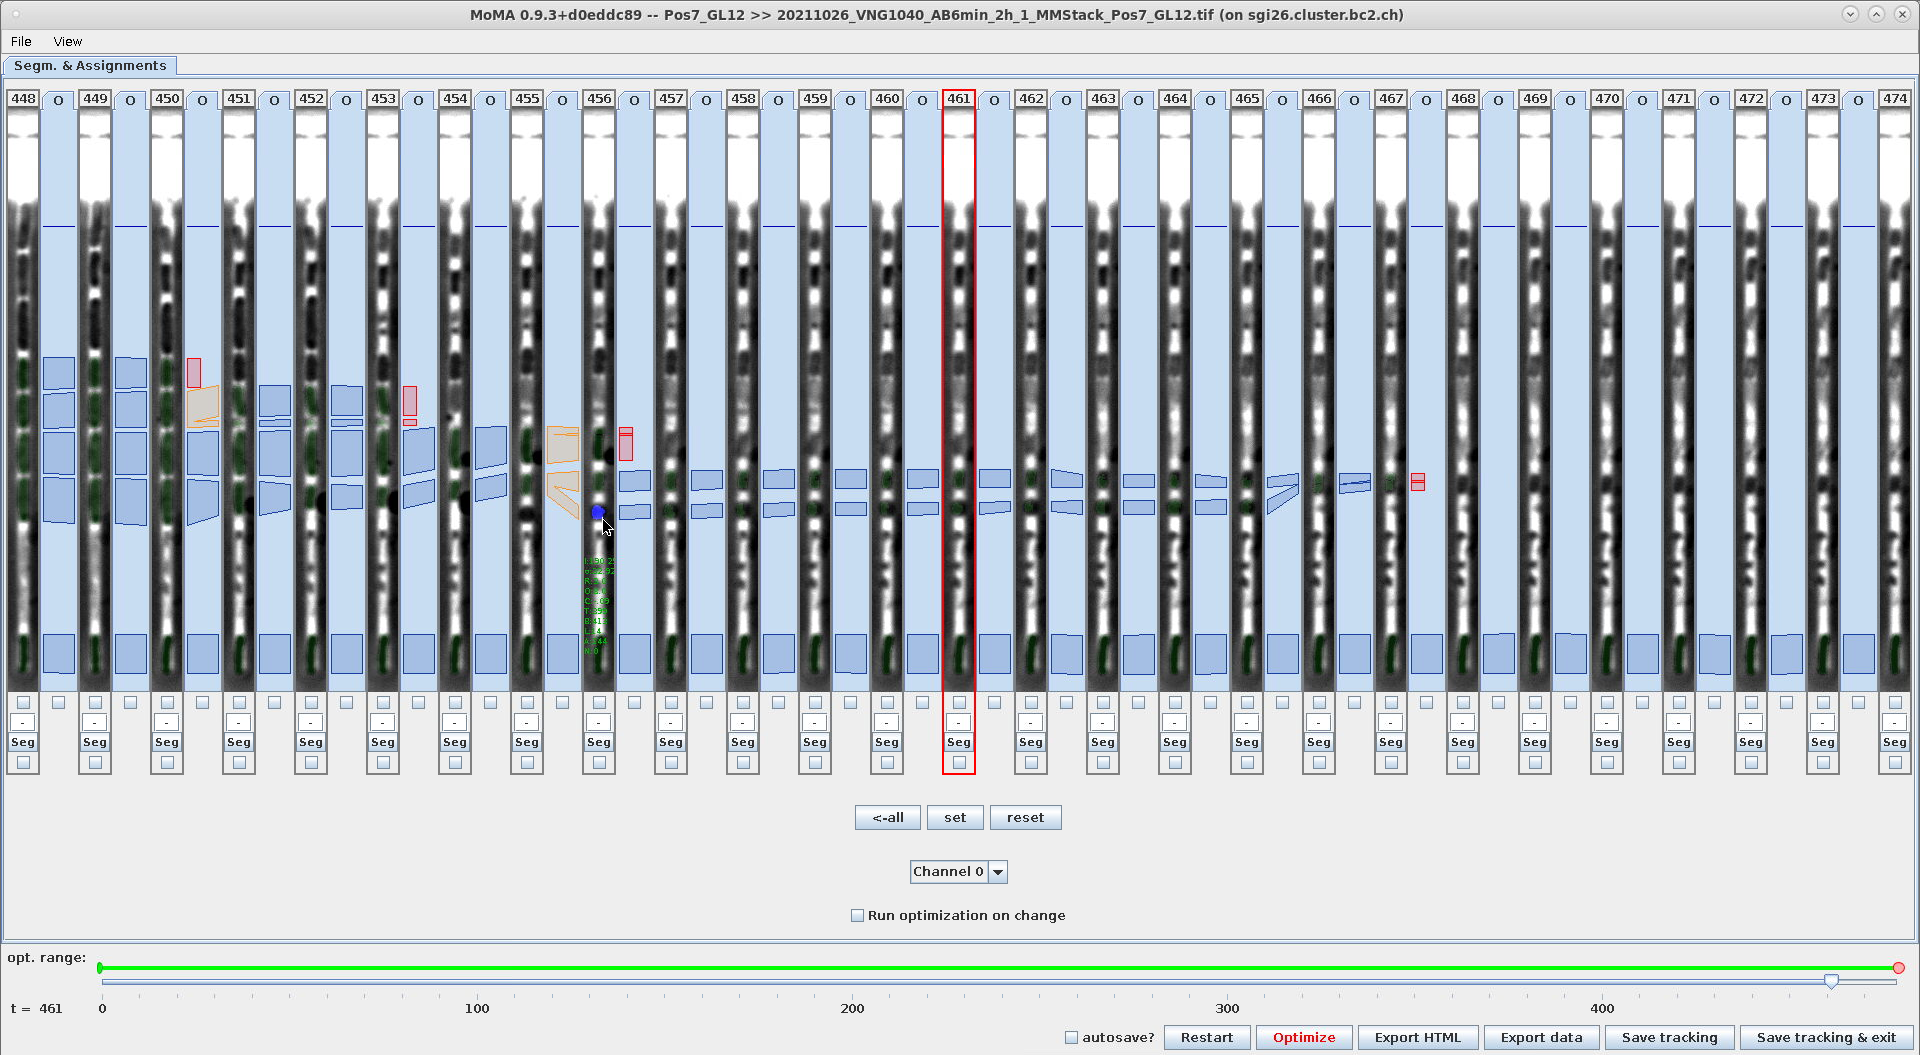
The start- and end-components and connecting components are selected as indicated by their blue highlighting as shown in these screenshots:
| Ctrl+LeftClick: Select the start-component of the selection-range. Note the location of the mouse-cursor and the component highlighted in blue. | Ctrl+RightClick: Select the end-component of the selection-range. Note the location of the mouse-cursor and the component highlighted in blue. | Example of the highlighted range after finishing the selection Note the components highlighted in blue. |
|---|---|---|
 |
 |
 |
You can deselect the highlighted hypotheses by hitting Escape (ESC):
- ESC: Deselect currently selected hypotheses.
You can perform the following actions on a range-selection:
- Ctrl + F: Force currently active assignments between selected hypotheses. This helps avoid changes to a correctly tracked lineage, when performing further modification on the same time-steps later on.
- Ctrl + M: Force mapping-assignments between selected hypotheses. This will force the currently active mapping-assignments and replace active division assignments with forced mapping-assignments.
- Ctrl + Shift + D: Force-ignore all division assignments that start from selected hypotheses.
- Ctrl + I: Force-ignore selected hypotheses.
- Ctrl + R: Remove all constraints on the selected hypotheses and the assignments between them.
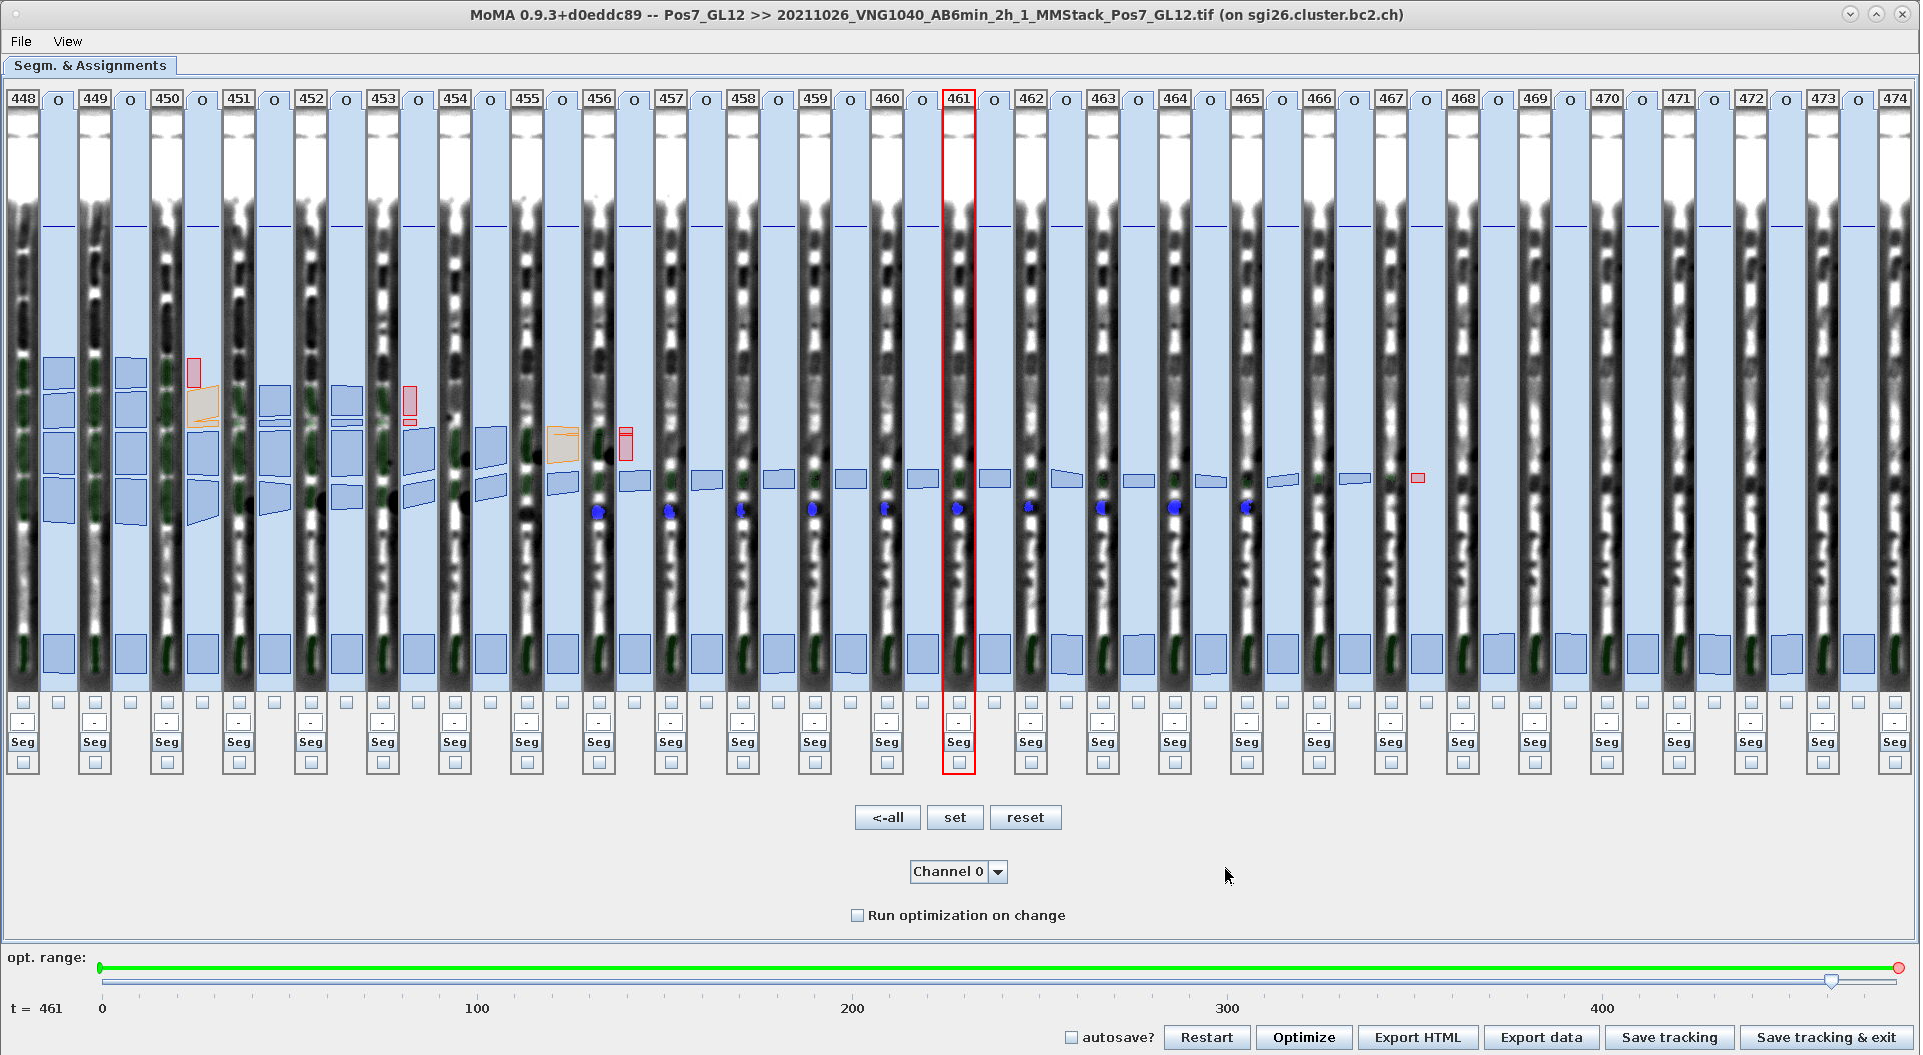
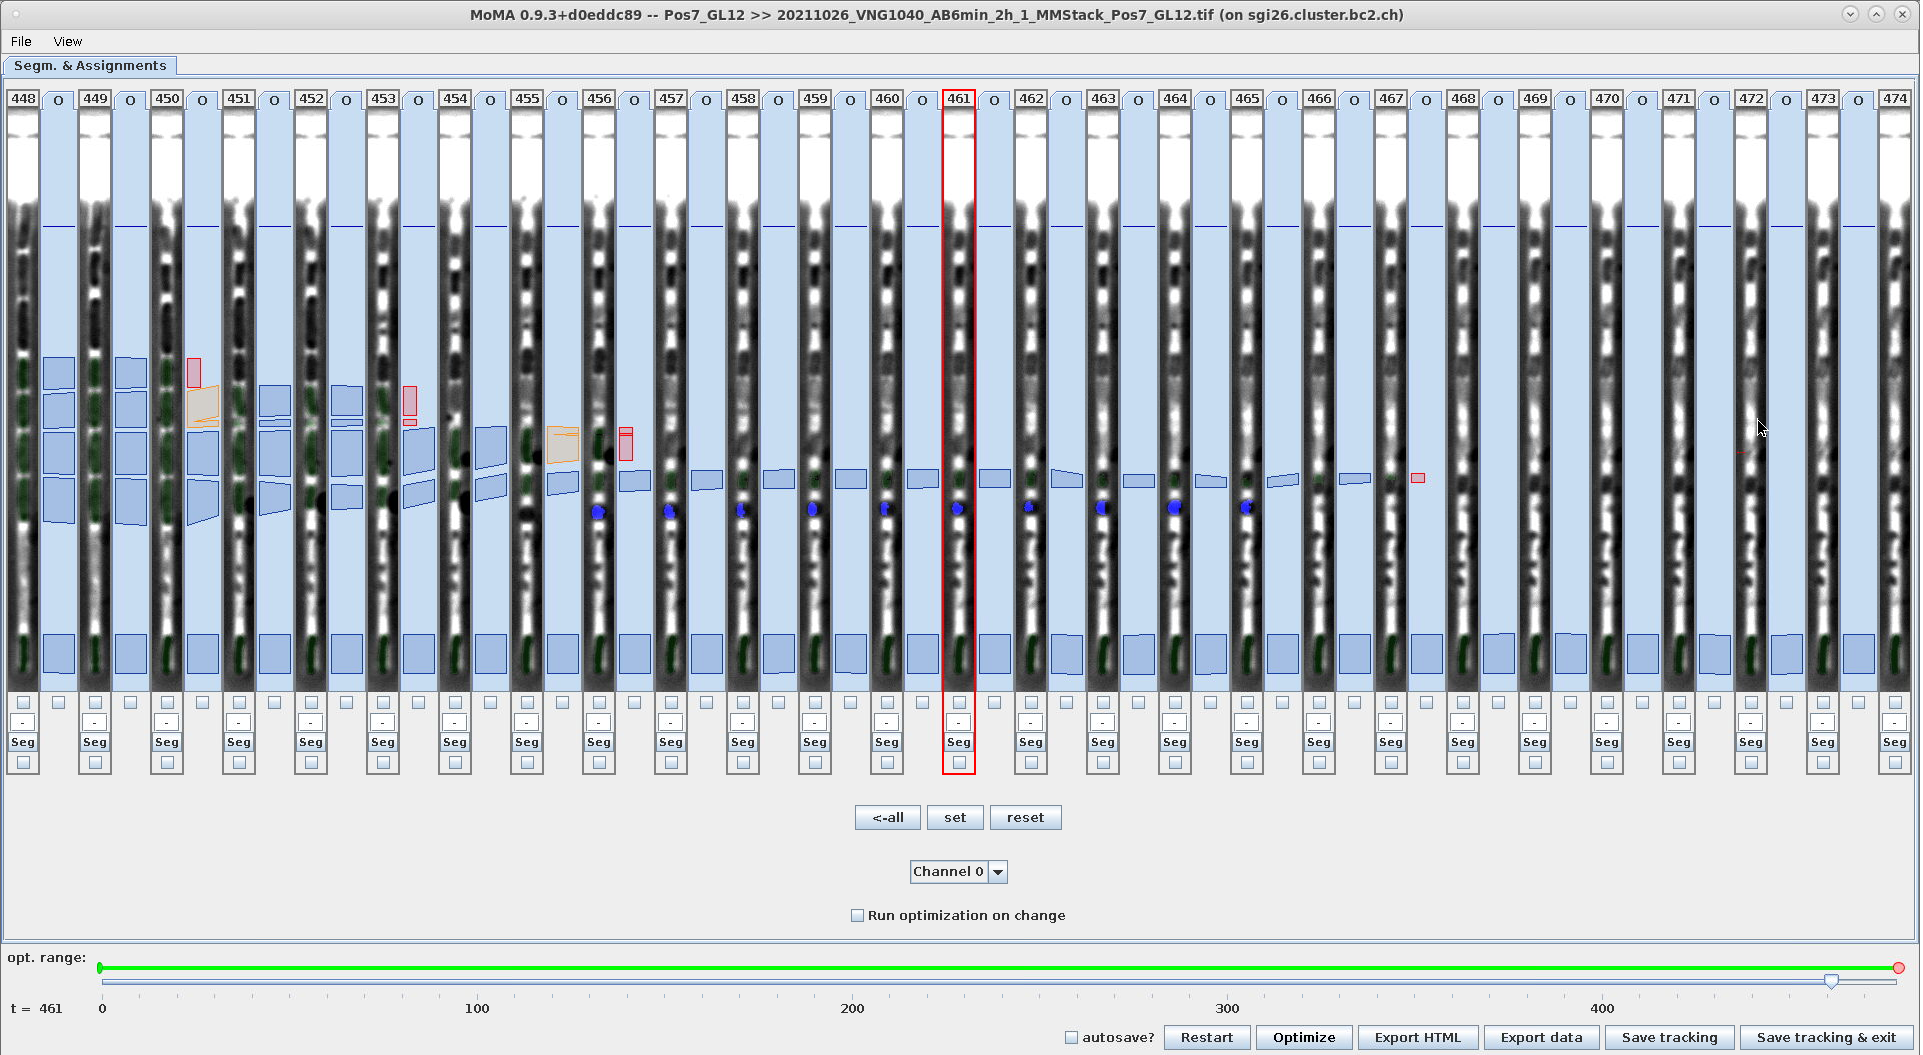
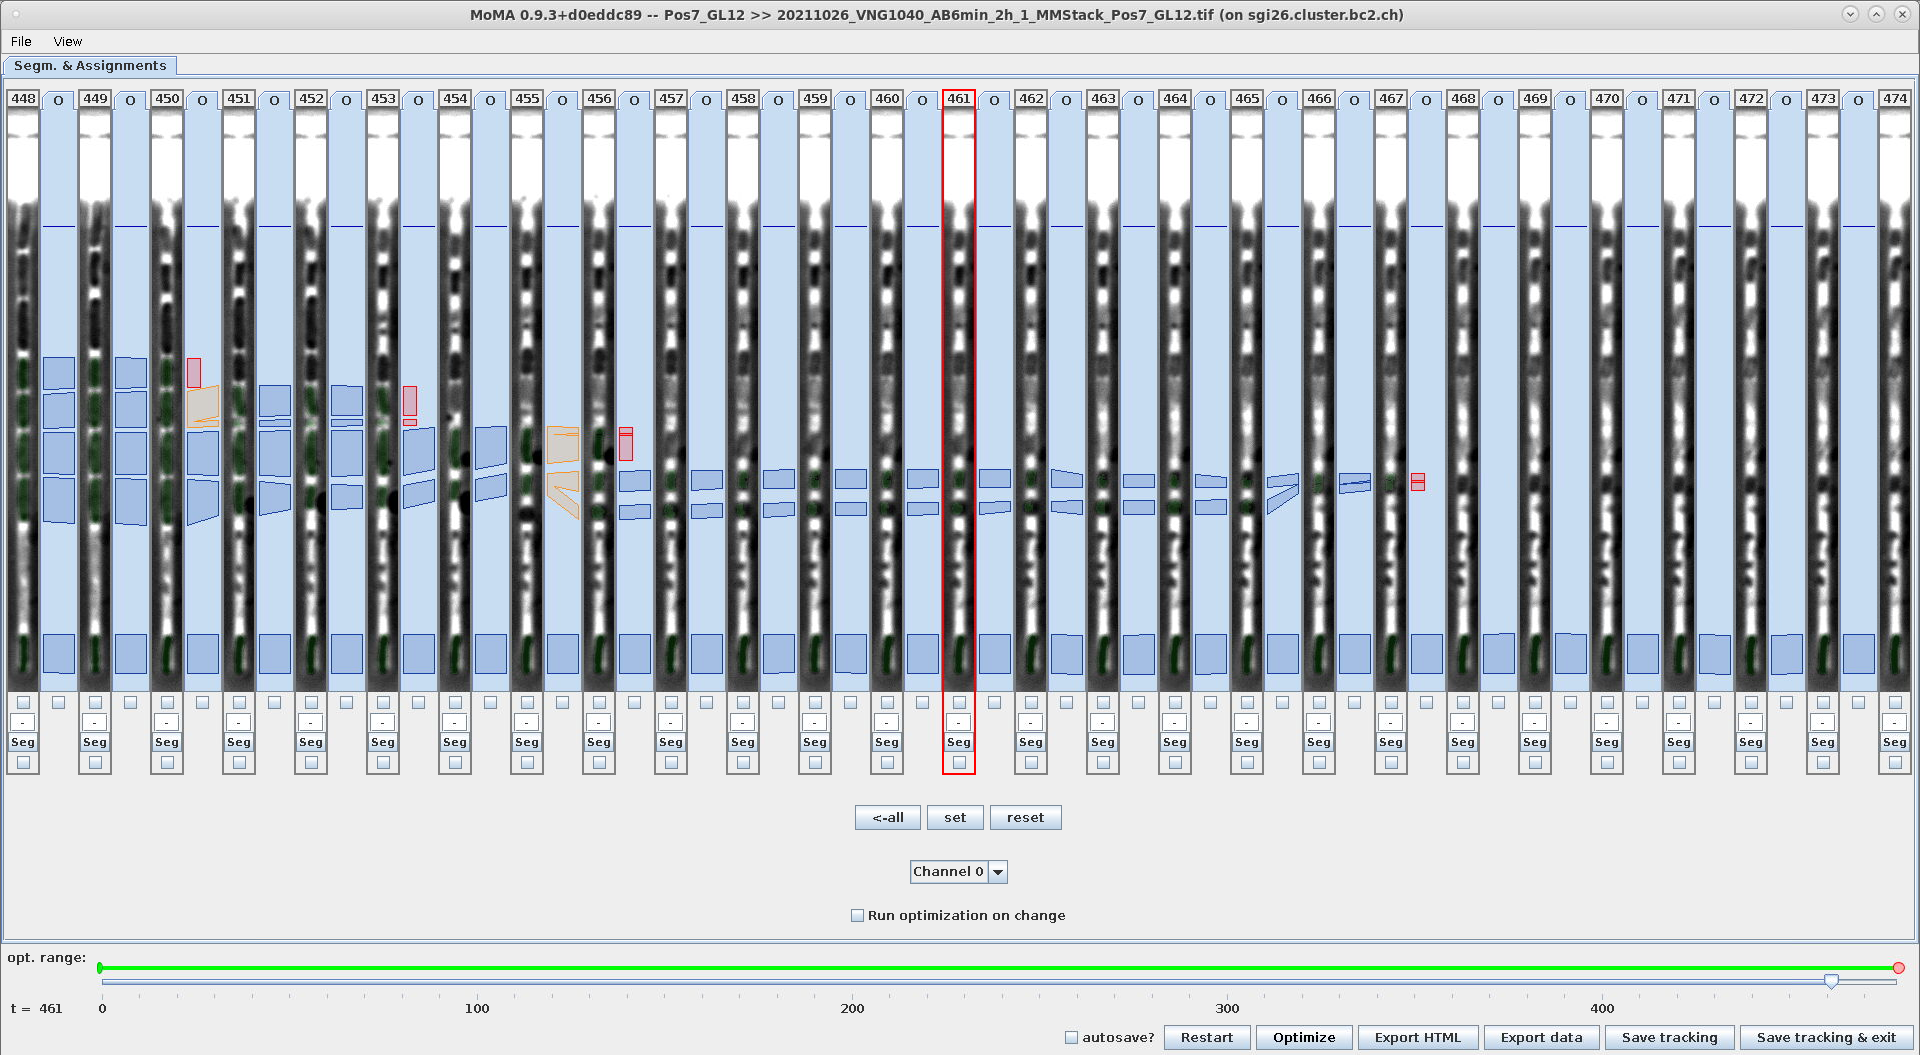
Example - Use range-selection to force-ignore components:
| Ctrl+I: Ignore the components in the selection range. Note: The red highlighting is only visible, when you deselect the range by hitting ESC. | The ignored components are ignored after optimization. |
|---|---|
 |
 |
Example - Undo force-ignore using Ctrl+R:
| Ctrl+R: With the ignored components still selected hit Ctrl+R to remove constraints. | Hitting escape to deselect the components in the range shows that the are not force-ignored anymore (they are not highlighted in red anymore). | The components are again part of the solution after optimization. |
|---|---|---|
 |
 |
 |
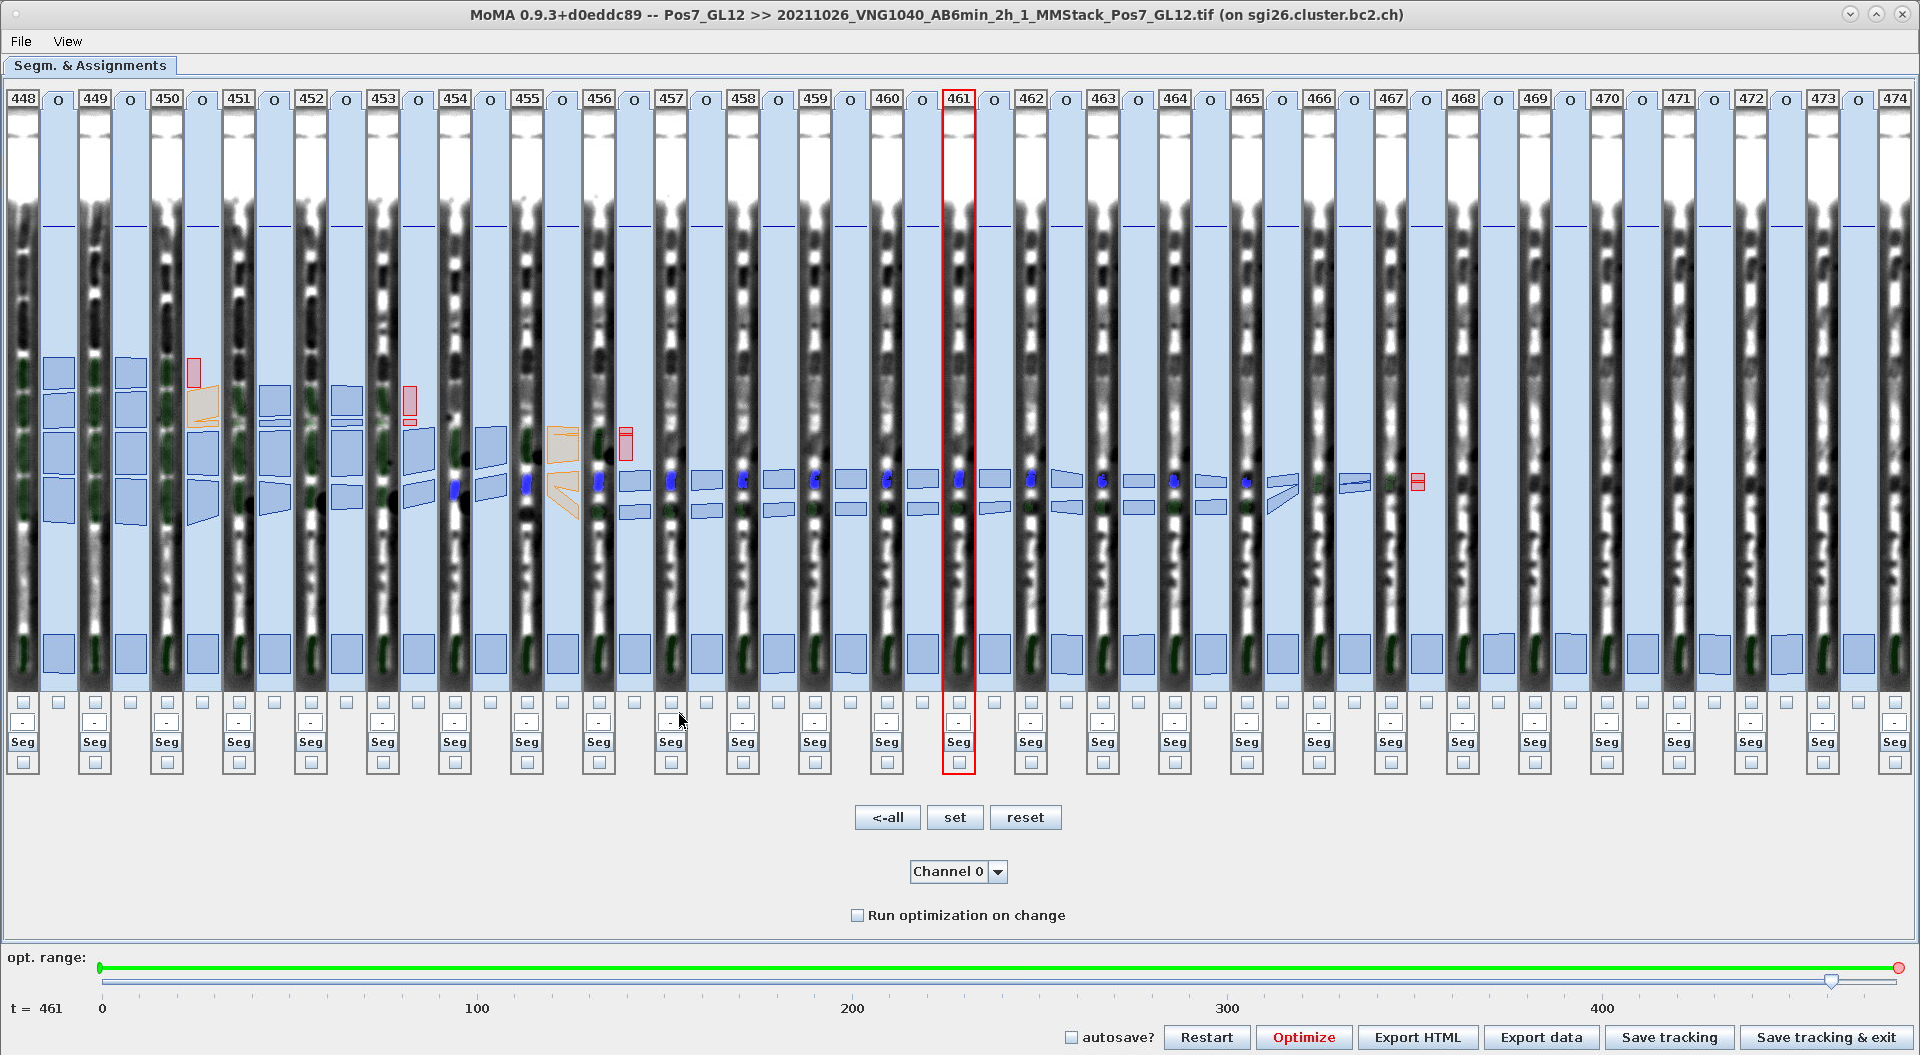
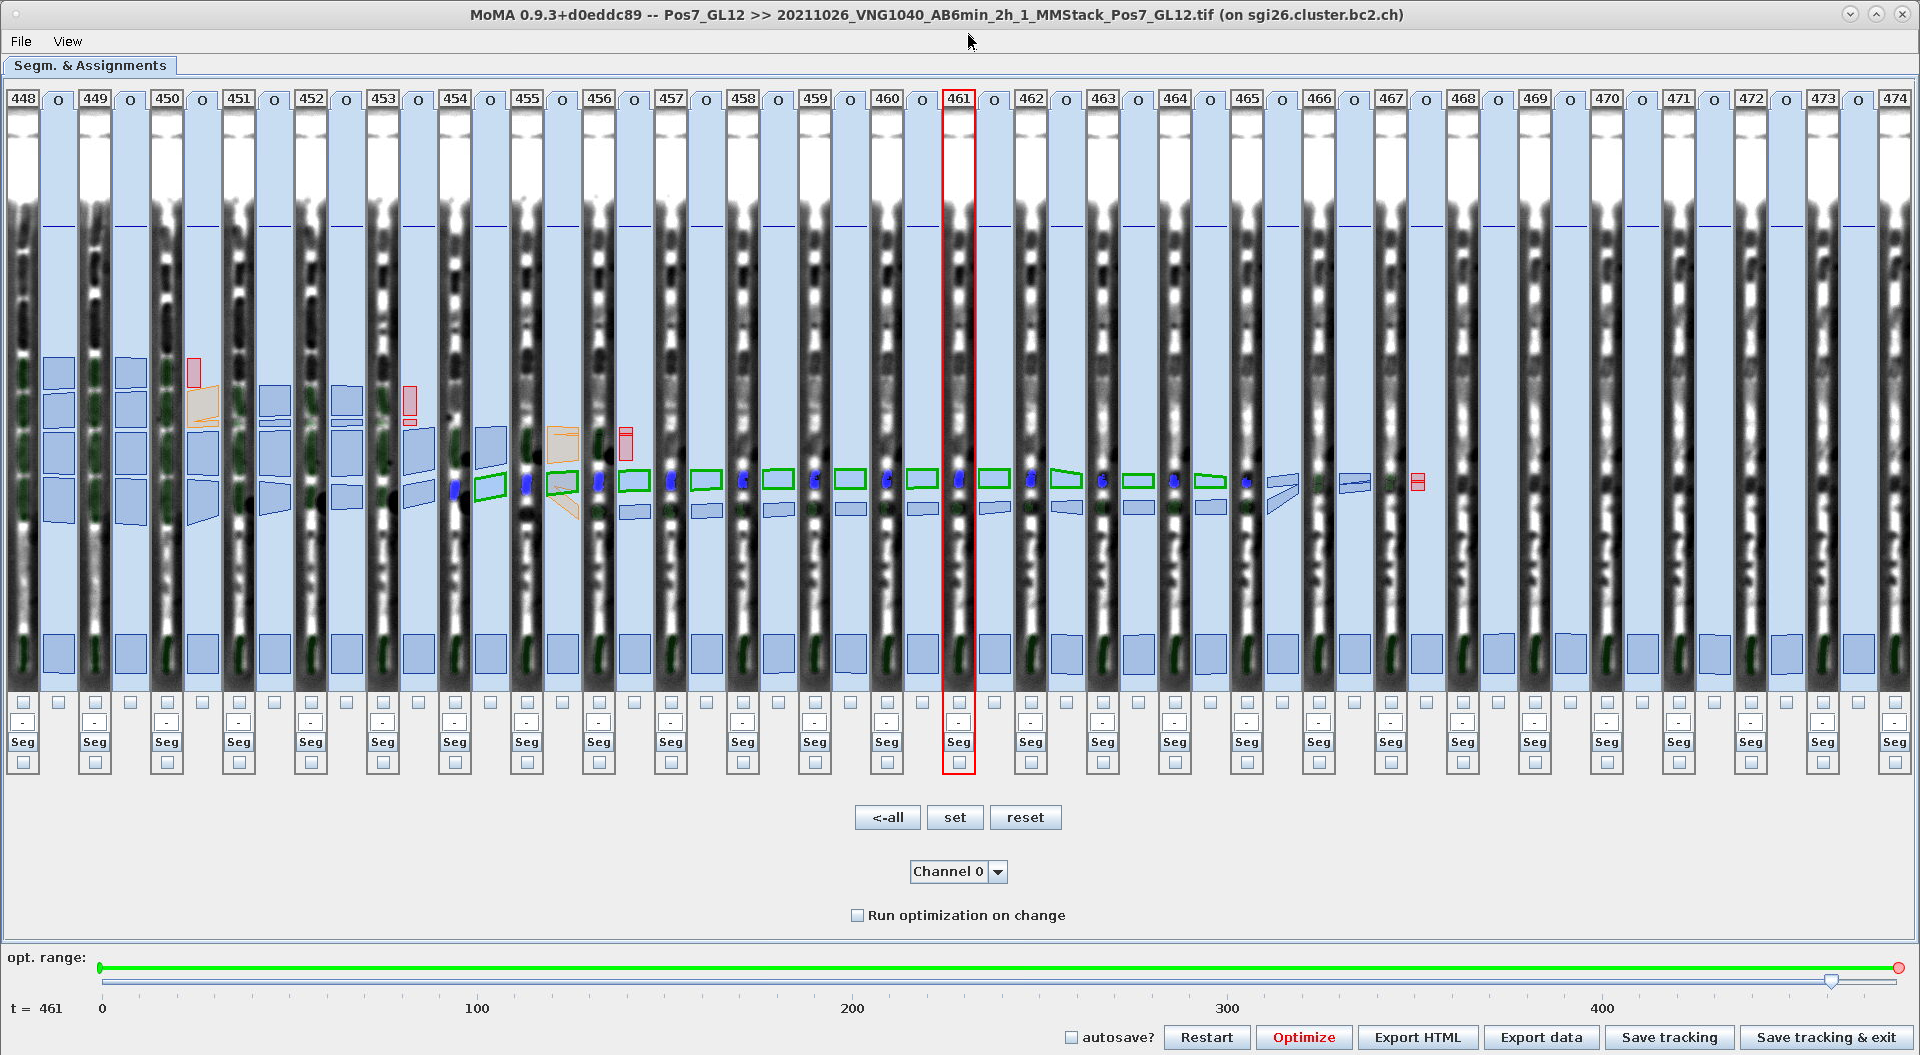
Example - Use range-selection to force mapping-assignments:
| Select range across the incorrect division assignment | Ctrl+M: Force mapping-assignments between selected hypotheses. Note the mapping-assignment that is force-selected in addition to the incorrect division assignment. | Result after optimization: The components in the lower branch are not part of the solution anymore, because the forced mapping- assignments prevent their selection. |
|---|---|---|
 |
 |
 |
Example - Use range-selection to remove incorrect division-assignment:
| Select range across the incorrect division assignment | Ctrl+Shift+D: Force-ignore outgoing division assignments of selected components. Note: The active division-assignment is highlighted in red to indicate that it is now ignored. | Result after optimization: The previously active division-assignment is not selected anymore (but the tracking result is still incorrect). |
|---|---|---|
 |
 |
 |
Often it is necessary to perform multiple curation interactions at once. In it default setting optimization will run each time the user (un-)forces and assignment or component. When optimization takes time, this can significantly slow down the curation process.
In this situation it is helpful to activate the deferred optimization by unselecting the checkbox Run optimization on change. In this mode, the user can perform multiple modifications at once before running the optimization. After all desired modifications the user must run the optimization by clicking the Optimize button (or hitting the O key).
 |
Version 0.9 and above can automatically deactivate (force-ignore) assignments based on the fluorescence (FL) intensity of the source and target components of an assignment.
This feature is useful, when cells lose their FL signal (e.g.) due to treatment with antibiotics that target the cell wall. This often leaves fragments and cadavers of dead cells in the GL, which do not have a FL signal, but still have sufficient PhC contrast to yield components and assignments in the tracking model (because they are detected by the U-Net model).
In these cases, MoMA can be configured to automatically filter/force-ignore assignments by considering the relative change in FL intensity of source and target components.
The `mm.properties` file contains settings to enable this feature and to set thresholds for minimum/maximum allowed change in relative intensity:
mm.properties settings for fluorescence filtering
# disable/enable the FL intensity-based filtering
FEATURE_FLAG_FLUORESCENCE_ASSIGNMENT_FILTERING=1
# channel index of the image on which to perform the filtering (index is 0-based); this must correspond to the index of the FL channels (usually this channel 1)
FEATURE_FLUORESCENCE_ASSIGNMENT_FILTERING_CHANNEL_NUMBER=1
# lower threshold for relative decrease in FL intensity
FEATURE_FLUORESCENCE_ASSIGNMENT_FILTERING_INTENSITY_RATIO_THRESHOLD_LOWER=0.5
# upper threshold for relative increase in FL intensity
FEATURE_FLUORESCENCE_ASSIGNMENT_FILTERING_INTENSITY_RATIO_THRESHOLD_UPPER=2.0
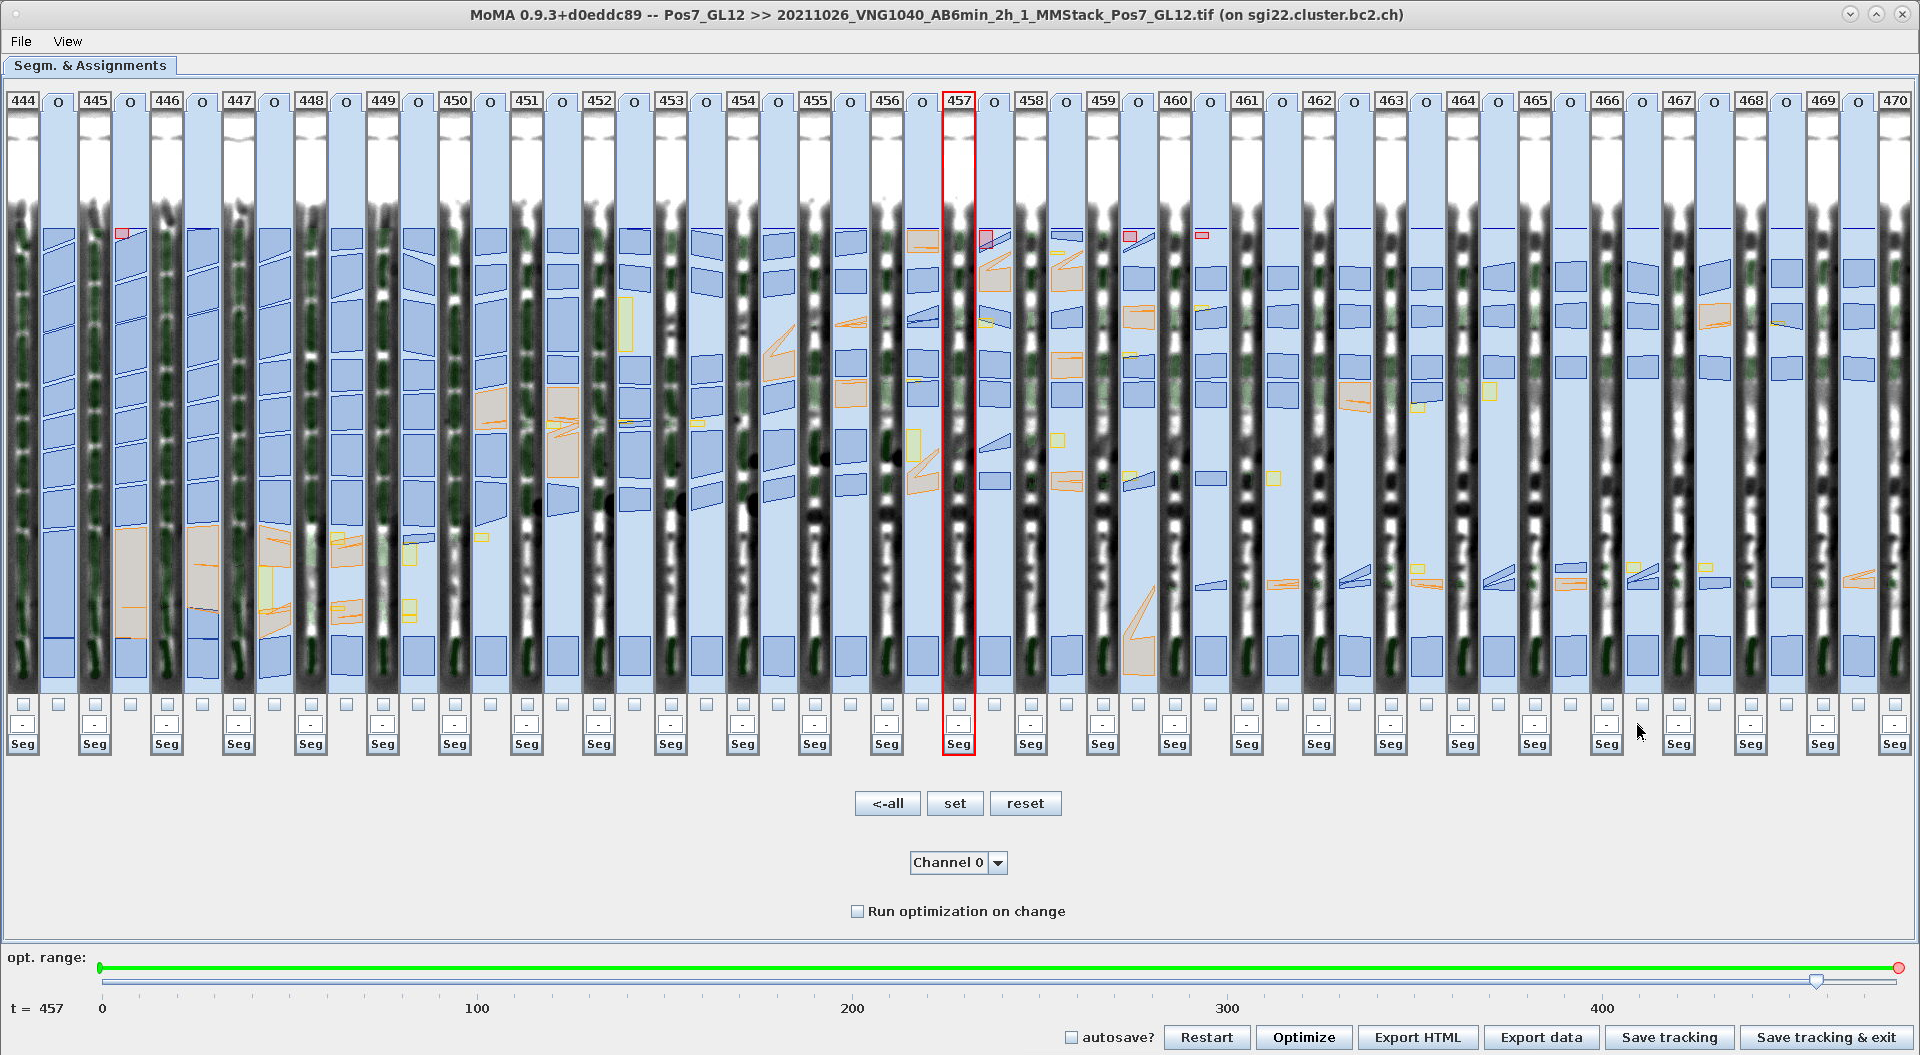
The screenshots in this table compare tracking results when using FL based assignment filtering (right) vs. without (left). The tracking results is significantly improved and reduces the effort of manual curation.
| Tracking result without filtering assignments. Top: PhC channel shows the cadavers and fragments of dead cells with assignments. Bottom: FL channel shows that many of the assignments are between cells that have lost FL signal. | Tracking result when filtering assignments (using the settings shown above). Top: PhC channel shows the cadavers and fragments of dead cells (as on the left) with assignments. Bottom: FL channel as on the left. Assignment filtering removes most assignments between dead cells and fragments. This improves the tracking result and therefore requires lower curation effort. |
|---|---|
 |
 |
 |
 |
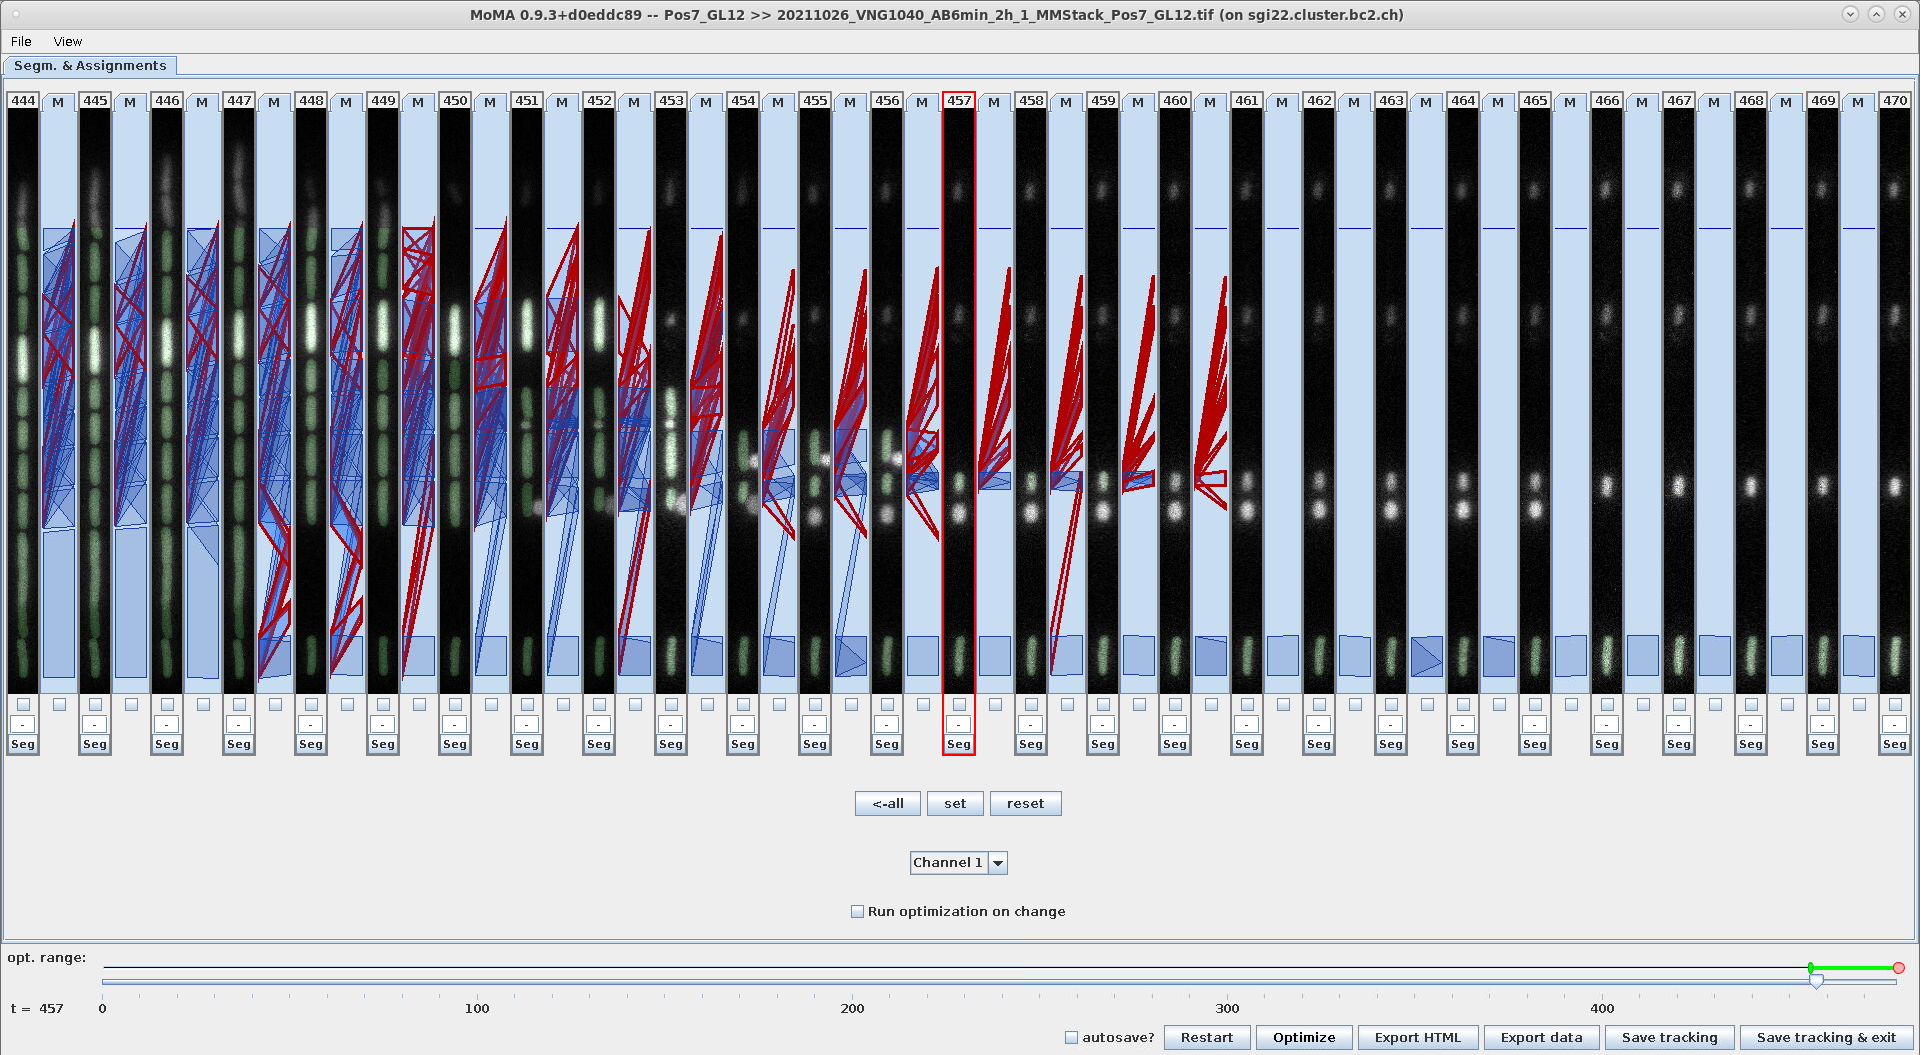
Switching the assignment views to mapping and division, we observe the automatically deactivated assignments outlined in red:
| Mapping assignment view: Force-ignored (filtered) assignments are outlined in red. | Division assignment view: Force-ignored (filtered) assignments are outlined in red. |
|---|---|
 |
 |
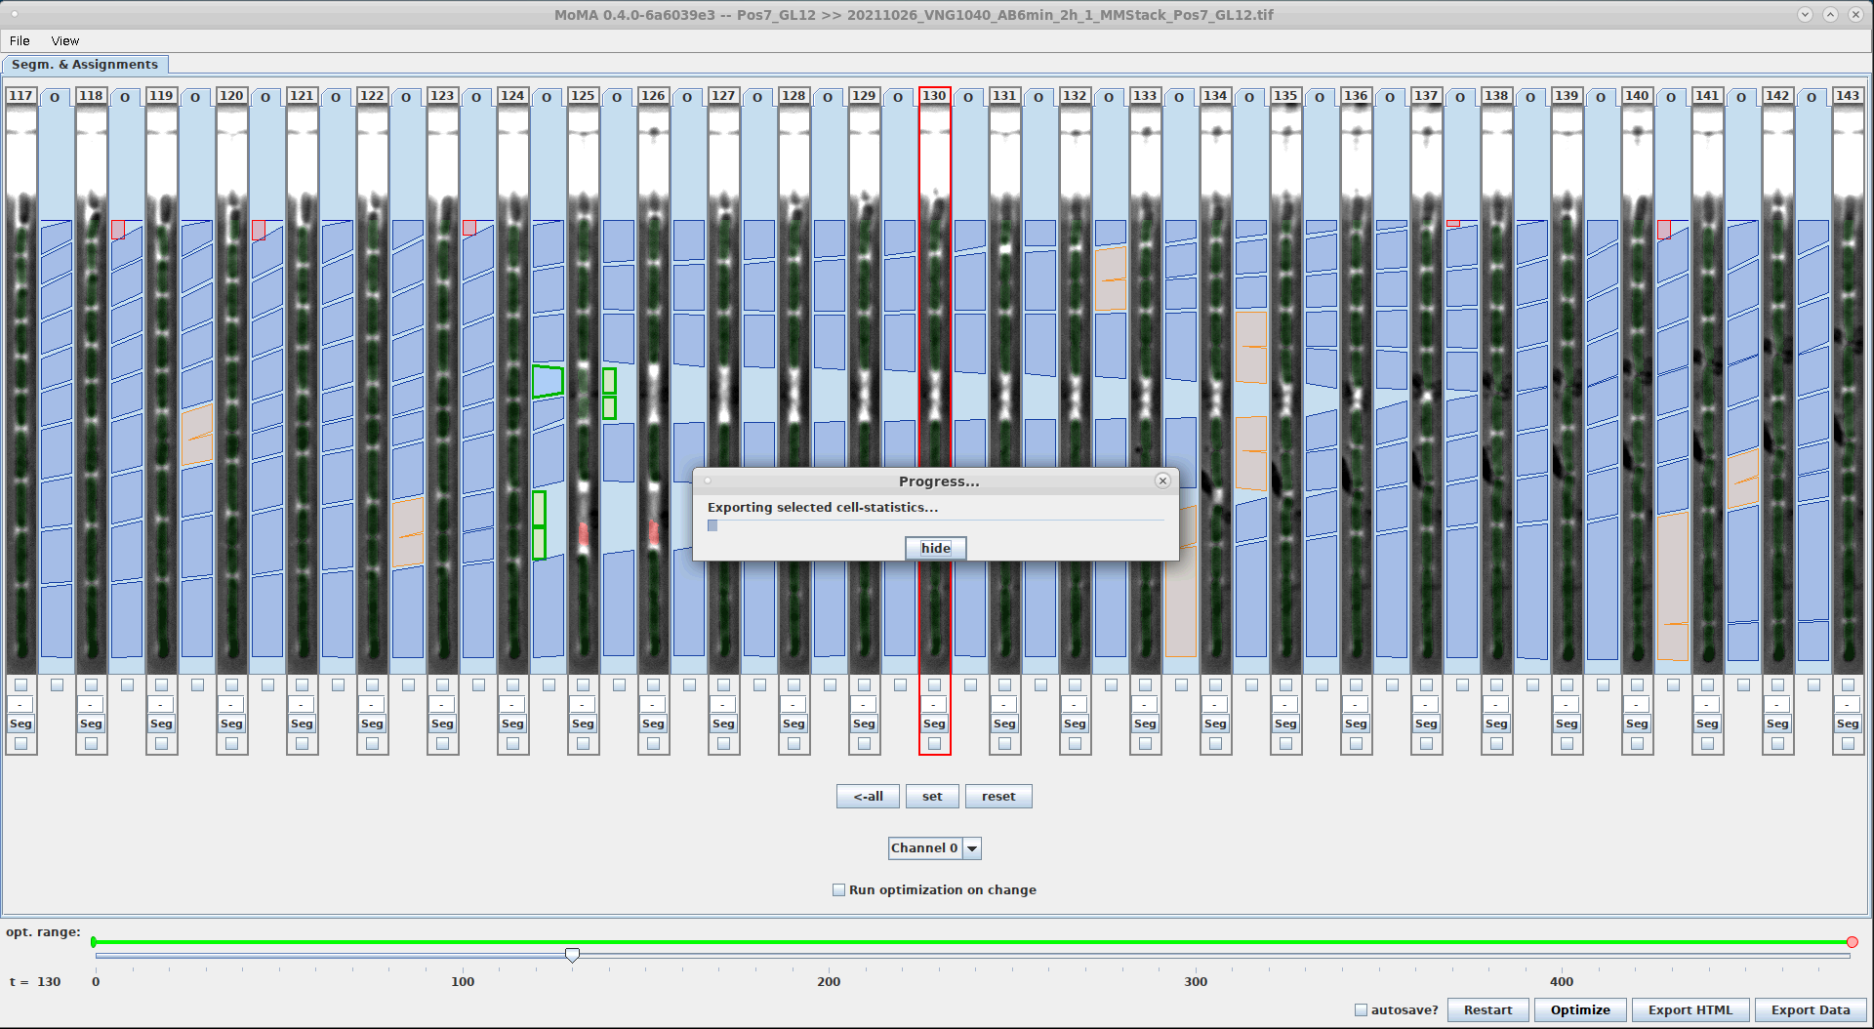
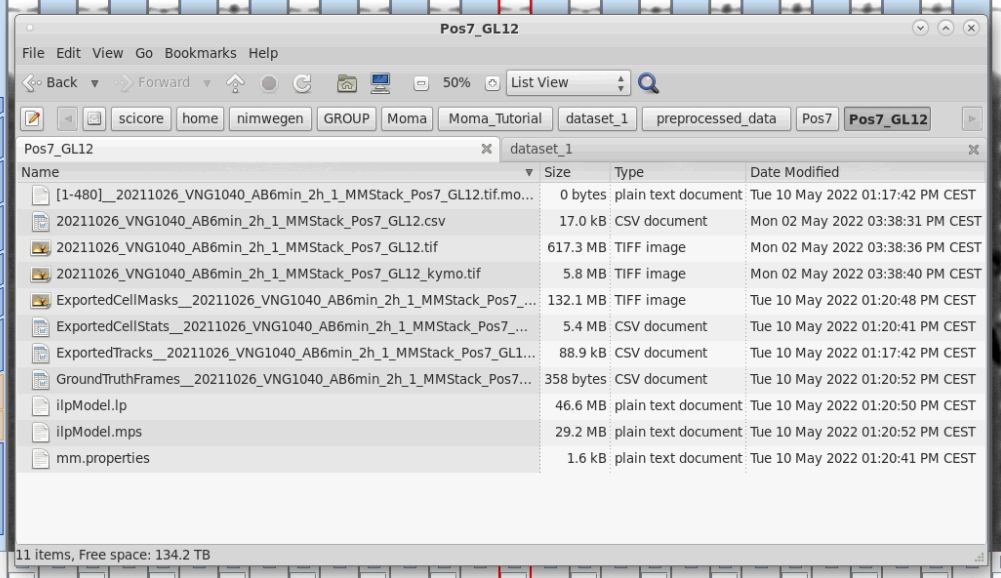
You can export your results by pressing the Export button. This exports a CSV file containing the cell-lineage information and measurements of cell-properties (e.g. length, area, total fluorescence, etc.). Note that exporting can take some time to finish:
| Cell statistics can be exported by clicking the Export button. | The output folder can be changed if needed. It defaults to the directory of the input image, if it was not provided using -o option from the command line (see tip below). | Exporting take a bit of time to finish, because it performs a number of calculation for each cell instance in each frame. | New files in folder after export. |
|---|---|---|---|
 |
 |
 |
 |
TIP: By default the MoMA will select the input directory that was provided with argument -i in the file selection dialog opens. You can also directly provide this path with the command-line argument -o, e.g.:
moma -i /path/to/input/image.tiff -i /path/to/output/directory